


前面我们讲过UILabel的基本信息, 现在让我们来讲一下UILabel的开发小技巧.
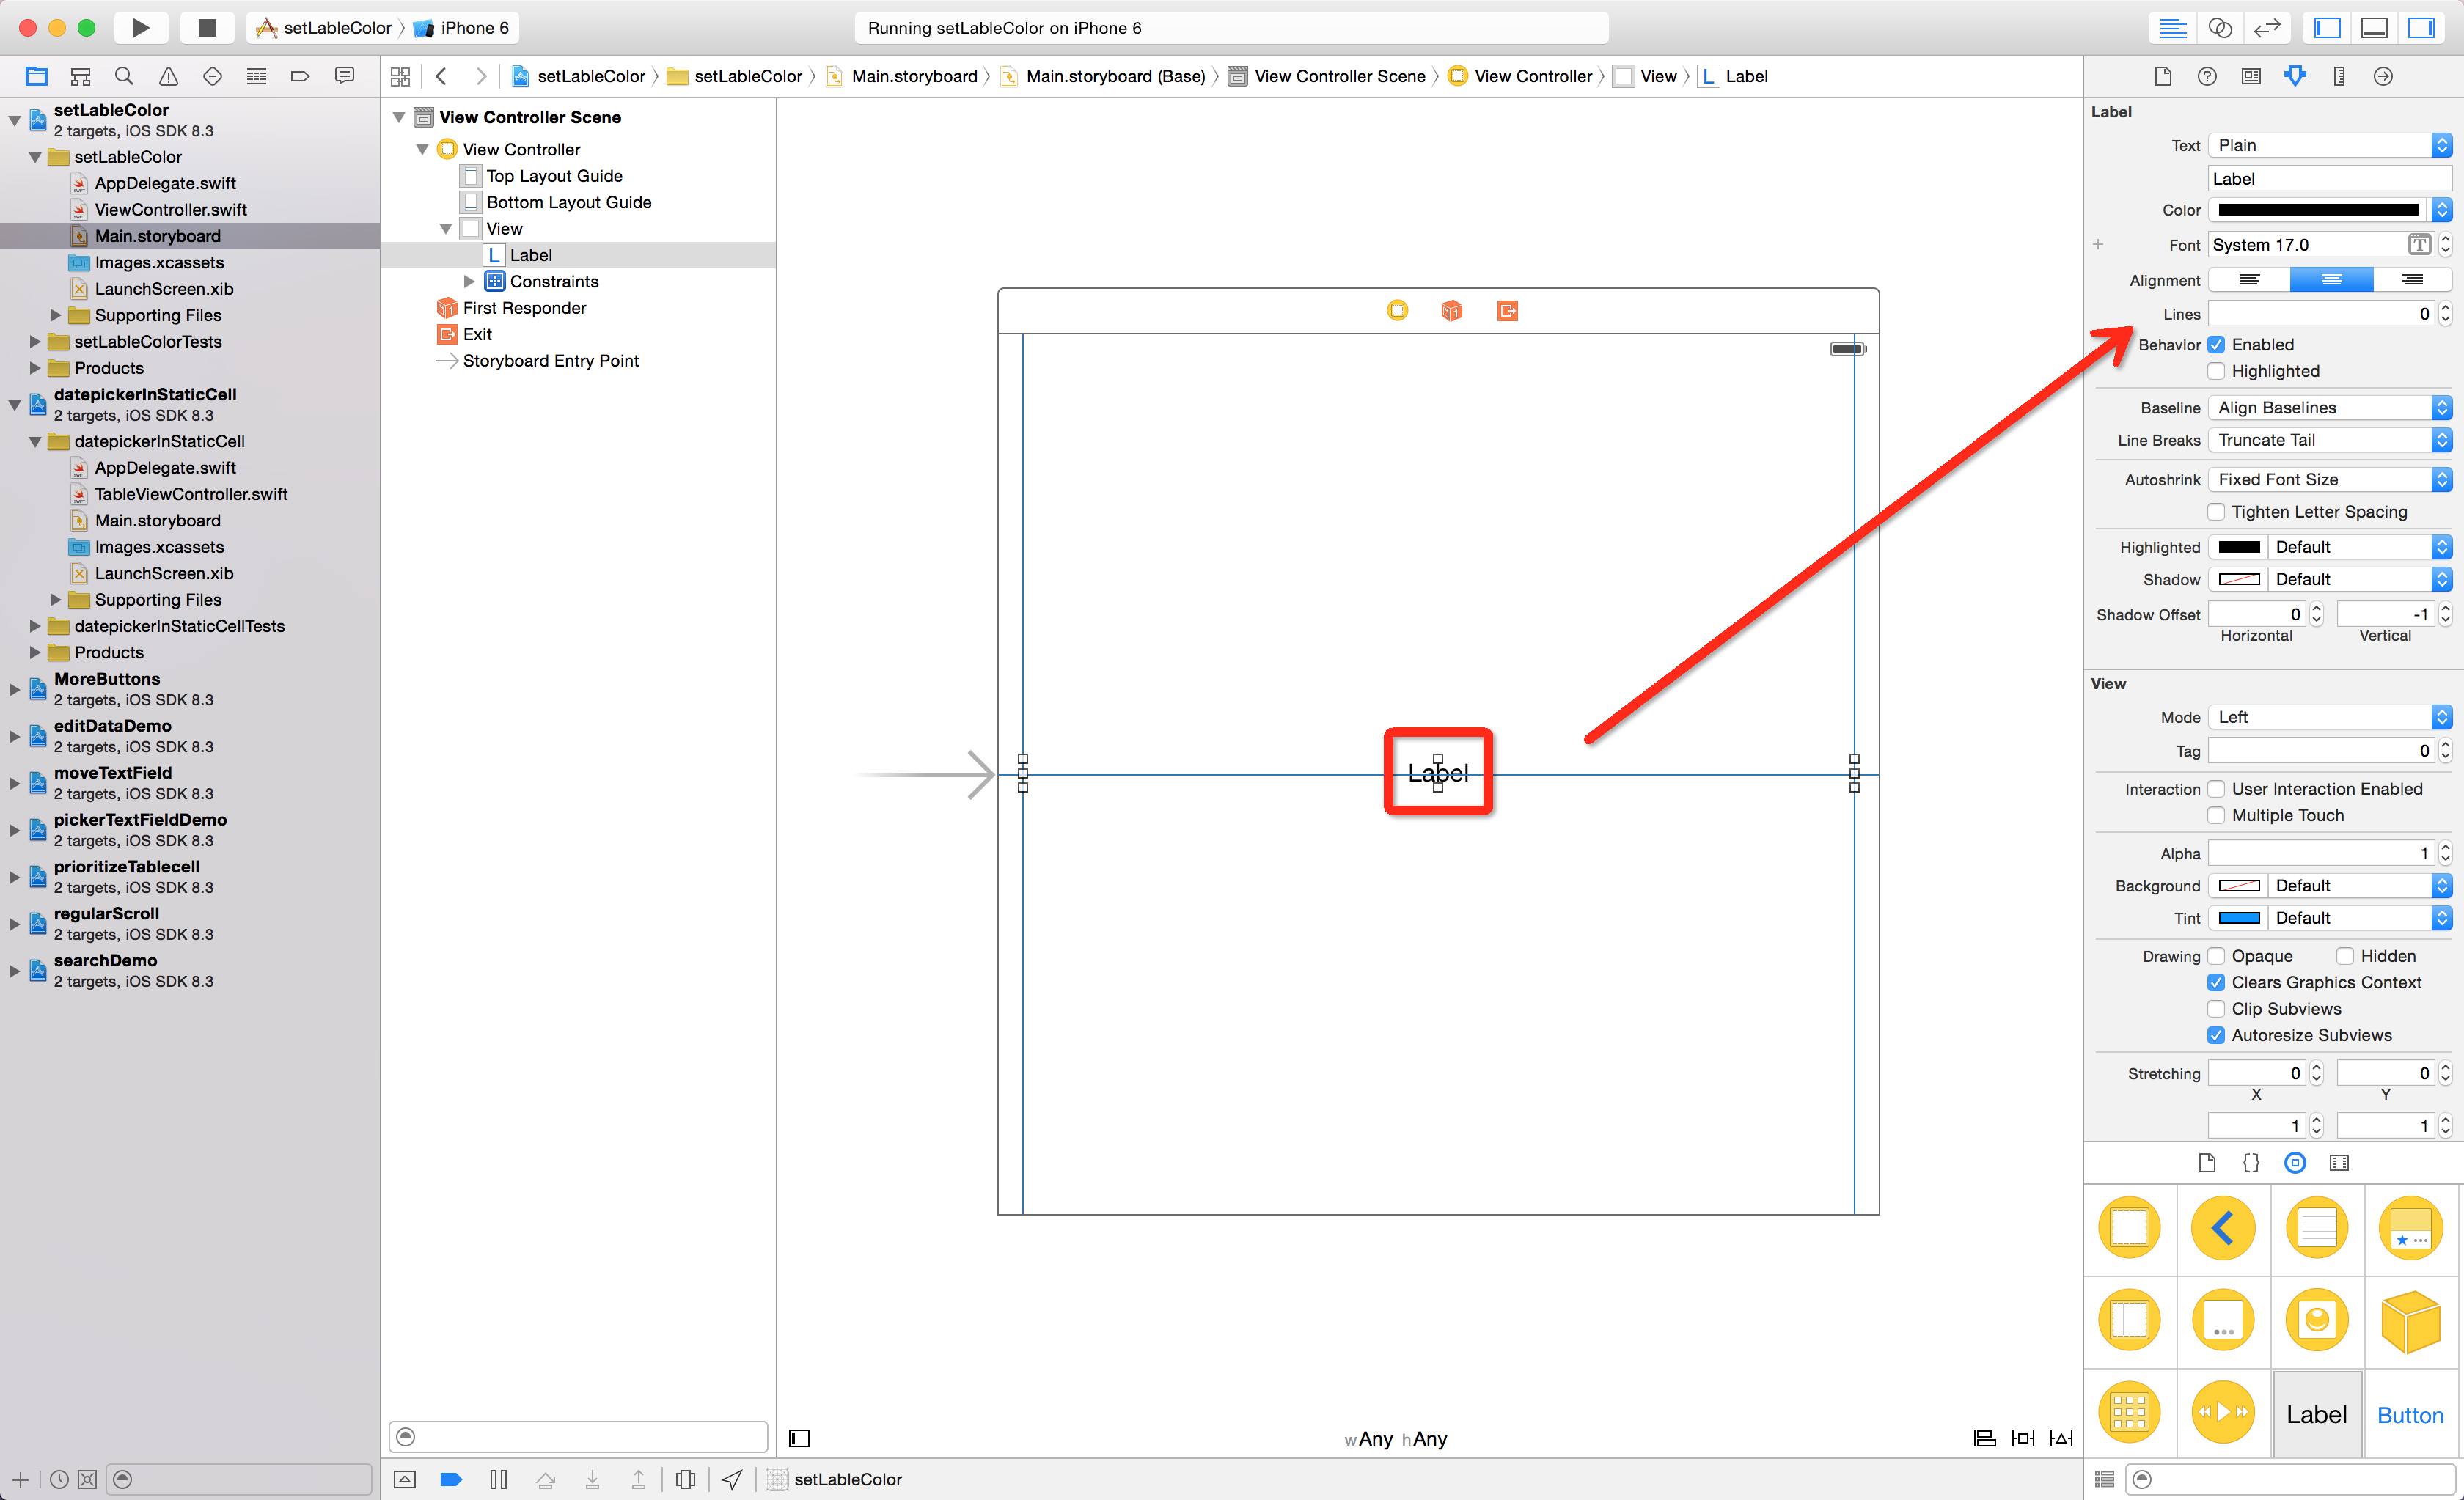
1.布局界面

2.实现代码
1.关联控件
class ViewController: UIViewController {
    // 1.关联控件
    @IBOutlet var label: UILabel!
}
2.代码实现
override func viewDidLoad() {
    super.viewDidLoad()
    // 2.设置UILabel的text内容
label.text = "Im UILabel, I need Beautiful colors, can you give me?"

    // 3.获取UILabel的text内容长度
    let lenth = count(label.text!)

    // 4.获取UILabel可变的text内容属性
    var string = NSMutableAttributedString(string: label.text!)

    // 5.定义一个参数, 初始化为可变的段落样式
    let paragraph = NSMutableParagraphStyle()

    // 6.设置每行的间距为90
    paragraph.lineSpacing = 90

    // 7.设置位置为0, 长度为3的字符串颜色
    string.addAttribute(NSForegroundColorAttributeName, value: UIColor.redColor(), range: NSMakeRange(0, 3))

    // 7.1设置位置为4, 长度为10的字符串颜色
    string.addAttribute(NSForegroundColorAttributeName, value: UIColor.blackColor(), range: NSMakeRange(4, 10))

    // 7.2设置位置为11, 长度为8的字符串颜色
    string.addAttribute(NSForegroundColorAttributeName, value: UIColor.greenColor(), range: NSMakeRange(11, 8))

    // 7.3设置位置为19, 长度为10的字符串颜色
    string.addAttribute(NSForegroundColorAttributeName, value: UIColor.blueColor(), range: NSMakeRange(19, 10))

    // 7.4设置位置为29, 长度为6的字符串颜色
    string.addAttribute(NSForegroundColorAttributeName, value: UIColor.brownColor(), range: NSMakeRange(29, 6))

    // 8.设置整个UILabel的每行间距为paragraph(数值为90)
    string.addAttribute(NSParagraphStyleAttributeName, value: paragraph, range: NSMakeRange(0, lenth))

    // 9.把修改好的string赋值给UILabel
    label.attributedText = string

    // 10.设置UILabl的大小为自适应
    label.sizeToFit()
}
3.最终效果
好了, 这次我们就讲到这里, 下次我们继续


 2万+
2万+


 被折叠的 条评论
为什么被折叠?
被折叠的 条评论
为什么被折叠?
 到【灌水乐园】发言


