


首先来看一下默认的状态栏
接下来我修改了一下actionbar的颜色,这个我就不多说了,其实自己也可以自定义一个actionbar,其实都一样。
然后 我们在setContentView之前写上这些代码
if (Build.VERSION.SDK_INT >= Build.VERSION_CODES.KITKAT) {
	            Window window = getWindow();
	            // Translucent status bar
	            window.setFlags(WindowManager.LayoutParams.FLAG_TRANSLUCENT_STATUS,
	                    WindowManager.LayoutParams.FLAG_TRANSLUCENT_STATUS);

	        }
然后在layout里面设置这个属性
    android:fitsSystemWindows="true"
    android:clipToPadding="true"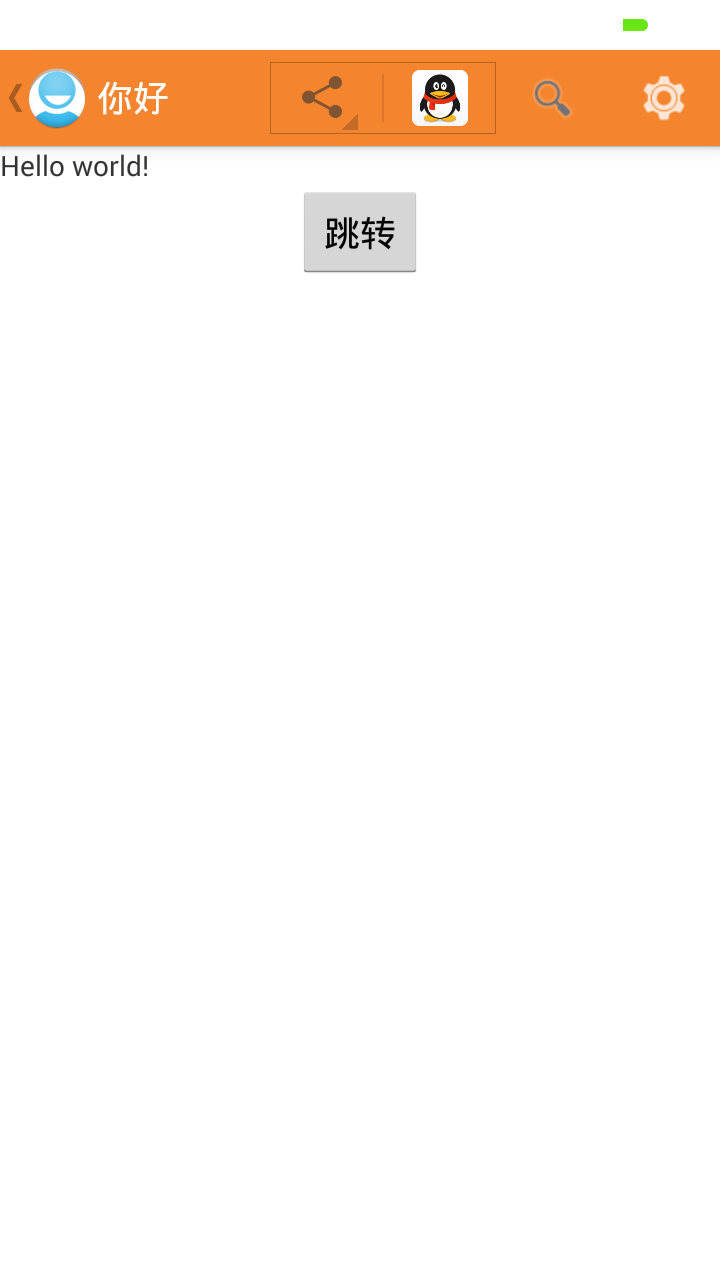
状态栏直接变成白色了,因为上面的代码会使状态栏颜色和本activity的最外层Layout的颜色一样,这样就很简单了,咱们只需要修改最外层Layou的颜色,然后在最外层layout里面放置一个子布局,然后把这个布局设置成白色,应用就看起来一切正常了,而且也实现了沉浸式状态栏。
以下是我的全部的xml代码
<LinearLayout xmlns:android="http://schemas.android.com/apk/res/android"
    xmlns:tools="http://schemas.android.com/tools"
    android:layout_width="match_parent"
    android:layout_height="match_parent"
    android:orientation="vertical"
    tools:context="${packageName}.${activityClass}"
    android:background="#f4842d"
    android:fitsSystemWindows="true"
    android:clipToPadding="true"
    >
	<LinearLayout
	    android:layout_width="match_parent"
	    android:layout_height="match_parent"
	    android:background="#fff"
	    android:orientation="vertical"
	    >

	      <TextView
        android:layout_width="wrap_content"
        android:layout_height="wrap_content"
        android:text="@string/hello_world" />

    <Button
        android:id="@+id/button1"
        android:layout_width="wrap_content"
        android:layout_height="wrap_content"
        android:layout_gravity="center"
        android:text="跳转" />


	</LinearLayout>

</LinearLayout>
这个是效果截图

已经完美实现,如果有不懂的地方欢迎提问。


 4117
4117

 被折叠的 条评论
为什么被折叠?
被折叠的 条评论
为什么被折叠?
 到【灌水乐园】发言


