


1、创建索引库,xxxSpecs用于集中存放所有库的索引,勾选Add a README file这样就创建了一个初始化好了的库
2、创建组件库,xxxComponts用于存放组件,不要勾选Add a README file 也不要添加 Add .gitignore, 需要的是一个未初始化的仓库。
3、在任意文件下执行pod lib create xxxComponts,这样就自动生成了一个项目,生成项目的目录结构,步骤如图:

4、将xxxComponts.podspec中的s.homepage和s.source替换成我们第2步创建的组件库地址,s.homepage记得去掉.git,如图
二、 组件提交
1、验证 podspec 是否无误
pod lib lint --allow-warnings 如果出现:BOTestTools passed validation. 那么说明本地校验通过。
2、cd到组件所在目录xxxComponts(cd 到有AYQAlertView.podspec文件的这一层)
find . -name ".git" | xargs rm -Rf git init git add . git commit -m "first commit" git branch -M master git remote add origin https://codeup.aliyun.com/aiyiqi/AYQComponts/AYQAlertView.git git push -u origin master
3、打上tag版本号0.1.0和xxxComponts.podspec文件中的s.version一定要保持一致
git tag 0.1.0 git push origin 0.1.0
4、创建本地Spec Repo,索引地址就是第1步创建的索引仓库地址,执行命令:
pod repo add AYQAlertSpecs https://codeup.aliyun.com/aiyiqi/AYQComponts/AYQAlertView.git
5、校验索引文件.podspecs
pod lib lint AYQAlertView.podspec --allow-warnings
6、推送索引文件,还是在XDUIExtension目录,执行命令:
pod repo push AYQAlertSpecs AYQAlertView.podspec --allow-warnings
7、这样在远程索引仓库就能看到我们刚推上去的组件索引了
8、使用的时候:
platform :ios, '13.0' target 'test' do use_frameworks! pod 'xxxComponents', :git => "https://github.com/sss/xxxComponents.git", :tag => '0.1.2' target 'testTests' do inherit! :search_paths end target 'testUITests' do end end
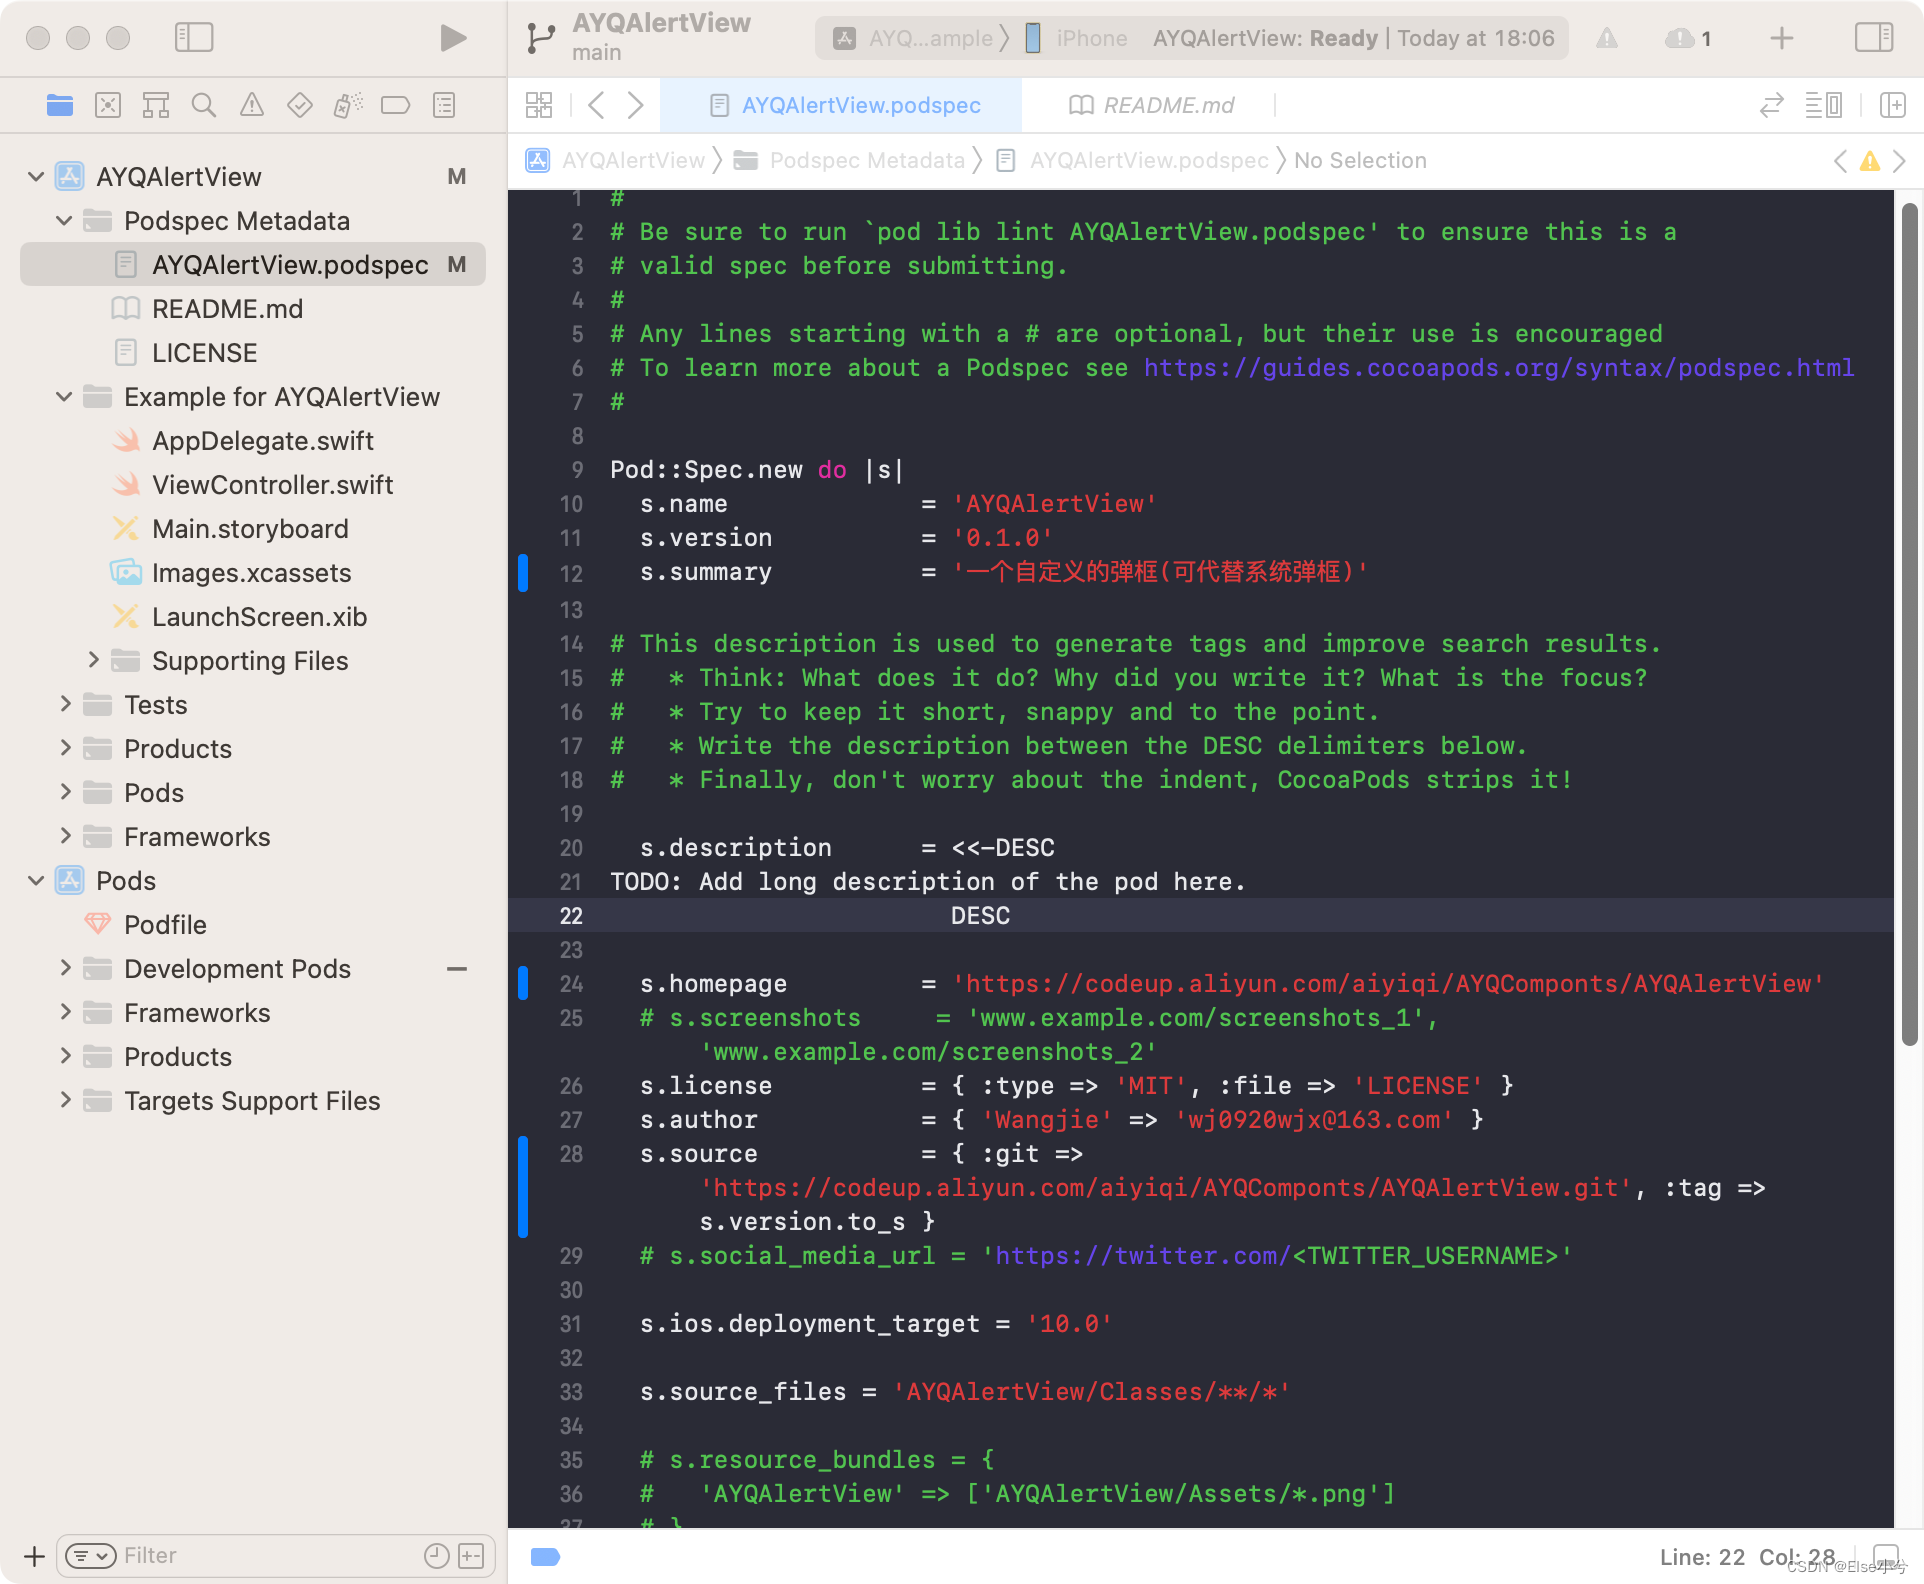
name:框架名 version:当前版本(注意,是当前版本,假如你后续更新了新版本,需要修改此处) summary:简要描述,在pod search HJSwiftExtension的时候会显示该信息。 description:详细描述 homepage:页面链接 license:开源协议 author:作者 source:源码git地址 platform:支持最低iOS版本 source_files:源文件(可以包含.h和.m) public_header_files:头文件(.h文件) resources:资源文件(配置的文件都会被放到mainBundle中) resource_bundles:资源文件(配置的文件会放到你自己指定的bundle中) frameworks:依赖的系统框架 vendored_frameworks:依赖的非系统框架 libraries:依赖的系统库 vendored_libraries:依赖的非系统的静态库 dependency:依赖的三方库


 被折叠的 条评论
为什么被折叠?
被折叠的 条评论
为什么被折叠?
 到【灌水乐园】发言


