


前言
最近看到了Android一个开机动画,感觉效果还挺不错,本篇文章记录通过自定义View方式来实现这个Loading效果。自定义实现效果主要涉及到以下知识点:
Canvas绘制圆弧drawArc()。- 属性动画
ValueAnimator的使用。 - 路径
Path与路径测量类PathMeasureh获取路径相关参数。 - 画笔的渐变色属性
setShaper()与SweepGradient使用。
说明
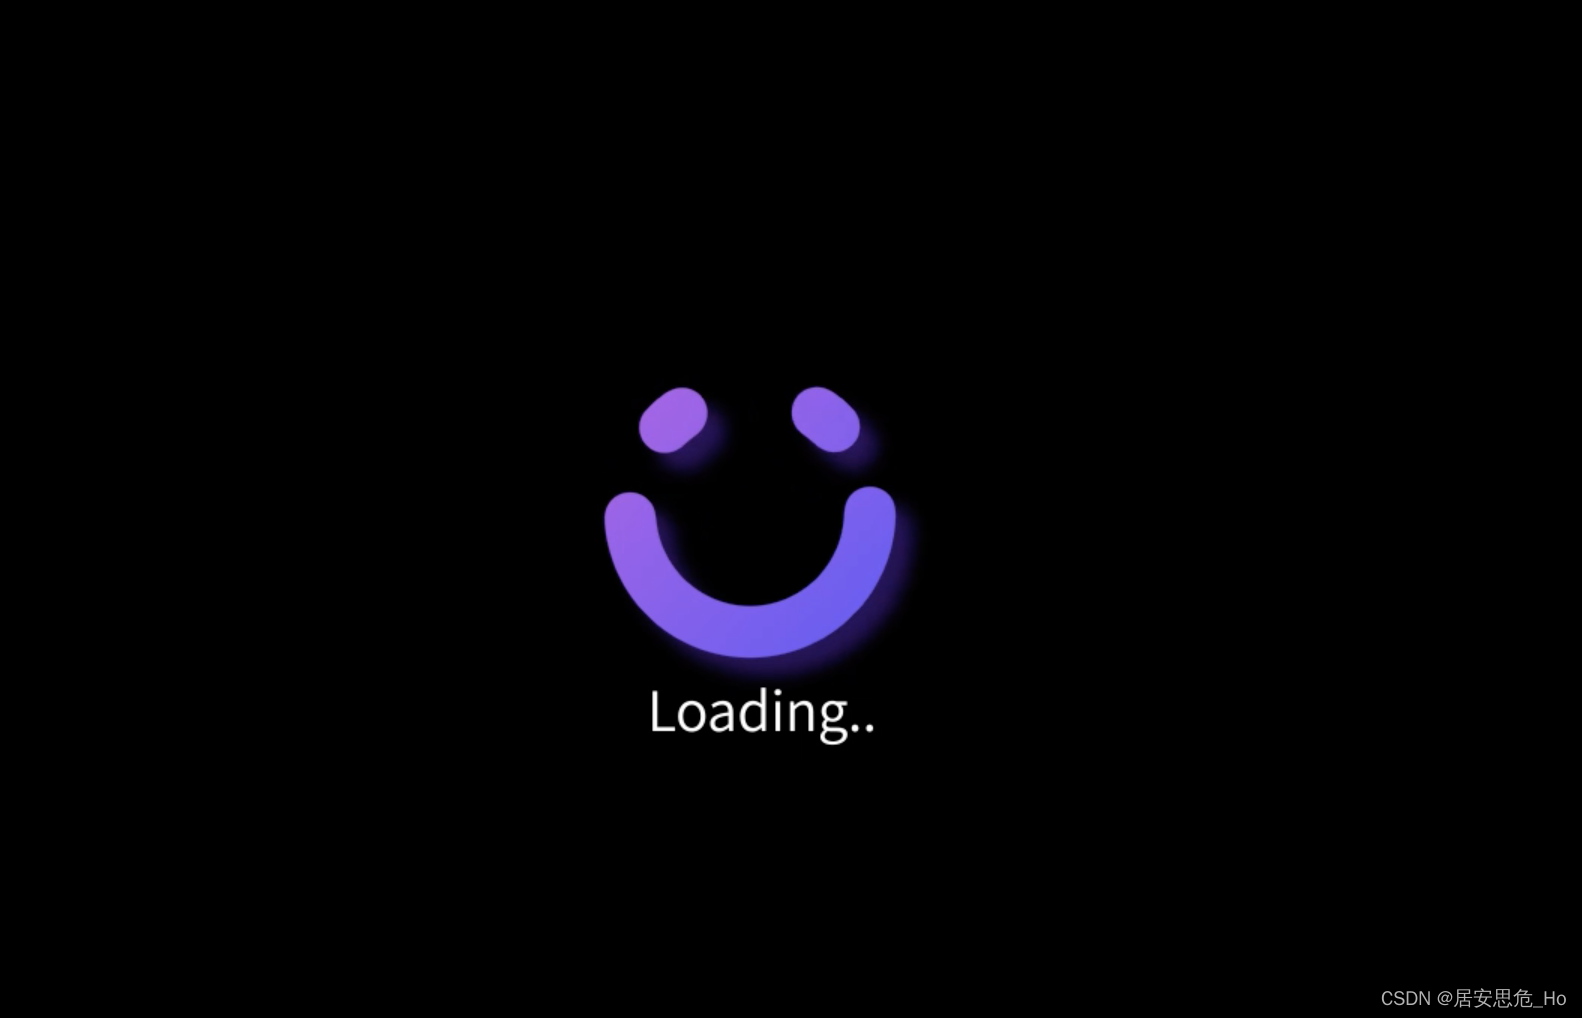
1、动画效果
视频中可看出,有一个大圆弧和N个小圆弧在相向转动,小圆弧有种生成于大圆弧,又被大圆弧吞噬的效果,下方有文字Loading和不断在加载的小圆点。

下面我们分析一下如何实现上面的效果,动态的效果不好分析,那么我们把这个动画暂停,提取出一帧,先分析静态画面,再在动画加持下实现我们需要的效果。
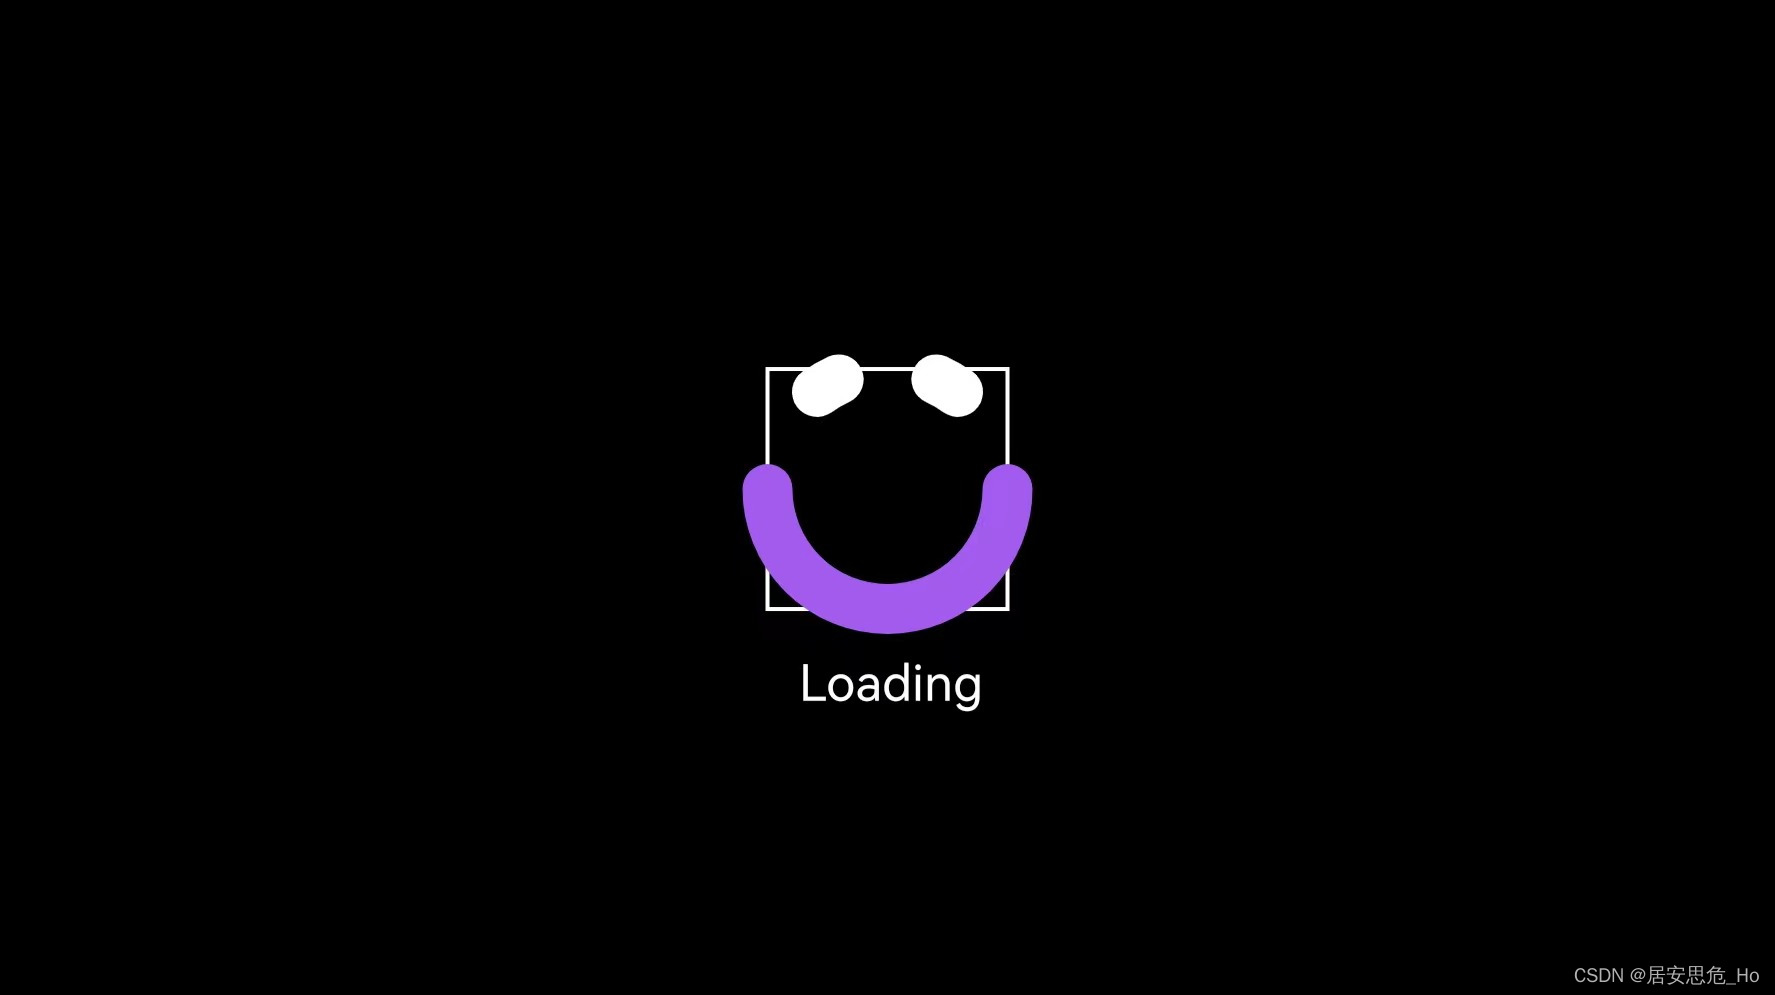
静态图分析:
静态图上能看到四个元素,1个大圆弧、2个小圆弧、1个Loading文字,加上视频中Loading后面的小点,一共就5个元素,下面逐一拆解分析:
- 大圆弧: 一个未闭合的半圆。
- 小圆弧: 两个小圆弧是大小一致,且是对称的,路径和大圆弧在同一个圆上。
- Loading: 文字在圆弧的正下方,右边有小白点。
2、实现步骤
上面提取分析动画的一帧图片,我们先将这一帧图片上的元素进行实现。
1、绘制大的半圆弧和两个小圆弧
新建LoadingView继承View
class LoadingView(context: Context, attributeSet: AttributeSet): View(context,attributeSet) {

    private var mWidth = 0
    private var mHeight = 0
	//文字X坐标
	private var textX = 0f
	//文字Y坐标
    private var textY = 0f
    private var text = "Loading"
    private var textRect = Rect()
    //文字距离上方的距离
    private var textTopMargin = 40f
	private var rectF = RectF()
    private var radius = 120f
    //大圆弧开始角度
    private var mainStartAngle = 180f
    //大圆弧扫过角度(负值表示顺时针)
    private var mainArcSweepAngle = -180f
	//小圆弧开始角度
	private var unitStartAngle = 60f
	//小圆弧旋转角度 (负值表示顺时针)
	private var unitSweepAngle = - 12f
    //小圆弧之间间隔角度 (负值表示顺时针)
    private var unitIntervalAngle = - 60f
	//大圆弧路径
    private var mainArcPath = Path()
	//小圆弧路径
    private lateinit var unitArcPath:Path


	/**
     * 圆弧画笔
     */
    private var mPaint = Paint().apply {
        style = Paint.Style.STROKE
        strokeCap = Paint.Cap.ROUND
        strokeWidth = 50f
        isAntiAlias = true
        isDither = true
        color = context.getColor(R.color.colorLoading)
    }

    /**
     * 矩形画笔
     */
    private var rectPaint = Paint().apply {
        style = Paint.Style.STROKE
        isAntiAlias = true
        isDither = true
        strokeWidth = 4f
        color = context.getColor(R.color.white)
    }

    /**
     * 文字画笔
     */
    private var textPaint = Paint().apply {
        style = Paint.Style.FILL
        strokeCap = Paint.Cap.BUTT
        isAntiAlias = true
        isDither = true
        textSize = 50f
        color = context.getColor(R.color.white)
    }

	init{
        rectF.apply {
            left = - radius
            right = radius
            top = - radius
            bottom = radius
        }
    }

	/**
     * 覆写onSizeChanged,获取设备屏幕宽高
     */
    override fun onSizeChanged(w: Int, h: Int, oldw: Int, oldh: Int) {
        super.onSizeChanged(w, h, oldw, oldh)
        mWidth = w
        mHeight = h
        textPaint.getTextBounds(text,0,text.length,textRect)
        calculateTextPos()
    }

	/**
     * 覆写onDraw,
     */
 	 @SuppressLint("DrawAllocation")
     override fun onDraw(canvas: Canvas) {
        super.onDraw(canvas)
        //将画布移动到屏幕中央
        canvas.withTranslation(mWidth / 2f ,mHeight / 2f) {
            //绘制矩形
            drawRect(rectF,rectPaint)
            //绘制大圆弧
            drawMainArc(this)
            //绘制两个小圆弧
            drawUnitArc(this)
        }
    }

   /**
     * 绘制主圆弧[step 1 - 固定的开始角度]
     */
    private fun drawMainArc(canvas: Canvas) {
    		  mainArcPath.reset()
        mainArcPath.addArc(rectF, mainStartAngle ,mainArcSweepAngle)
        canvas.drawPath(mainArcPath,mPaint)
    }

    /**
     * 绘制小圆弧[step 1  - 固定的开始角度]
     */
    private fun drawUnitArc(canvas: Canvas) {
        for(i in 0 until 2){
            unitArcPath = Path()
            mPaint.color = context.getColor(R.color.colorWhite)
            //计算小圆弧路径
            unitArcPath.addArc(rectF, - unitStartAngle * i + unitIntervalAngle + unitSweepAngle / 2, - unitSweepAngle)
            //绘制小圆弧路径
            canvas.drawPath(unitArcPath,mPaint)
      }

  	/**
     * 绘制文字
     */
    private fun drawTextAndLoading(canvas: Canvas) {
        canvas.drawText(text,textX, textY + radius + textTopMargin,textPaint)
    }


    /**
     * 计算文字绘制坐标
     */
    private fun calculateTextPos() {
        textX = -abs(textRect.right - textRect.left) / 2f
        textY = abs(textRect.top) +  abs(textRect.bottom)
    }
}
经过努力,完成了第一步,把Loading部分基础四个元素的UI绘制好了。那么下面就要进行第二步了,让圆弧部分动起来~
2、大圆弧和小圆弧转动起来
动画分析:
我们注意看下动画的效果,大圆弧始终是保持一个半圆弧状态,小圆弧和大圆弧的旋转方向是相对的。一个顺时针旋转,一个逆时针旋转。这里我的思路是,通过属性动画ValueAnimator,让大圆弧和小圆弧不断地改变起始角度startAngle,然后重新绘制,其他保持不变,这样就能达到旋转的效果了,话不多说,开搞!!!
	//动画当前值
	private var value = 0f
	 //小圆点数目
	private var circleNum = 0
	//小圆点的间距
    private var circleEndMargin = 10f
    private var circleRadius = 3f

	//声明动画
	private var animator: ValueAnimator = ValueAnimator.ofFloat(1f,15f)

    init{
        rectF.apply {
            left = - radius
            right = radius
            top = - radius
            bottom = radius
        }
        initAnimator()
    }

    /**
     * 初始化动画
     */
    private fun initAnimator() {
        animator.apply {
            duration = 15000
             //无线重复
            repeatCount = ValueAnimator.INFINITE
            //重复模式-重头
            repeatMode = ValueAnimator.RESTART
        }
        animator.addUpdateListener {
            //获取当前值
            value = (it.animatedValue) as Float
            //生成Loading后小圆的数目
            circleNum = (value % 3).toInt
            invalidate()
        }
        //设置插值器
        animator.interpolator = LinearInterpolator()
        animator.start()
    }

    /**
     * 绘制主圆弧[step 2  - 不断改变开始角度]
     */
    private fun drawMainArc(canvas: Canvas) {
        mPaint.color = context.getColor(R.color.colorLoading)
        //不断去更改startAngle
        mainArcPath.addArc(rectF, mainStartAngle * value ,mainArcSweepAngle)
        canvas.drawPath(mainArcPath,mPaint)
    }

    /**
     * 绘制小圆弧[step 2 - 不断改变开始角度]
     */
    private fun drawUnitArc(canvas: Canvas) {
        for(i in 0 until 2){
            unitArcPath = Path()
            mPaint.color = context.getColor(R.color.colorWhite)
            //计算小圆弧路径,这里也是不断地改变起始角度startAngle
            unitArcPath.addArc(rectF, - unitStartAngle * i + unitIntervalAngle + unitSweepAngle / 2, - unitSweepAngle)
            //绘制小圆弧路径
            canvas.drawPath(unitArcPath,mPaint)
      }
新增属性动画,在动画周期中不断地去改变路径mainArcPath ,unitArcPath 的startAngle 起始角度,sweepAngle扫过的角度保持不变,我们来看下效果。
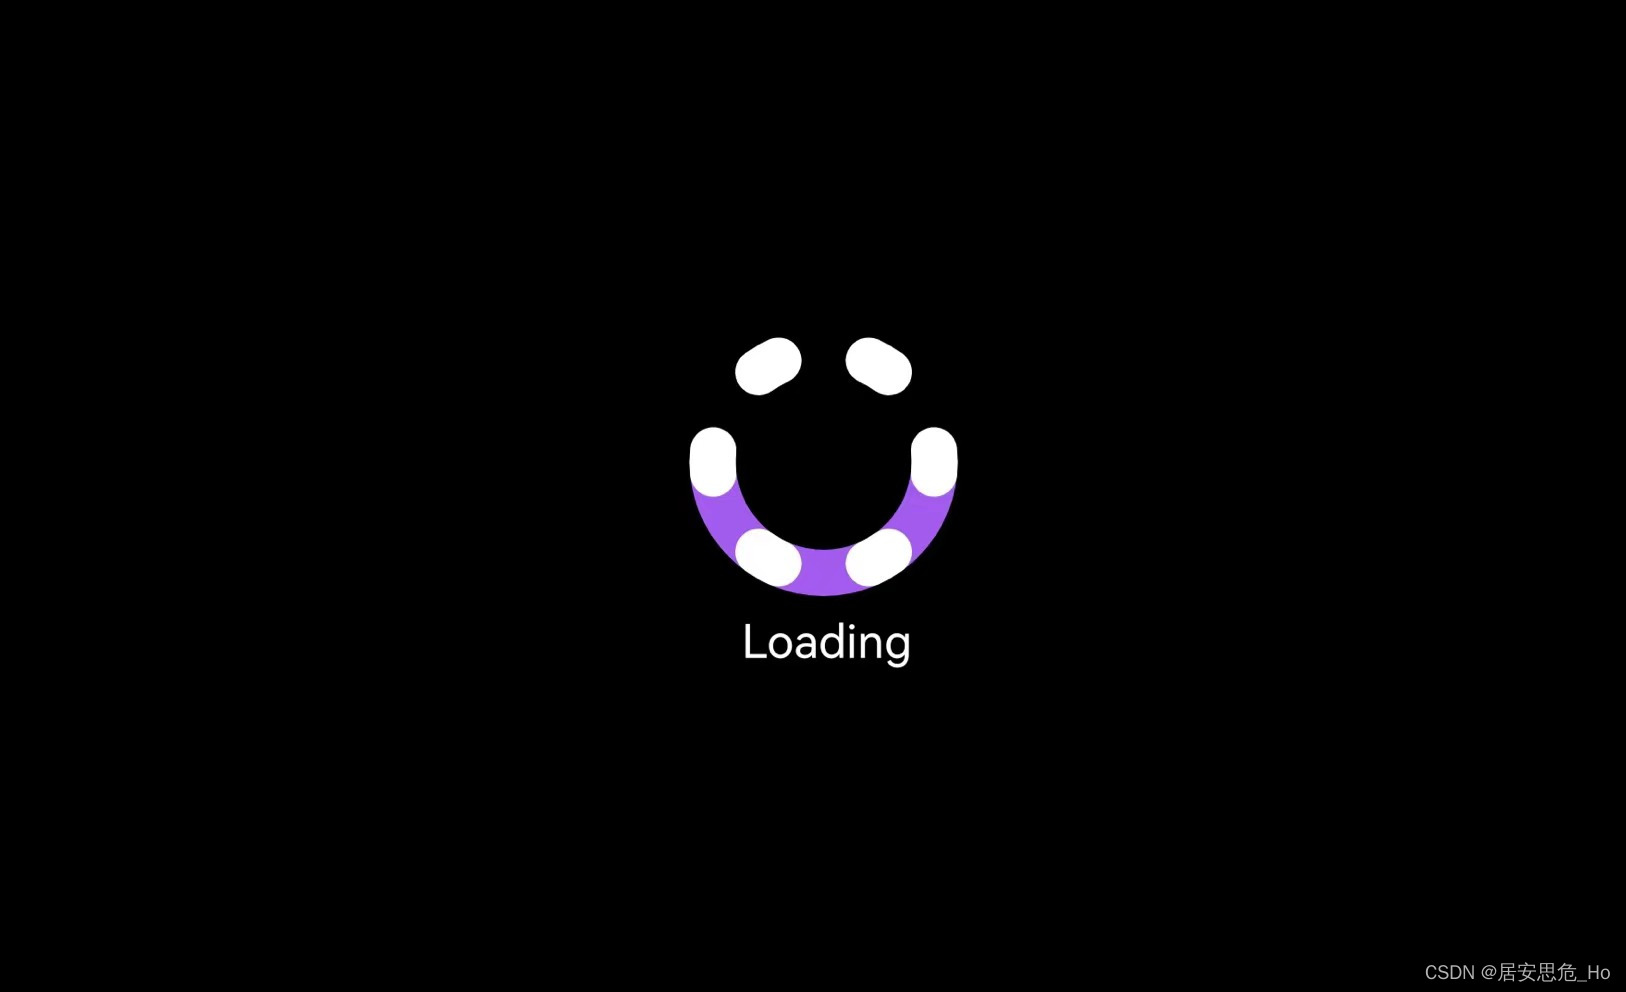
两个圆弧对相的运动起来了!但是也能明显的看出和最终效果视频中的区别,视频中始终是有两个小圆弧在我们的视野中,那么要如何优化?仔细分析下,只要将小圆弧的数量增加就能实现。旋转的起始角度是顺时针加60度,整个圆是360度,分成6等分即可,就是说我们要绘制6个小圆弧就能满足需求。
   /**
     * 绘制小圆弧[step 3 - 小圆弧数目增加到6个]
     */
    private fun drawUnitArc(canvas: Canvas) {
        for(i in 0 until 6){
            unitArcPath = Path()
            mPaint.color = context.getColor(R.color.colorWhite)
            //计算小圆弧路径,这里也是不断地改变起始角度startAngle
            unitArcPath.addArc(rectF, - unitStartAngle * i + unitIntervalAngle + unitSweepAngle / 2, - unitSweepAngle)
            //绘制小圆弧路径
            canvas.drawPath(unitArcPath,mPaint)
      }
改个颜色,再让圆弧旋转起来,看看效果把。

终于!我们将Loading的效果完成了90%,大圆弧和小圆弧的旋转功能完成。这里为什么说工作量完成了90%呢,我们仔细观察下视频,还有三个小功能没有做。
Loading渐变色效果- 文字后面的小圆数量的变化
- 大圆弧和最接近的两个小圆弧之间有粘黏效果(使小圆弧看起来更像是被大圆弧"生成"和"吞噬")
OK,我将将上面三个效果也进行实现
3、圆弧渐变色效果 & Loading后小圆
渐变色效果这里使用了SweepGradient,传入中心坐标,渐变的颜色值,给画笔设置setShaper即可生效。
小圆的生成主要是生成数目,循环去调用drawCircle绘制圆,这里只要注意下小圆之间的位置。
  //RGB颜色数组 为渐变准备为数组,起始颜色值和终止颜色值
   private val colors: IntArray = intArrayOf(
       Color.parseColor("#744DF4"),
       Color.parseColor("#AA92F8"),
       Color.parseColor("#AA5AEC"),
       Color.parseColor("#744DF4")
   )

  mPaint.shader = SweepGradient(rectF.centerX(),rectF.centerY(),colors,null)


 /**
  * 绘制文字和小圆
  */
  private fun drawTextAndLoading(canvas: Canvas) {
      canvas.apply {
          drawText(text,textX, abs(textRect.top) +  abs(textRect.bottom) + radius + textTopMargin,textPaint)
          //绘制小圆
          for(i in 0..circleNum){
              if(i != 0){
                  drawCircle(textX + abs(textRect.right) + circleEndMargin +  (i - 1) * circleEndMargin,
                      abs(textRect.top) +  abs(textRect.bottom) + radius + textTopMargin,circleRadius, circlePaint)
              }
          }
      }
  }
4、大圆弧和小圆弧粘黏效果
我们先看下视频中的效果,在小圆弧逼近近大圆弧时,更准确的说,小圆弧上某个点与大圆弧上某个点之间的直线距离小于某个数值时,小圆弧和大圆弧是之间会有粘黏效果,这个效果也会动画看起来更丝滑一些。

实现思路:
这里,我用了一个简单(偷懒)的方式去实现,分别获取大圆弧和小圆弧上的两个点,当两个点之间的直线距离小于某个值时,将两个点用直线连接。那么如何获取两个圆弧上的点?这里就要用到了Android中的路径Path的路径测量类PathMeasure,下面认识下PathMeasure中要用到的方法。
	PathMeasure:

    /**
     * 返回轮廓的总长度
     */
    public float getLength() {
       return length;
    }

    /**
     * 获取轮廓上指定距离的点坐标以及对应点的正切值
     * distance:指定距离 范围为0 - getLength
     * pos:传入的float类型空数组,返回坐标点pos[0]:x坐标,pos[1]:y坐标
     * tan:传入的float类型空数组,返回正切值
     */
    public boolean getPosTan(float distance, float pos[], float tan[]) {
        return native_getPosTan(native_instance, distance, pos, tan);
   }
上面可以看到两个方法对应的功能,使用getLength来获取圆弧的总长度,使用getPosTan来获取每个圆弧上两个坐标点,这里取开始点和结束点最合适。代码实现如下:
	//小圆弧的开始点坐标数组
    private var unitPos0 =  FloatArray(2)
    //小圆弧的结束点坐标数组
    private var unitPosTotal =  FloatArray(2)
    //大圆弧的开始点坐标数组
    private var mainPos0 =  FloatArray(2)
    //大圆弧的结束点坐标数组
    private var mainPosTotal =  FloatArray(2)

    /**
     * 绘制单位圆弧
     */
    private fun drawUnitArc(canvas: Canvas) {

        //创建大圆弧pathMeasure对象
        PathMeasure(mainArcPath,false).apply {
            //获取大圆弧的距离0的坐标(顶端)
            getPosTan(0f,mainPos0,null)
            //获取大圆弧的坐标距离为总长度的坐标(末端)
            getPosTan(this.length,mainPosTotal,null)
        }
        //绘制大圆弧上小白圆
		canvas.apply{
      		drawPoint(mainPos0[0],mainPos0[1],circlePaint)
            drawPoint(mainPosTotal[0],mainPosTotal[1],circlePaint)
		}

        for(i in 0 until 6){
            unitArcPath = Path()
            when(i){
                0 ->   mPaint.color = context.getColor(R.color.colorSoftBlue)
                1 ->   mPaint.color = context.getColor(R.color.purple_200)
                2 ->   mPaint.color = context.getColor(R.color.colorGrassGreen)
                3 ->   mPaint.color = context.getColor(R.color.colorGray)
                4 ->   mPaint.color = context.getColor(R.color.teal_700)
                5 ->   mPaint.color = context.getColor(R.color.purple_500)
            }

            unitArcPath.addArc(rectF, - unitStartAngle * i + unitIntervalAngle + unitSweepAngle / 2 - 60f * value, - unitSweepAngle)
            canvas.drawPath(unitArcPath,mPaint)

            //创建小圆弧pathMeasure对象
            PathMeasure(unitArcPath,false).apply {
                //获取小圆弧的距离0的坐标(顶端)
                getPosTan(0f,unitPosTotal,null)
                //获取小圆弧的距离总长度的坐标(末端)
                getPosTan(this.length,unitPos0,null)
            }

            //绘制小圆弧上的小白圆
            canvas.apply {
                drawPoint(unitPos0[0],unitPos0[1],circlePaint)
                drawPoint(unitPosTotal[0],unitPosTotal[1],circlePaint)
            }
        }
    }
为了方便查看效果,将小圆弧修改成不同的颜色。可以看到,每个圆弧上都获取到了位置为0和totalLength所对应的坐标点。大圆弧上也是同理,这里就不做展示,根据我们现在的动画效果,以紫色小圆弧为例,下方的小白点为开始点,上面小白点为结束点,当前大圆弧上右侧为开始点,左侧为结束点。

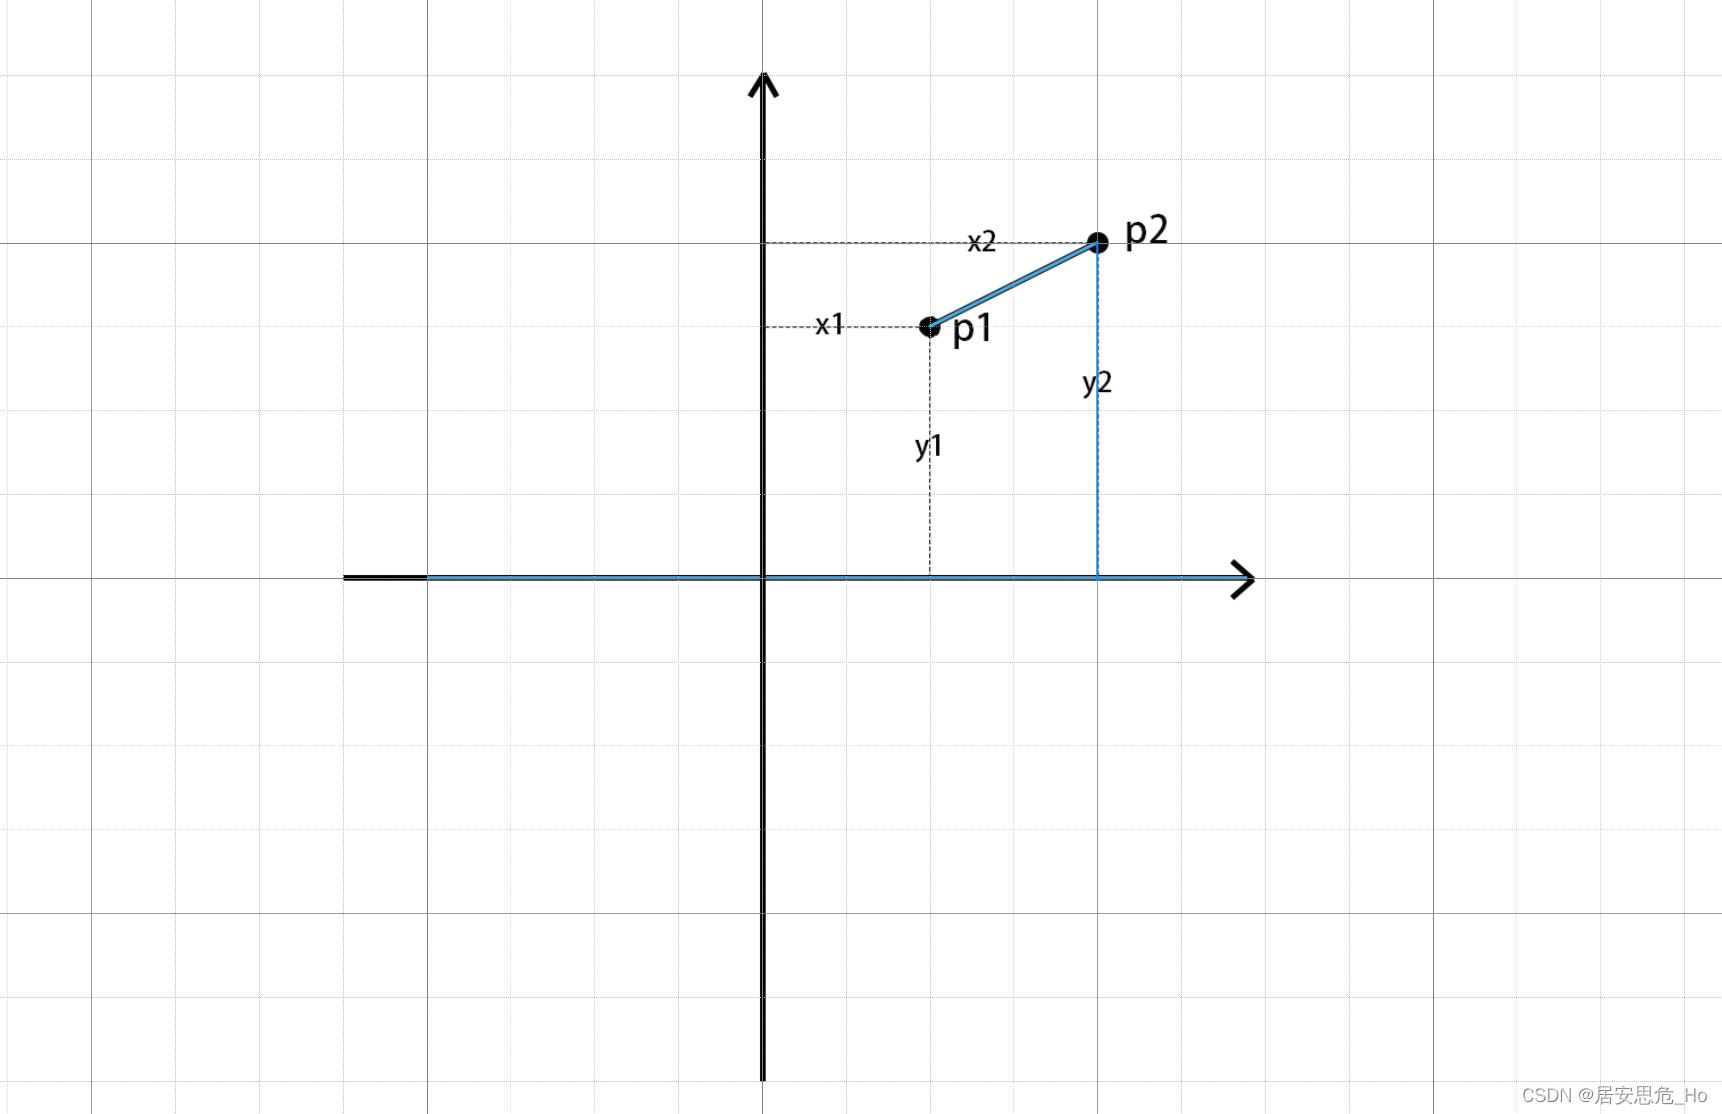
整个自定义Loading的最后一步,实现粘黏效果,把小圆弧的开始点和大圆弧的开始点坐标使用直线连接,结束点与结束点坐标直线连接,这里主要用到勾股定理,计算两点之间的直线距离。
 //粘黏线路径
 private var linePath = Path()

 /**
  * 直线画笔
  */
 private var linePaint = Paint().apply {
     style = Paint.Style.STROKE
     isAntiAlias = true
     isDither = true
     strokeWidth = 20f
 }

 @SuppressLint("DrawAllocation")
    override fun onDraw(canvas: Canvas) {
        super.onDraw(canvas)
        resetAllPath()
        //将画布移动到屏幕中央
        canvas.withTranslation(mWidth / 2f ,mHeight / 2f) {
           	//设置渐变色
            mPaint.shader = SweepGradient(rectF.centerX(),rectF.centerY(),colors,null)
            //设置渐变色
            linePaint.shader = SweepGradient(rectF.centerX(),rectF.centerY(),colors,null)
            drawMainArc(this)
            drawUnitArc(this)
            drawTextAndLoading(this)
        }
    }


    /**
     * 绘制单位圆弧
     */
    private fun drawUnitArc(canvas: Canvas) {

        //创建大圆弧pathMeasure对象
        PathMeasure(mainArcPath,false).apply {
            //获取大圆弧的距离0的坐标(顶端)
            getPosTan(0f,mainPos0,null)
            //获取大圆弧的坐标距离为总长度的坐标(末端)
            getPosTan(this.length,mainPosTotal,null)
        }

        for(i in 0 until 6){
            unitArcPath = Path()
            unitArcPath.addArc(rectF, - unitStartAngle * i + unitIntervalAngle + unitSweepAngle / 2 - 60f * value, - unitSweepAngle)
            canvas.drawPath(unitArcPath,mPaint)

            //创建小圆弧pathMeasure对象
            PathMeasure(unitArcPath,false).apply {
                //获取小圆弧的距离0的坐标(顶端)
                getPosTan(0f,unitPosTotal,null)
                //获取小圆弧的距离总长度的坐标(末端)
                getPosTan(this.length,unitPos0,null)
            }

            //计算大圆弧的开始点和小圆弧开始点之间距离
            val ds0 = sqrt(abs(mainPos0[0] - unitPos0[0]).toDouble().pow(2) + abs(mainPos0[1] - unitPos0[1]).pow(2))
            if(ds0 < 90f){
                canvas.drawLine(unitPos0[0],unitPos0[1],mainPos0[0],mainPos0[1],linePaint)
            }

            //计算大圆弧的结束点和小圆弧结束点之间距离
            val dsTotal = sqrt(abs(mainPosTotal[0] - unitPosTotal[0]).toDouble().pow(2) + abs(mainPosTotal[1] - unitPosTotal[1]).pow(2))
            if(dsTotal < 90f){
                canvas.drawLine(mainPosTotal[0],mainPosTotal[1],unitPosTotal[0],unitPosTotal[1],linePaint)
            }
        }
    }
OK,看下最终实现的效果,和原动画视频对比,基本是实现了整个Loading动画。为了方便拓展,可以将属性通过declare-styleable声明,这里就不做介绍了。

总结
END~


 1544
1544

 被折叠的 条评论
为什么被折叠?
被折叠的 条评论
为什么被折叠?
 到【灌水乐园】发言


