


简介
本文中的项目使用Maven来管理项目依赖,使用Spring Session和Redis的组合来代替原有的HttpSession实现Session在不同项目之间的共享
项目结构
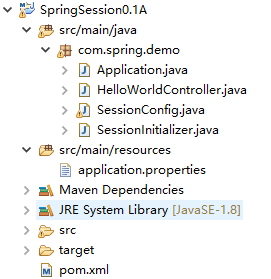
构建Spring Boot
pom.xml
在pom.xml中入相关依赖
    <!-- spring boot 基本环境 -->
    <parent>
        <groupId>org.springframework.boot</groupId>
        <artifactId>spring-boot-starter-parent</artifactId>
        <version>1.3.1.RELEASE</version>
    </parent>

    <dependencies>
        <!--spring boot web应用基本环境配置 -->
        <dependency>
            <groupId>org.springframework.boot</groupId>
            <artifactId>spring-boot-starter-web</artifactId>
        </dependency>
    </dependencies>

    <!-- 打包spring boot应用 -->
    <build>
        <plugins>
            <plugin>
                <groupId>org.springframework.boot</groupId>
                <artifactId>spring-boot-maven-plugin</artifactId>
            </plugin>
        </plugins>
    </build>
Application.java
实现Spring Boot的启动main函数
package com.spring.demo;

import org.springframework.boot.SpringApplication;
import org.springframework.boot.autoconfigure.SpringBootApplication;

@SpringBootApplication
public class Application {
    // 自动配置Spring框架
    public static void main(String[] args) {
        SpringApplication.run(Application.class, args);
    }
}
测试
测试代码
创建一个类HelloWorldController用于测试
package com.spring.demo;
import javax.servlet.http.HttpServletRequest;
import javax.servlet.http.HttpServletResponse;
import org.springframework.web.bind.annotation.PathVariable;
import org.springframework.web.bind.annotation.RequestMapping;
import org.springframework.web.bind.annotation.ResponseBody;
import org.springframework.web.bind.annotation.RestController;
@RestController
public class HelloWorldController {
@RequestMapping("/index/{name}")
@ResponseBody
public String index(@PathVariable String name) {
if (null == name) {
name = "boy";
}
return "hello world " + name;
}
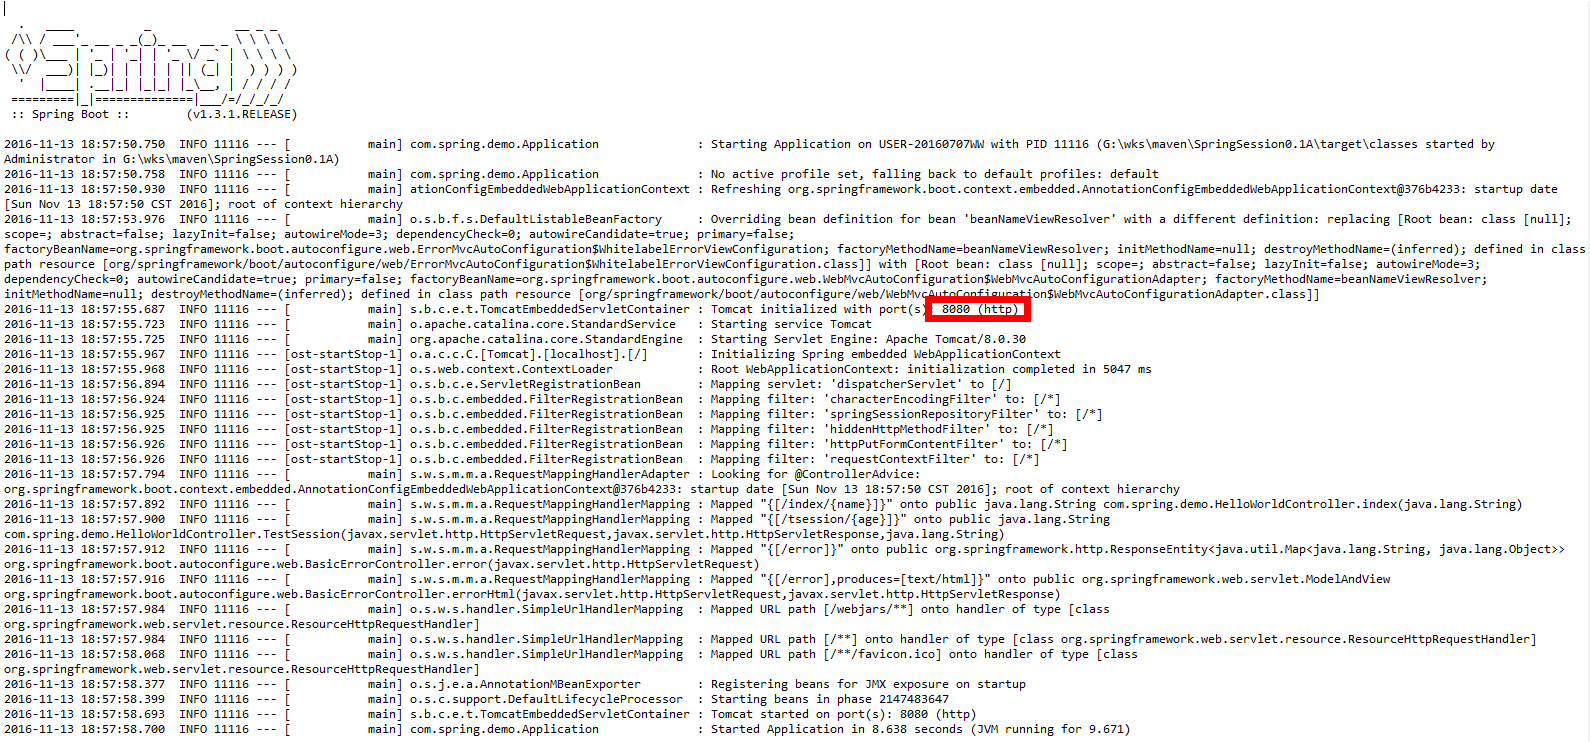
}运行Application.java来启动Spring Boot,访问”http://localhost:8080/index/张三”出现以下页面,说明Spring Boot部署成功

加入Spring Session框架
pom.xml
引入Spring Session和Redis需要的依赖
<!--spring boot 与redis应用基本环境配置 -->
        <dependency>
            <groupId>org.springframework.boot</groupId>
            <artifactId>spring-boot-starter-redis</artifactId>
        </dependency>

        <!--spring session 与redis应用基本环境配置,需要开启redis后才可以使用,不然启动Spring boot会报错 -->
        <dependency>
            <groupId>org.springframework.session</groupId>
            <artifactId>spring-session-data-redis</artifactId>
        </dependency>
Spring Session配置
创建一个Spring配置,用于创建一个支持Spring Session的Servlet Filter来代替原有的HttpSession的实现。
package com.spring.demo;

import org.springframework.beans.factory.annotation.Value;
import org.springframework.context.annotation.Bean;
import org.springframework.data.redis.connection.jedis.JedisConnectionFactory;
import org.springframework.session.data.redis.config.annotation.web.http.EnableRedisHttpSession;
import org.springframework.session.data.redis.config.annotation.web.http.RedisHttpSessionConfiguration;

//这个类用配置redis服务器的连接
//maxInactiveIntervalInSeconds为SpringSession的过期时间(单位:秒)
@EnableRedisHttpSession(maxInactiveIntervalInSeconds= 1800)
public class SessionConfig {
    @Bean
    public JedisConnectionFactory connectionFactory() {
        JedisConnectionFactory connection = new JedisConnectionFactory();
        return connection;
    }
}
JedisConnectionFactory
默认连接端口:6379
默认连接地址:localhost
需要修改则可以使用JedisConnectionFactory的setPort()方法和setHostName()方法来修改默认的端口和连接地址
这里可以引入配置文件使Redis的配置更加灵活
创建配置文件application.properties
redis.hostname = localhost
redis.port = 6379
在类SessionConfig中引入配置文件的值
修改后的SessionConfig类代码如下:
package com.spring.demo;

import org.springframework.beans.factory.annotation.Value;
import org.springframework.context.annotation.Bean;
import org.springframework.data.redis.connection.jedis.JedisConnectionFactory;
import org.springframework.session.data.redis.config.annotation.web.http.EnableRedisHttpSession;
import org.springframework.session.data.redis.config.annotation.web.http.RedisHttpSessionConfiguration;

//这个类用配置redis服务器的连接
//maxInactiveIntervalInSeconds为SpringSession的过期时间(单位:秒)
@EnableRedisHttpSession(maxInactiveIntervalInSeconds= 1800)
public class SessionConfig {

    //冒号后的值为没有配置文件时,制动装载的默认值
    @Value("${redis.hostname:localhost}")
    String HostName;
    @Value("${redis.port:6379}")
    int Port;

    @Bean
    public JedisConnectionFactory connectionFactory() {
        JedisConnectionFactory connection = new JedisConnectionFactory();
        connection.setPort(Port);
        connection.setHostName(HostName);
        return connection;
    }
}
加载Spring Session配置
加载Spring Session配置,使得Servlet容器在每一次请求时都使用我们的springSessionRepositoryFilter过滤器。
package com.spring.demo;

import org.springframework.session.web.context.AbstractHttpSessionApplicationInitializer;

//初始化Session配置
public class SessionInitializer extends AbstractHttpSessionApplicationInitializer{
    public SessionInitializer() {
        super(SessionConfig.class);
    }
}
测试
以上已经完成了Spring Boot + Spring Session +Redis的配置
测试是否可以在不同的容器(e.g. Tomcat),不同的项目中都访问到同一个Session
运行Redis
拷贝一个项目
项目结构与主项目相同
修改容器端口
在测试项目的Application.java类中,实现EmbeddedServletContainerCustomizer接口,修改Spring Boot中自带Tomcat的接口
修改后的代码为
package com.spring.demo;

import org.springframework.boot.SpringApplication;
import org.springframework.boot.autoconfigure.SpringBootApplication;
import org.springframework.boot.context.embedded.ConfigurableEmbeddedServletContainer;
import org.springframework.boot.context.embedded.EmbeddedServletContainerCustomizer;

@SpringBootApplication
public class Application implements EmbeddedServletContainerCustomizer {
    // 自动配置Spring框架
    public static void main(String[] args) {
        SpringApplication.run(Application.class, args);
    }

    //修改Spring Boot自带Tomcat的接口
    @Override
    public void customize(ConfigurableEmbeddedServletContainer container) {
        container.setPort(8090);
    }
}
实现Session的读写
添加测试方法
主项目
在主项目中的类HelloWorldController中添加一个TestSession方法
用于保存和读取Session
修改后的代码如下
package com.spring.demo;

import javax.servlet.http.HttpServletRequest;
import javax.servlet.http.HttpServletResponse;

import org.springframework.web.bind.annotation.PathVariable;
import org.springframework.web.bind.annotation.RequestMapping;
import org.springframework.web.bind.annotation.ResponseBody;
import org.springframework.web.bind.annotation.RestController;

@RestController
public class HelloWorldController {
    @RequestMapping("/index/{name}")
    @ResponseBody
    public String index(@PathVariable String name) {

        if (null == name) {
            name = "boy";
        }

        return "hello world " + name;
    }

    @RequestMapping("/tsession/{age}")
    @ResponseBody
    public String TestSession(HttpServletRequest req, HttpServletResponse resp,@PathVariable String age){
        req.getSession().setAttribute("age", age);
        String a = (String) req.getSession().getAttribute("age");
        return a;
    }
}
测试项目
为了测试是否可以读取Session,测试项目的Session不做保存操作
修改测试项目的HelloWorldController类中的TestSession方法
修改后的代码为
package com.spring.demo;

import javax.servlet.http.HttpServletRequest;
import javax.servlet.http.HttpServletResponse;

import org.springframework.web.bind.annotation.PathVariable;
import org.springframework.web.bind.annotation.RequestMapping;
import org.springframework.web.bind.annotation.ResponseBody;
import org.springframework.web.bind.annotation.RestController;

@RestController
public class HelloWorldController {
    @RequestMapping("/index/{name}")
    @ResponseBody
    public String index(@PathVariable String name) {

        if (null == name) {
            name = "boy";
        }

        return "hello world " + name;
    }

    @RequestMapping("/tsession/{age}")
    @ResponseBody
    public String TestSession(HttpServletRequest req, HttpServletResponse resp,@PathVariable String age){
        String a = (String) req.getSession().getAttribute("age");
        return a;
    }
}
开始测试
分别运行主项目和测试项目的Application.java文件
主项目
测试项目

验证
先登录”http://localhost:8080/tsession/30“保存Session信息,结果如下图所示:

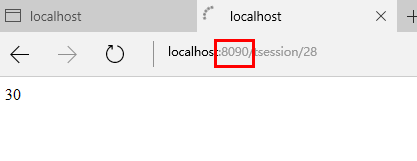
再登录”http://localhost:8090/tsession/28“,测试是否可以读取到之前的信息:若结果如下图,这表示测试成功:
优化
若每一次创建项目都要写一次的Session的配置,那么代码的复用性太差,那么不如把Session的配置单独打包出来,之后只需要在项目中加入一个依赖就可以实现Spring Session的功能。
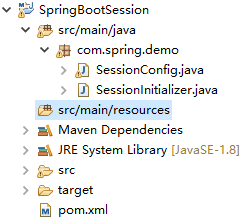
项目结构
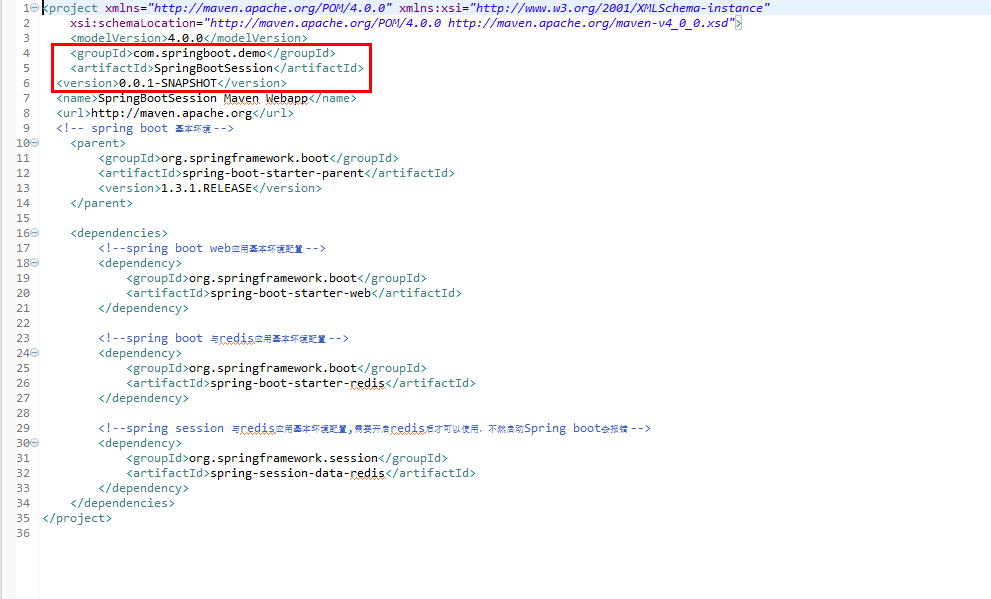
pom.xml
<!-- spring boot 基本环境 -->
    <parent>
        <groupId>org.springframework.boot</groupId>
        <artifactId>spring-boot-starter-parent</artifactId>
        <version>1.3.1.RELEASE</version>
    </parent>

    <dependencies>
        <!--spring boot web应用基本环境配置 -->
        <dependency>
            <groupId>org.springframework.boot</groupId>
            <artifactId>spring-boot-starter-web</artifactId>
        </dependency>

        <!--spring boot 与redis应用基本环境配置 -->
        <dependency>
            <groupId>org.springframework.boot</groupId>
            <artifactId>spring-boot-starter-redis</artifactId>
        </dependency>

        <!--spring session 与redis应用基本环境配置,需要开启redis后才可以使用,不然启动Spring boot会报错 -->
        <dependency>
            <groupId>org.springframework.session</groupId>
            <artifactId>spring-session-data-redis</artifactId>
        </dependency>
    </dependencies>
配置类SessionConfig和加载类SessionInitializer的代码与之前没有变化
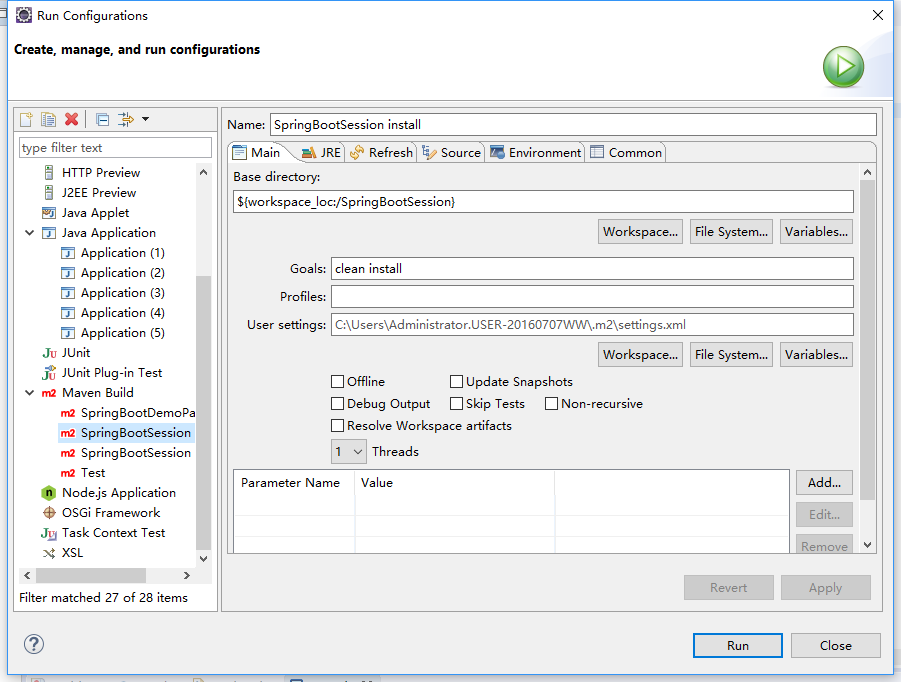
Maven install
由于项目依赖是由Maven来管理的,那么使用Maven install将项目安装到Maven的本地仓库当中
测试
创建测试项目
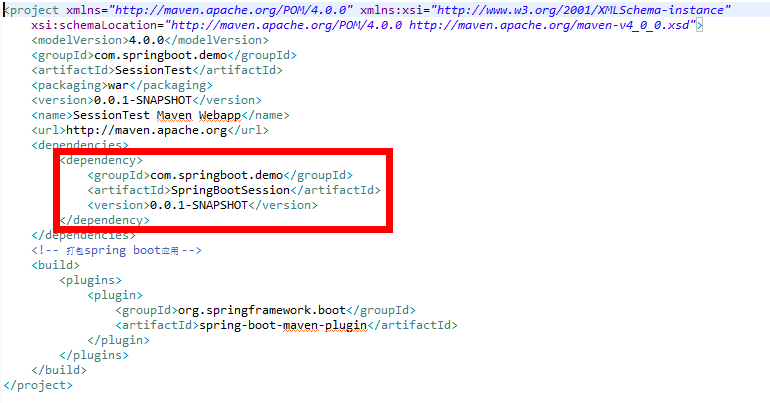
pom.xml
先获取去需要依赖的项目的Maven位置,位置在安装到本地仓库的项目的pom.xml文件中获取
将位置加入到测试项目中
其他测试文件
Application.java文件和HelloWorldController文件代码与之前的一致,以下就不贴出代码了
开始测试
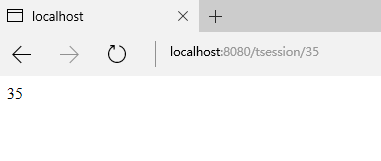
运行Redis-运行测试项目中的Application.java文件-访问”http://localhost:8080/tsession/35”
若效果与下图效果一致,则创建成功


 1517
1517

 被折叠的 条评论
为什么被折叠?
被折叠的 条评论
为什么被折叠?
 到【灌水乐园】发言


