


IMPORTING AND EXPORTING FILES IN SWIFTUI

At WWDC 2020, SwiftUI introduced functionality for importing and exporting data to and from your applications with new @Environment variables. While these new additions are a welcome improvement to SwiftUI, they are a bit clunky. With the release of iOS 14 beta 6, Apple has provided us with a new set of view modifiers that
reduce import and export friction
Let’s explore these new view modifiers by creating a simple project that can import and export data as plain text.
Getting Started
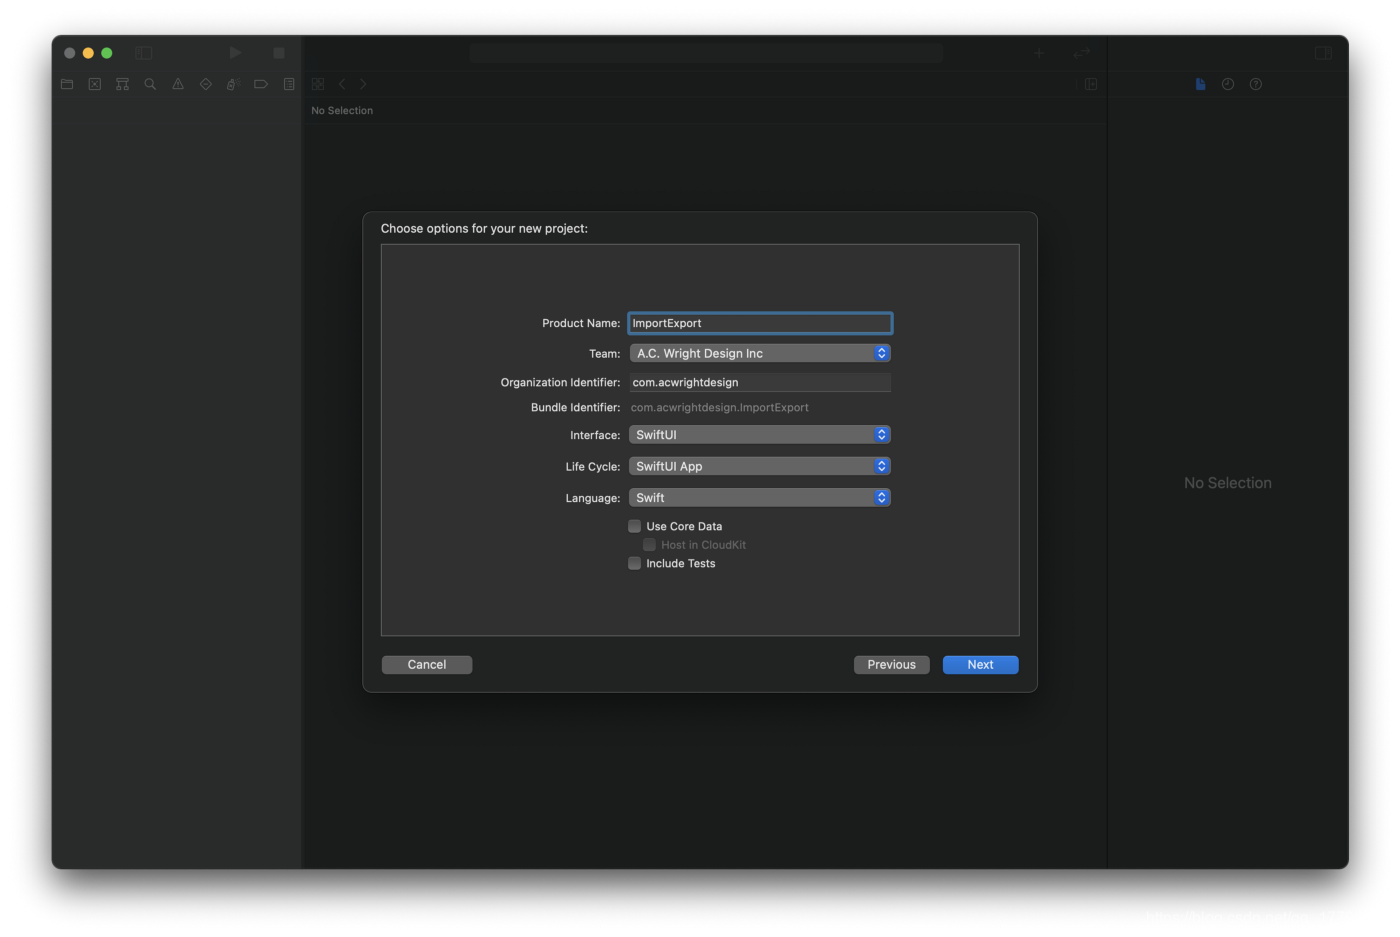
Start by creating a new Xcode project using the iOS App template. Ensure that you have selected “SwiftUI” for Interface and “SwiftUI App” for Life Cycle.
Creating a Document Type
We will need to provide a document type to represent our exported data, so let’s create that next. Our document will be a struct conforming to the FileDocument protocol.
Create a new Swift file named MessageDocument.swift with the following contents:
import SwiftUI
import UniformTypeIdentifiers

struct MessageDocument: FileDocument {

    static var readableContentTypes: [UTType] { [.plainText] }

    var message: String

    init(message: String) {
        self.message = message
    }

    init(configuration: ReadConfiguration) throws {
        guard let data = configuration.file.regularFileContents,
              let string = String(data: data, encoding: .utf8)
        else {
            throw CocoaError(.fileReadCorruptFile)
        }
        message = string
    }

    func fileWrapper(configuration: WriteConfiguration) throws -> FileWrapper {
        return FileWrapper(regularFileWithContents: message.data(using: .utf8)!)
    }

}
In this example, our document is a simple wrapper around a String var named message. In your application, this document could represent any data you wish to export. The code above is all we need to encode and decode our message to and from a plain text file.
Creating the UI
Next, we will create a basic UI that will allow us to edit a message and provide buttons for import and export. In ContentView.swift, replace the contents with the following:
struct ContentView: View {

    @State private var document: MessageDocument = MessageDocument(message: "Hello, World!")
    @State private var isImporting: Bool = false
    @State private var isExporting: Bool = false

    var body: some View {
        VStack {
            GroupBox(label: Text("Message:")) {
                TextEditor(text: $document.message)
            }
            GroupBox {
                HStack {
                    Spacer()

                    Button(action: { isImporting = true }, label: {
                        Text("Import")
                    })

                    Spacer()

                    Button(action: { isExporting = true }, label: {
                        Text("Export")
                    })

                    Spacer()
                }
            }
        }
        .padding()
    }

}
Not much of interest here. We have created a TextEditor element that is bound to our document’s message property that will allow us to edit our message. We have also made two buttons for import and export bound to a couple of State variables. Now it is time to implement importing and exporting!
Implementing Export
Underneath the .padding() modifier on our VStack, add the following code:
  .fileExporter(
      isPresented: $isExporting,
      document: document,
      contentType: .plainText,
      defaultFilename: "Message"
  ) { result in
      if case .success = result {
          // Handle success.
      } else {
          // Handle failure.
      }
  }
The fileExporter() method takes a binding to our isExporting variable along with a binding to the document to write upon export. We also provide the method a content type that conforms to UTType and a default filename. In our simple example, we can ignore the result, but you may want to be more robust in your application and provide feedback to the user if the export succeeded or failed.
The code above is all we need to export a file! Run this in the simulator and give it a try! Pressing the Export button should present a modal dialog where you can choose a location in which to save the file and rename the file if desired.
Implementing Import
Now that we can export our message, let’s reverse the process and implement import so we can read the data from our newly exported file. Underneath the fileExporter() method, add the following code:
.fileImporter(
    isPresented: $isImporting,
    allowedContentTypes: [.plainText],
    allowsMultipleSelection: false
) { result in
    do {
        guard let selectedFile: URL = try result.get().first else { return }
        guard let message = String(data: try Data(contentsOf: selectedFile), encoding: .utf8) else { return }

        document.message = message
    } catch {
        // Handle failure.
    }
}
The fileImporter() method also takes a presentation binding — this time, to our isImporting variable. The allowedContentTypes property takes an array of UTType types that will restrain the user’s selection. You can also set allowsMultipleSelection to true if you want users to select more than one file, but in this simple example, we only allow importing one file at a time.
In the result block, the result.get() method returns an array of URLs for the files that the user has selected. In our example, we are only interested in the first URL since we have set allowsMultipleSelection to false. We read the Data from this URL and convert it to a String we can then assign to our document’s message property.
Rerun the project, and you should be able to import the file you exported earlier into the application!
Conclusion
If you followed this tutorial, you should now have a working example of import and export in SwiftUI.
Thanks for reading and happy coding!
The sample code is available on GitHub.
Note: At the time of writing this article, the fileImporter and fileExporter view modifiers are only available for iOS 14 and not available for macOS applications. In the sample code I have provided for this tutorial, I have implemented an equivalent example of import and export in a macOS app using @Environment actions. If these new view modifiers become available for macOS apps in the future, I will update the example code to use the new modifiers.
Reference
Title Photo by Viktor Talashuk on Unsplash.
This passage from : https://medium.com/better-programming/importing-and-exporting-files-in-swiftui-719086ec712


 被折叠的 条评论
为什么被折叠?
被折叠的 条评论
为什么被折叠?
 到【灌水乐园】发言


