


Spring Cloud搭建笔记
环境
工具:IDEA 2018.1 for mac
JDK:1.8
一、创建服务注册中心
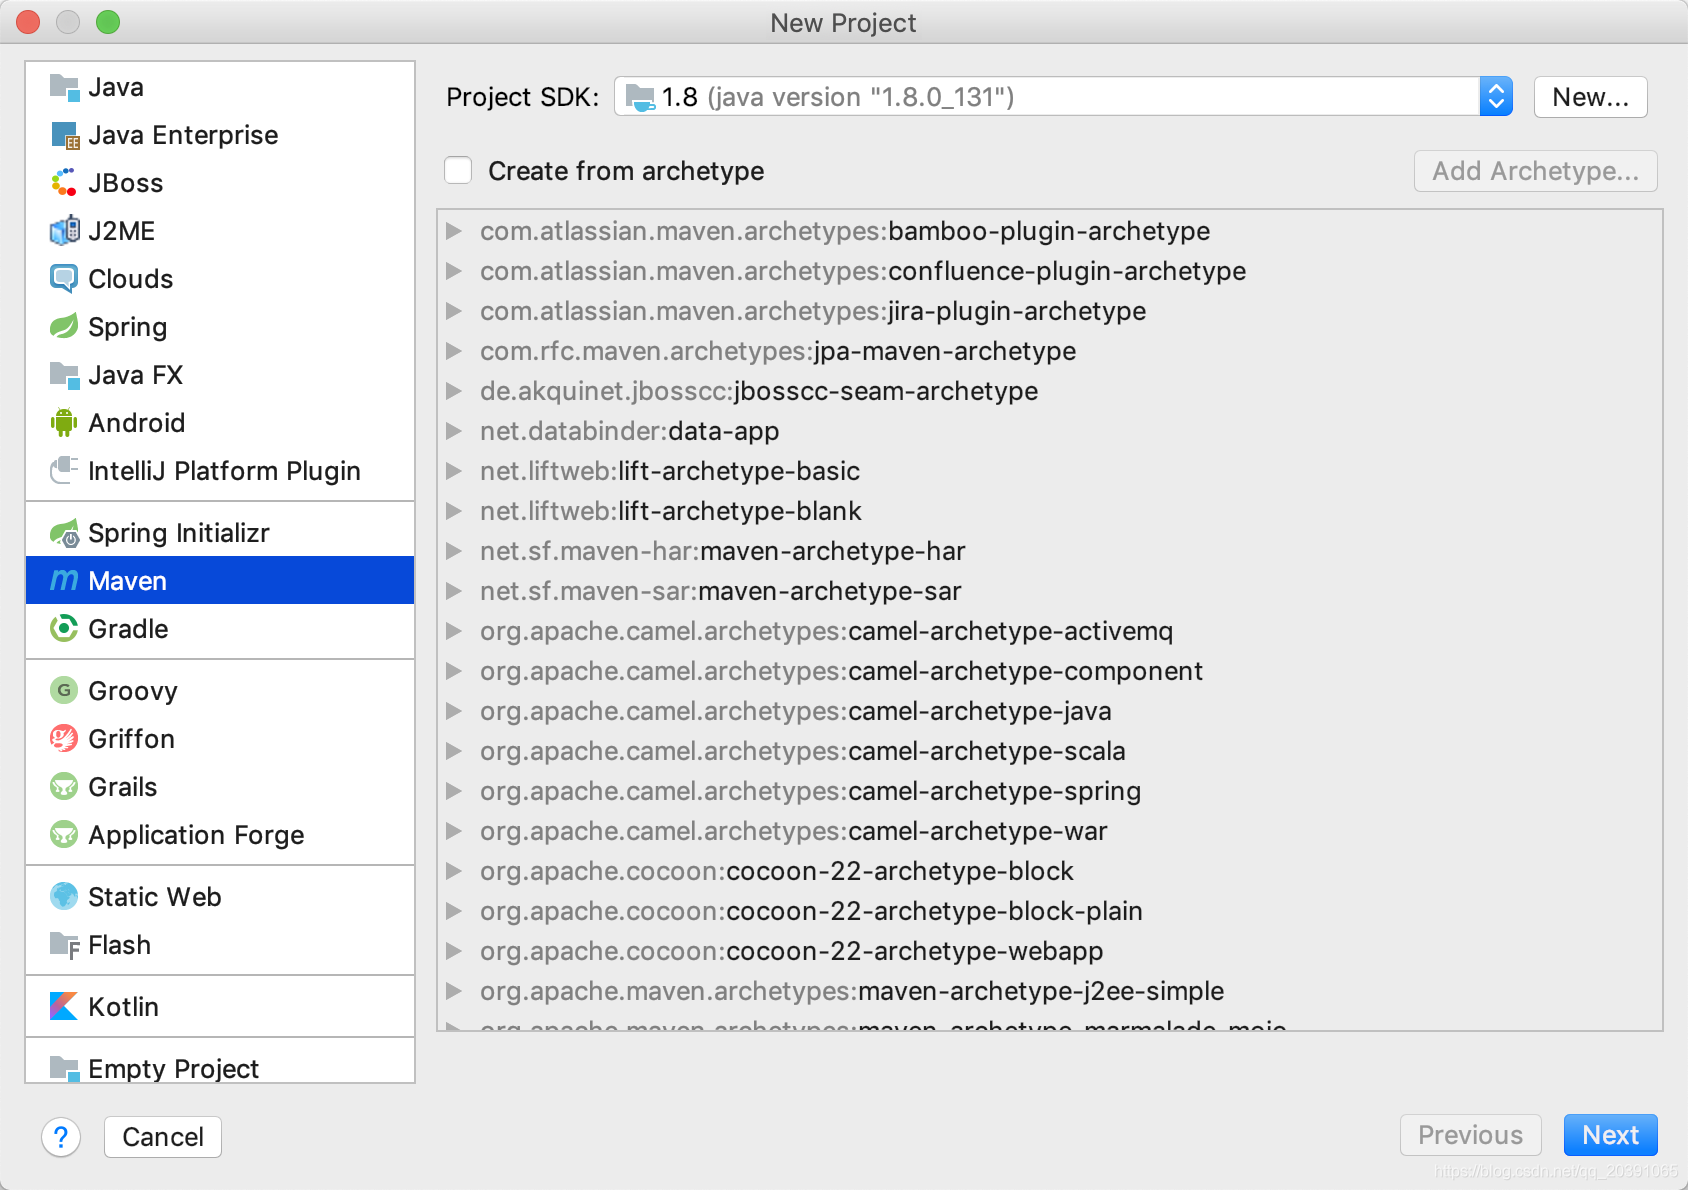
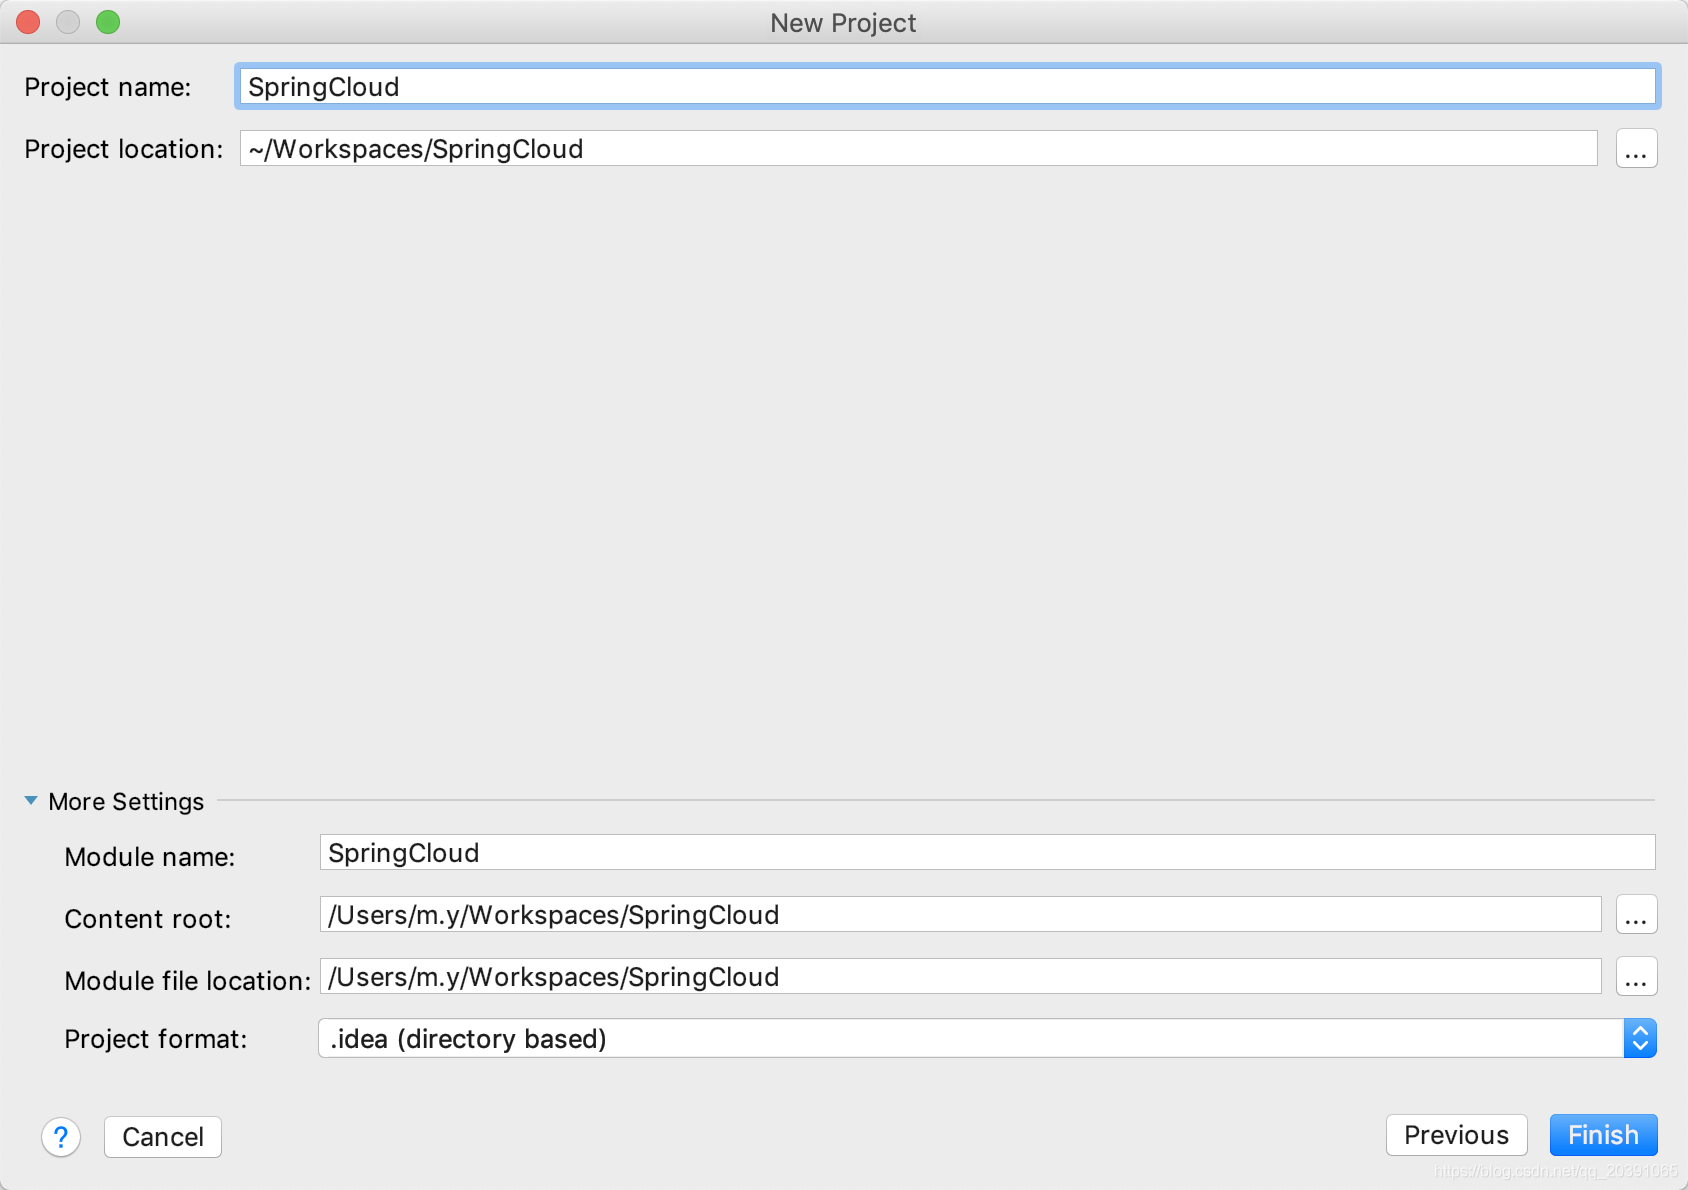
创建一个普通项目SpringCloud
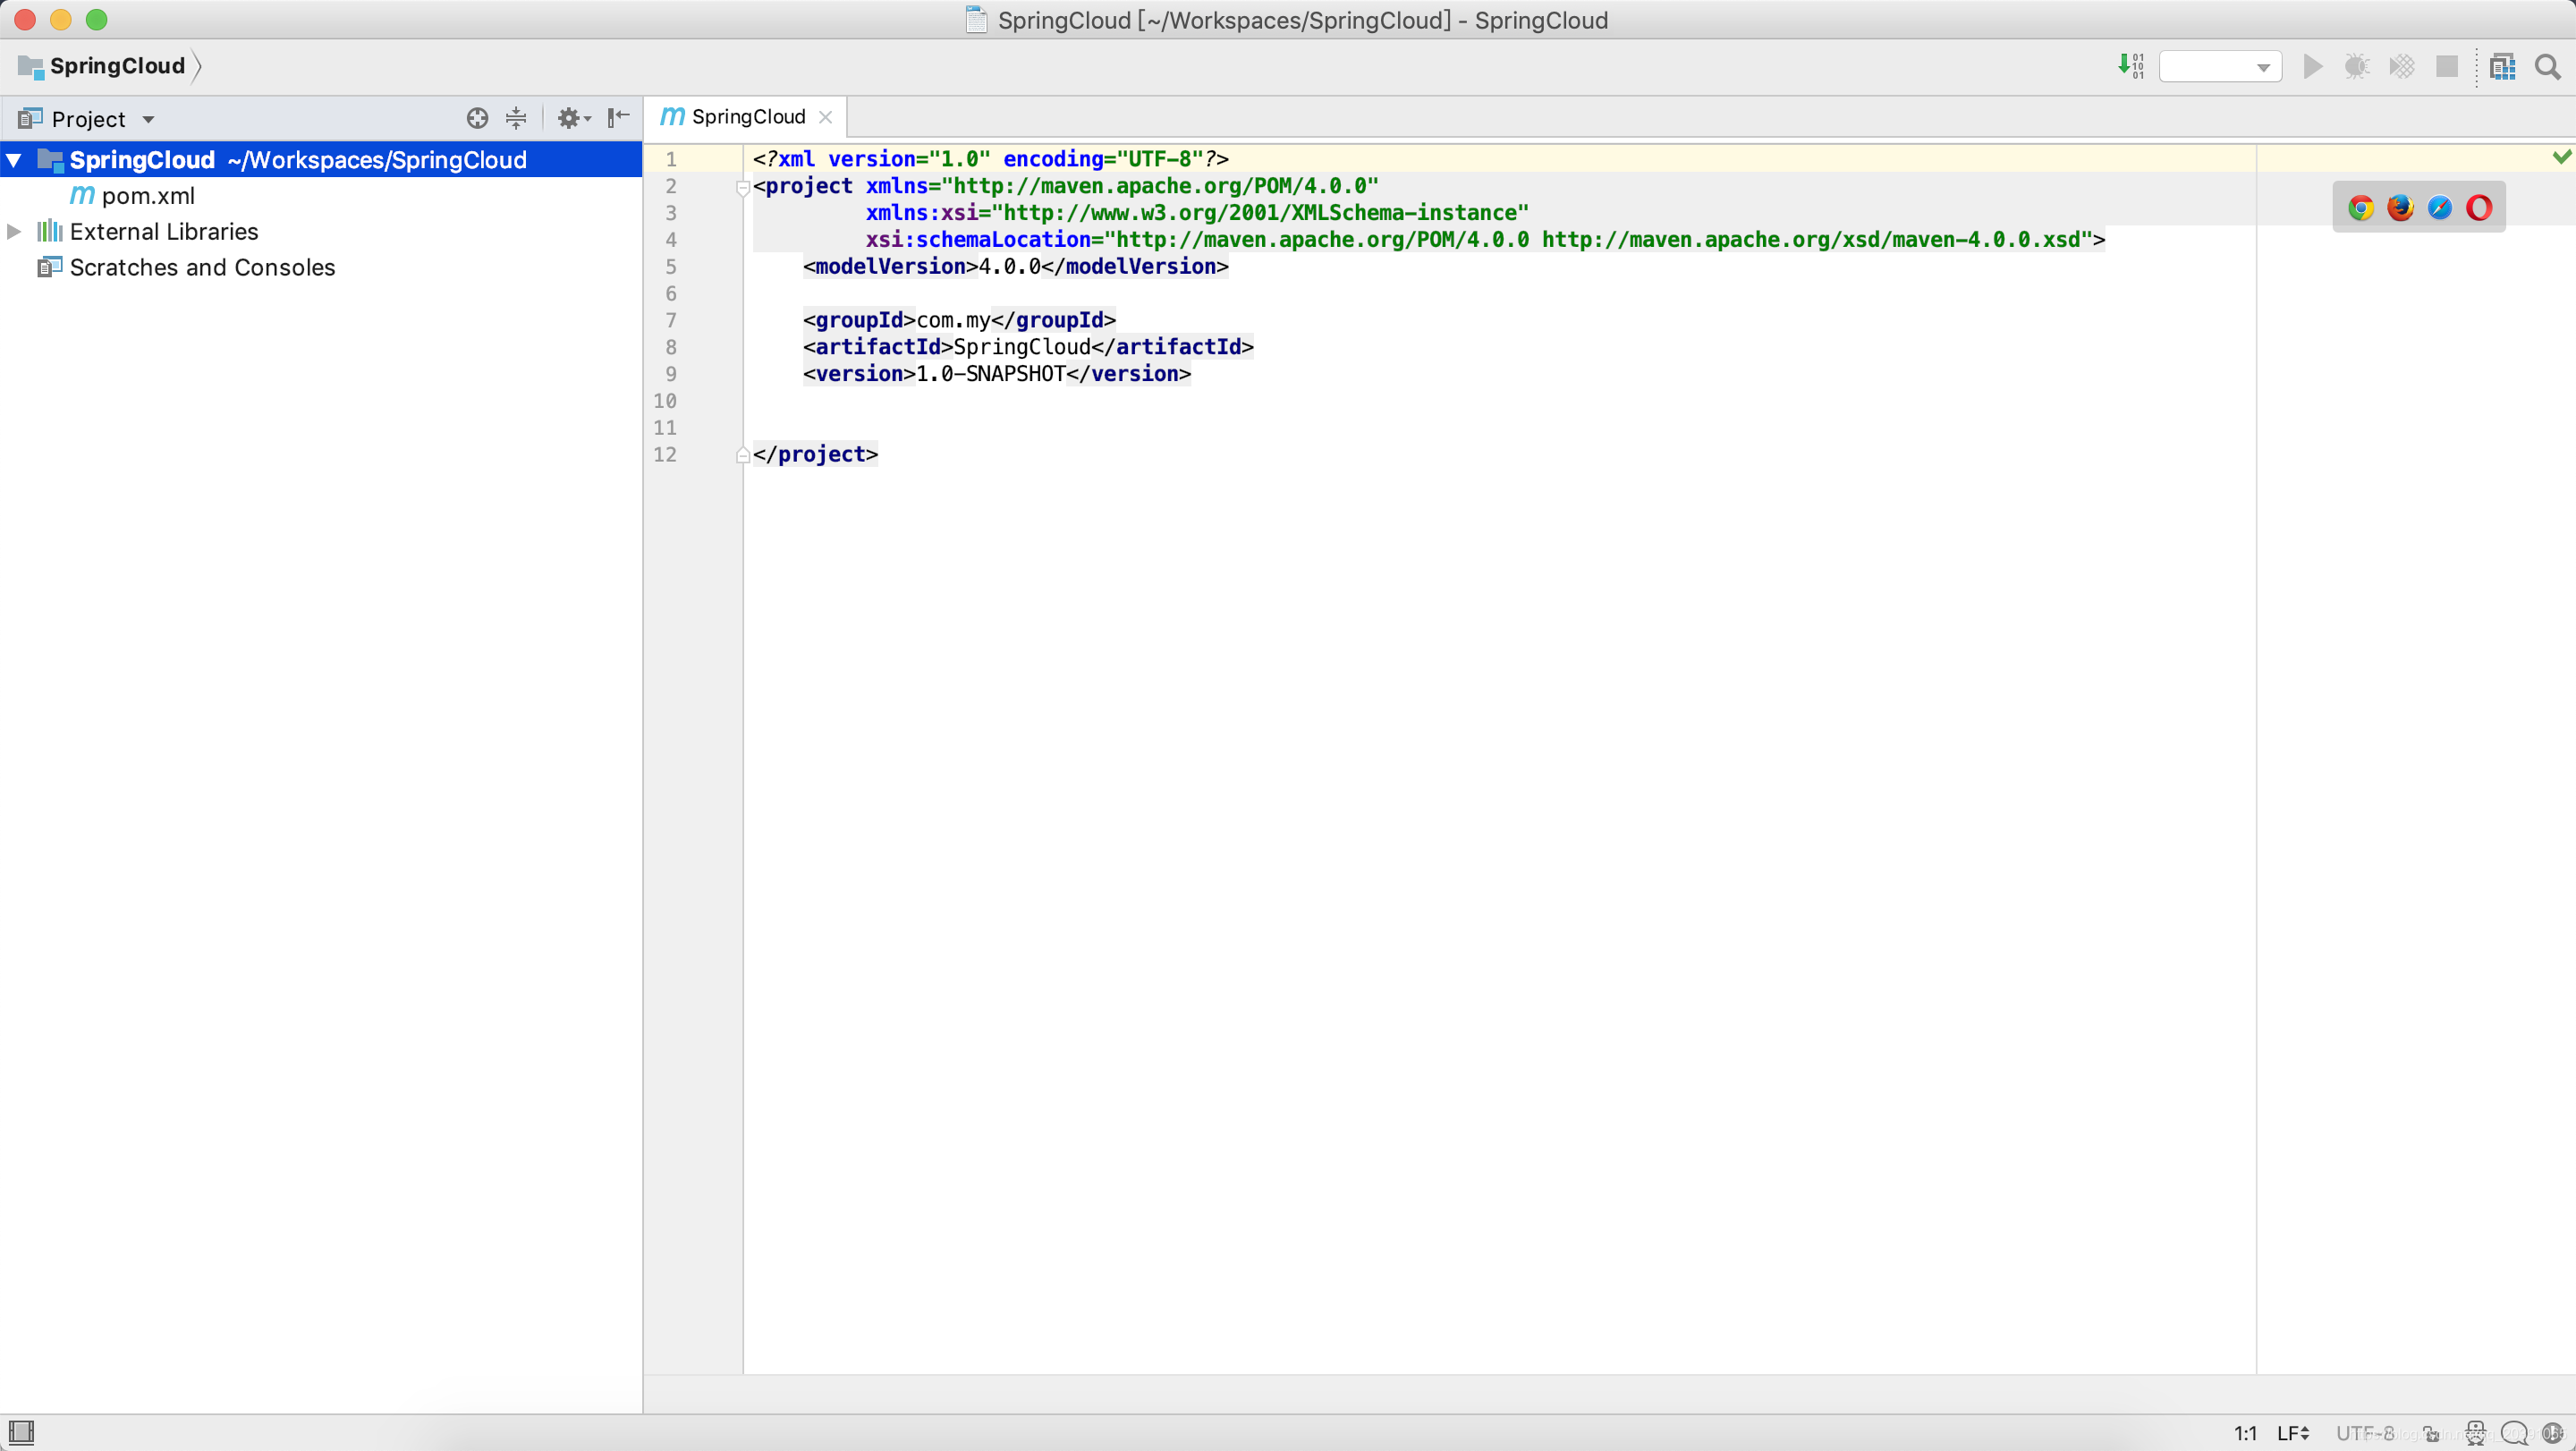
这是创建好的结构,删除不需要的文件。这里保留pom.xml是可以作为父项目导入公共包。
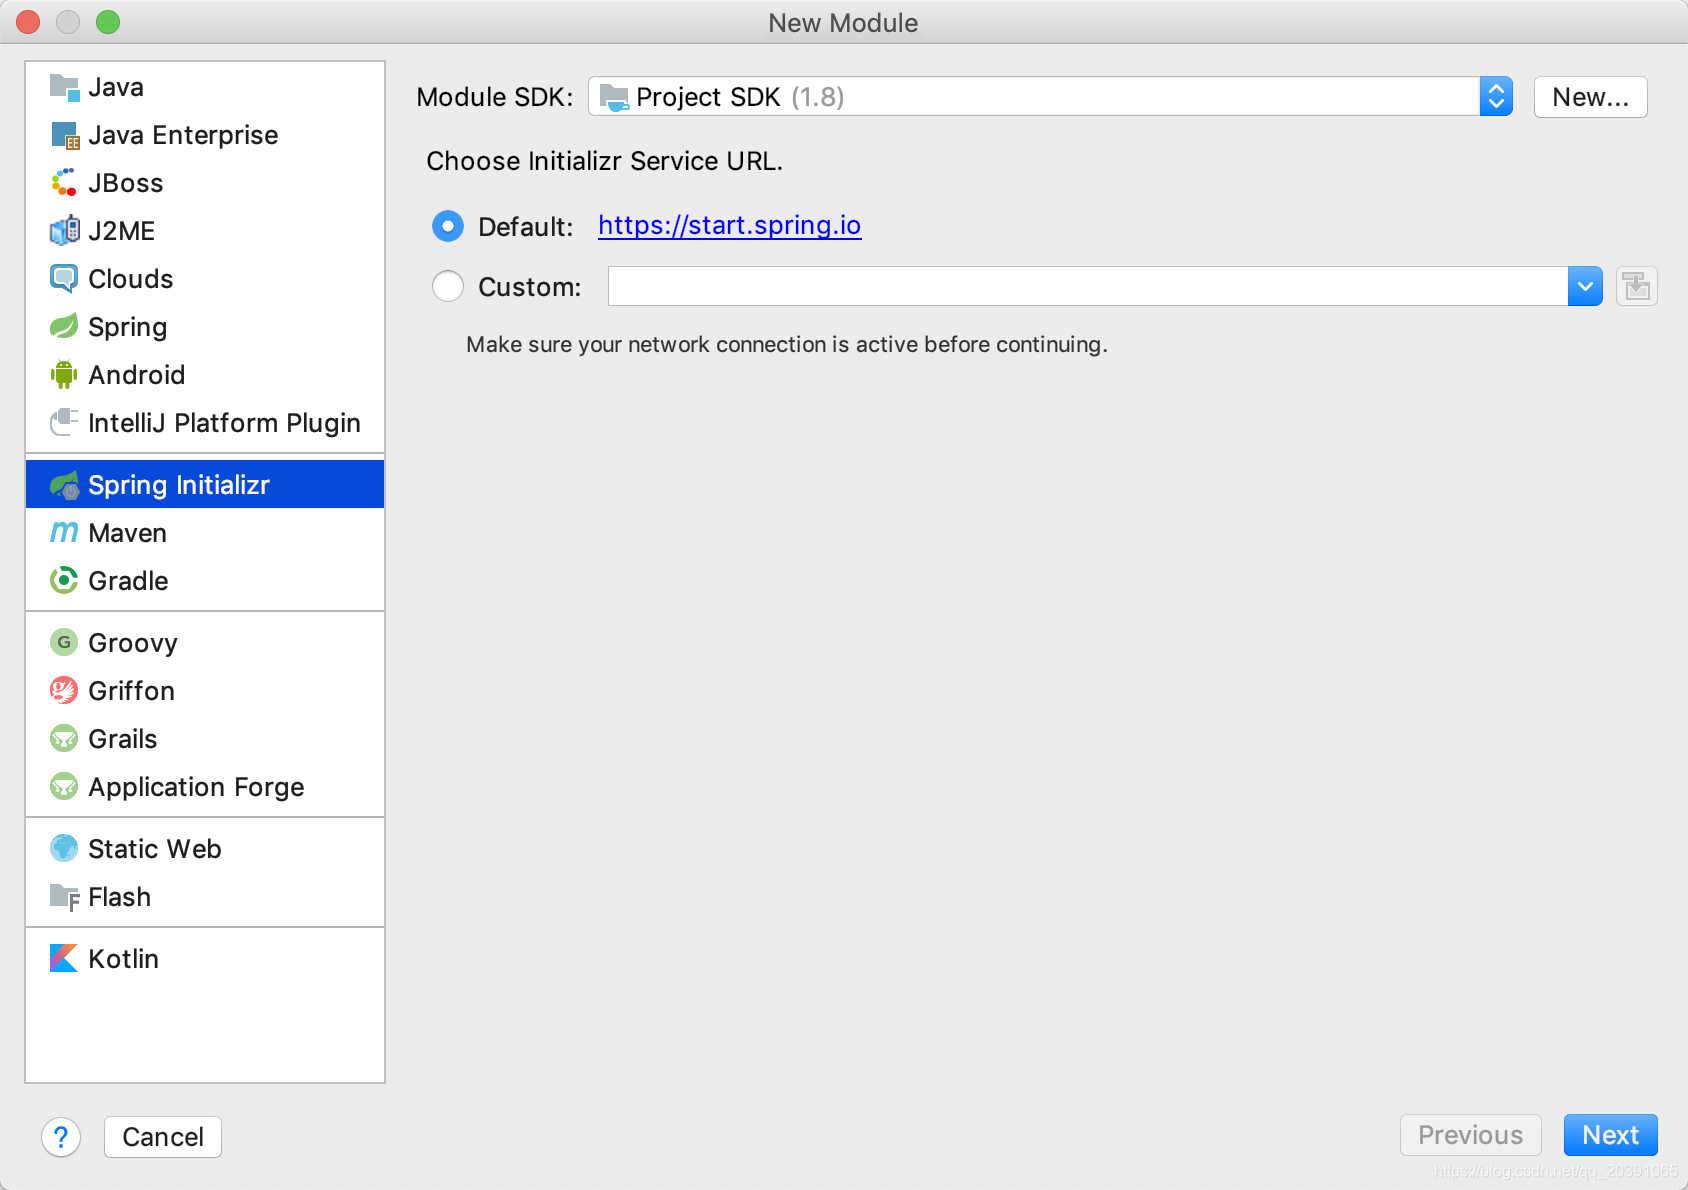
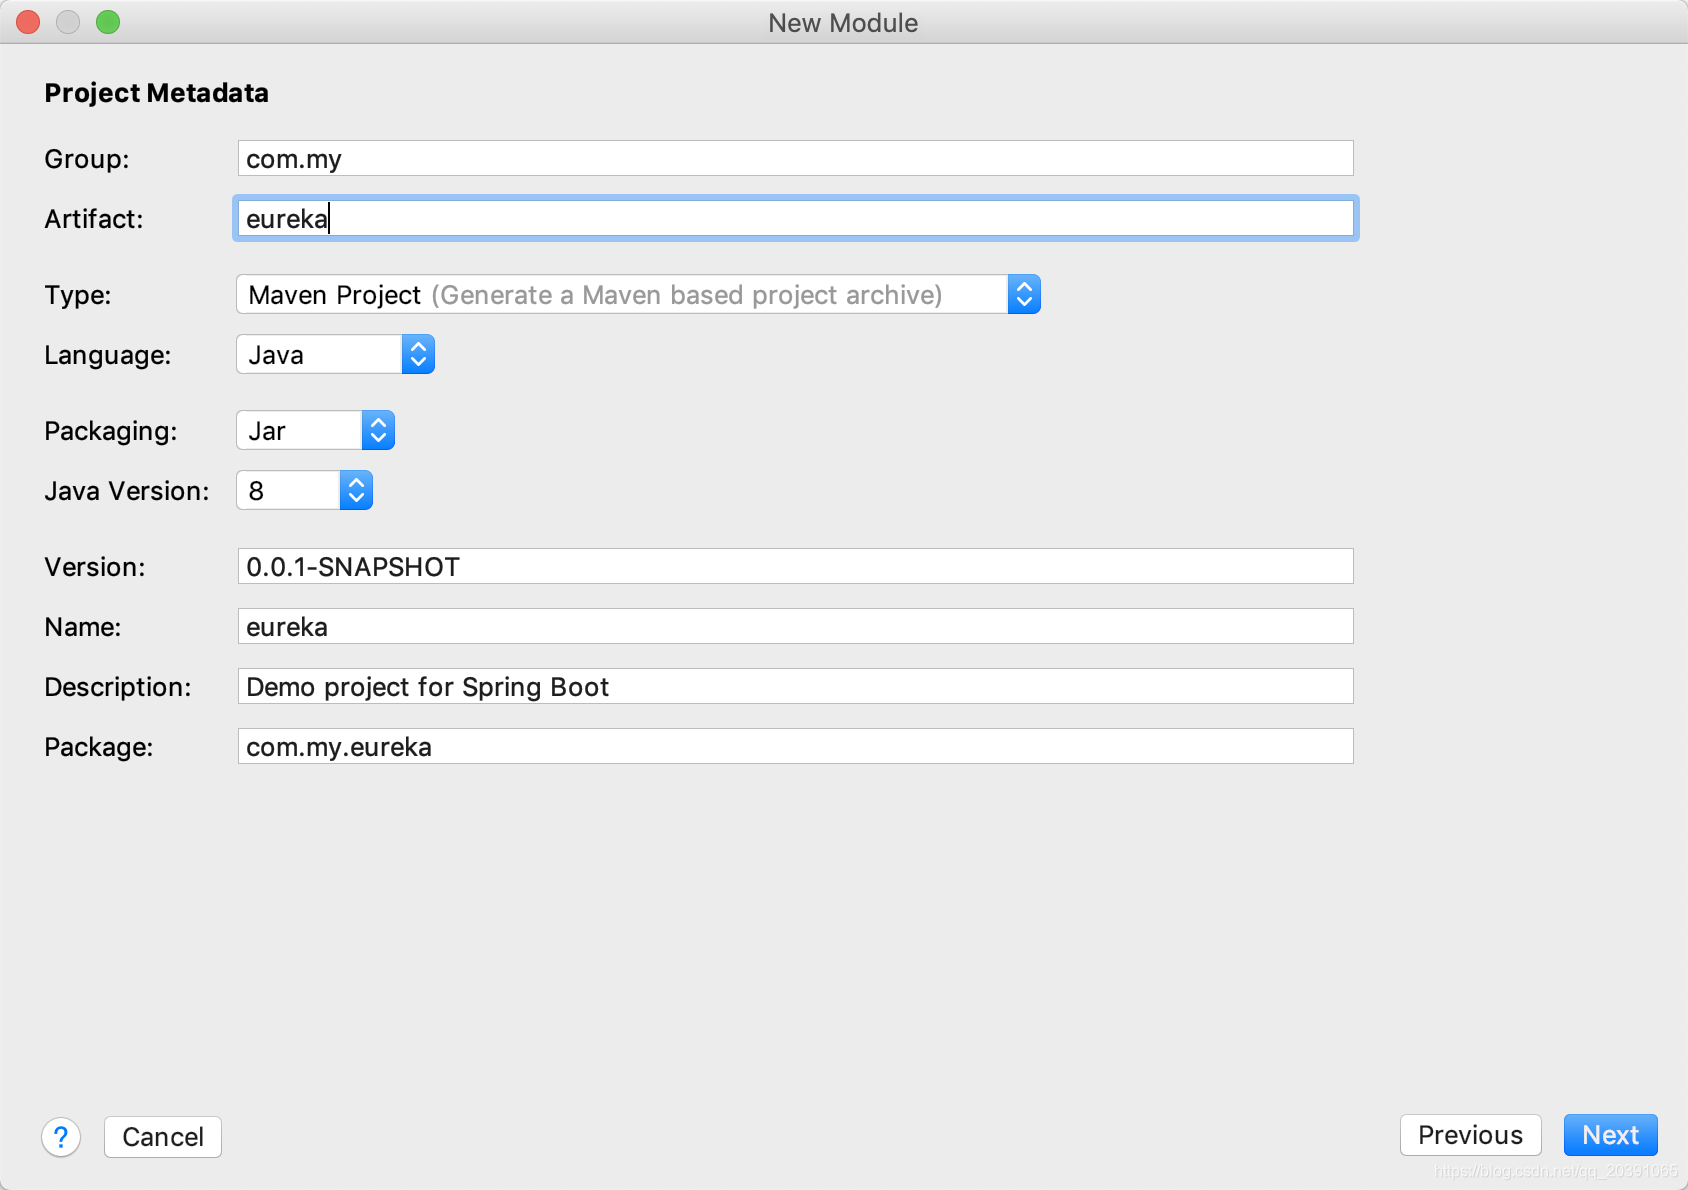
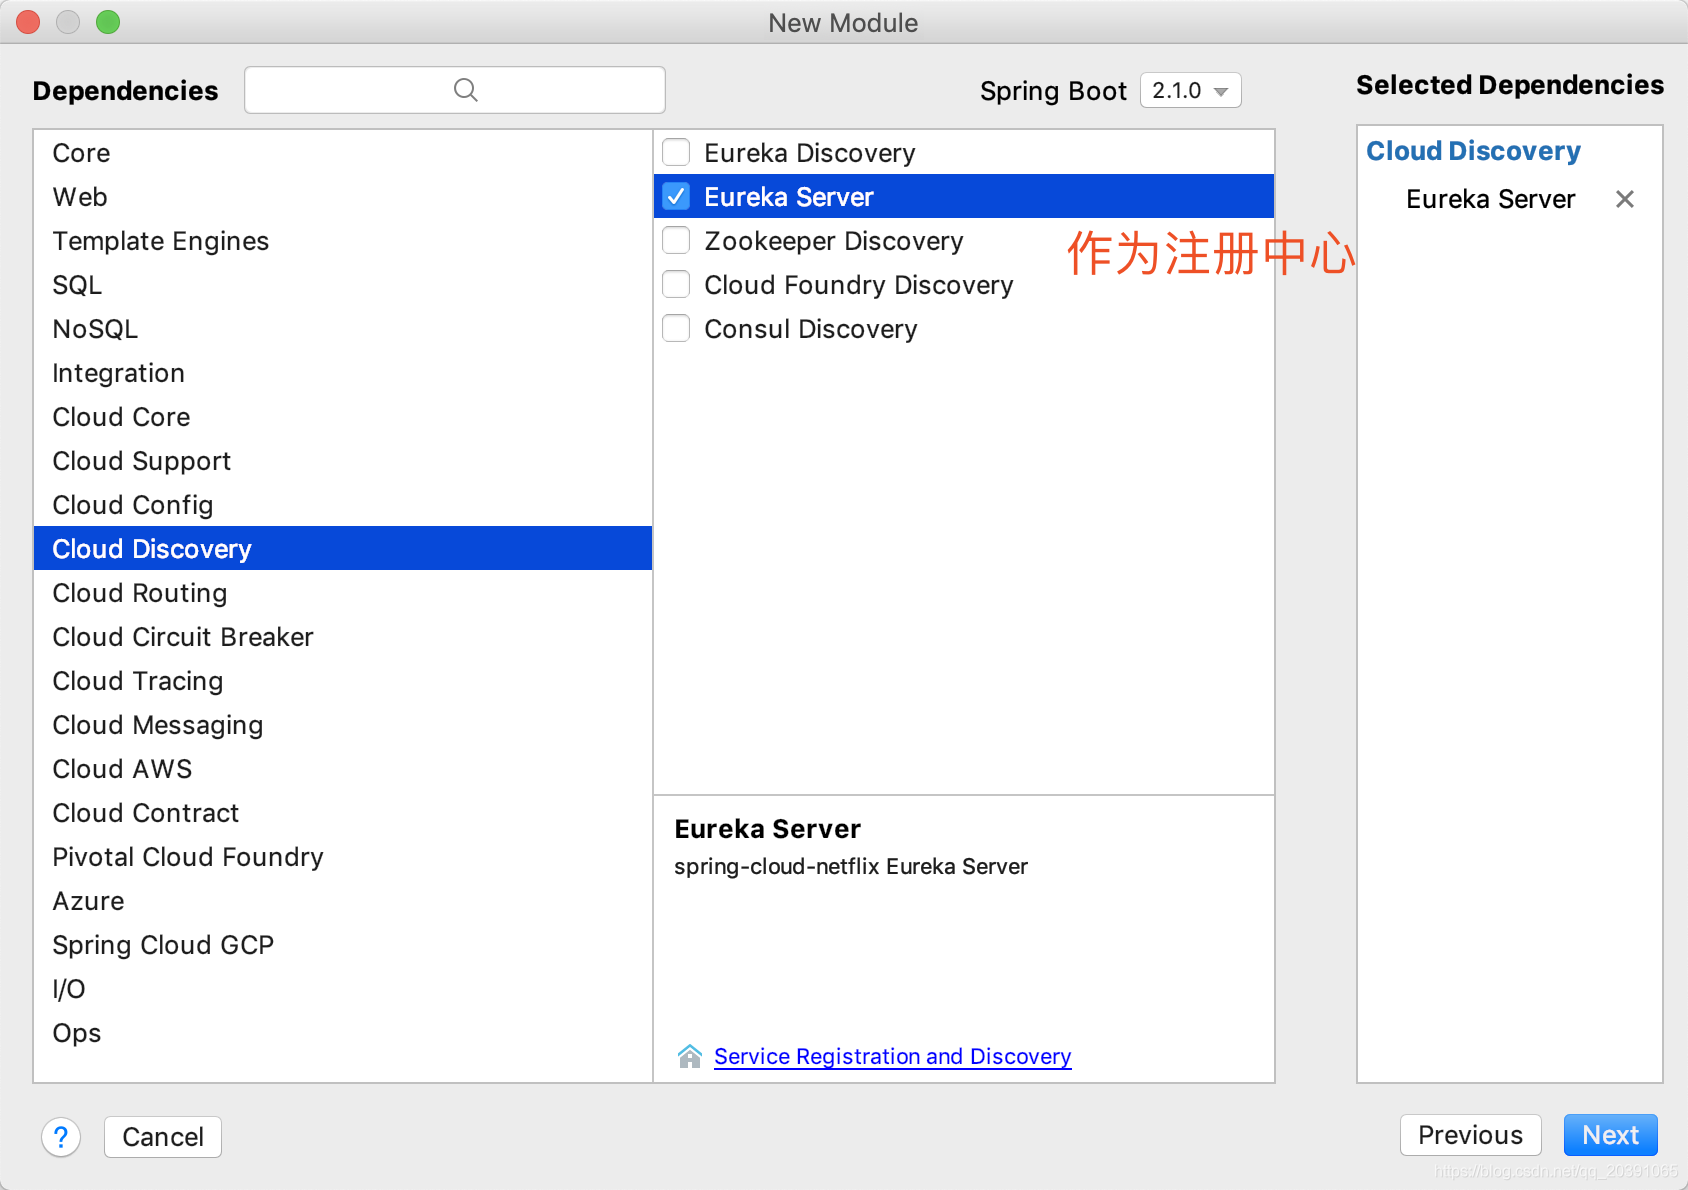
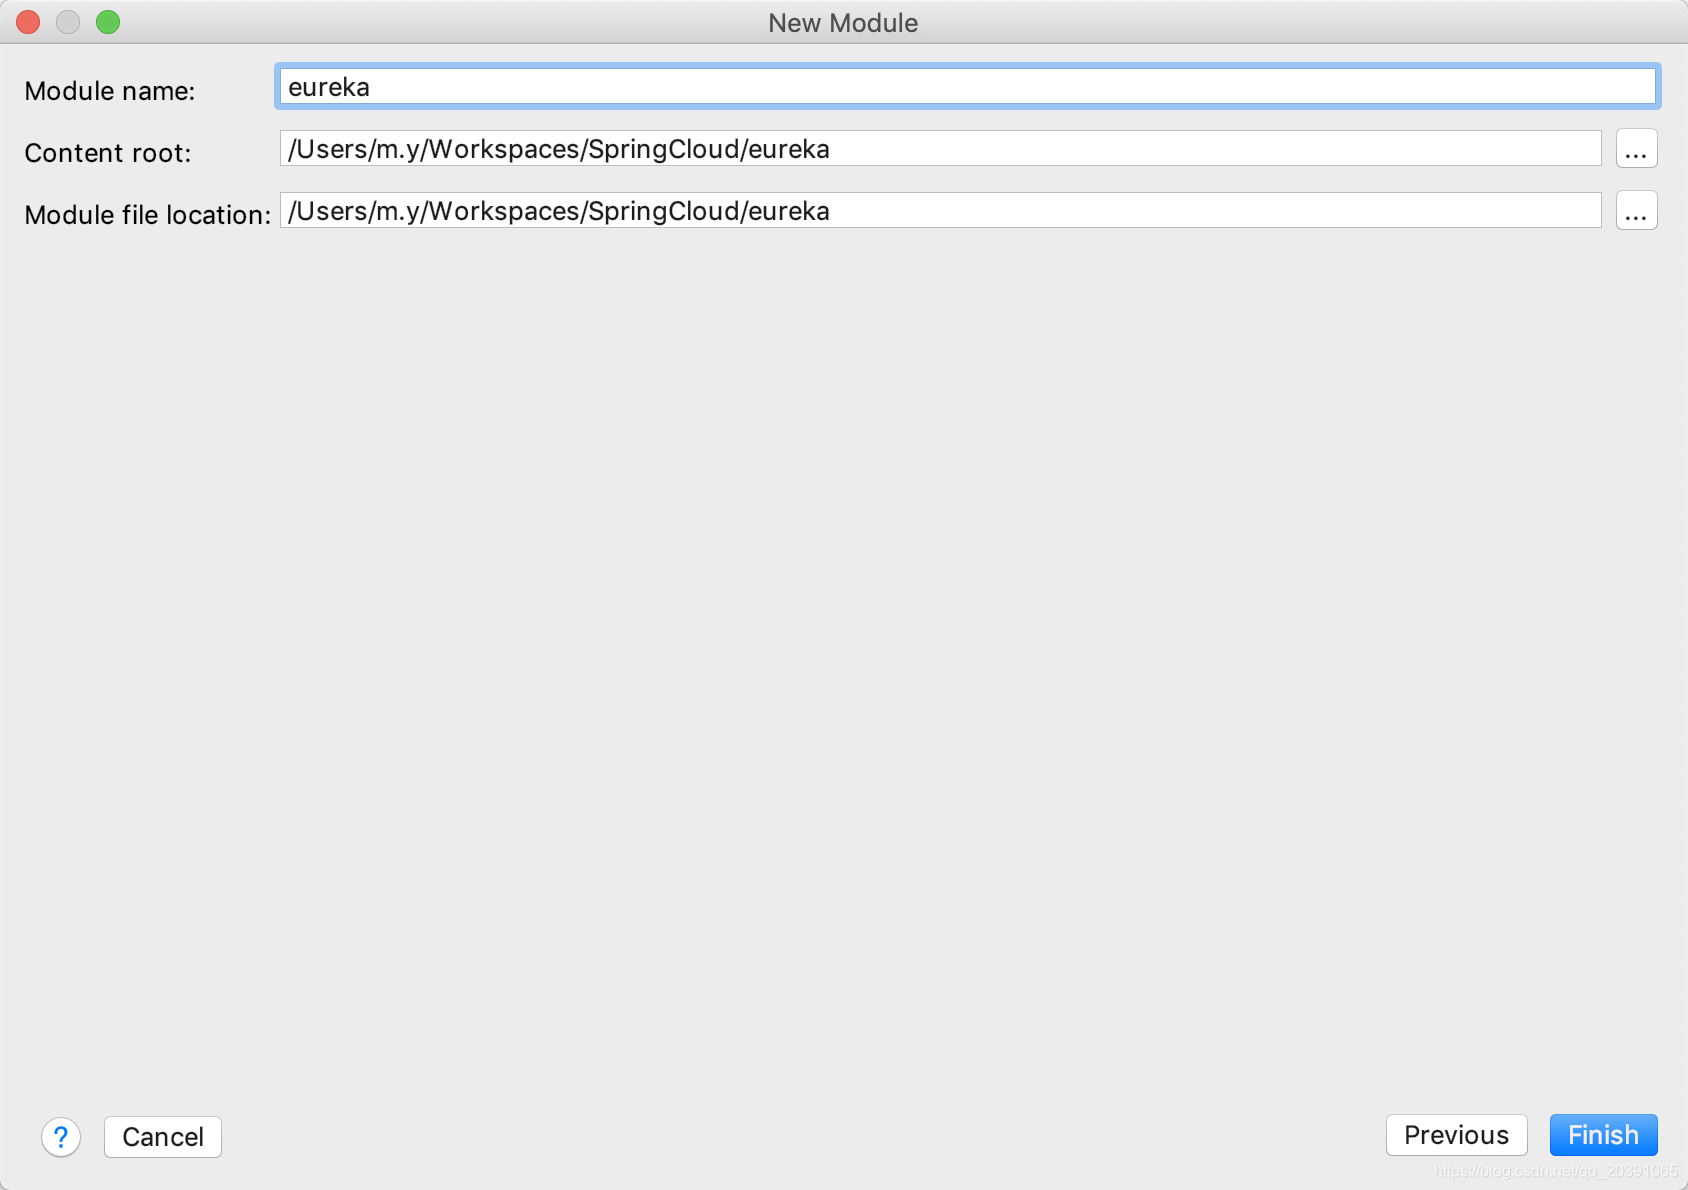
创建一个Moudle作为注册中心eureka(在新建moudle时如果进行不下去或者报错了,可能是网不好,链接超时,重新来一次就好了。)

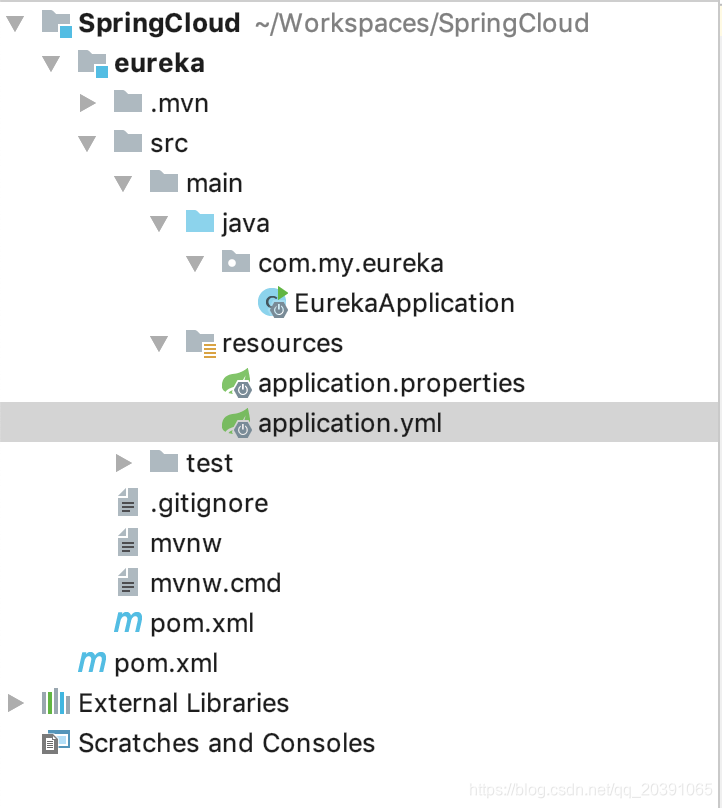
创建完成后,添加application.yml配置文件,完成后的项目结构如下图:
给EurekaApplication添加注解@EnableEurekaServer,申明此处为服务注册中心。
package com.my.eureka;

import org.springframework.boot.SpringApplication;
import org.springframework.boot.autoconfigure.SpringBootApplication;
import org.springframework.cloud.netflix.eureka.server.EnableEurekaServer;

@SpringBootApplication
@EnableEurekaServer
public class EurekaApplication {

    public static void main(String[] args) {
        SpringApplication.run(EurekaApplication.class, args);
    }
}
配置application.yml,registerWithEureka 和 fetchRegistry 设置为false,表明自己属于服务中心主体
server:
  port: 8761

eureka:
  instance:
    hostname: localhost
  client:
    registerWithEureka: false
    fetchRegistry: false
    serviceUrl:
      defaultZone: http://${eureka.instance.hostname}:${server.port}/eureka/
启动服务(右键Run EurekaApplication),访问http://localhost:8761/ 。
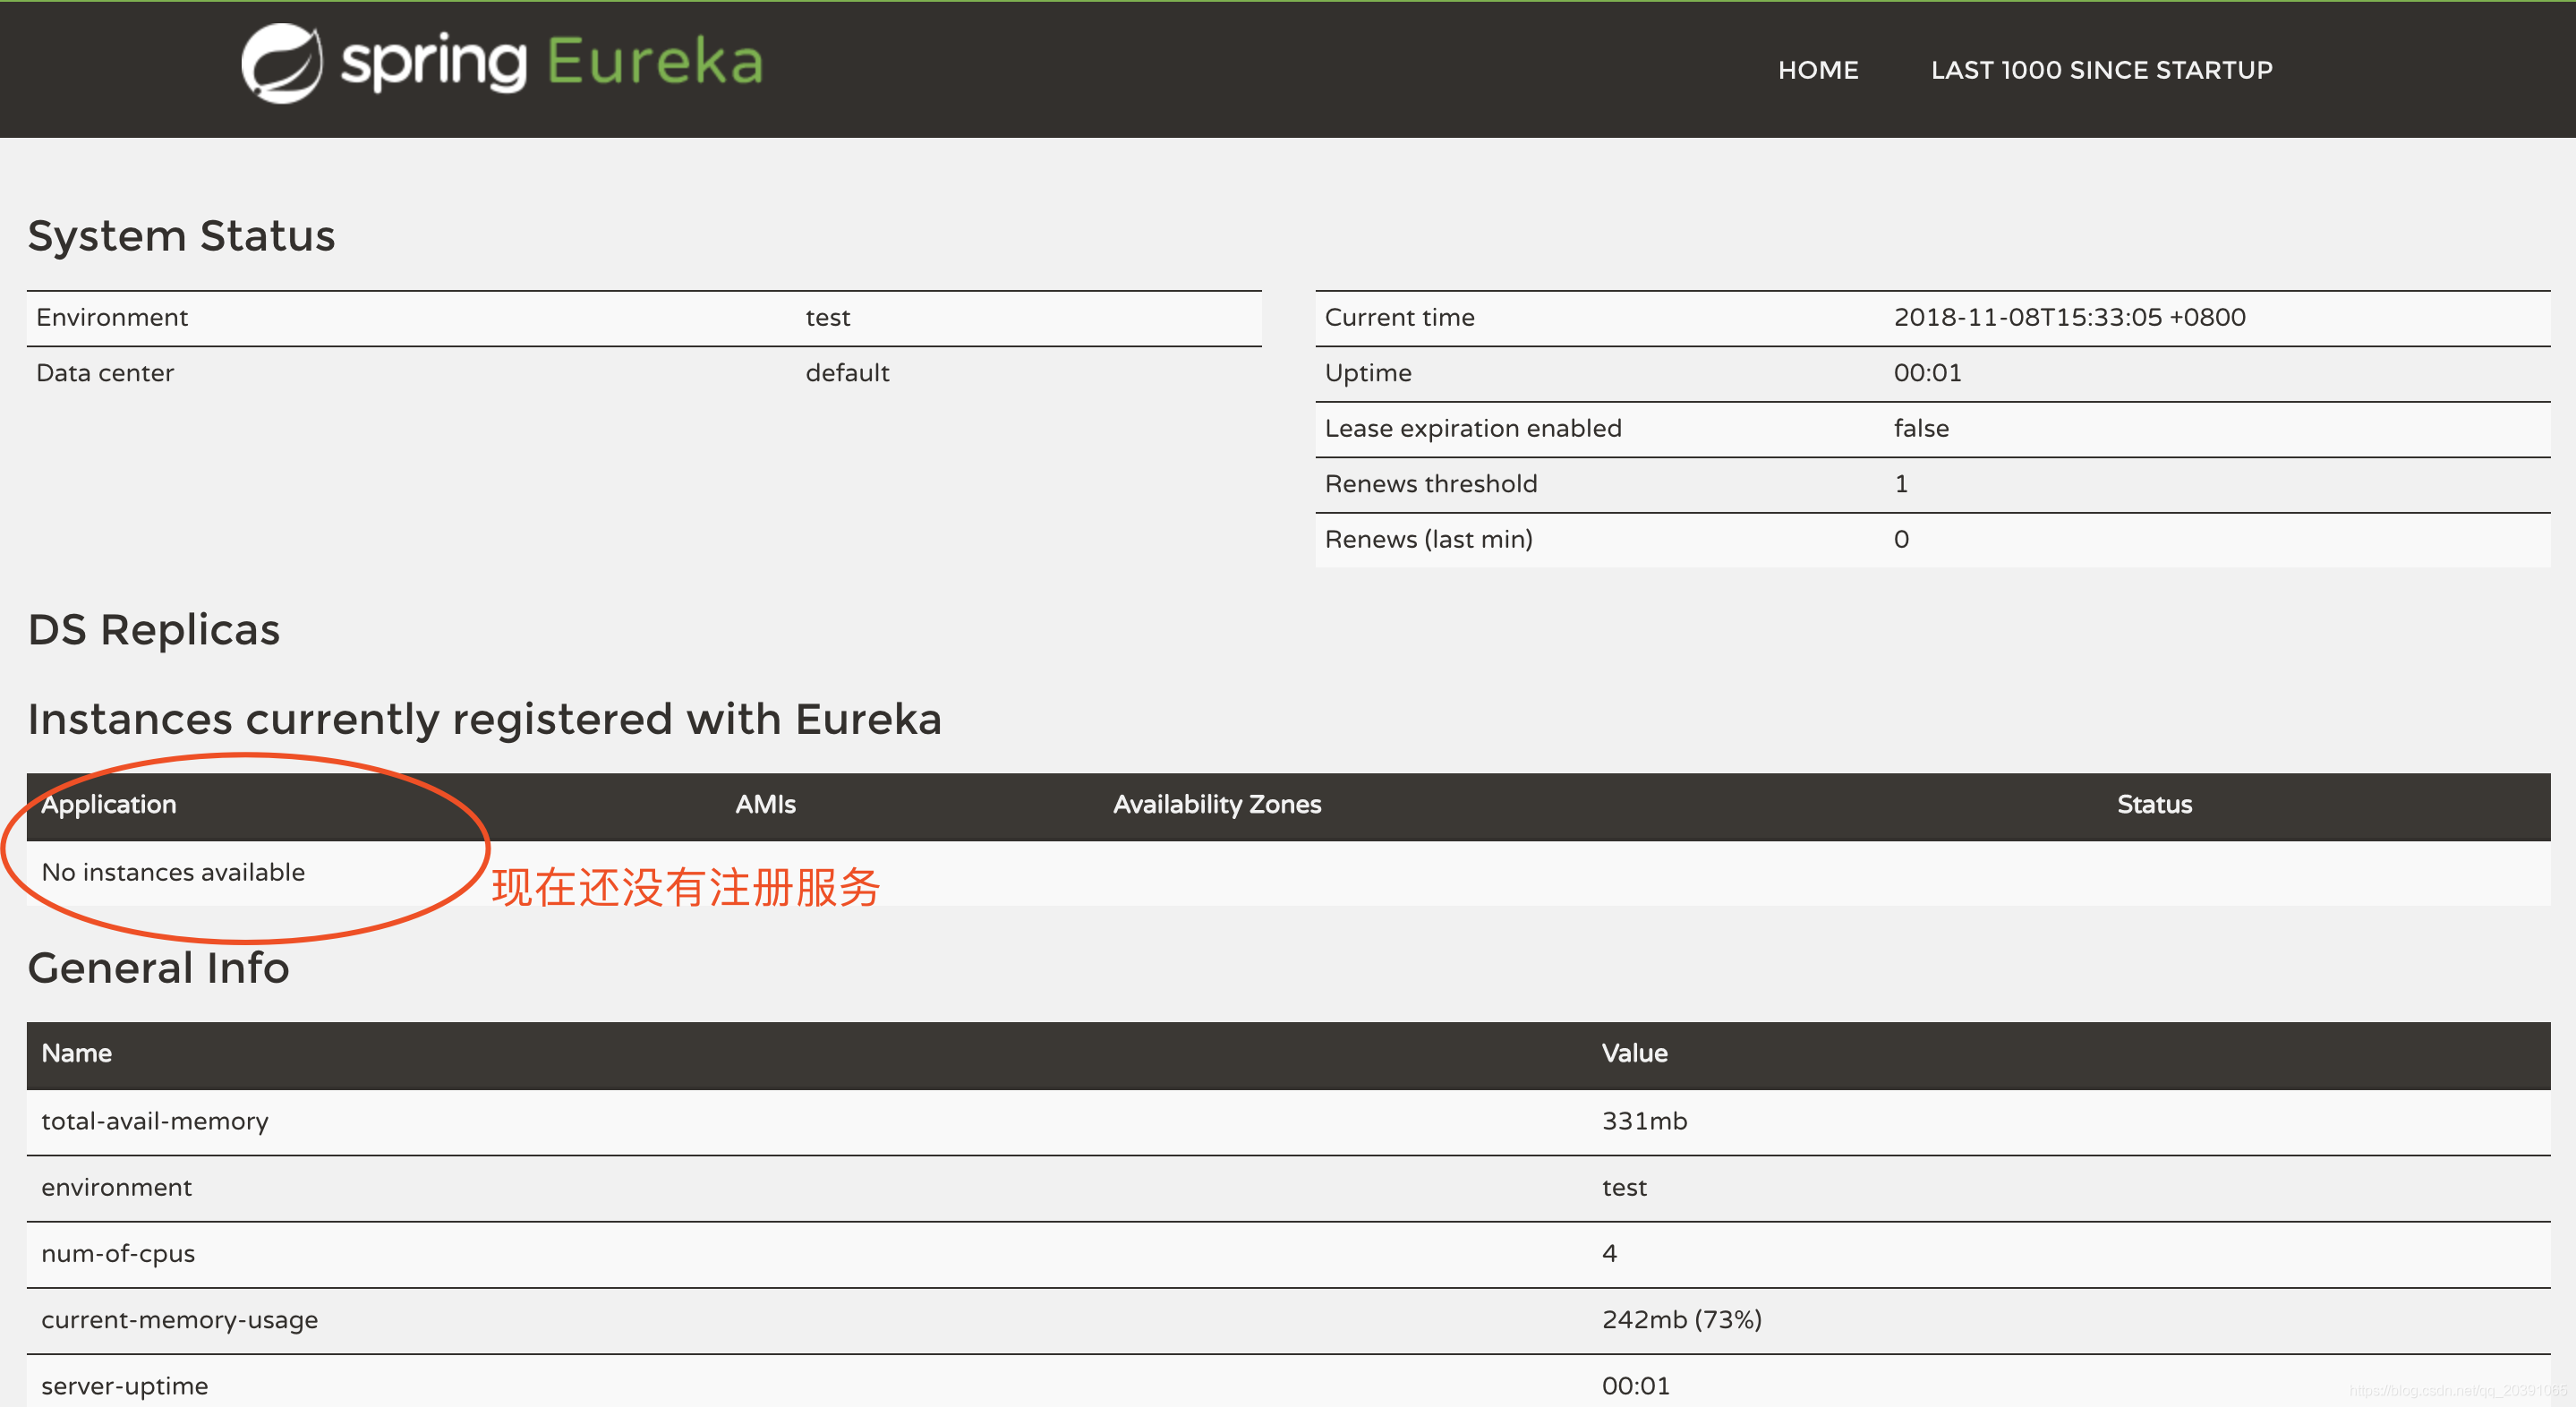
注册中心搭建完完成。
二、创建生产者
新建一个Moudleclient,步骤和创建注册中心一样。
创建好了以后,也要添加application.yml,然后配置
application.yml
eureka:
  client:
    serviceUrl:
      defaultZone: http://localhost:8761/eureka/
server:
  port: 8762
spring:
  application:
    name: service-hi
给ClientApplication添加注解@EnableEurekaClient表明作为一个生产者。
package com.my.client;

import org.springframework.boot.SpringApplication;
import org.springframework.boot.autoconfigure.SpringBootApplication;
import org.springframework.cloud.netflix.eureka.EnableEurekaClient;

@SpringBootApplication
@EnableEurekaClient
public class ClientApplication {

    public static void main(String[] args) {
        SpringApplication.run(ClientApplication.class, args);
    }
}
新建一个ClientController
package com.my.client;
import org.springframework.beans.factory.annotation.Value;
import org.springframework.web.bind.annotation.RequestMapping;
import org.springframework.web.bind.annotation.RequestParam;
import org.springframework.web.bind.annotation.RestController;
@RestController
public class ClientController {
@Value("${server.port}")
String port;
@RequestMapping("/hi")
public String home(@RequestParam String name)
{
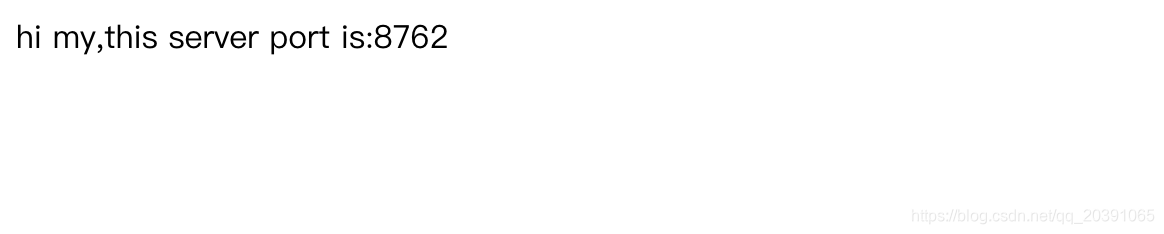
return "hi " + name + ",this server port is:" + port;
}
}
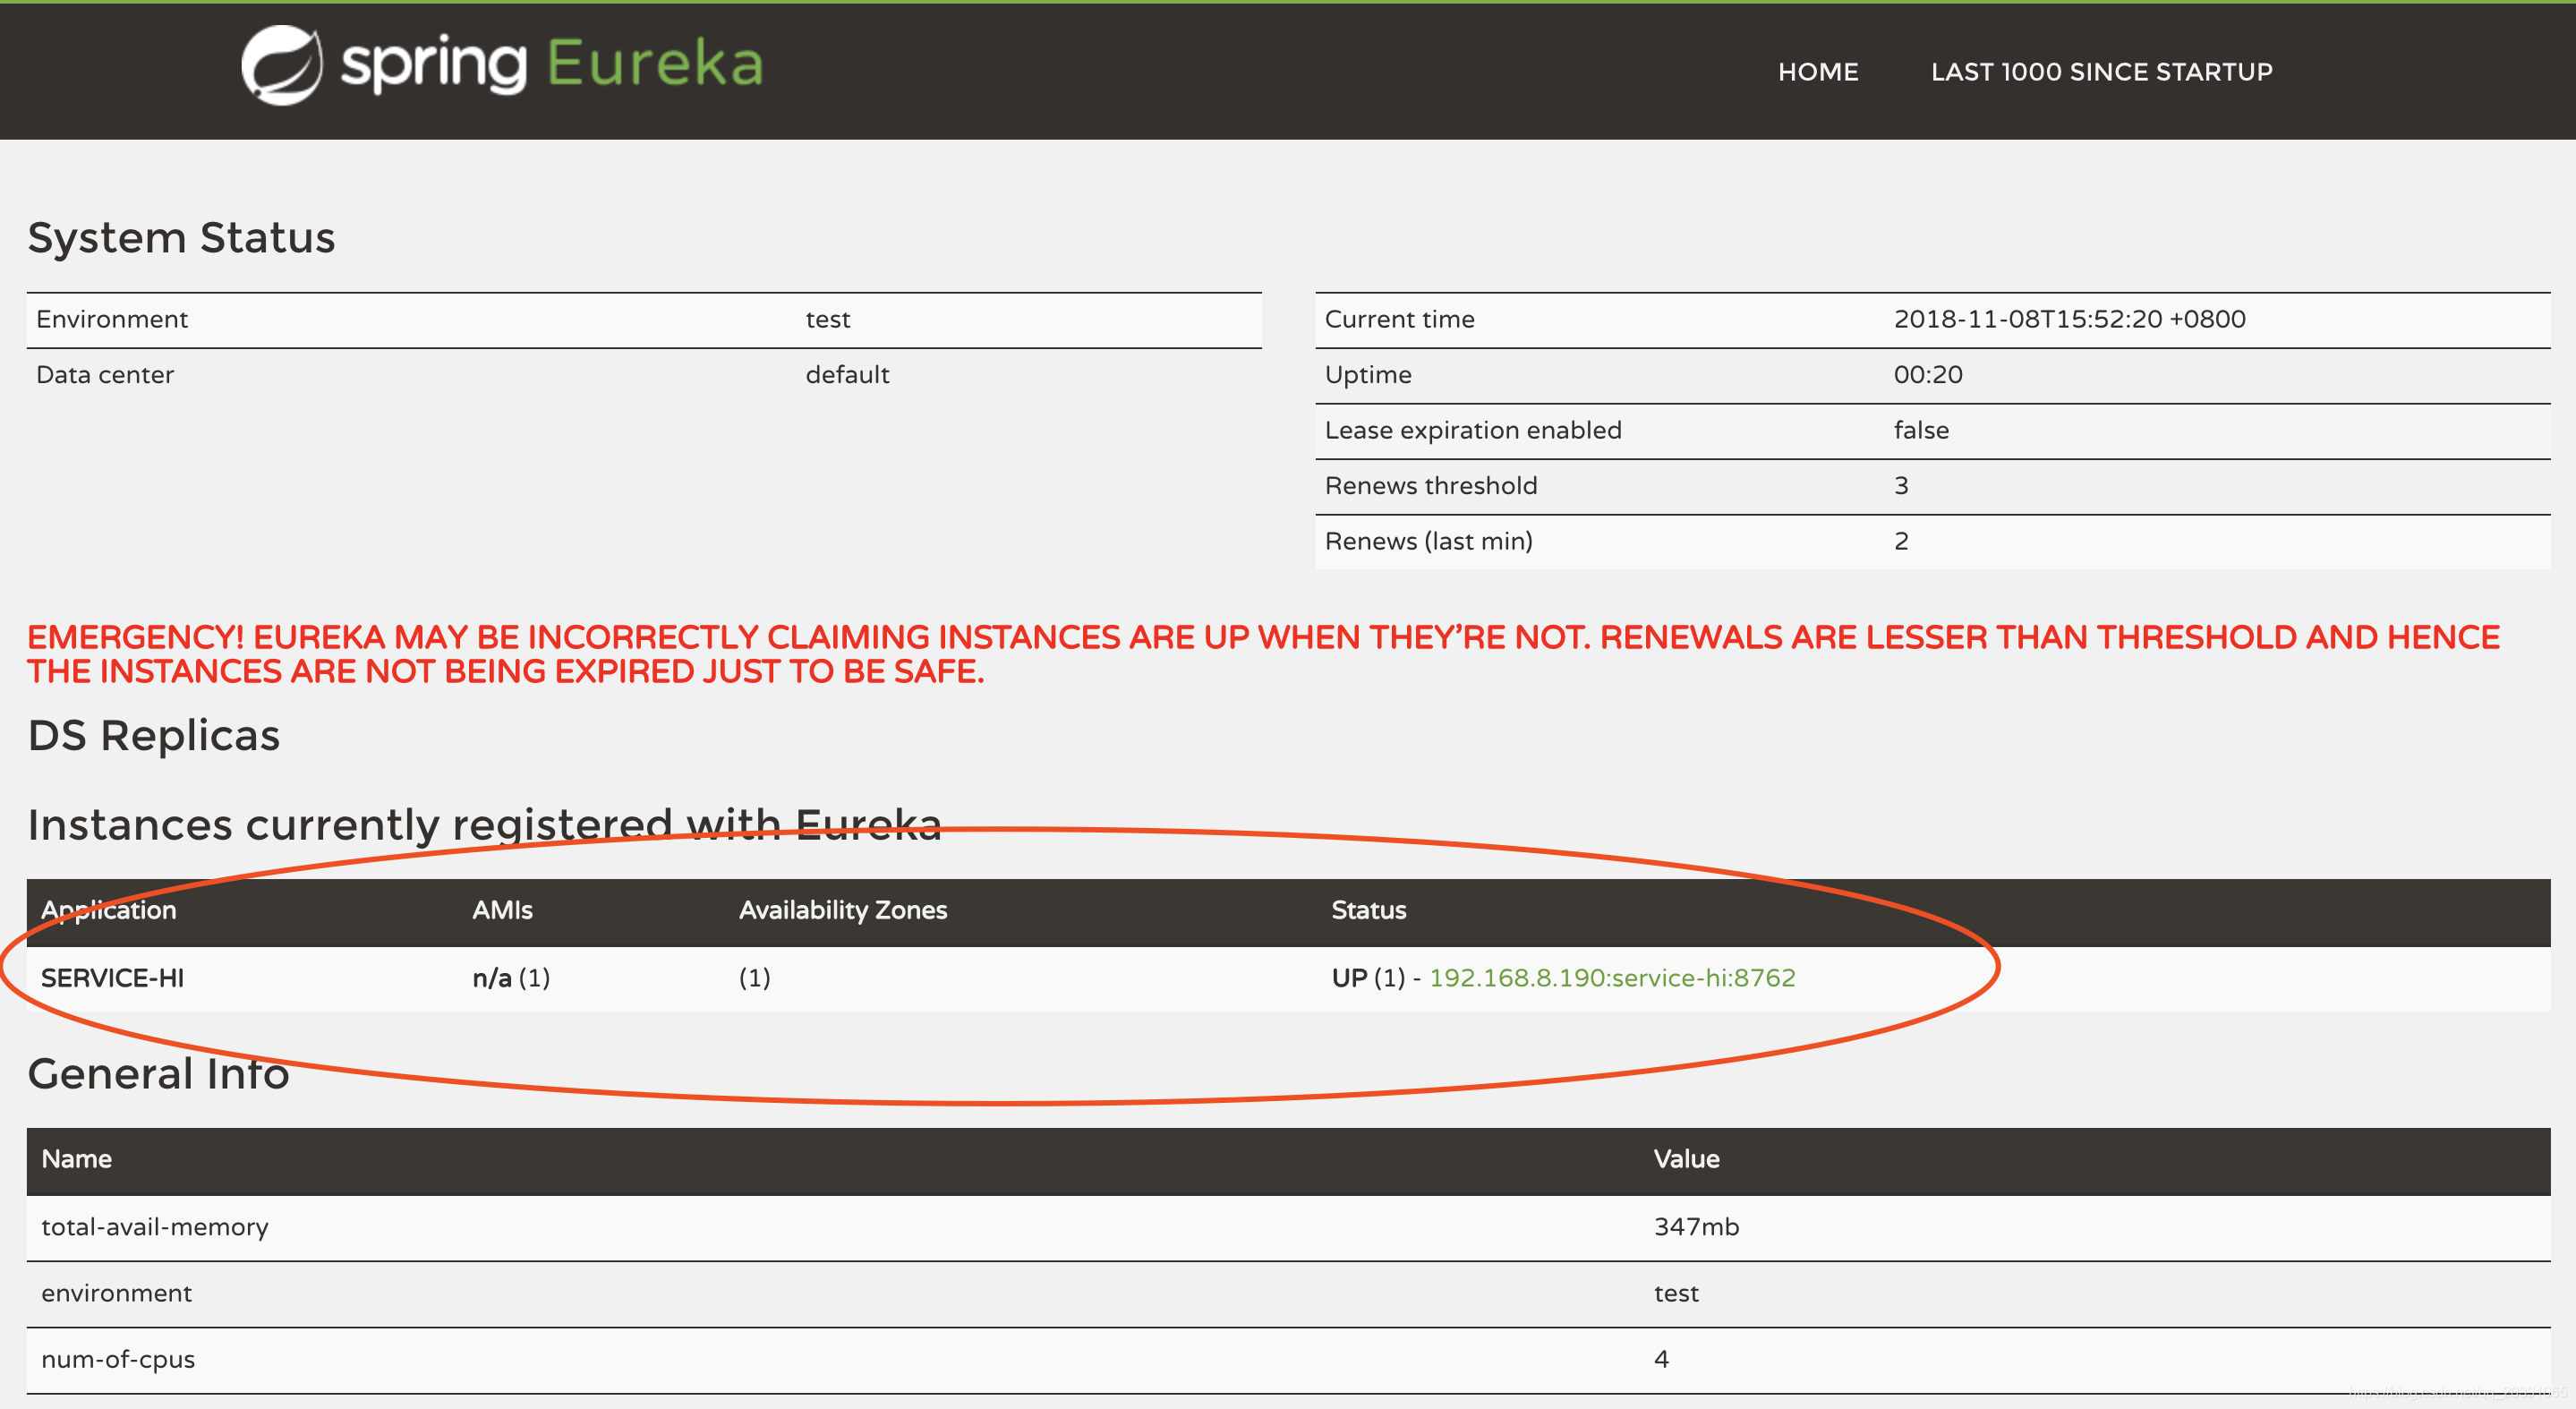
启动服务(注册中心不要关闭),访问http://localhost:8762/hi?name=my

这时候刷新注册中心页面,就能看到我们刚刚注册的服务了
三、创建消费者
新建Moudleribbon,跟生产者一样的步骤。
application.yml
eureka:
  client:
    serviceUrl:
      defaultZone: http://localhost:8761/eureka/
server:
  port: 8763
spring:
  application:
    name: service-ribbon
RibbonApplication添加注解@EnableDiscoveryClient并且加入restTemplate以消费相关的服务。
package com.my.ribbon;

import org.springframework.boot.SpringApplication;
import org.springframework.boot.autoconfigure.SpringBootApplication;
import org.springframework.cloud.client.discovery.EnableDiscoveryClient;
import org.springframework.cloud.client.loadbalancer.LoadBalanced;
import org.springframework.context.annotation.Bean;
import org.springframework.web.client.RestTemplate;

@SpringBootApplication
@EnableDiscoveryClient
public class RibbonApplication {

    public static void main(String[] args) {
        SpringApplication.run(RibbonApplication.class, args);
    }

    @Bean
    @LoadBalanced
    RestTemplate restTemplate()
    {
        return new RestTemplate();
    }
}
新建RibbonController
package com.my.ribbon;

import org.springframework.beans.factory.annotation.Autowired;
import org.springframework.web.bind.annotation.RequestMapping;
import org.springframework.web.bind.annotation.RequestParam;
import org.springframework.web.bind.annotation.RestController;

@RestController
public class RibbonController {
    @Autowired
    RibbonService ribbonService;

    @RequestMapping(value = "/hi")
    public String hi(@RequestParam String name)
    {
        return ribbonService.hiService(name);
    }

}
新建RibbonService
package com.my.ribbon;

import org.springframework.beans.factory.annotation.Autowired;
import org.springframework.stereotype.Service;
import org.springframework.web.client.RestTemplate;

@Service
public class RibbonService {
    @Autowired
    RestTemplate restTemplate;

    public String hiService(String name)
    {
        return restTemplate.getForObject("http://SERVICE-HI/hi?name=" + name, String.class);
    }
}
启动服务,访问http://localhost:8763/hi?name=my
显示的端口还是8762,说明我们通过消费者访问到了生产者。
注册中心现在有两个服务
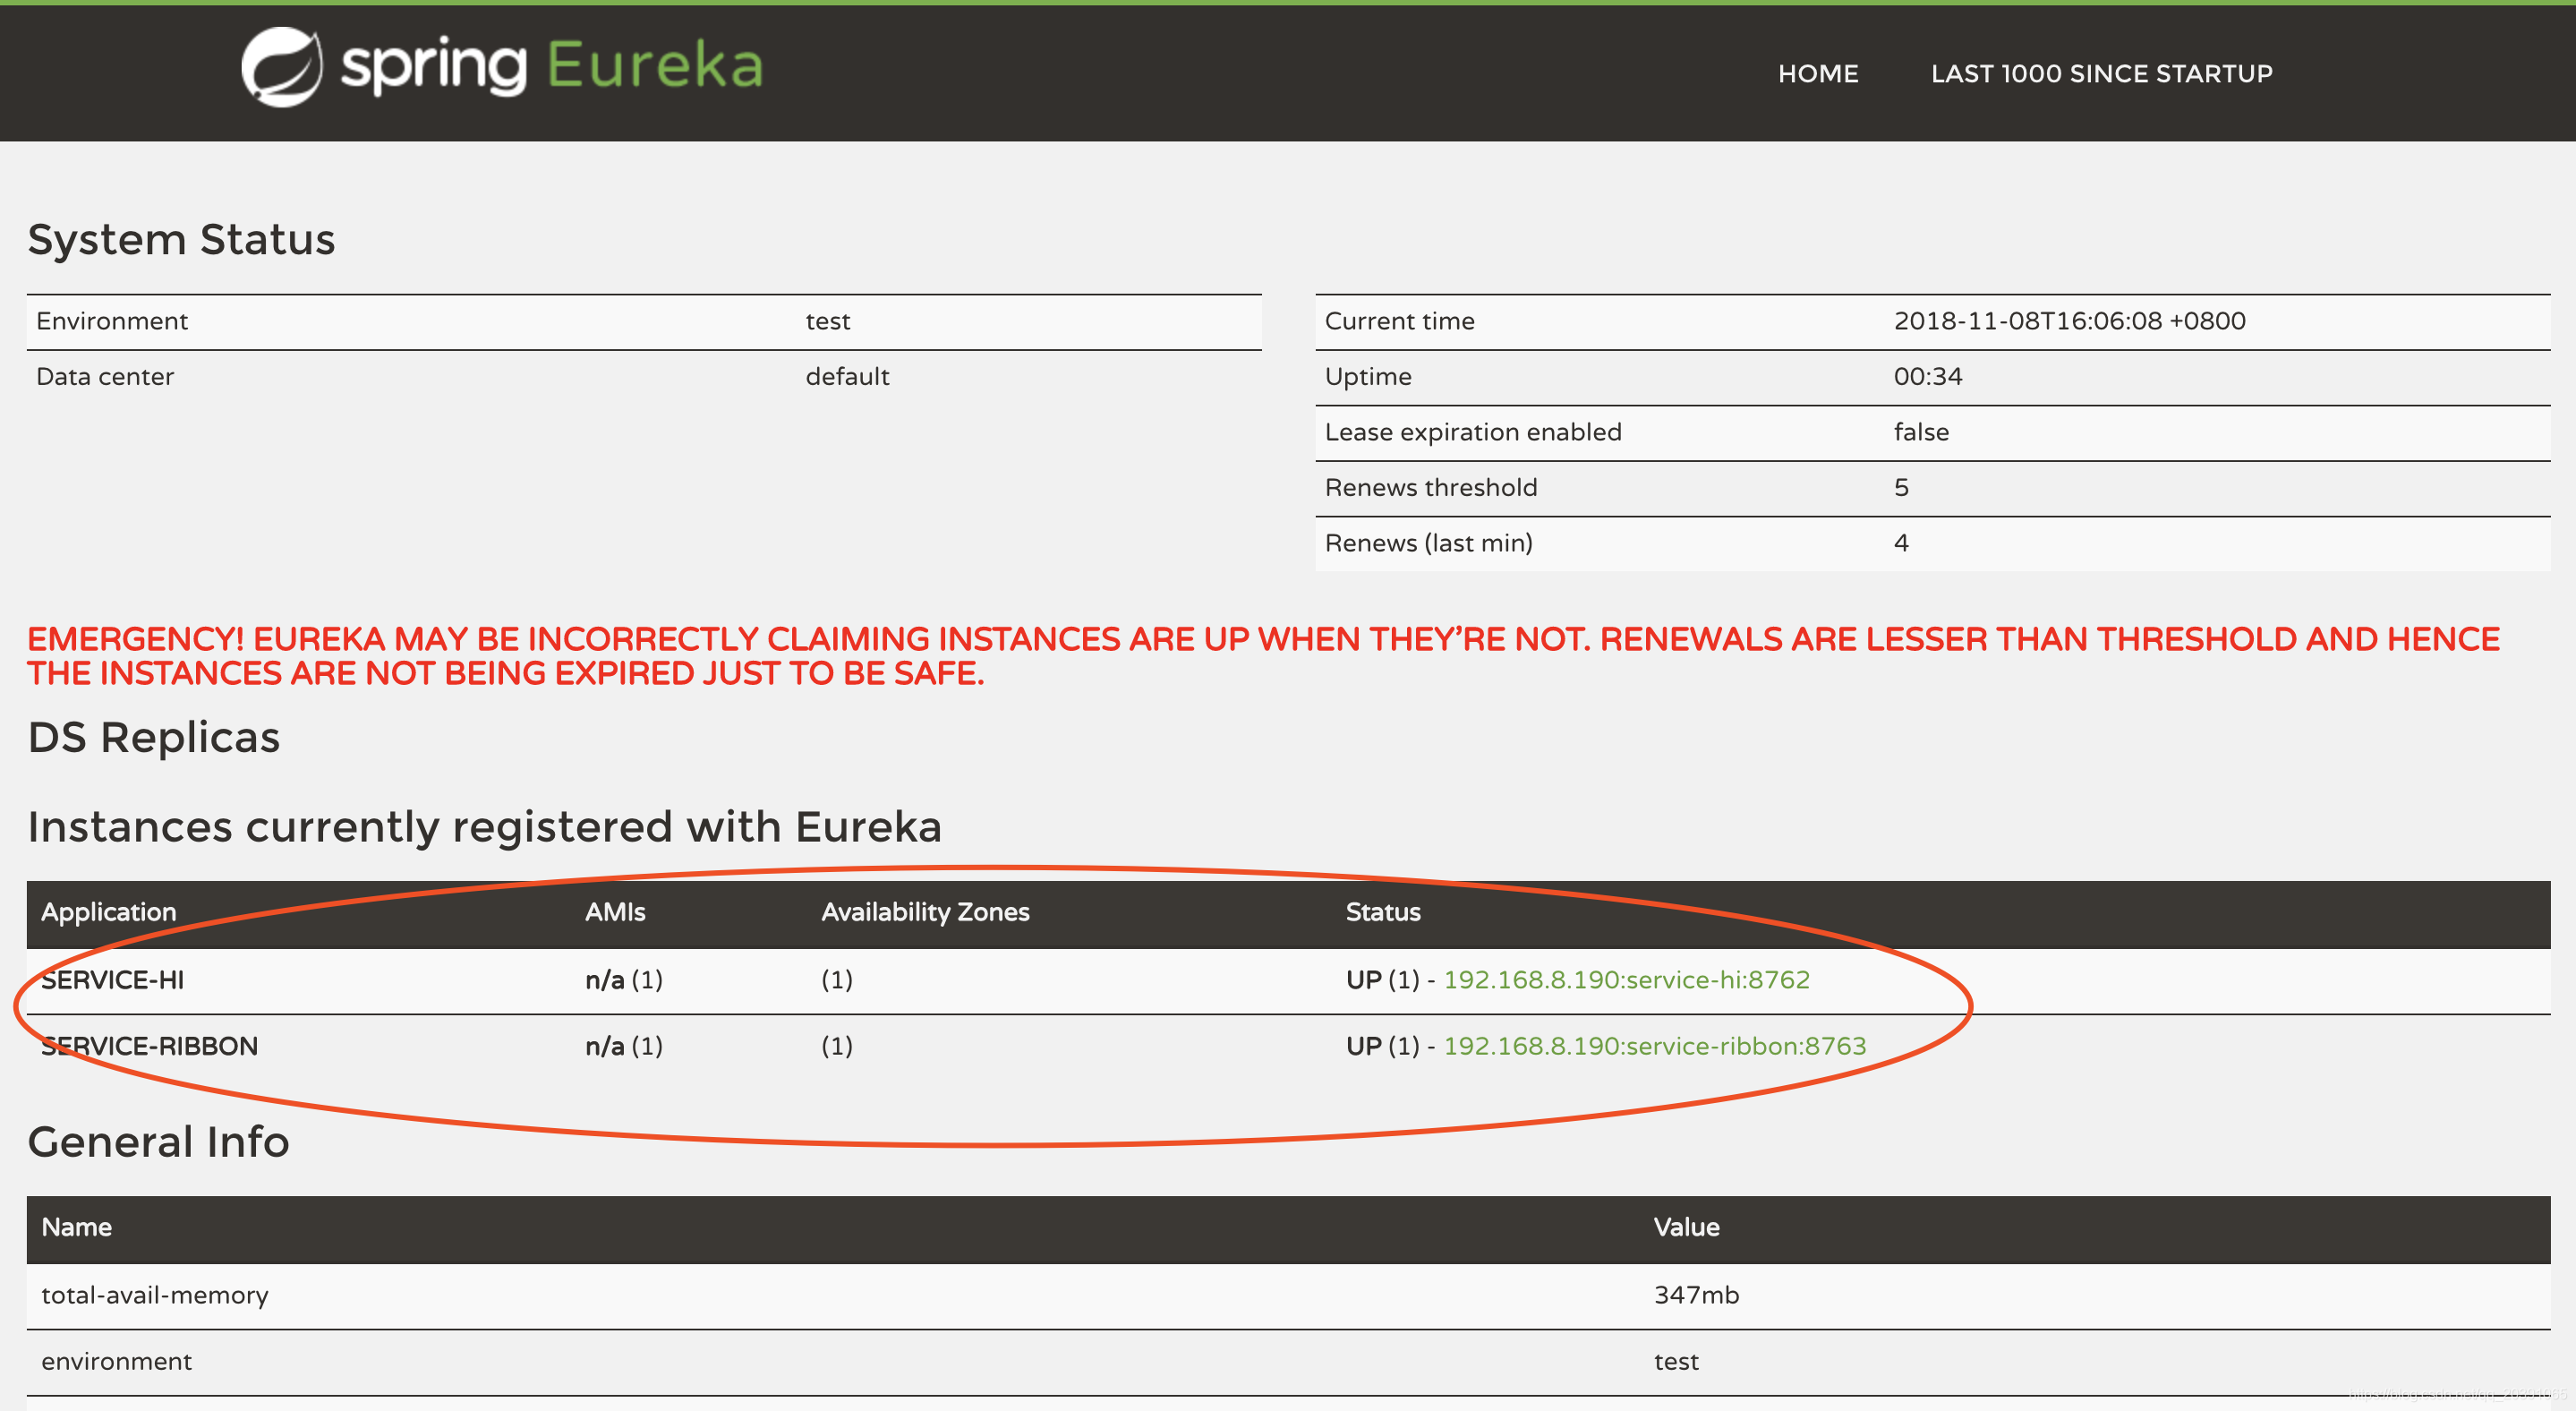
到这里就搭建好了一个spring cloud微服务了。
四、断路器
在微服务架构中,根据业务来拆分成一个个的服务,服务与服务之间可以相互调用(RPC),在Spring Cloud可以用RestTemplate+Ribbon和Feign来调用。为了保证其高可用,单个服务通常会集群部署。由于网络原因或者自身的原因,服务并不能保证100%可用,如果单个服务出现问题,调用这个服务就会出现线程阻塞,此时若有大量的请求涌入,Servlet容器的线程资源会被消耗完毕,导致服务瘫痪。服务与服务之间的依赖性,故障会传播,会对整个微服务系统造成灾难性的严重后果,这就是服务故障的“雪崩”效应。为了解决这个问题,业界提出了断路器模型。
Netflix开源了Hystrix组件,实现了断路器模式,SpringCloud对这一组件进行了整合。 在微服务架构中,一个请求需要调用多个服务是非常常见的,如下图:
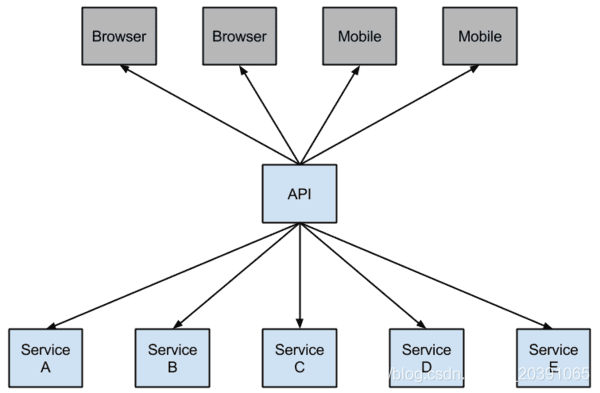
较底层的服务如果出现故障,会导致连锁故障。当对特定的服务的调用的不可用达到一个阀值(Hystric 是5秒20次) 断路器将会被打开。
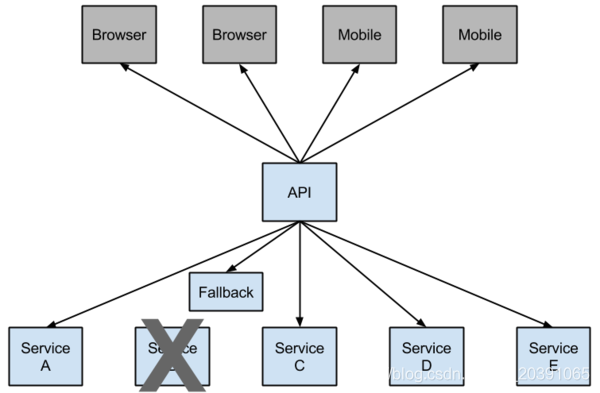
断路打开后,可用避免连锁故障,fallback方法可以直接返回一个固定值。
这里我们在消费者中引入断路器。首先,需要引入断路器的pom依赖:
<!--断路器-->
<dependency>
    <groupId>org.springframework.cloud</groupId>
    <artifactId>spring-cloud-starter-hystrix</artifactId>
    <version>1.4.4.RELEASE</version>
</dependency>
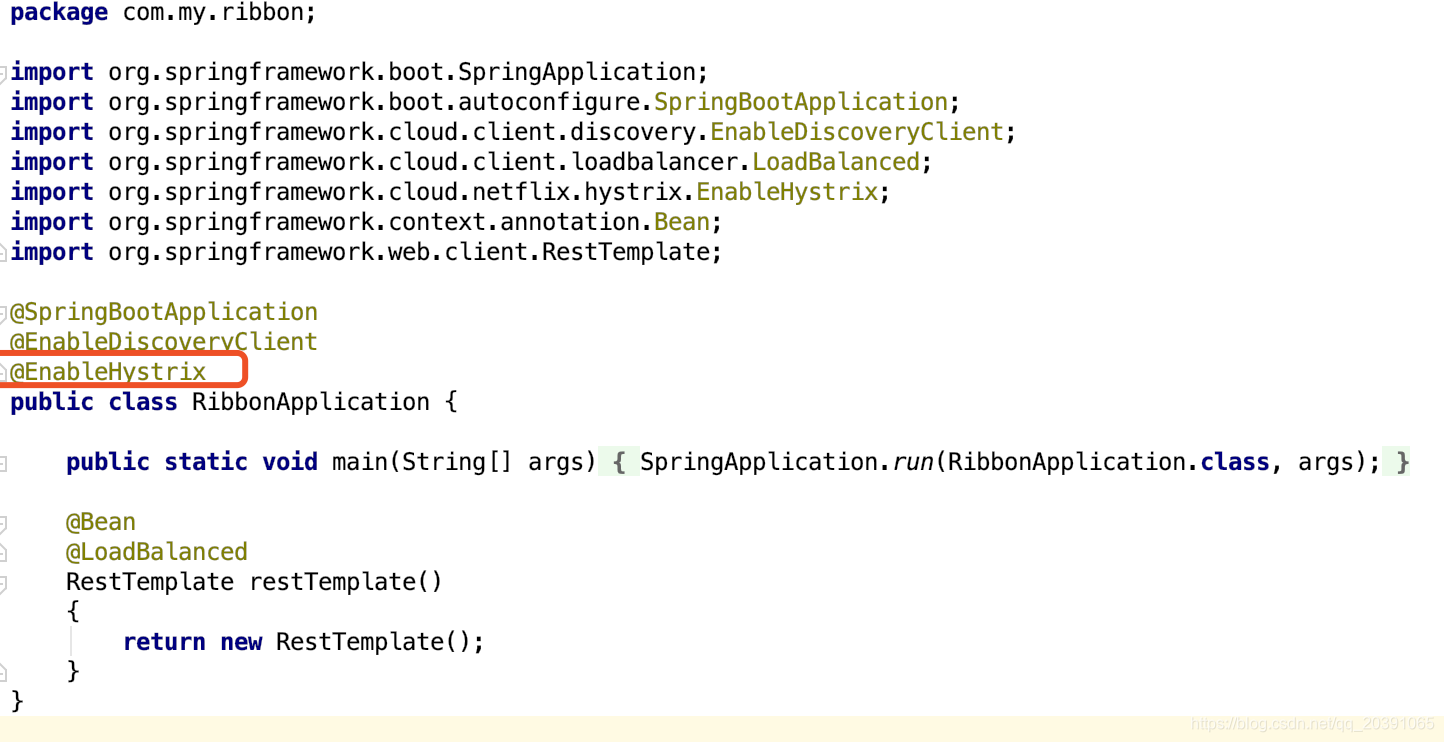
在application中增加@EnableHystrix注解表示开启断路器
然后修改service,增加断路器所需的fallback方法:
package com.my.ribbon;

import com.netflix.hystrix.contrib.javanica.annotation.HystrixCommand;
import org.springframework.beans.factory.annotation.Autowired;
import org.springframework.stereotype.Service;
import org.springframework.web.client.RestTemplate;

@Service
public class RibbonService {
    @Autowired
    RestTemplate restTemplate;

    @HystrixCommand(fallbackMethod = "hiError")
    public String hiService(String name)
    {
        return restTemplate.getForObject("http://SERVICE-HI/hi?name=" + name, String.class);
    }

    public String hiError(String name){
        return "hey " + name + ": there is some problem with hi Page";
    }
}
重启消费者服务,关闭生产者服务,再次访问http://localhost:8763/hi?name=my

本次笔记到此结束。
本文参考:https://blog.csdn.net/zhou199252/article/details/80745151


 4万+
4万+


 被折叠的 条评论
为什么被折叠?
被折叠的 条评论
为什么被折叠?
 到【灌水乐园】发言


