


什么是ES,Elasticsearch 是一个分布式、可扩展、近实时的搜索与数据分析引擎
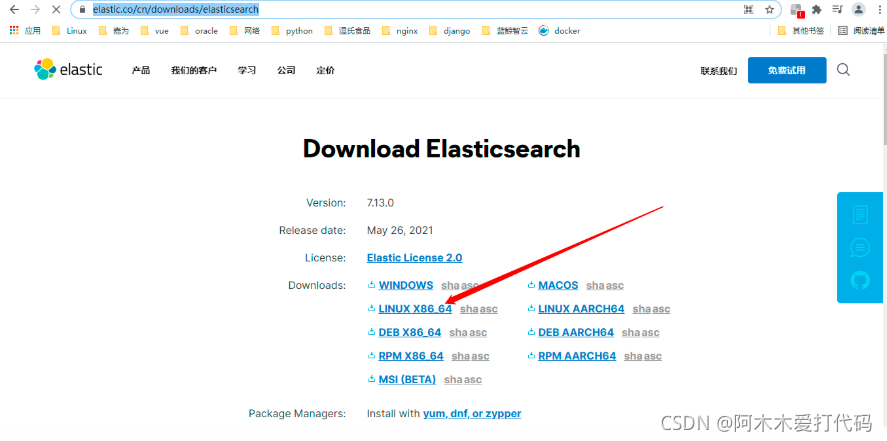
1、下载安装包
https://www.elastic.co/cn/downloads/elasticsearch
2、解压安装包
tar xf elasticsearch-7.14.1-linux-x86_64.tar.gz
3、创建es用户并授权
# 因为启动elasticsearch不能用root用户,因此需要创建es用户
useradd es
chwon -R es:es  /data/es/elasticsearch-7.14.1
4、修改系统相关配置
# 1.
编辑 /etc/security/limits.conf,追加以下内容;
* soft nofile 65536
* hard nofile 65536
es  soft nproc  4096
es  hard nproc  4096
此文件修改后需要重新登录用户,才会生效

# 2.
在/etc/sysctl.conf文件最后添加一行
vm.max_map_count=262144
#然后执行如下命令,使配置生效
sysctl -p
5、修改config/elasticsearch.yml文件
vi config/elasticsearch.yml
# 修改如下内容,node.name需要与下面的cluster.initial_master_nodes的值一致
node.name: node-1
network.host: 192.168.1.11
cluster.initial_master_nodes: ["node1"]
6、切换es用户,启动es
su  - es
cd /data/es/elasticsearch-7.14.1/bin
./elasticsearch  # 前台启动
./elasticsearch  -d  # 后台启动,选择任一方式启动即可
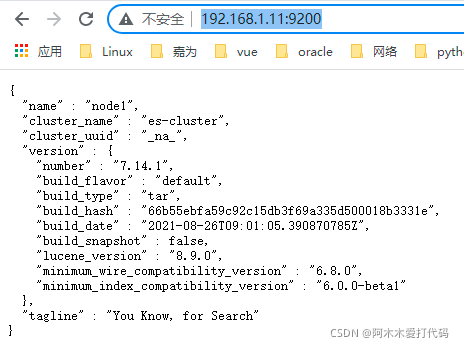
7、访问es
http://192.168.1.11:9200/ # es的默认端口是9200,这个可以在config/elasticsearch.yml 配置文件中进行修改
8、往ES插入数据
[root@k8s-node01 elasticsearch-7.14.1]# curl -H "Content-Type: application/json" -XPOST 'http://192.168.1.11:9200/test/_doc?pretty' -d '{
  "title": "测试数据",
  "name" : {
    "first" : "Zachary",
    "last" : "Tong"
  },
  "publish_date":"2015-02-06",
  "price":"49.99"
}'
{
  "_index" : "test",
  "_type" : "_doc",
  "_id" : "8nM7ZX0BBjhXn3a7vF3K",
  "_version" : 1,
  "result" : "created",
  "_shards" : {
    "total" : 2,
    "successful" : 1,
    "failed" : 0
  },
  "_seq_no" : 0,
  "_primary_term" : 1
}
9、查询索引
curl -XGET http://192.168.1.11:9200/_cat/indices?pretty
# 查询发现多了一个test索引
[root@k8s-node01 elasticsearch-7.14.1]# curl -XGET http://192.168.1.11:9200/_cat/indices?pretty
green  open .geoip_databases           wiRXAeMEQiqum-J-jNgwUg 1 0 42 3 43.6mb 43.6mb
yellow open test                       ybGFedBwRZ-p-dgle2Nh_A 1 1  1 0  5.9kb  5.9kb
yellow open logstash-2021.11.27-000001 5bGRuAP2TCyu-N1xVAf0CA 1 1  2 0 10.7kb 10.7kb


 1514
1514


 被折叠的 条评论
为什么被折叠?
被折叠的 条评论
为什么被折叠?
 到【灌水乐园】发言


