


0x001 简介
本文介绍了在Ubuntu2022.04 LTS基础上通过源码安装部署APISIX 2.3.2 LTS网关的操作方案。APISIX是基于Openresty开发的一款高性能网关。深圳支流科技于2019年10捐赠给Apache基金会。2020年7月15日从Apache基金会毕业成为顶级项目。国内大厂都有使用到APISIX[1]。
0x002 前置条件和环境要求
笔者假定读者已掌握基础的Linux使用知识,并且拥有良好的网络。以下操作步骤均在以下环境操作并得到验证。
| 软件名 | 版本 | 备注 |
| Ubuntu Server | 22.04 LTS 64位 | 已使用apt-get 更新并重启过 |
| APISIX | 3.2.2 LTS | \ |
| Docker | 25.0.4 | 控制面板 |
| Etcd | 3.5.4 | APISIX存储配置文件 |
0x003 安装部署Openresty
参考以下步骤安装Openresty。测试时本机未安装Nginx以及其他Web服务器软件。
先安装以下工具软件,使用的镜像中已安装
sudo apt-get -y install --no-install-recommends wget gnupg ca-certificates lsb-release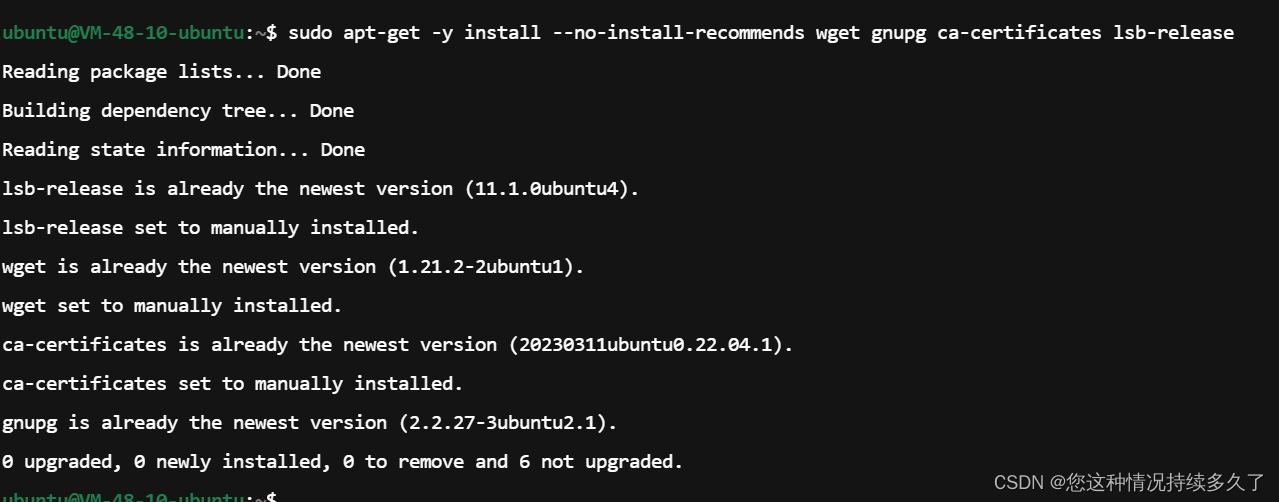
导入Openresty软件包的GPG公钥,此命令执行时需要确保当前所在目录下有对应权限写入。
wget -O - https://openresty.org/package/pubkey.gpg | sudo gpg --dearmor -o /usr/share/keyrings/openresty.gpg
添加APT软件源,此命令不会有回显。没有任何报错即是成功
echo "deb [arch=$(dpkg --print-architecture) signed-by=/usr/share/keyrings/openresty.gpg] http://openresty.org/package/ubuntu $(lsb_release -sc) main" | sudo tee /etc/apt/sources.list.d/openresty.list > /dev/null
更新apt软件源
sudo apt-get update
安装软件,注意openresty-zlib-dev、openresty-pcre-dev、openresty-openssl111-dev等三个软件包是开发库。后续APISXI安装时需要依赖这三个库。
sudo apt-get -y install openresty openresty-zlib-dev openresty-pcre-dev openresty-openssl111-dev此时访问您的云服务器公网IP:80端口看到此界面时代表openresty以及安装成功。

0x004 安装Etcd
输入以下命令,锁定etcd版本
ETCD_VERSION='3.5.4'
下载软件包,耐心等待下载完成。如果有失败可以删除下载文件后再重试。如确实无法下载的可本地下载再上传到服务器(https://github.com/etcd-io/etcd/releases/download/v3.5.4/etcd-v3.5.4-linux-amd64.tar.gz)。
wget https://github.com/etcd-io/etcd/releases/download/v${ETCD_VERSION}/etcd-v${ETCD_VERSION}-linux-amd64.tar.gz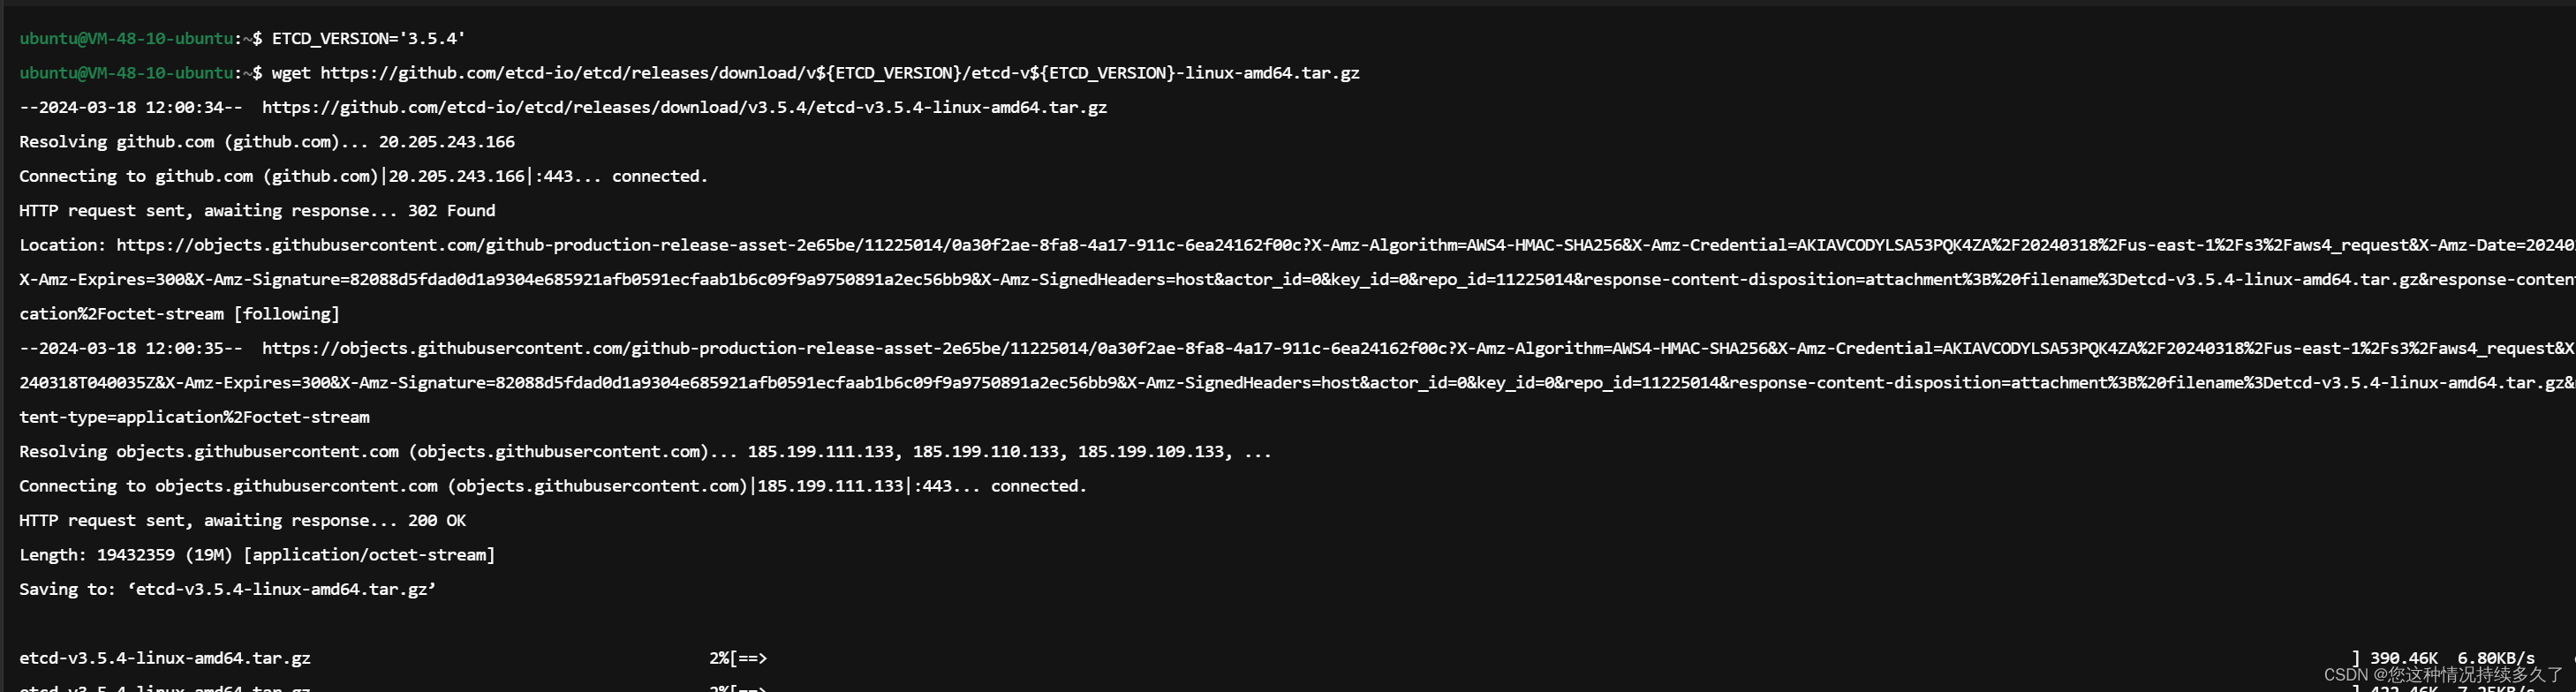
下载完成后解压并进入解压的目录
tar -xvf etcd-v${ETCD_VERSION}-linux-amd64.tar.gz && cd etcd-v${ETCD_VERSION}-linux-amd64
运行以下命令启动etcd,注意这里的10.0.20.4是服务器的内网IP。需要根据自己的实际情况进行修改。配置此IP方便docker控制板访问,和其他服务器的apisix连接此etcd。
nohup ./etcd --listen-client-urls http://172.16.48.10:2379 --advertise-client-urls http://172.16.48.10:2379 >/tmp/etcd.log 2>&1 &
查看/tmp/etcd.log是否启动成功
cat /tmp/etcd.log
没有报错即启动成功。
0x005 安装APISXI
安装依赖,等待完成
sudo apt-get install -y curl make gcc g++ cpanminus libpcre3 libpcre3-dev libldap2-dev unzip openresty-zlib-dev openresty-pcre-dev openresty-openssl111-dev
没有报错即安装成功
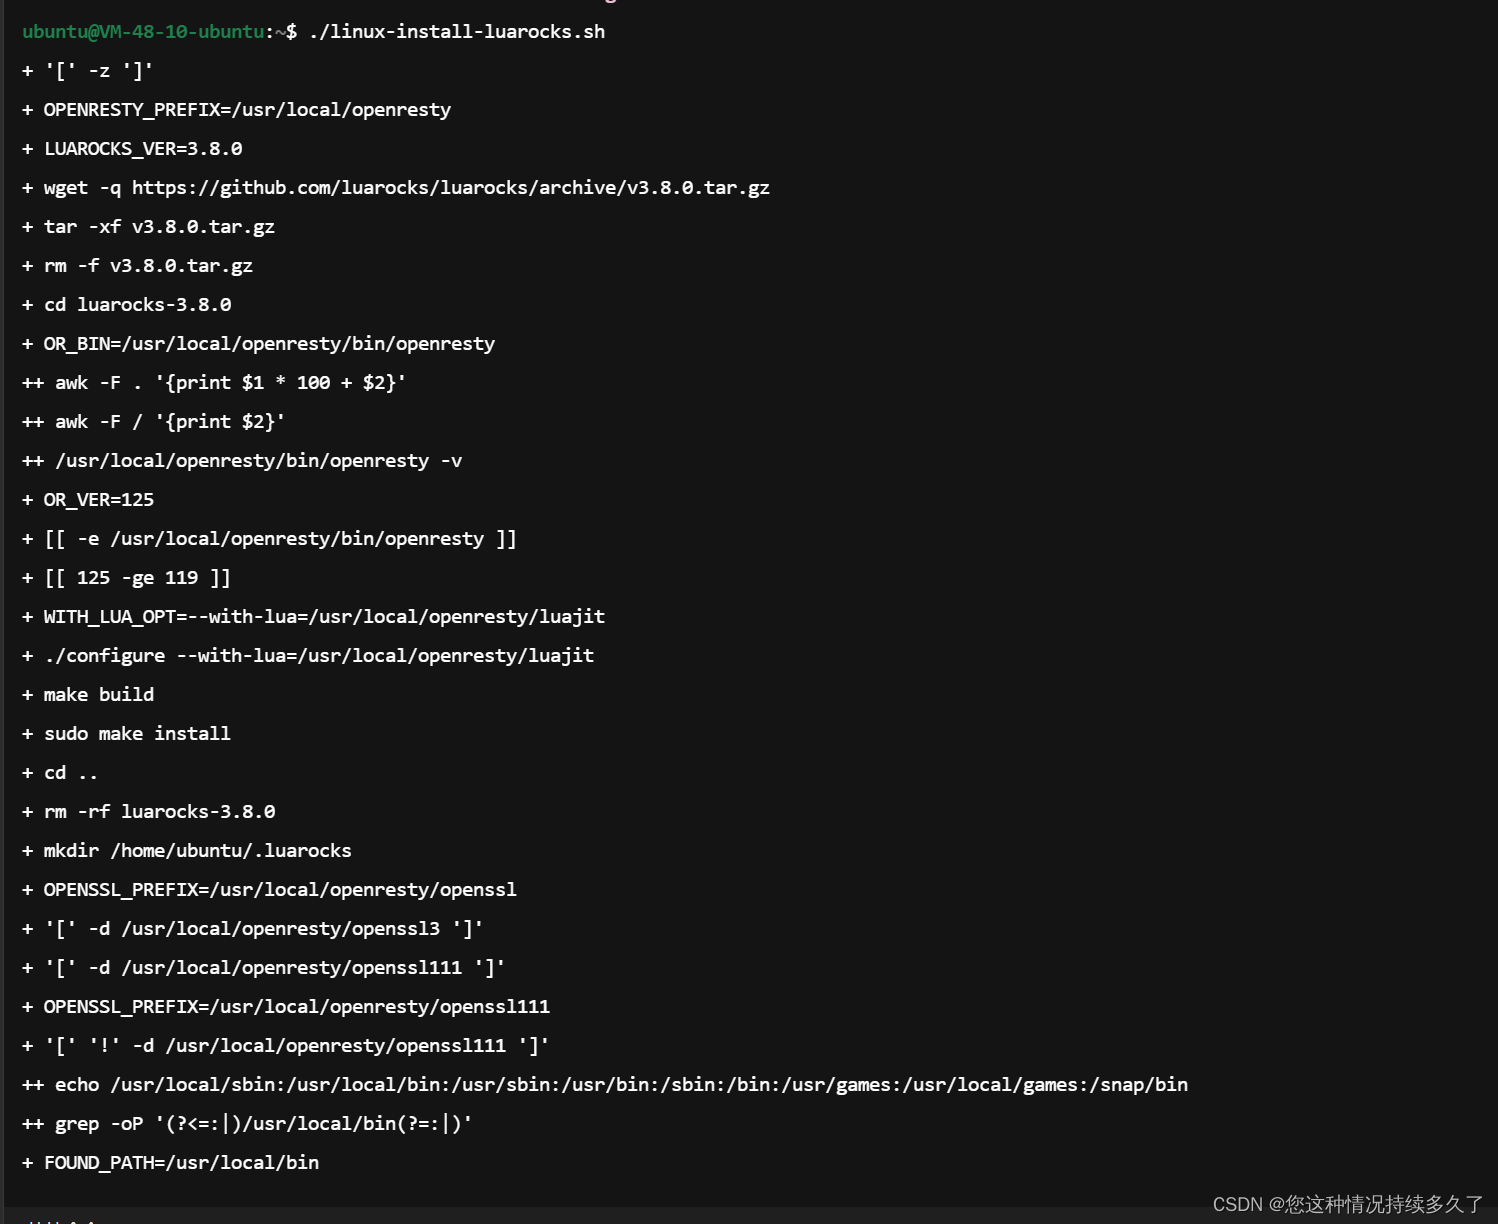
安装依赖的luarocks。无法下载到执行的话,轻下载到本地上传到服务器执行。
curl https://raw.githubusercontent.com/apache/apisix/master/utils/linux-install-luarocks.sh -sL | bash -
以下即执行完成
下载APISIX源码
APISIX_VERSION='3.2.2'
mkdir apisix-${APISIX_VERSION}
git clone --depth 1 --branch ${APISIX_VERSION} https://github.com/apache/apisix.git apisix-${APISIX_VERSION}
以上即是完成,切换到apisix-3.2.2目录下
构建安装,make help可看到支持的选项
make help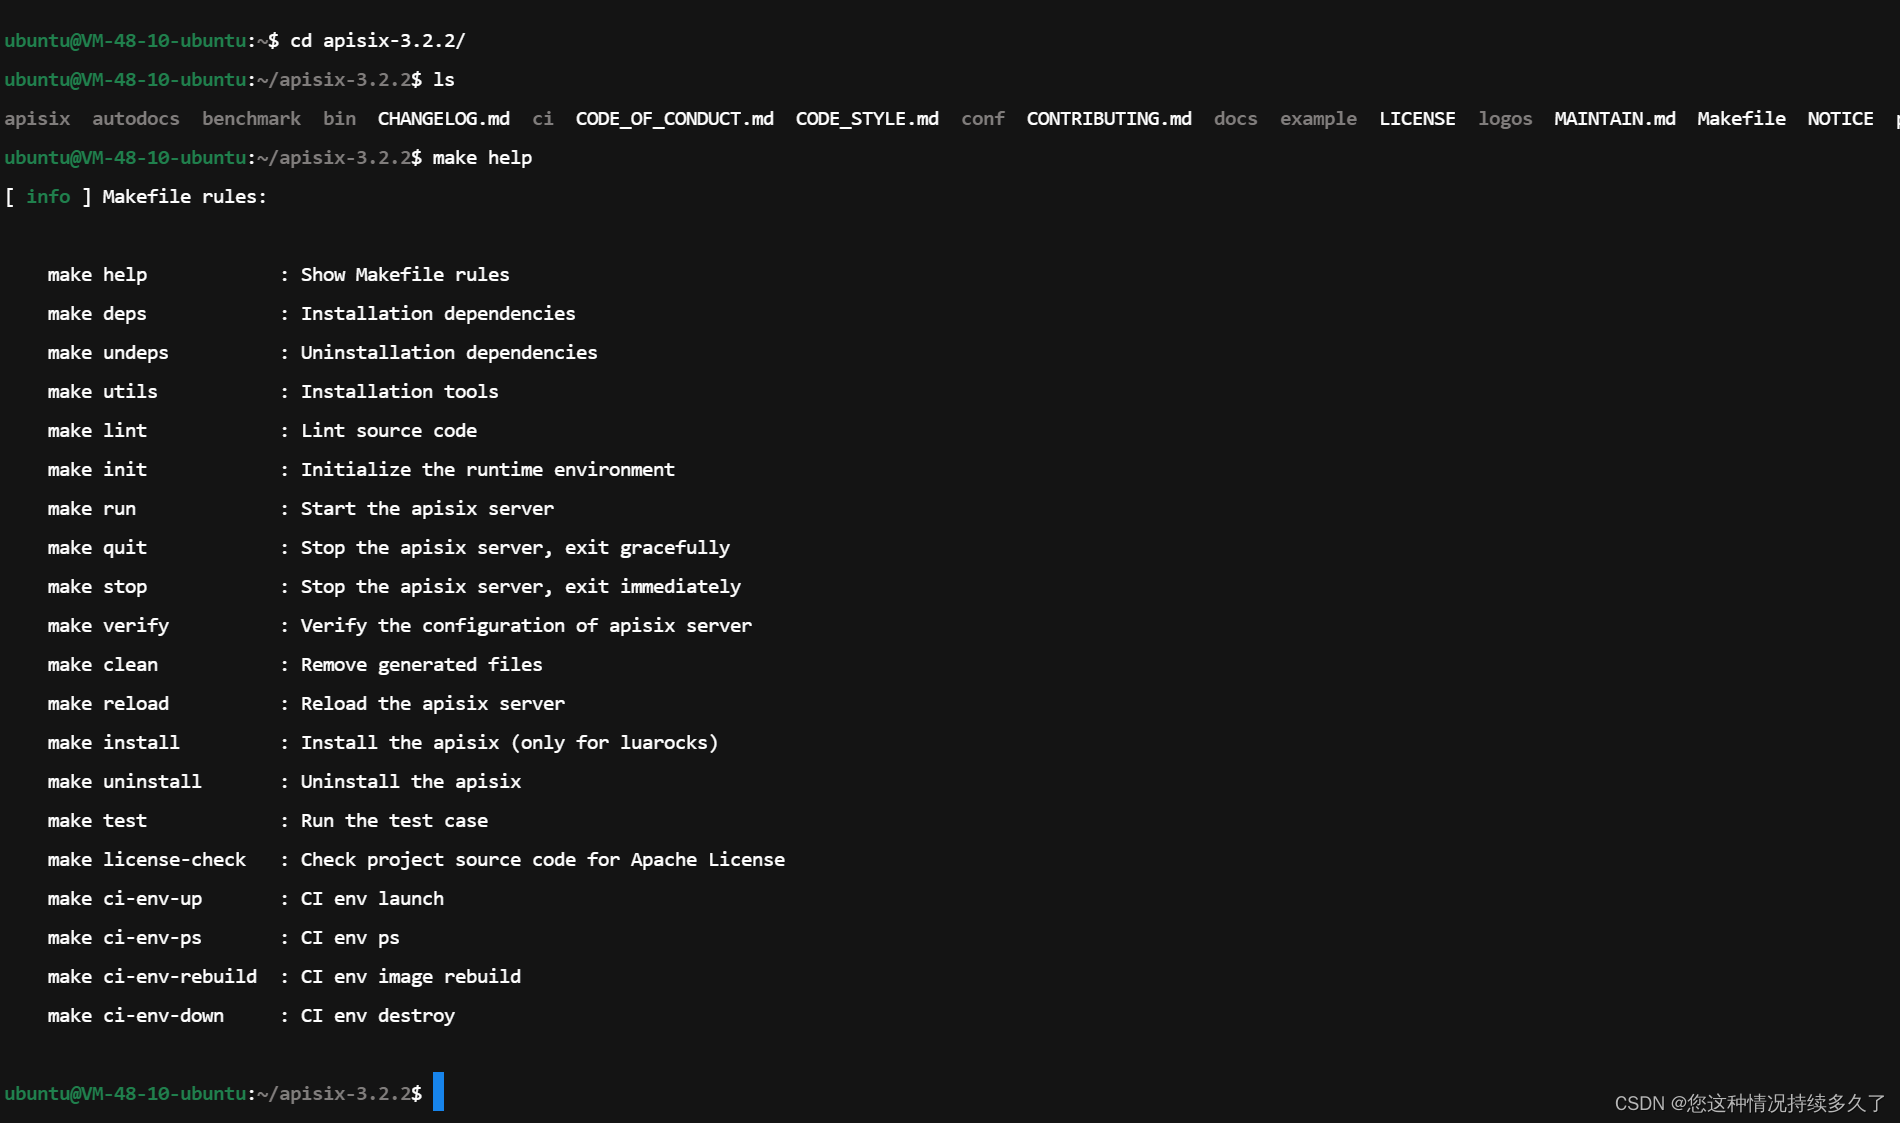
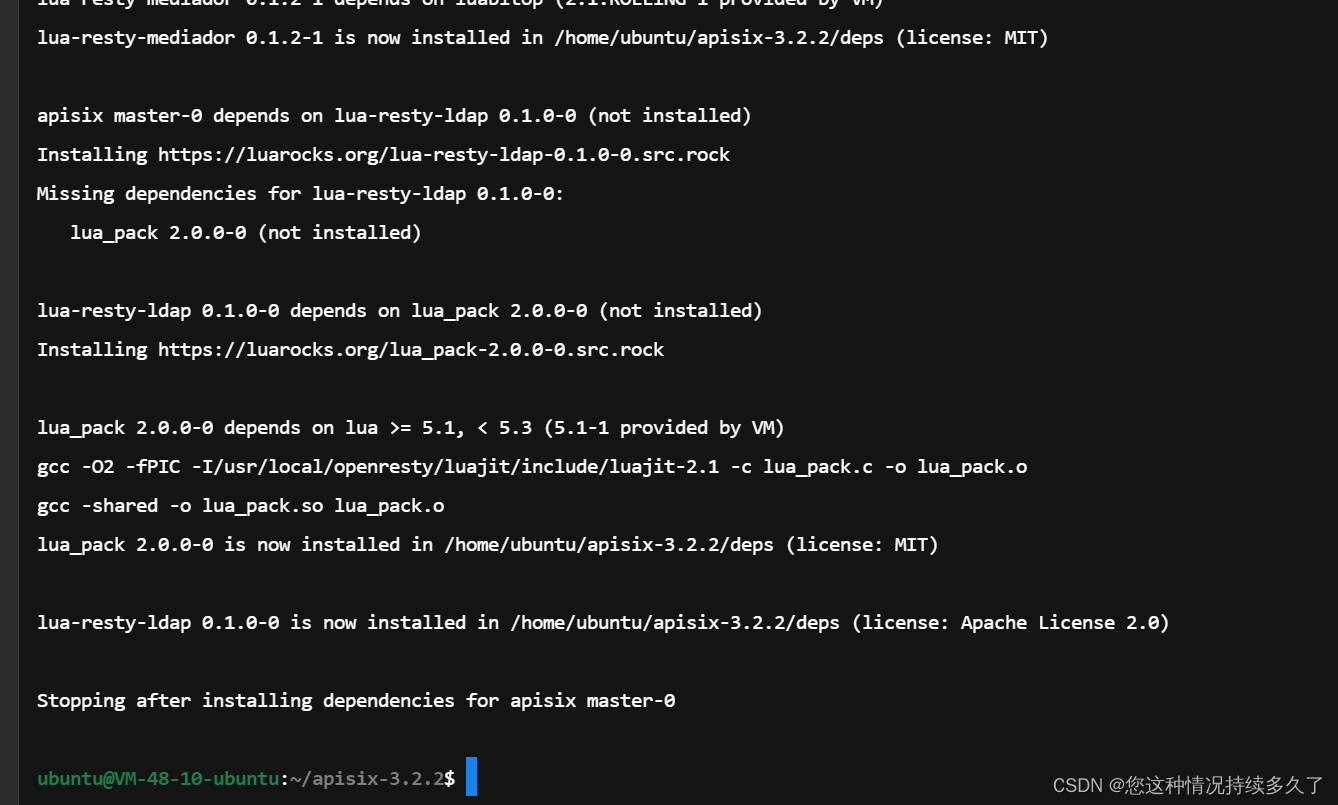
运行安装运行时依赖,如有超时可以再此运行此命令
make deps以下即安装完毕
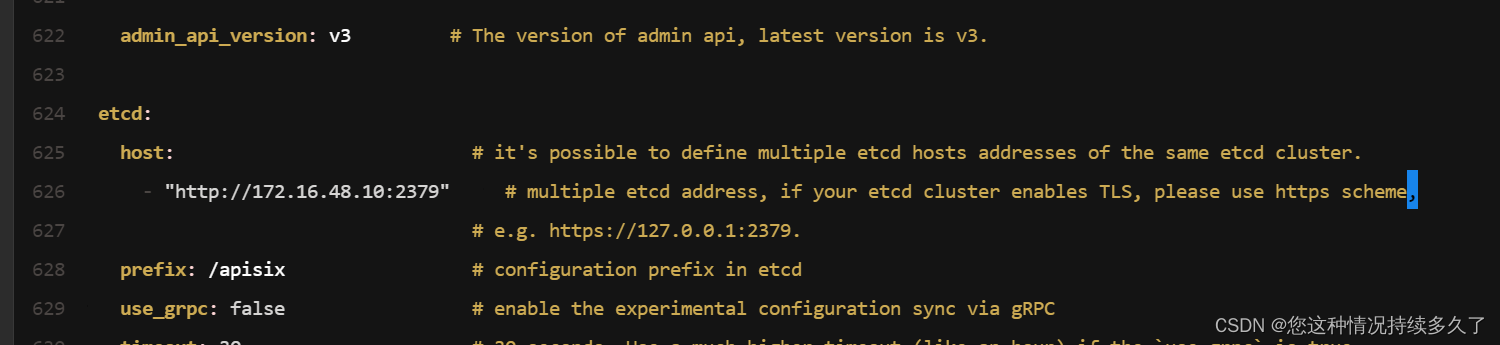
修改配置文件中的etcd地址
vim conf/config-default.yaml找到第626行
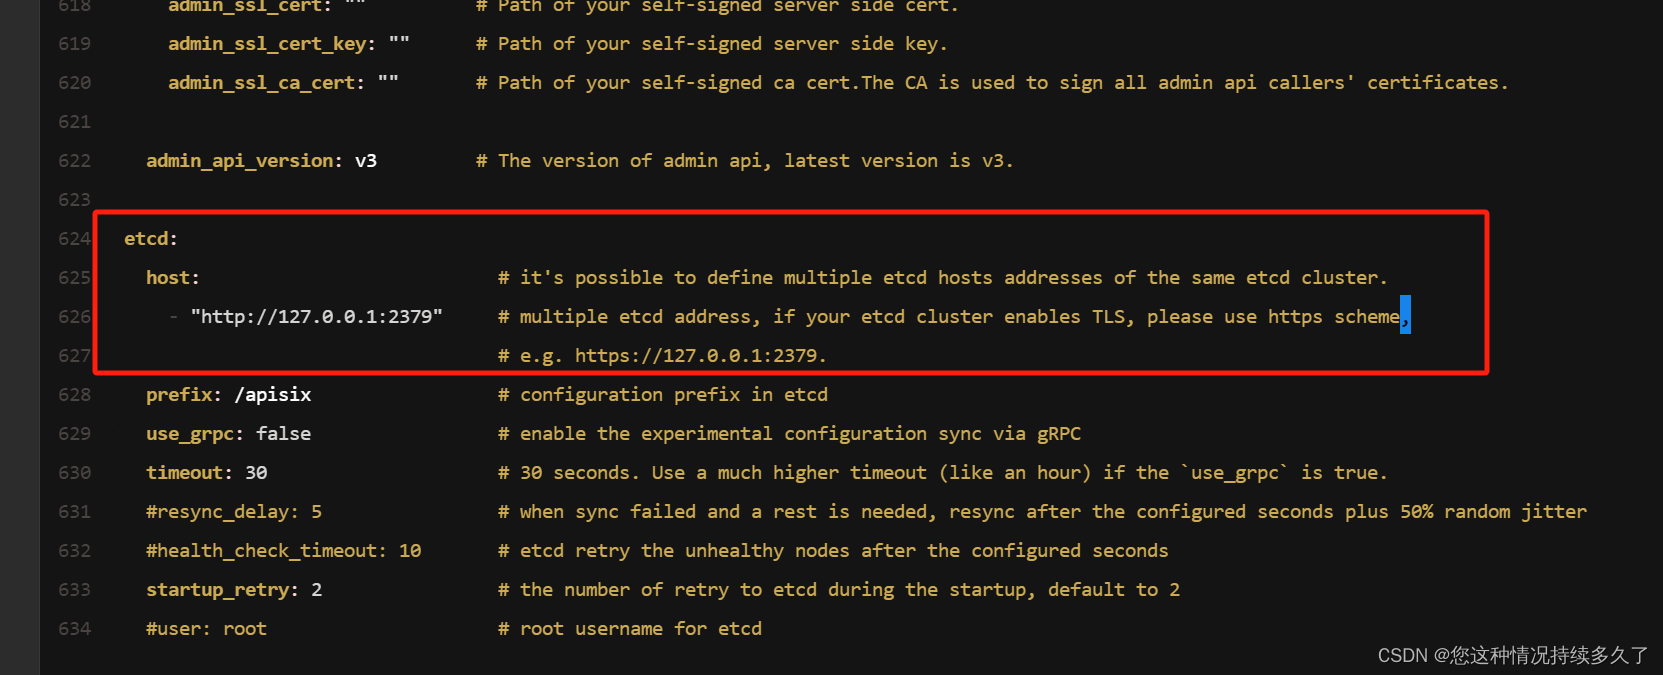
此处修改为0x004第4部的内网地址
运行以下命令初始etcd数据
make init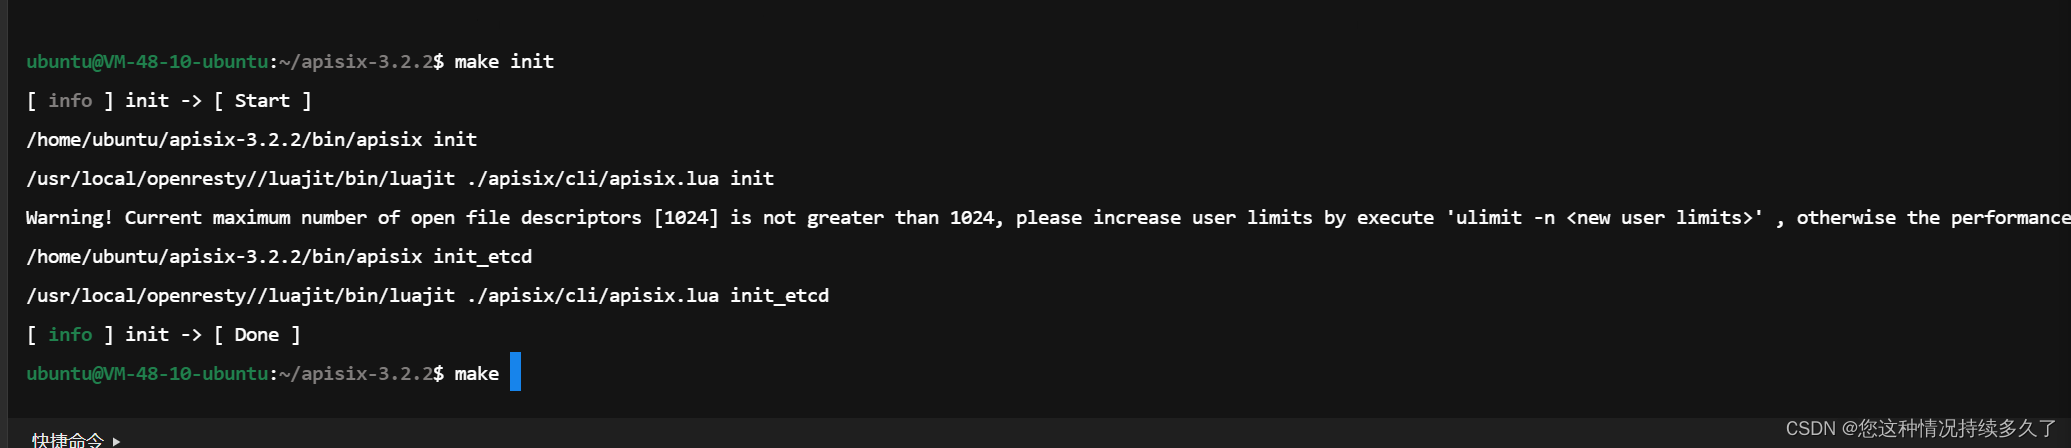 运行ulimit -n 66535 再运行以下命令即不在有告警。
make run
注意:
此时的APISIX运行在9080、9443端口上。测试以下地址即可确认是否正确启动。

0x006 安装Docker并拉取控制面板
以下是极速版安装docker(腾讯云内网镜像)
sudo install -m 0755 -d /etc/apt/keyrings
sudo curl -fsSL https://download.docker.com/linux/ubuntu/gpg -o /etc/apt/keyrings/docker.asc
sudo chmod a+r /etc/apt/keyrings/docker.asc

echo \
  "deb [arch=$(dpkg --print-architecture) signed-by=/etc/apt/keyrings/docker.asc] http://mirrors.tencentyun.com/docker-ce/linux/ubuntu \
  $(. /etc/os-release && echo "$VERSION_CODENAME") stable" | \
  sudo tee /etc/apt/sources.list.d/docker.list > /dev/null
sudo apt-get update

sudo apt-get install docker-ce docker-ce-cli containerd.io docker-buildx-plugin docker-compose-plugin 
创建以下配置文为conf.yaml
conf:
  listen:
    host: 0.0.0.0
    port: 9000
  etcd:
    endpoints:
      - 172.16.48.10:2379
authentication:
  secret:
    r9h052aasasasax
  expire_time: 3600
  users:
    - username: admin
      password: admin
plugins:
  - api-breaker
  - authz-casbin
  - authz-casdoor
  - authz-keycloak
  - aws-lambda
  - azure-functions
  - basic-auth
  # - batch-requests
  - clickhouse-logger
  - client-control
  - consumer-restriction
  - cors
  - csrf
  - datadog
  # - dubbo-proxy
  - echo
  - error-log-logger
  # - example-plugin
  - ext-plugin-post-req
  - ext-plugin-post-resp
  - ext-plugin-pre-req
  - fault-injection
  - file-logger
  - forward-auth
  - google-cloud-logging
  - grpc-transcode
  - grpc-web
  - gzip
  - hmac-auth
  - http-logger
  - ip-restriction
  - jwt-auth
  - kafka-logger
  - kafka-proxy
  - key-auth
  - ldap-auth
  - limit-conn
  - limit-count
  - limit-req
  - loggly
  # - log-rotate
  - mocking
  # - node-status
  - opa
  - openid-connect
  - opentelemetry
  - openwhisk
  - prometheus
  - proxy-cache
  - proxy-control
  - proxy-mirror
  - proxy-rewrite
  - public-api
  - real-ip
  - redirect
  - referer-restriction
  - request-id
  - request-validation
  - response-rewrite
  - rocketmq-logger
  - server-info
  - serverless-post-function
  - serverless-pre-function
  - skywalking
  - skywalking-logger
  - sls-logger
  - splunk-hec-logging
  - syslog
  - tcp-logger
  - traffic-split
  - ua-restriction
  - udp-logger
  - uri-blocker
  - wolf-rbac
  - zipkin
  - elasticsearch-logge
  - openfunction
  - tencent-cloud-cls
  - ai
  - cas-auth
运行docker命令创建容器
sudo docker pull apache/apisix-dashboard
sudo docker run -d --name dashboard \
           -p 9000:9000        \
           -v `pwd`/conf.yaml:/usr/local/apisix-dashboard/conf/conf.yaml \
           apache/apisix-dashboard
0x007 通过控制面板配置路由
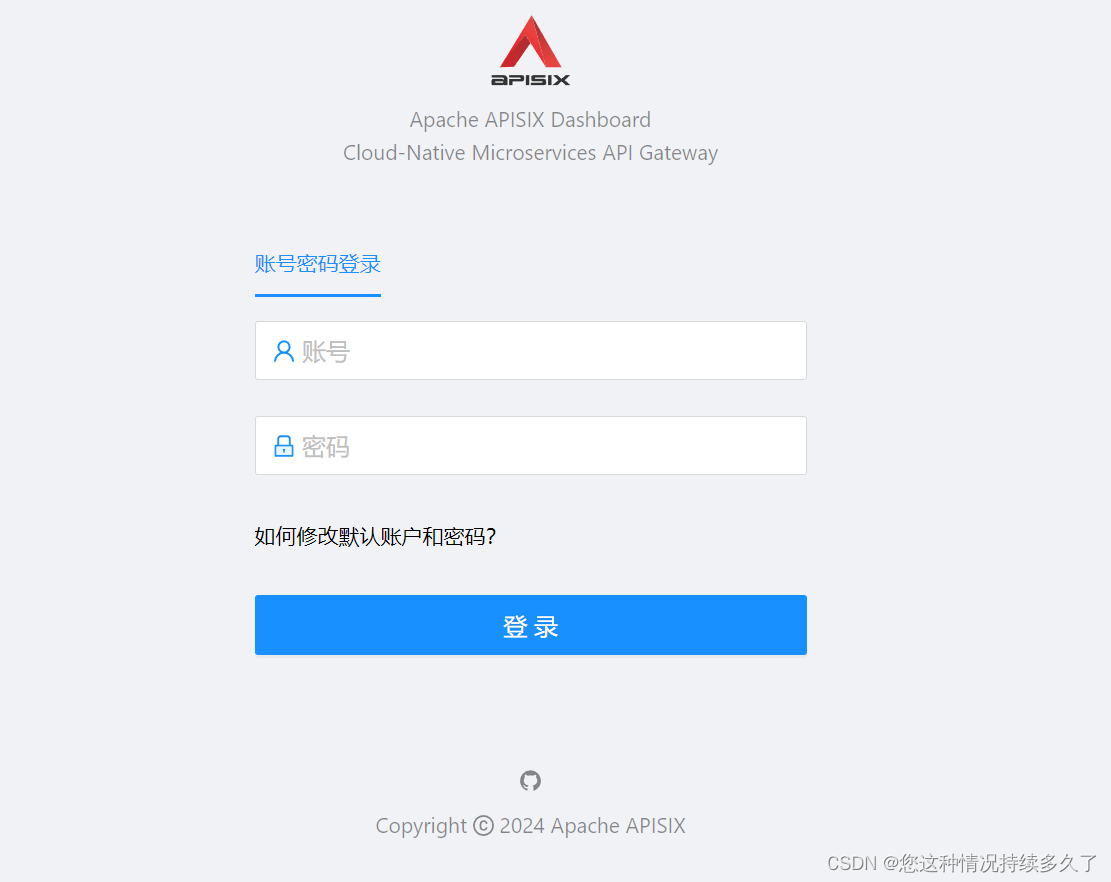
访问9000端口,输入admin\admin登录
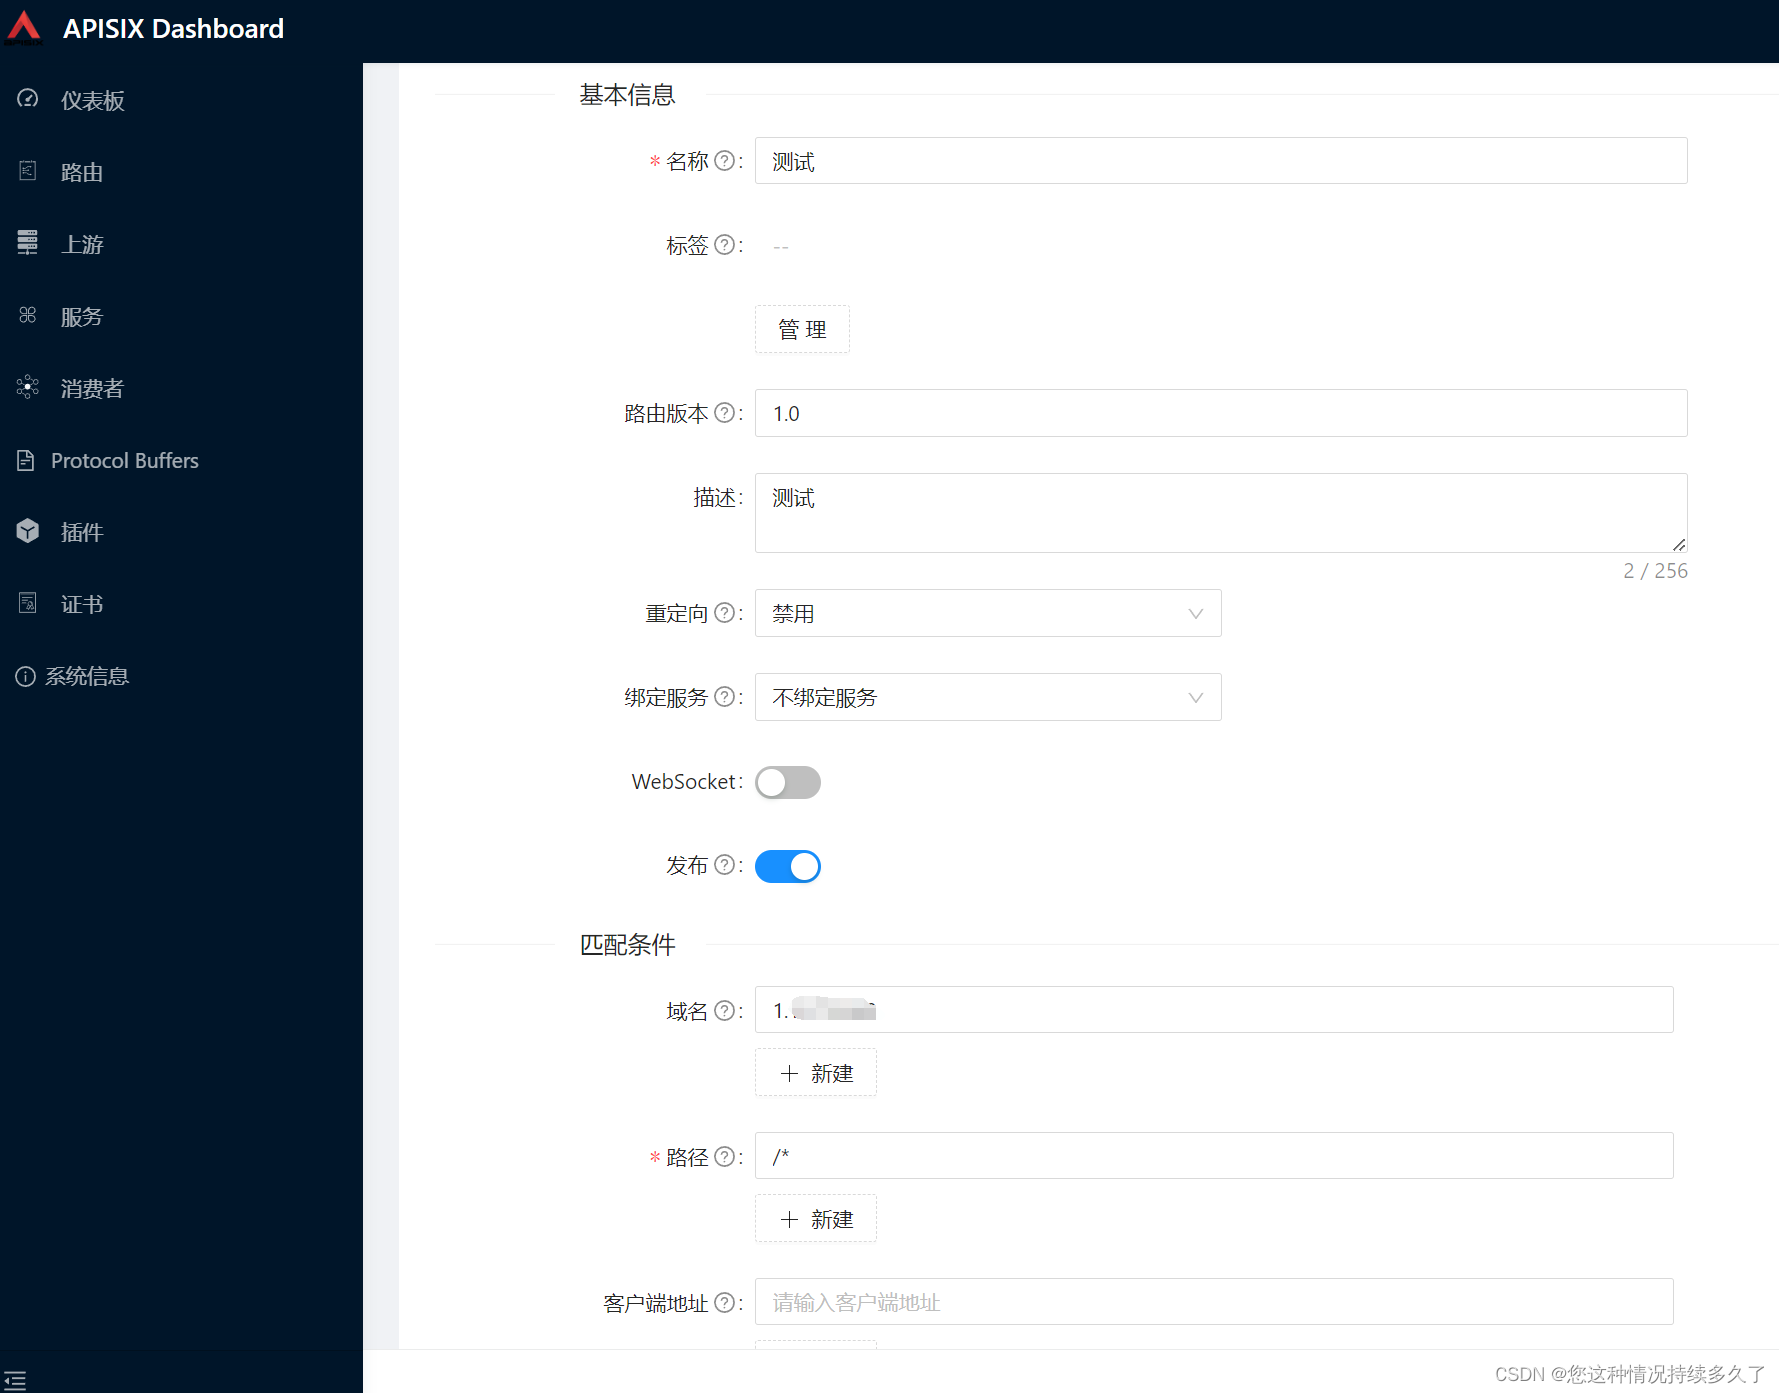
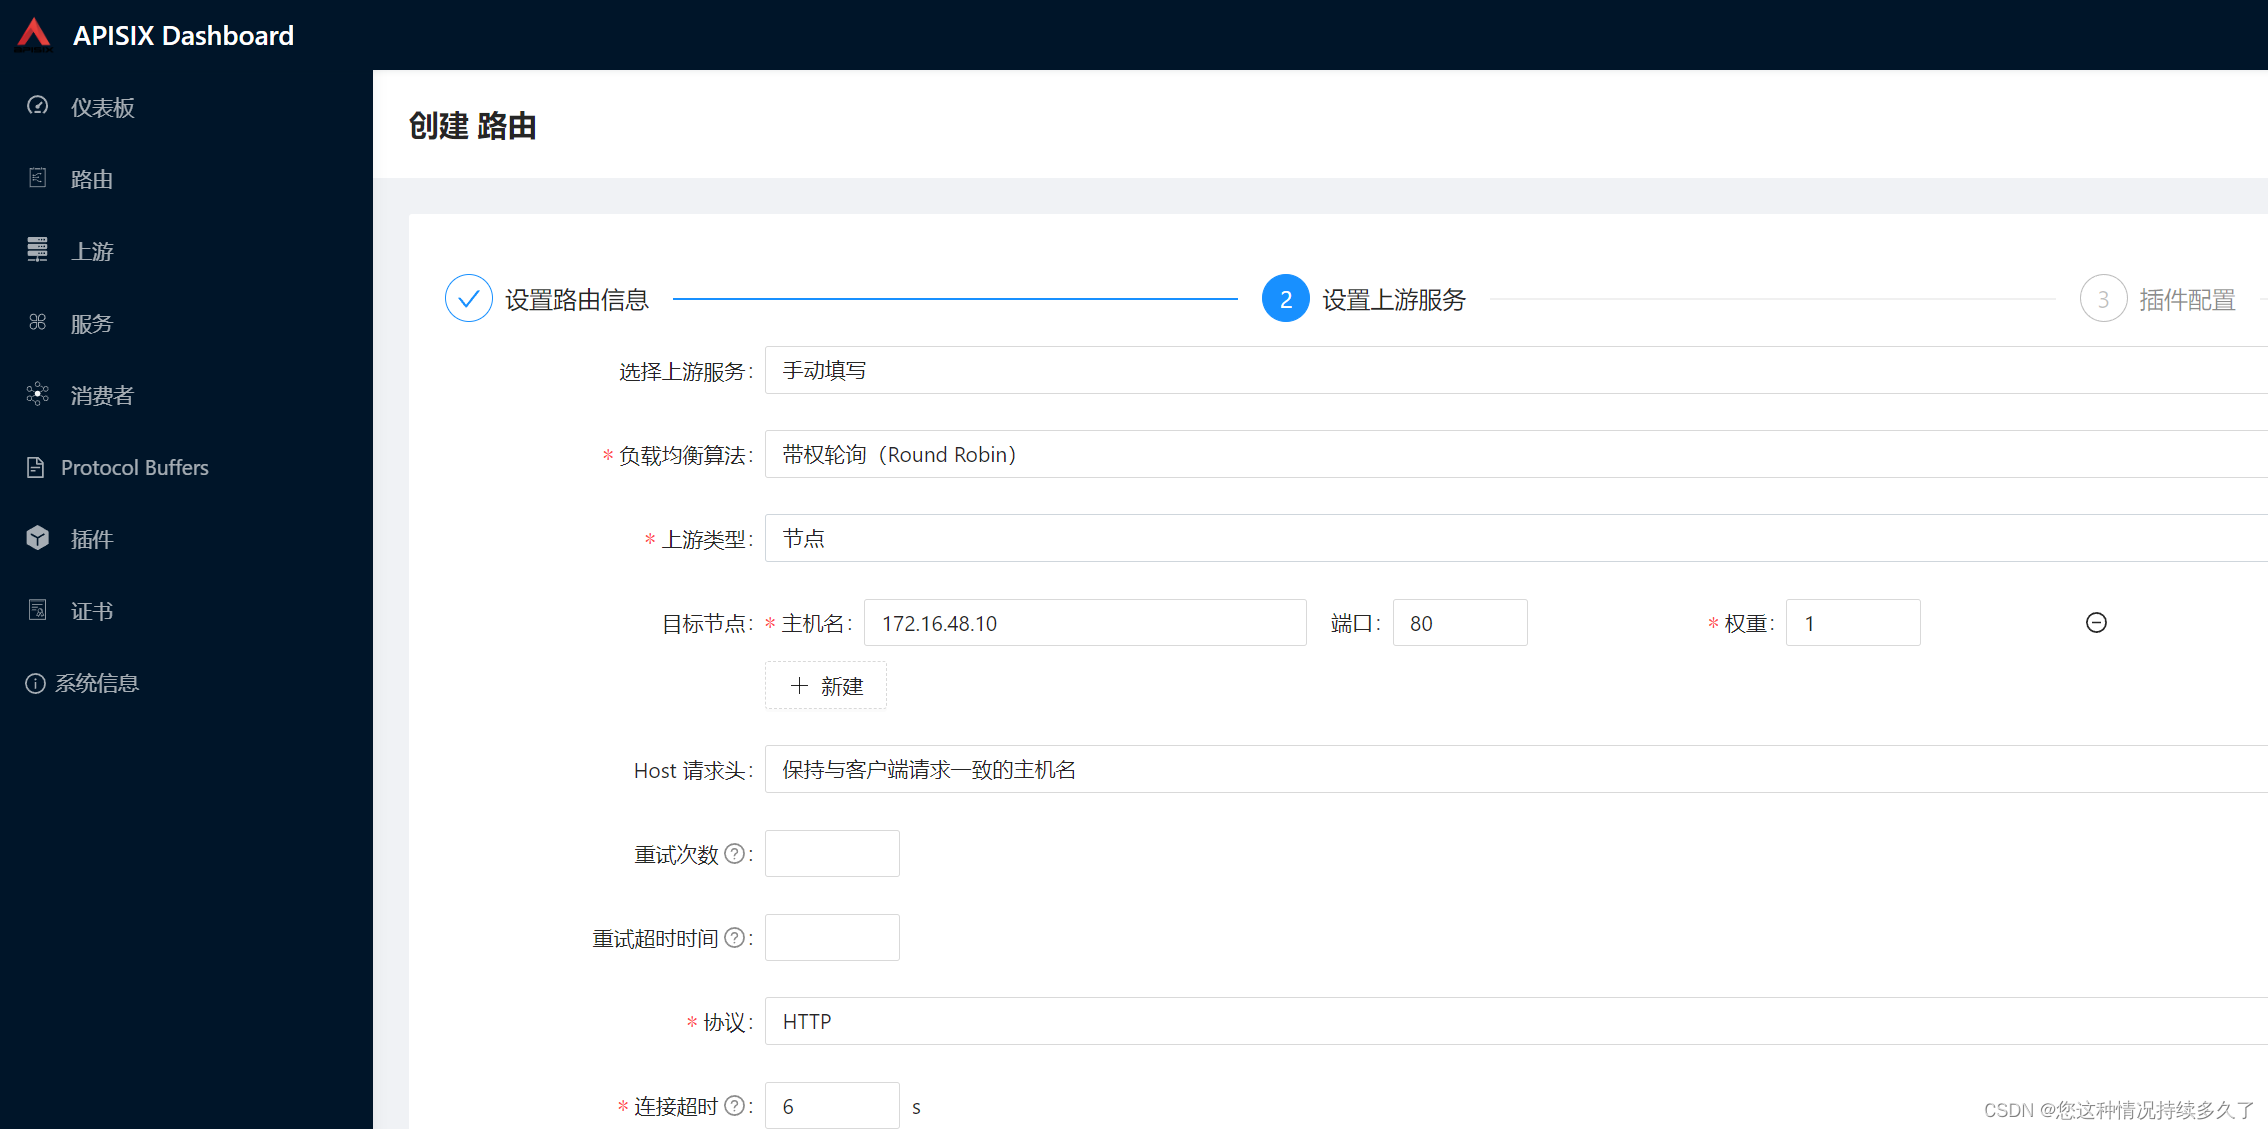
创建路由,配置某个域名转发80端口上
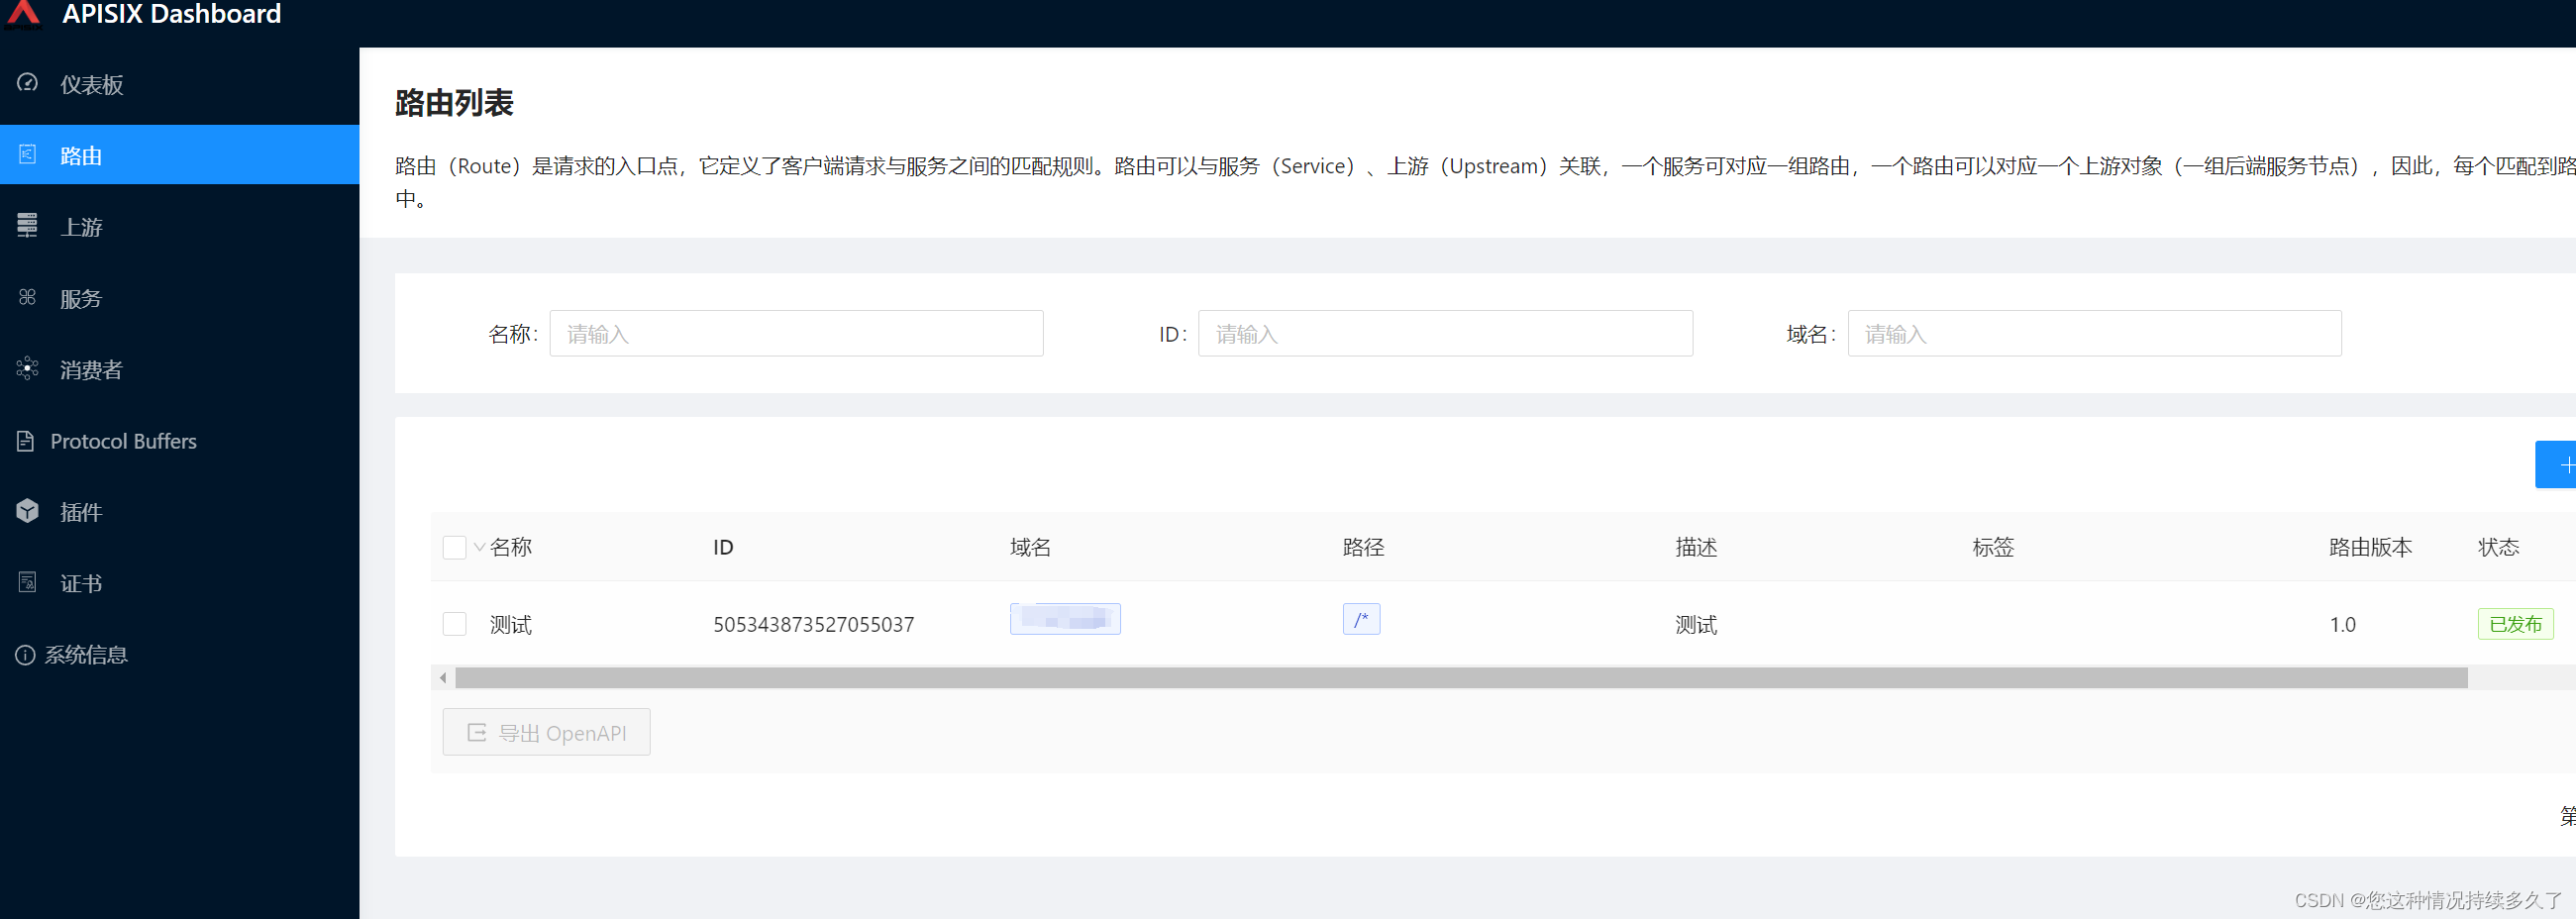
访问地址:9080即可再次看到运行在80的openresty的内容

0x008 总结
更多详细的配置请看参考资料部分,[5]为APISIX的详细配置文件,[6]为控制面板配置
0x009 参考资料
[1] GitHub - apache/apisix: The Cloud-Native API Gateway
[2] OpenResty - OpenResty® Linux Packages
[3] Installation | Apache APISIX® -- Cloud-Native API Gateway
[4] https://github.com/apache/apisix/blob/master/utils/linux-install-luarocks.sh
[5] https://github.com/apache/apisix/blob/master/conf/config-default.yaml
[6] https://github.com/apache/apisix-dashboard/blob/master/api/conf/conf.yaml


 5827
5827


 被折叠的 条评论
为什么被折叠?
被折叠的 条评论
为什么被折叠?
 到【灌水乐园】发言


