


VLAN划分实验(eNSP)
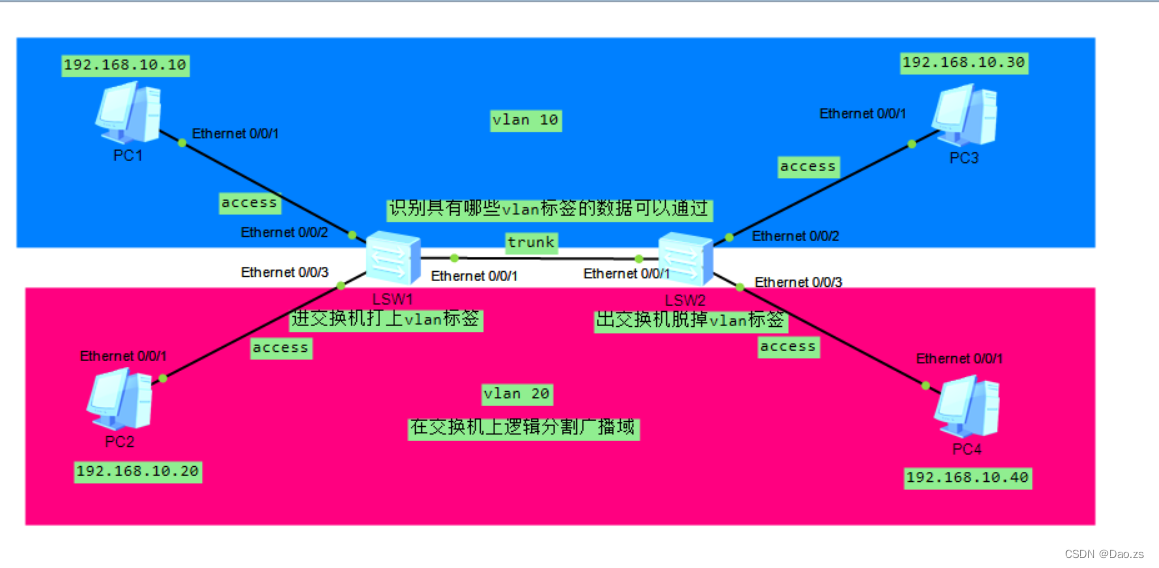
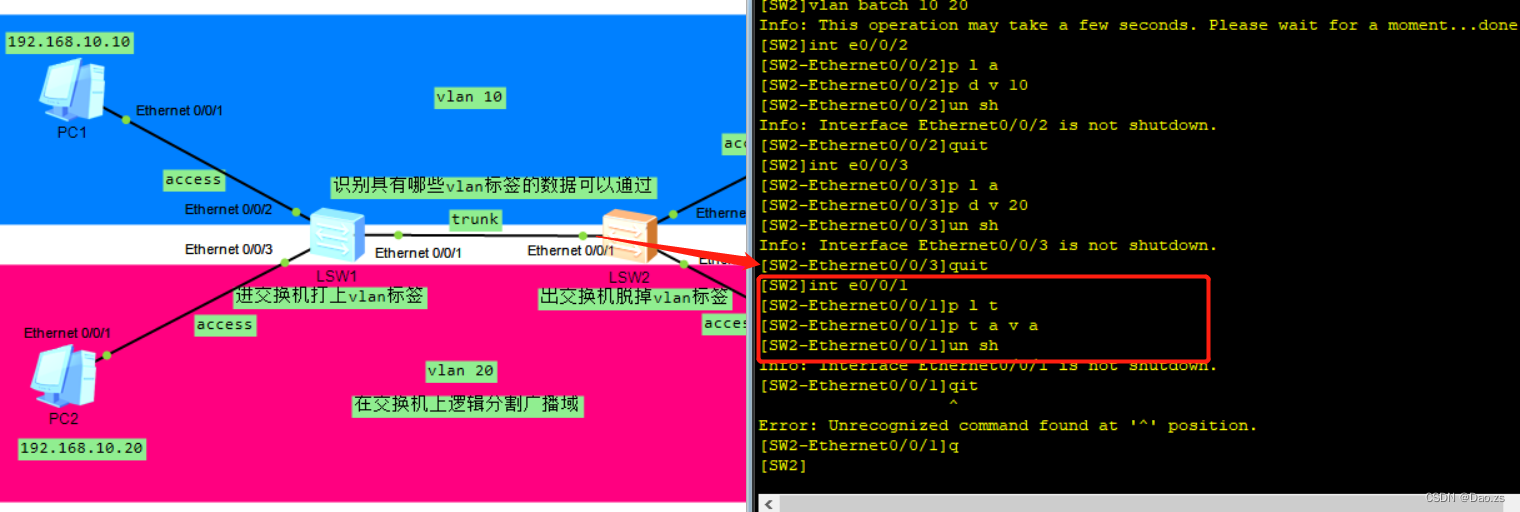
拓扑图:
一、实验要求
将pc1和pc3划分到vlan10下
将pc2和pc4划分到vlan20下
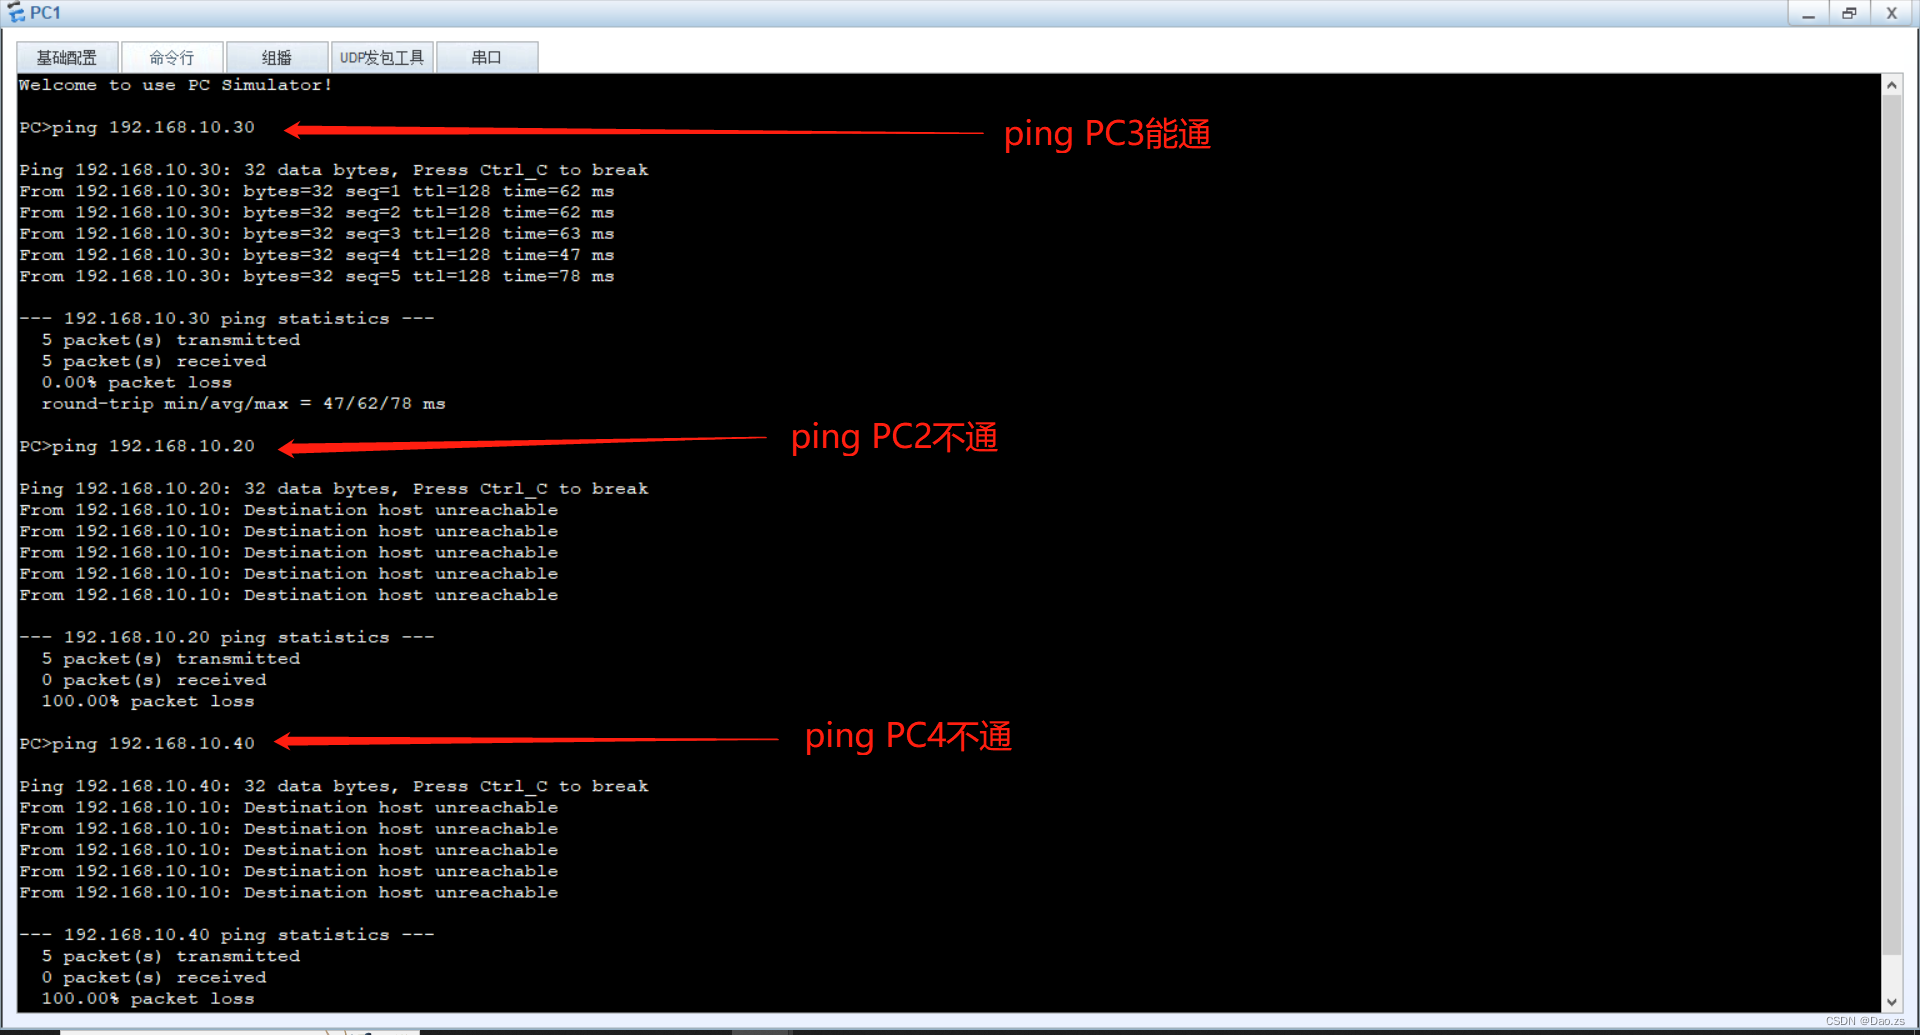
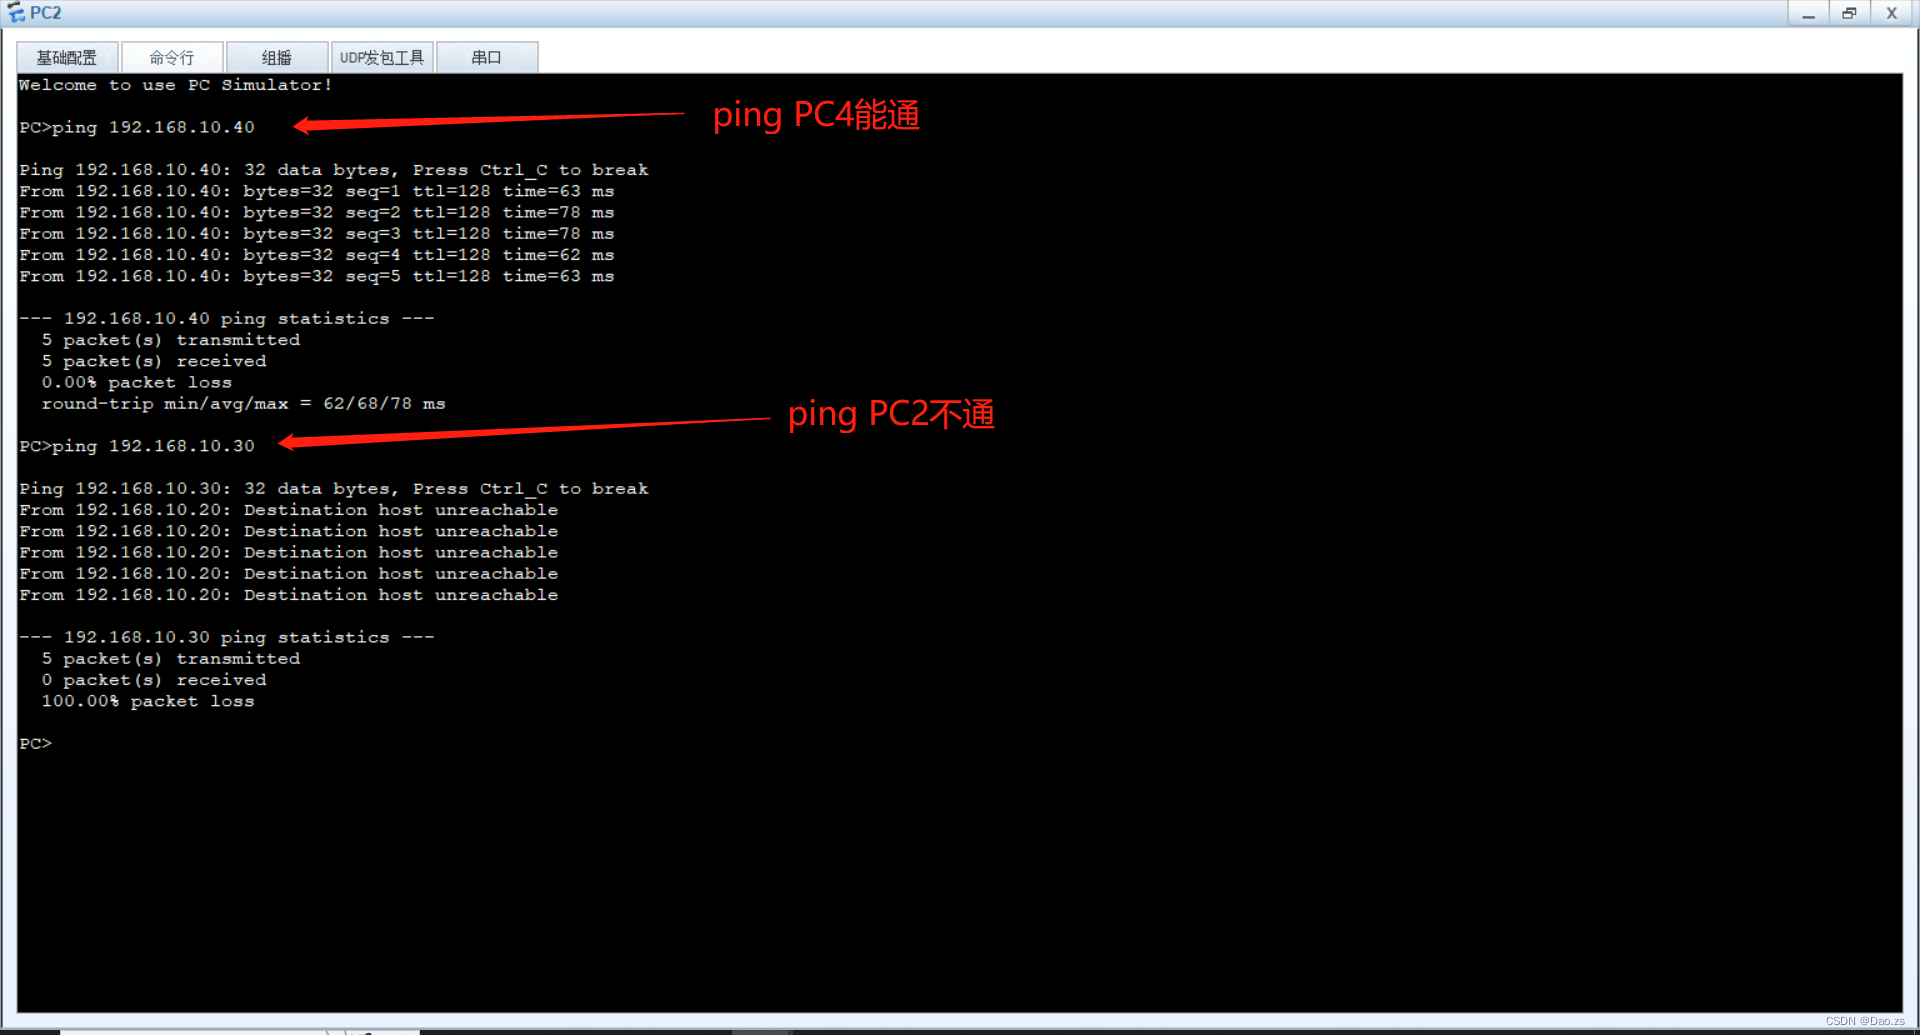
相同VLAN能通信
不同VLAN无法通信
二、配置
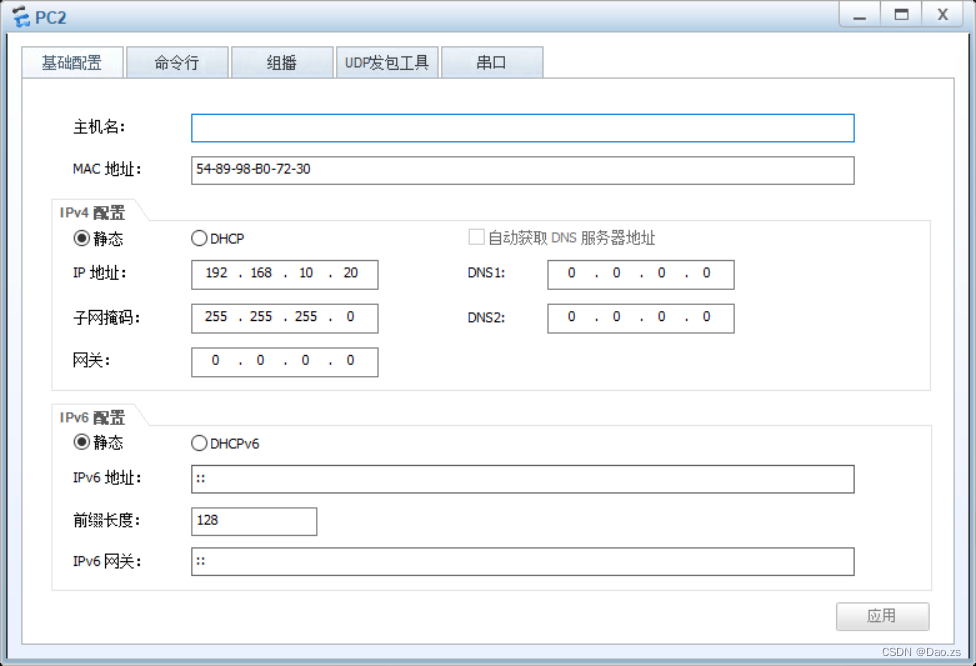
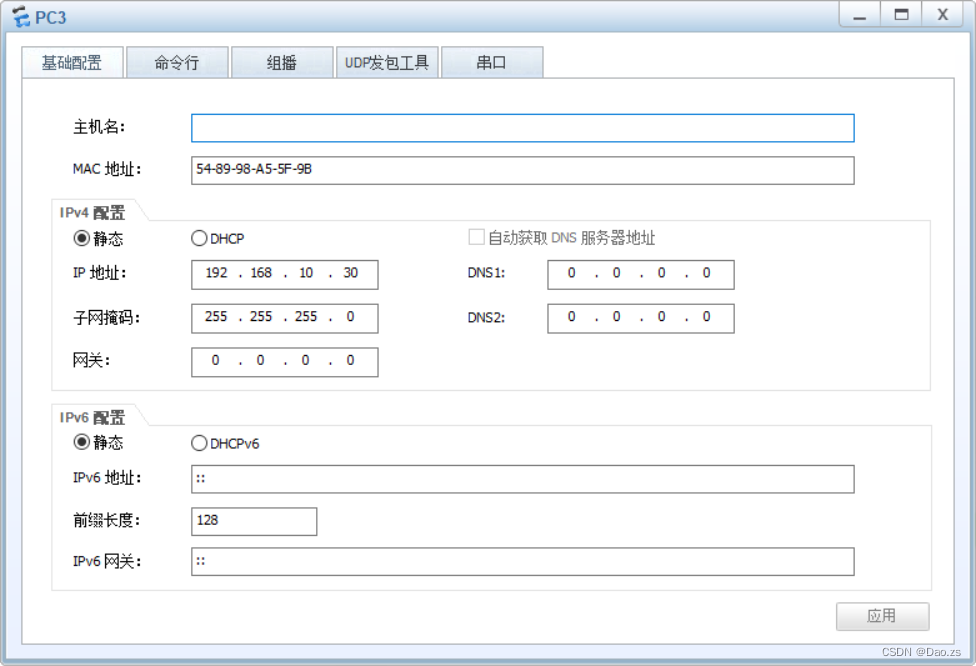
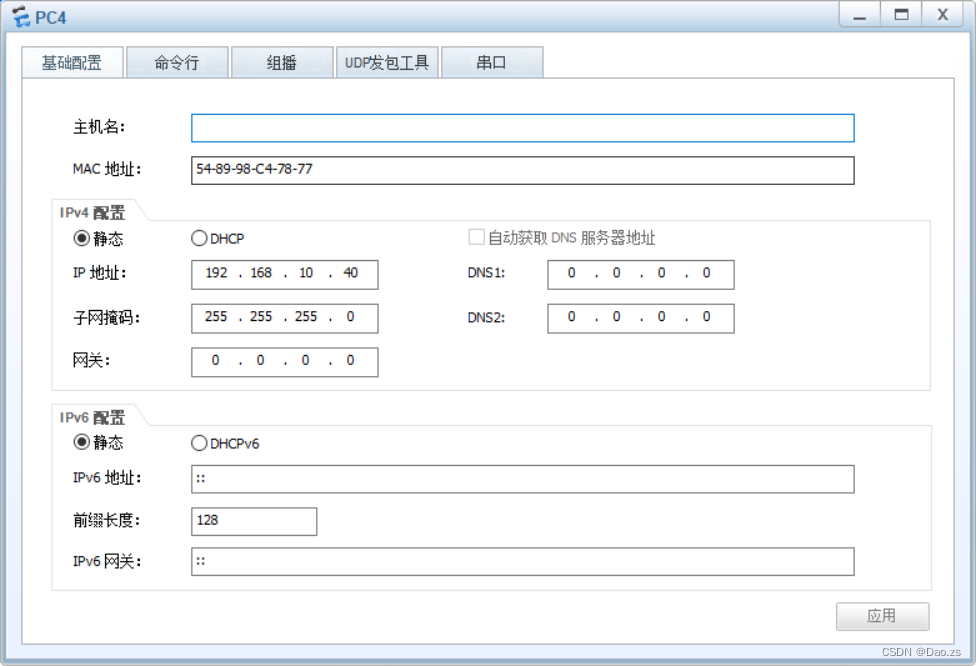
配置PC机的IP和掩码

2.配置交换机
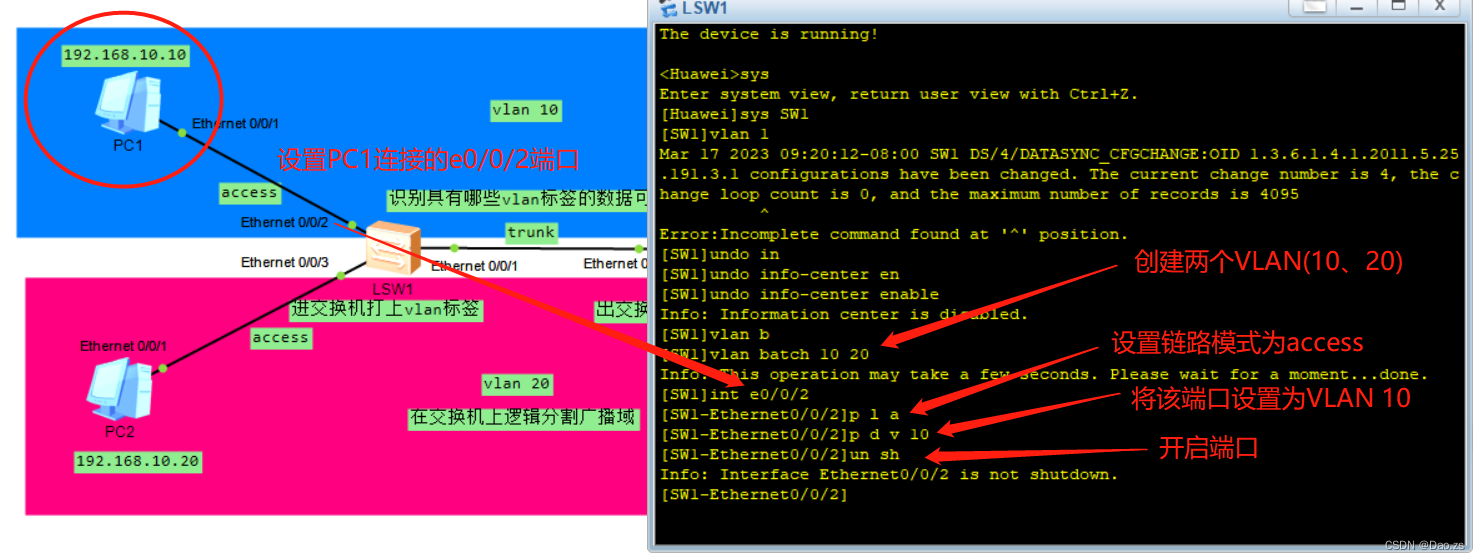
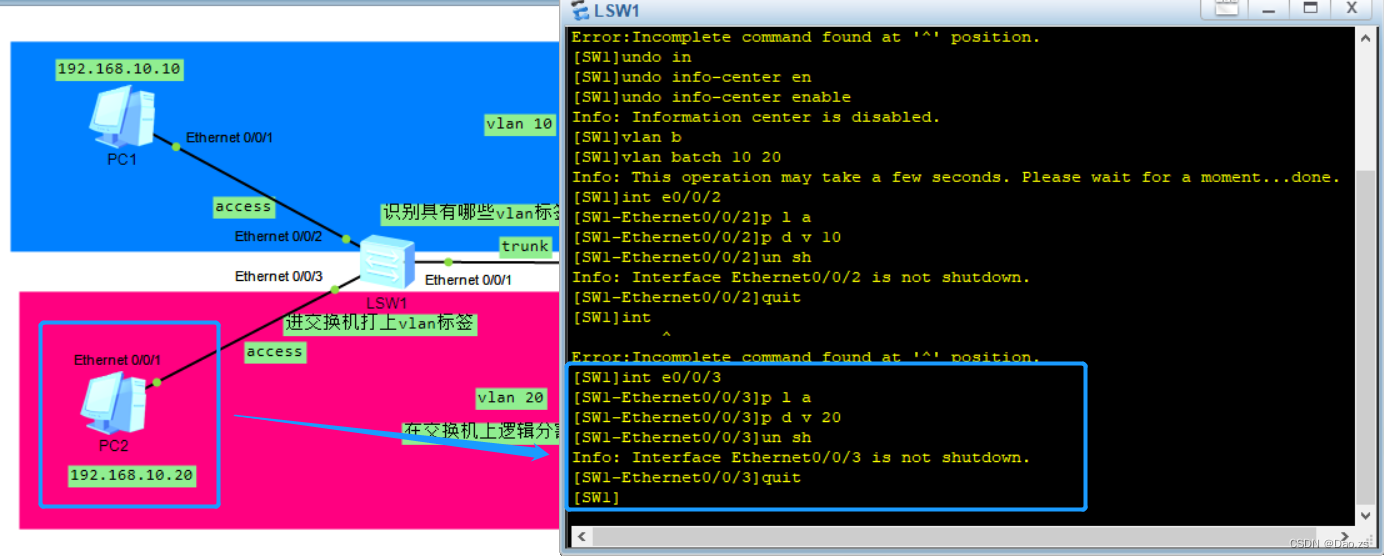
SW1:
①access配置
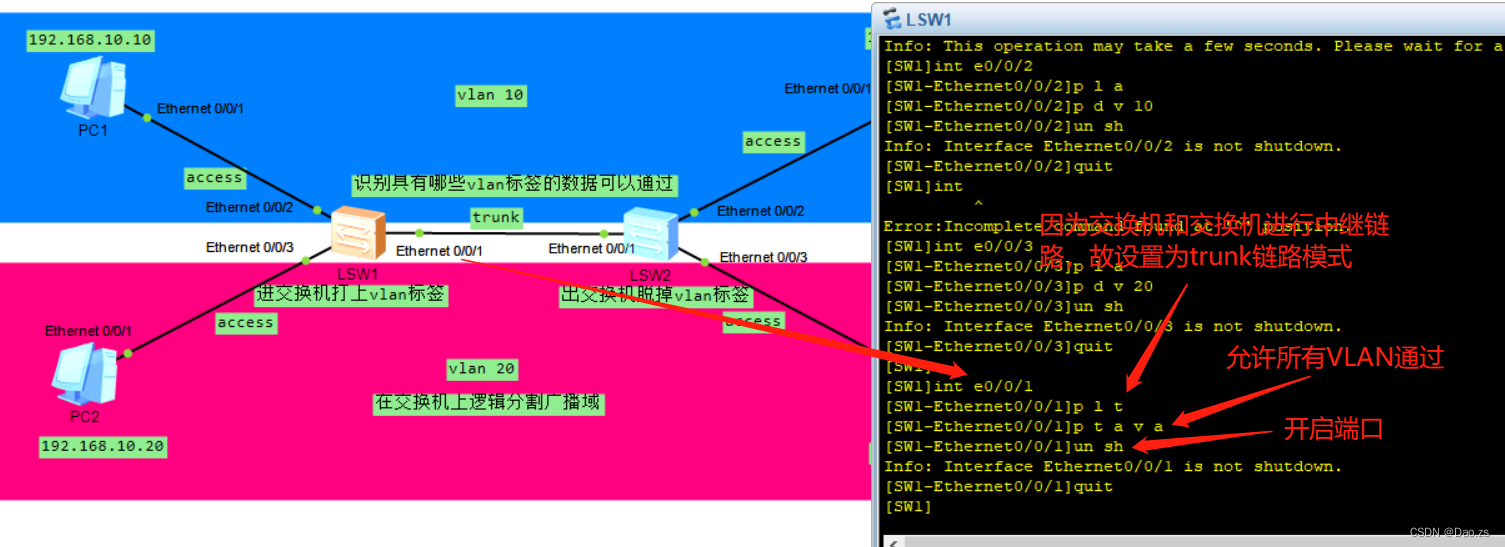
②trunk配置
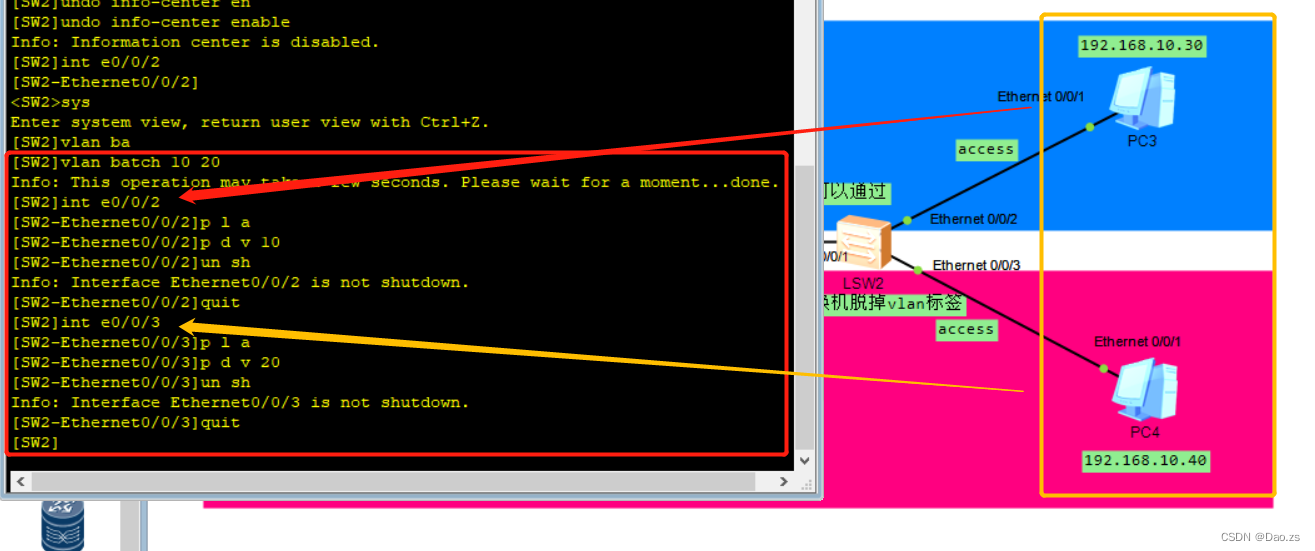
SW2:
①access配置
②trunk配置
三、测试结果
①PC1:
②PC2:
③PC3:
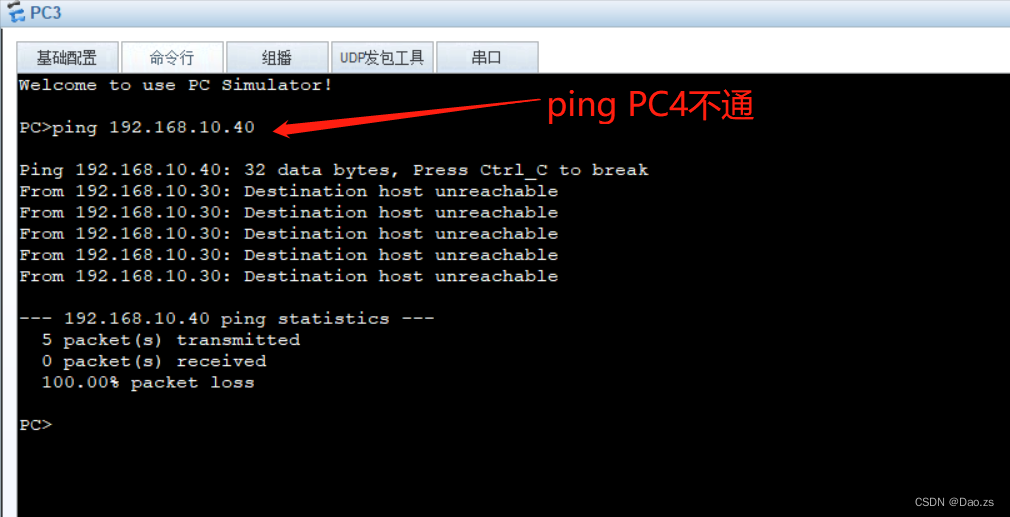
测试成功


 4011
4011


 被折叠的 条评论
为什么被折叠?
被折叠的 条评论
为什么被折叠?
 到【灌水乐园】发言


