


bean工厂创建及预准备工作
    <dependencies>
        <dependency>
            <groupId>org.springframework</groupId>
            <artifactId>spring-context</artifactId>
            <version>5.2.12.RELEASE</version>
        </dependency>

        <dependency>
            <groupId>org.springframework</groupId>
            <artifactId>spring-aspects</artifactId>
            <version>5.2.12.RELEASE</version>
        </dependency>
    </dependencies>
//扫描包 使得 使用@Component注解生效
@ComponentScan("com.dmg")
@Configuration
public class TestConfig {
}
public class Test {
public static void main(String[] args) {
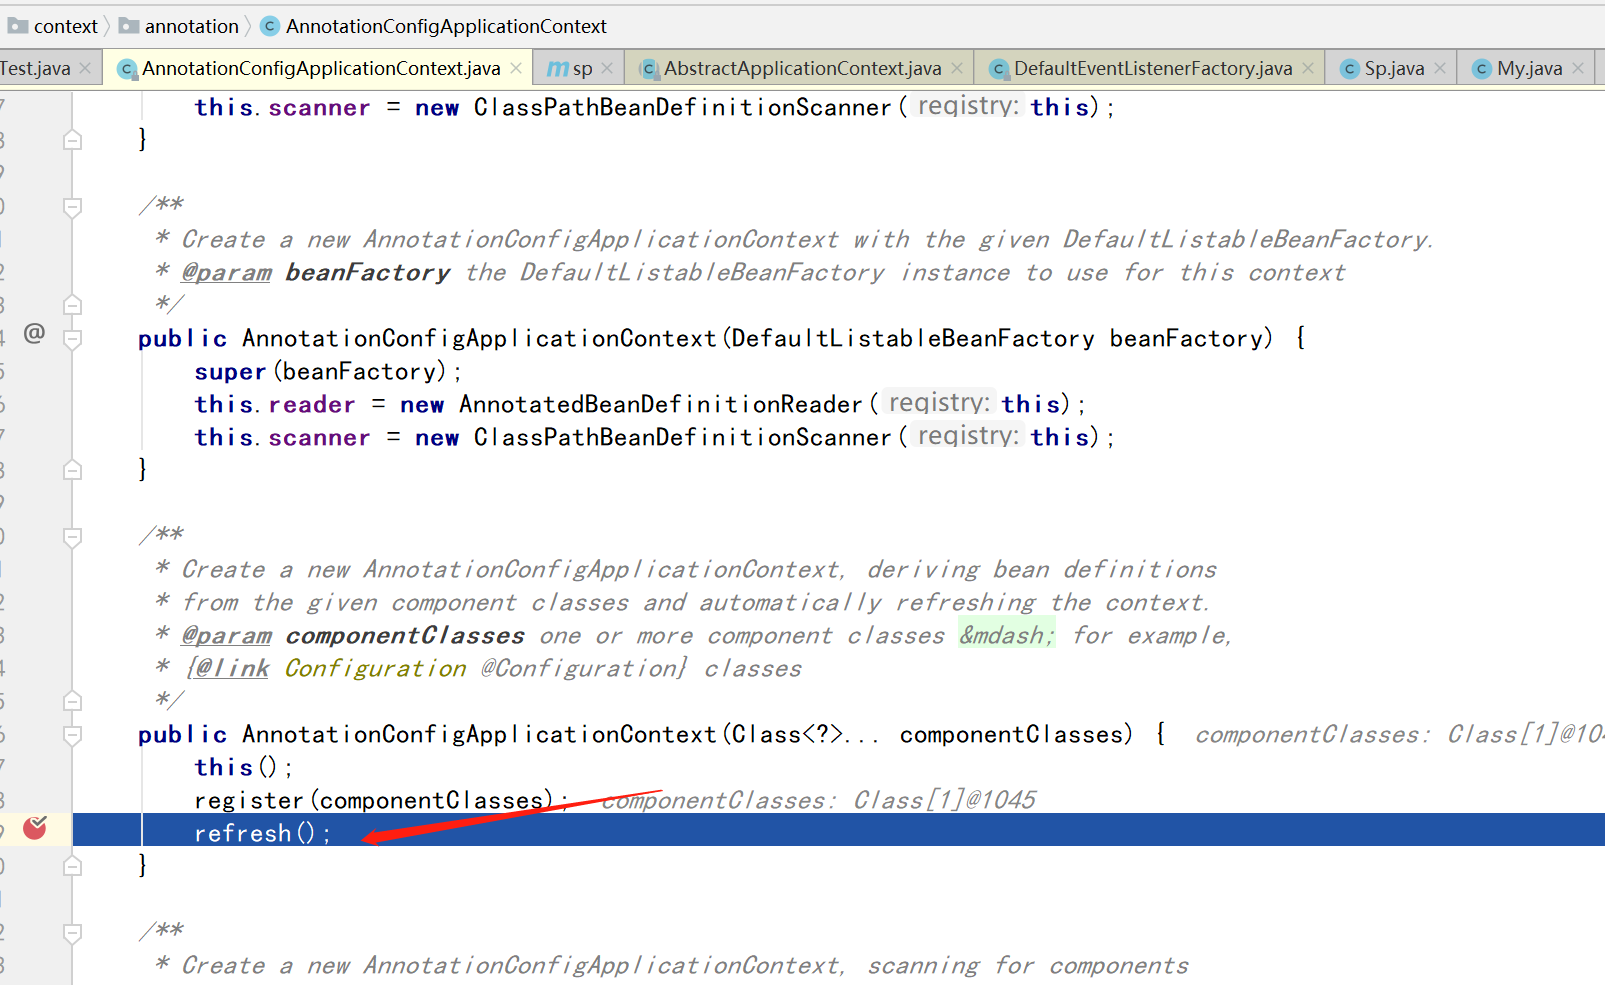
AnnotationConfigApplicationContext applicationContext=new AnnotationConfigApplicationContext(TestConfig.class);
}
}
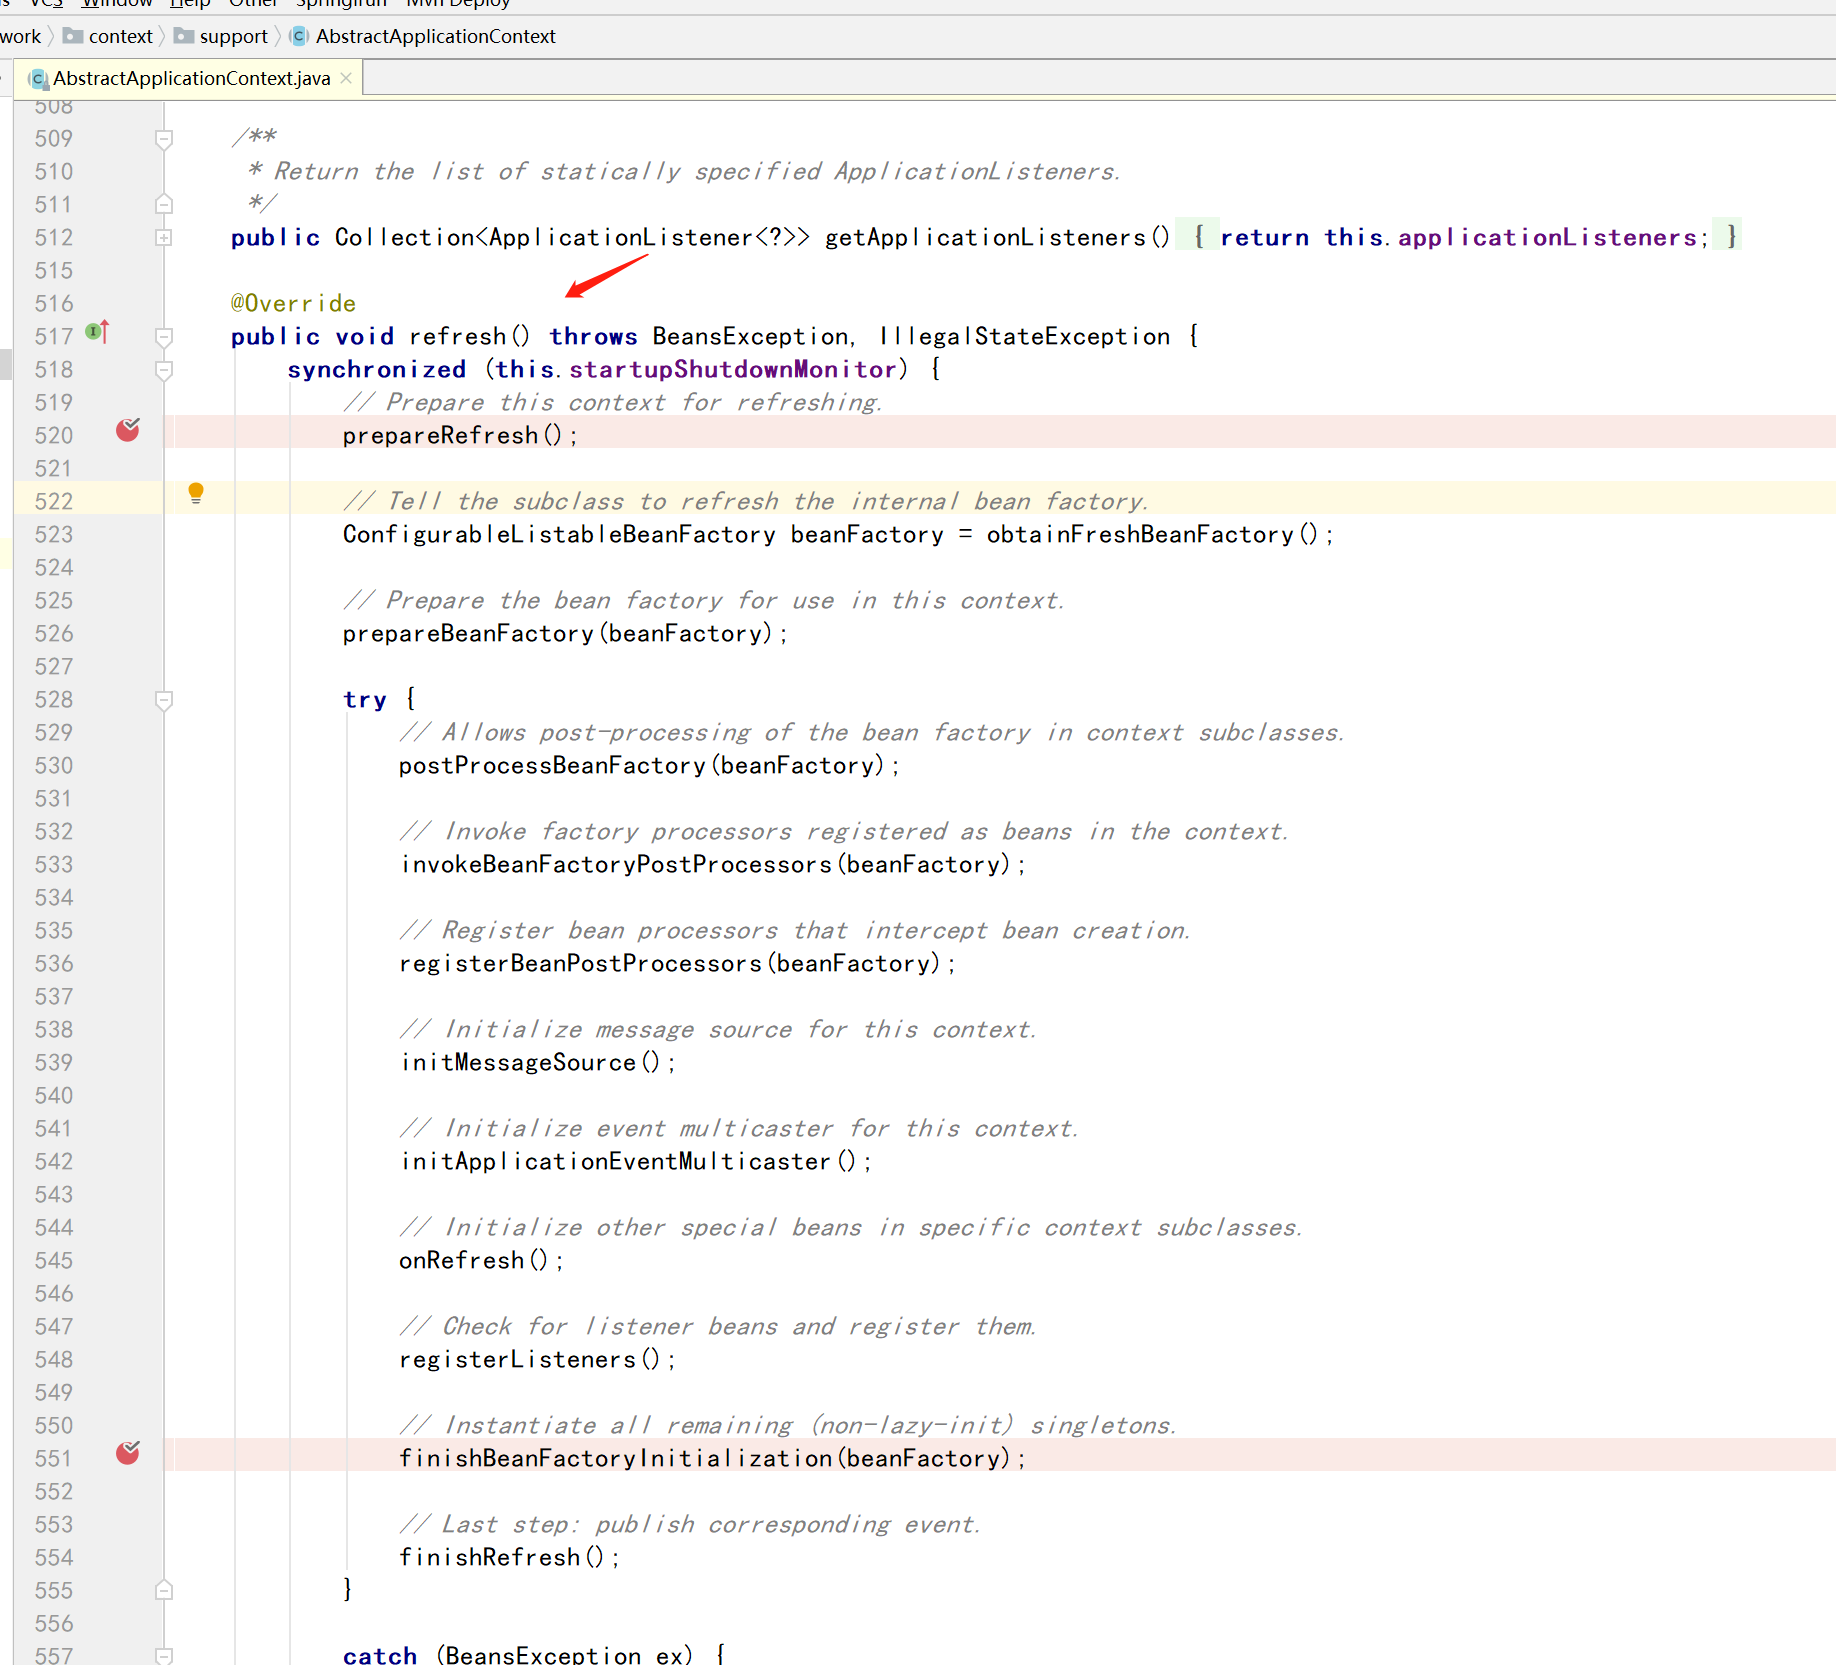
spring容器的创建和刷新都是在这个refresh方法里面
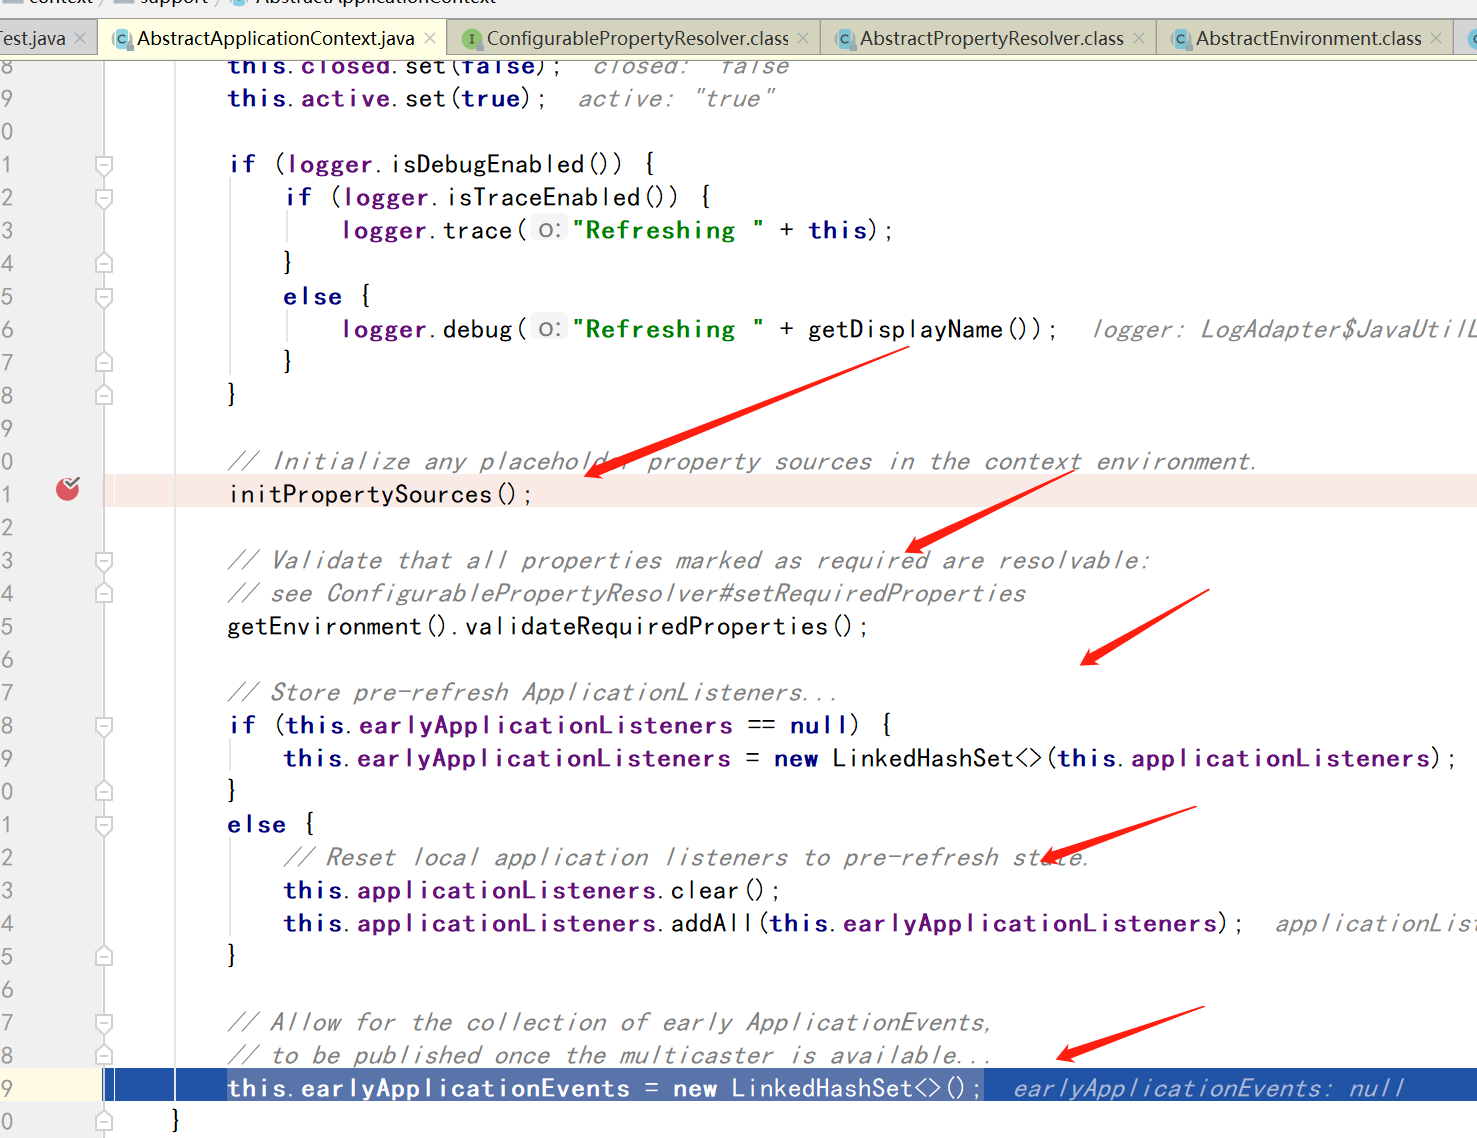
先进入prepareRefresh方法,刷新前的预处理
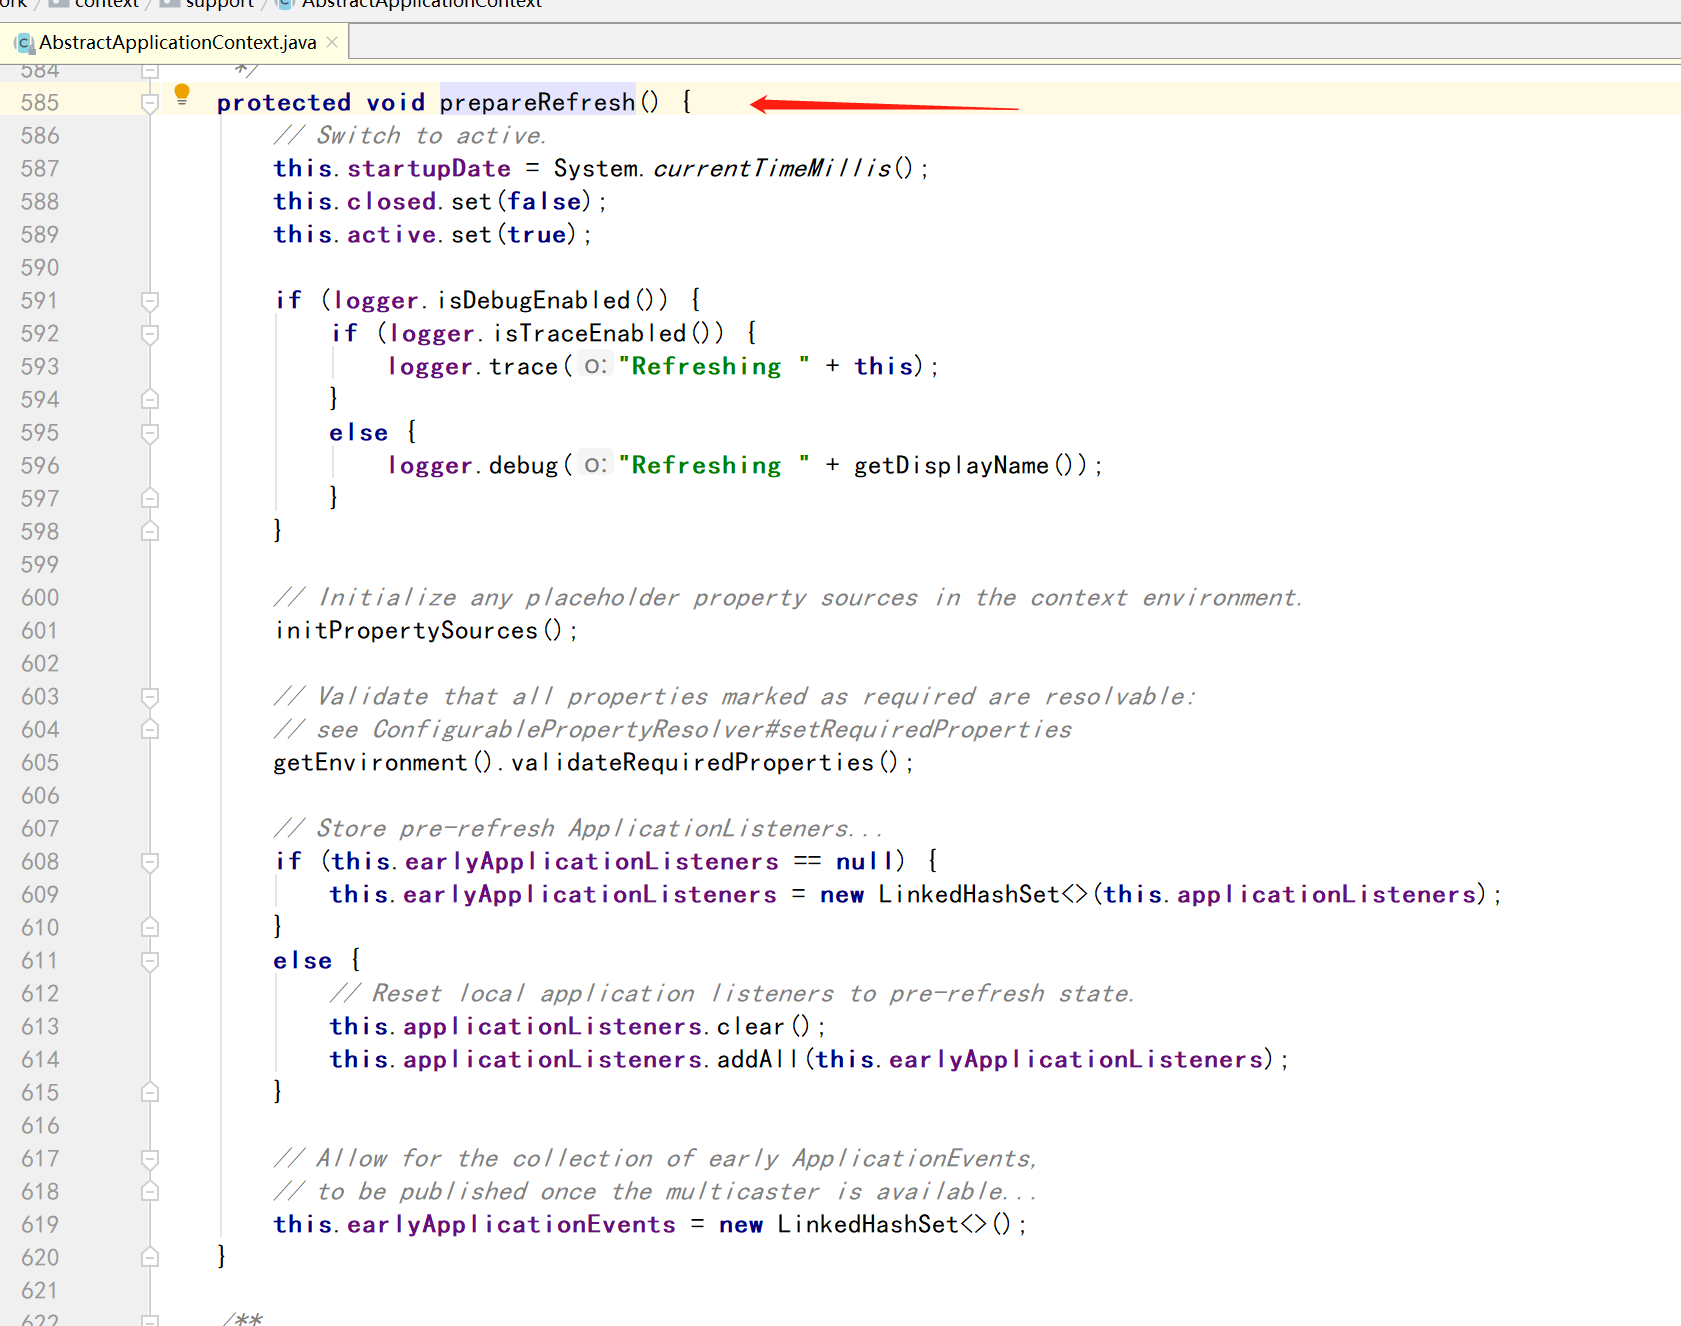
在initPropertySources();方法初始化一些属性
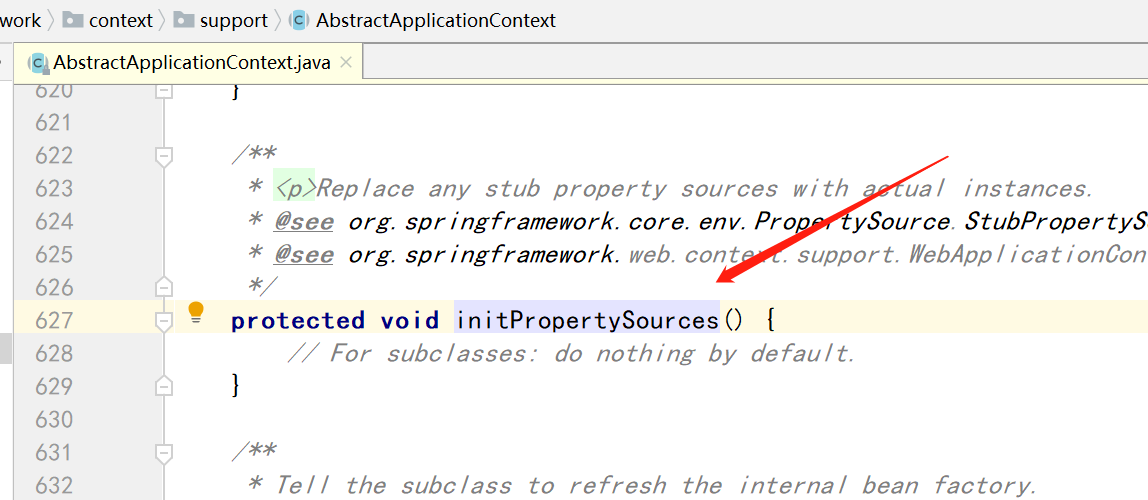
虽然上面的是空方法,但是可以在子类自定义设置一些内容
我们改造一下代码
public class My extends AnnotationConfigApplicationContext {

    public My(Class<?>... componentClasses){
        super(componentClasses);
    }

    @Override
    protected void initPropertySources() {
        System.out.println("我是子类。。。。。。。。。。。。。。。。。。。。。");
    }
}
public class Test {

    public static void main(String[] args) {
        AnnotationConfigApplicationContext applicationContext=new My(TestConfig.class);

    }
}
这次在访问initPropertySources方法,就有数据了

接下来我们在回到
getEnvironment().validateRequiredProperties();这个方法
校验环境的属性的合法性
然后在这里创建早期的监听
this.earlyApplicationListeners = new LinkedHashSet<>(this.applicationListeners);
创建早期的事件
this.earlyApplicationEvents = new LinkedHashSet<>();
然后在obtainFreshBeanFactory()获取bean工厂信息
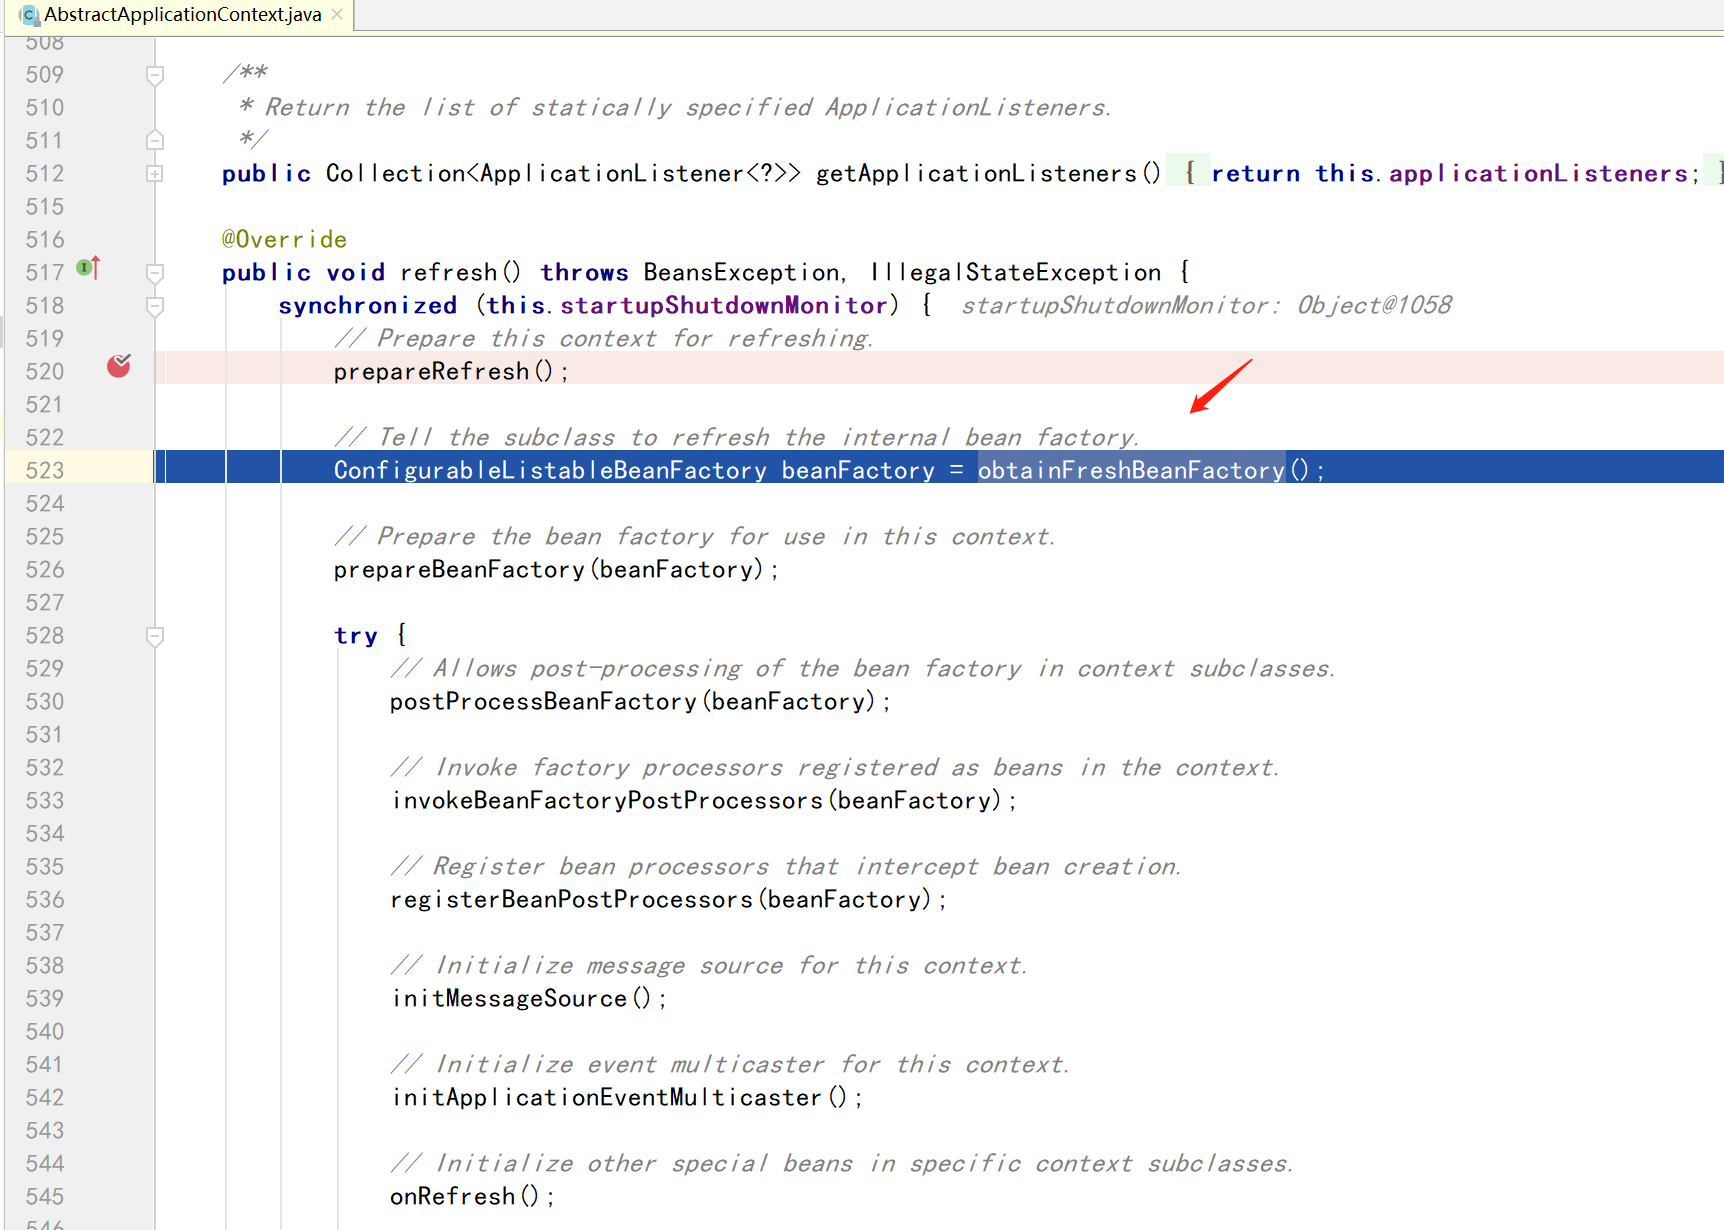

刷新创建bean工厂,并设置序列化id
并返回bean工厂
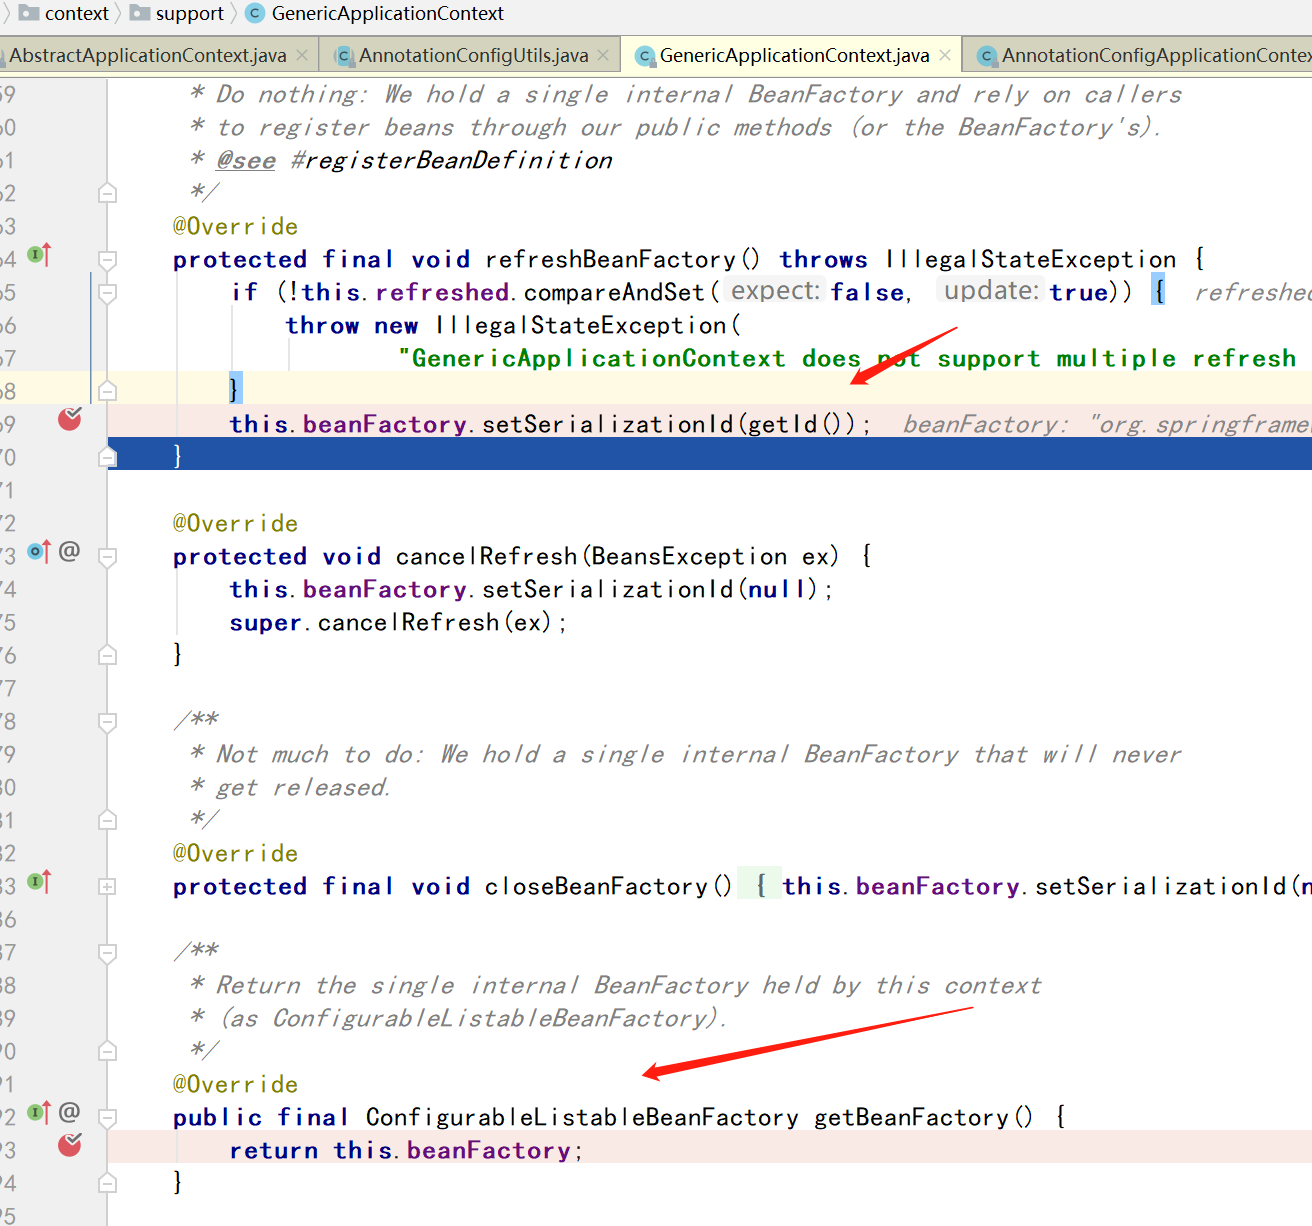
将创建的bean工厂DefaultListableBeanFactory返回

接下来在回到prepareBeanFactory(beanFactory);方法
对bean工厂进行前置准备工作
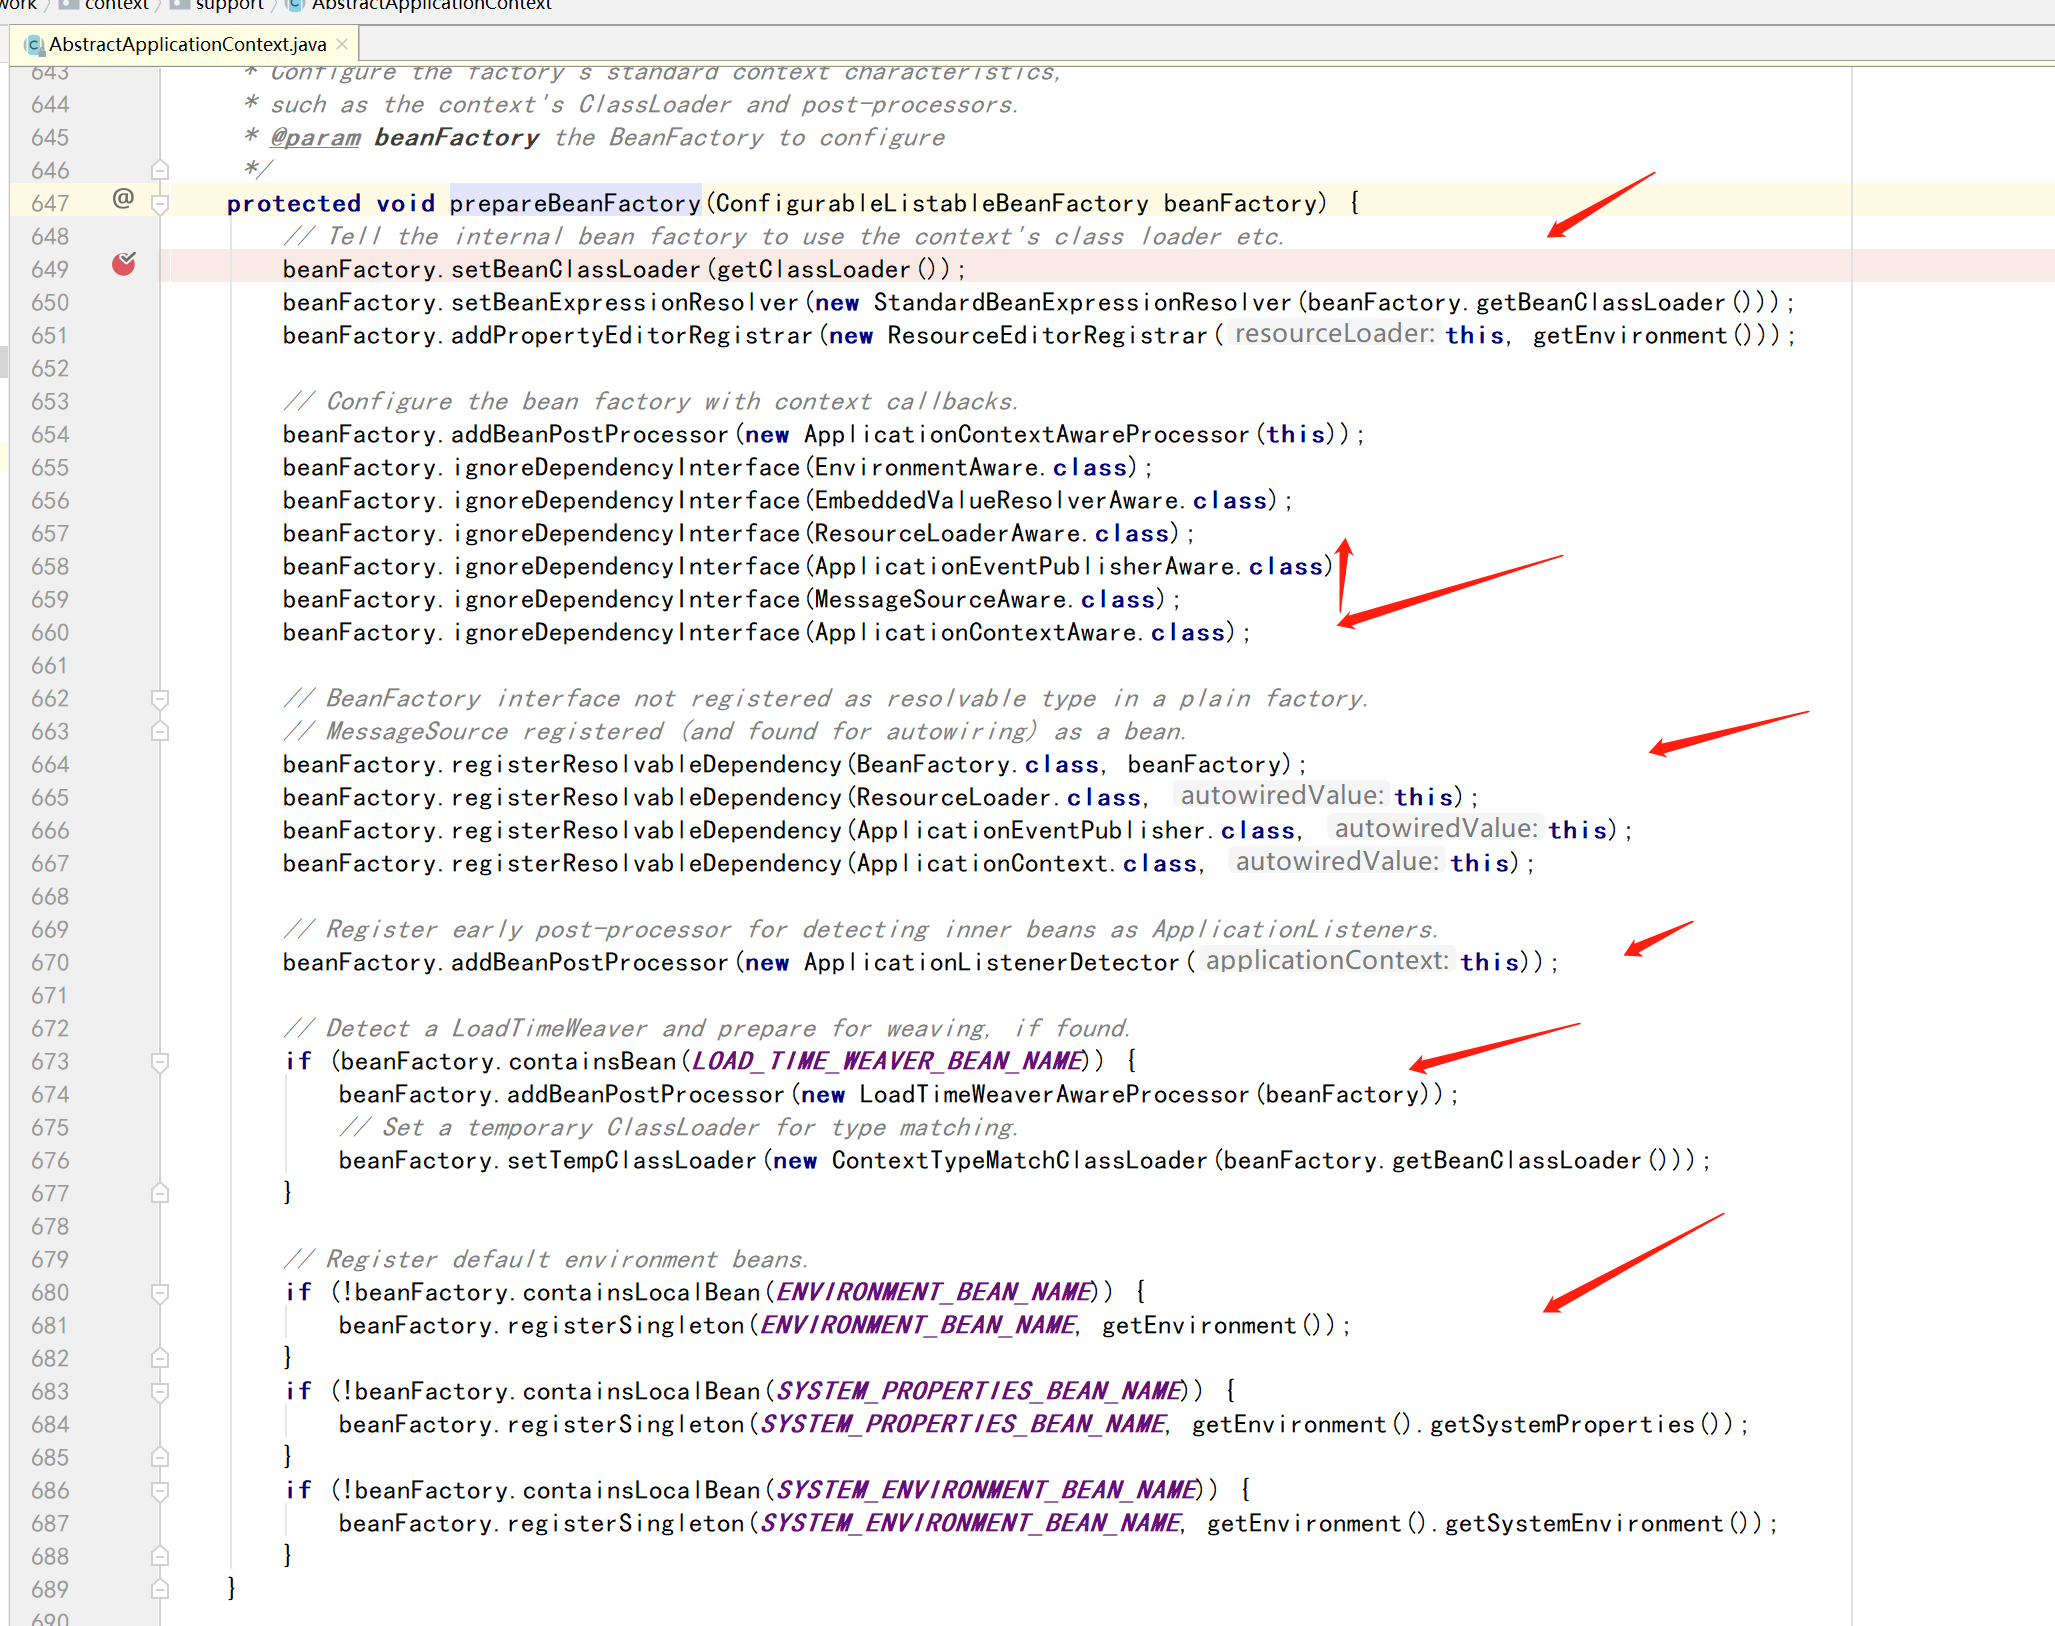
设置bean工厂的类加载器,表达式解析器

添加属性编辑器寄存器
添加部分bean后置处理器

设置忽略的自动装配接口
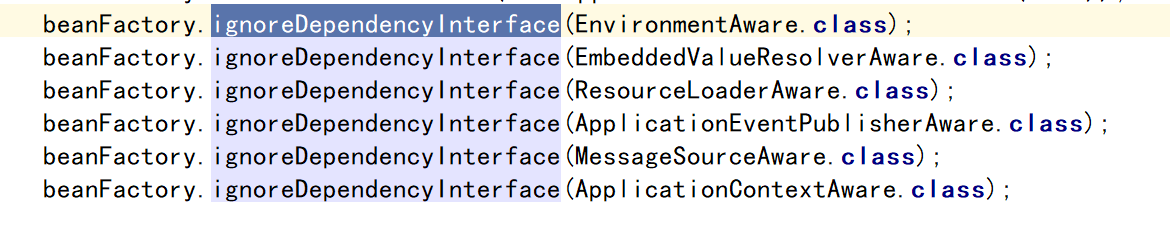
注册可以解析的自动装配

给bean工厂注册一些能用的组件

接下来在看下postProcessBeanFactory方法,在bean准备完成后的一些操作
他是个空方法,但是可以在子类中重写,自定义去处理

public class My extends AnnotationConfigApplicationContext {

    public My(Class<?>... componentClasses){
        super(componentClasses);
    }

    @Override
    protected void initPropertySources() {

    }

    @Override
    protected void postProcessBeanFactory(ConfigurableListableBeanFactory beanFactory) {
        System.out.println("我是子类"+beanFactory);
    }
}

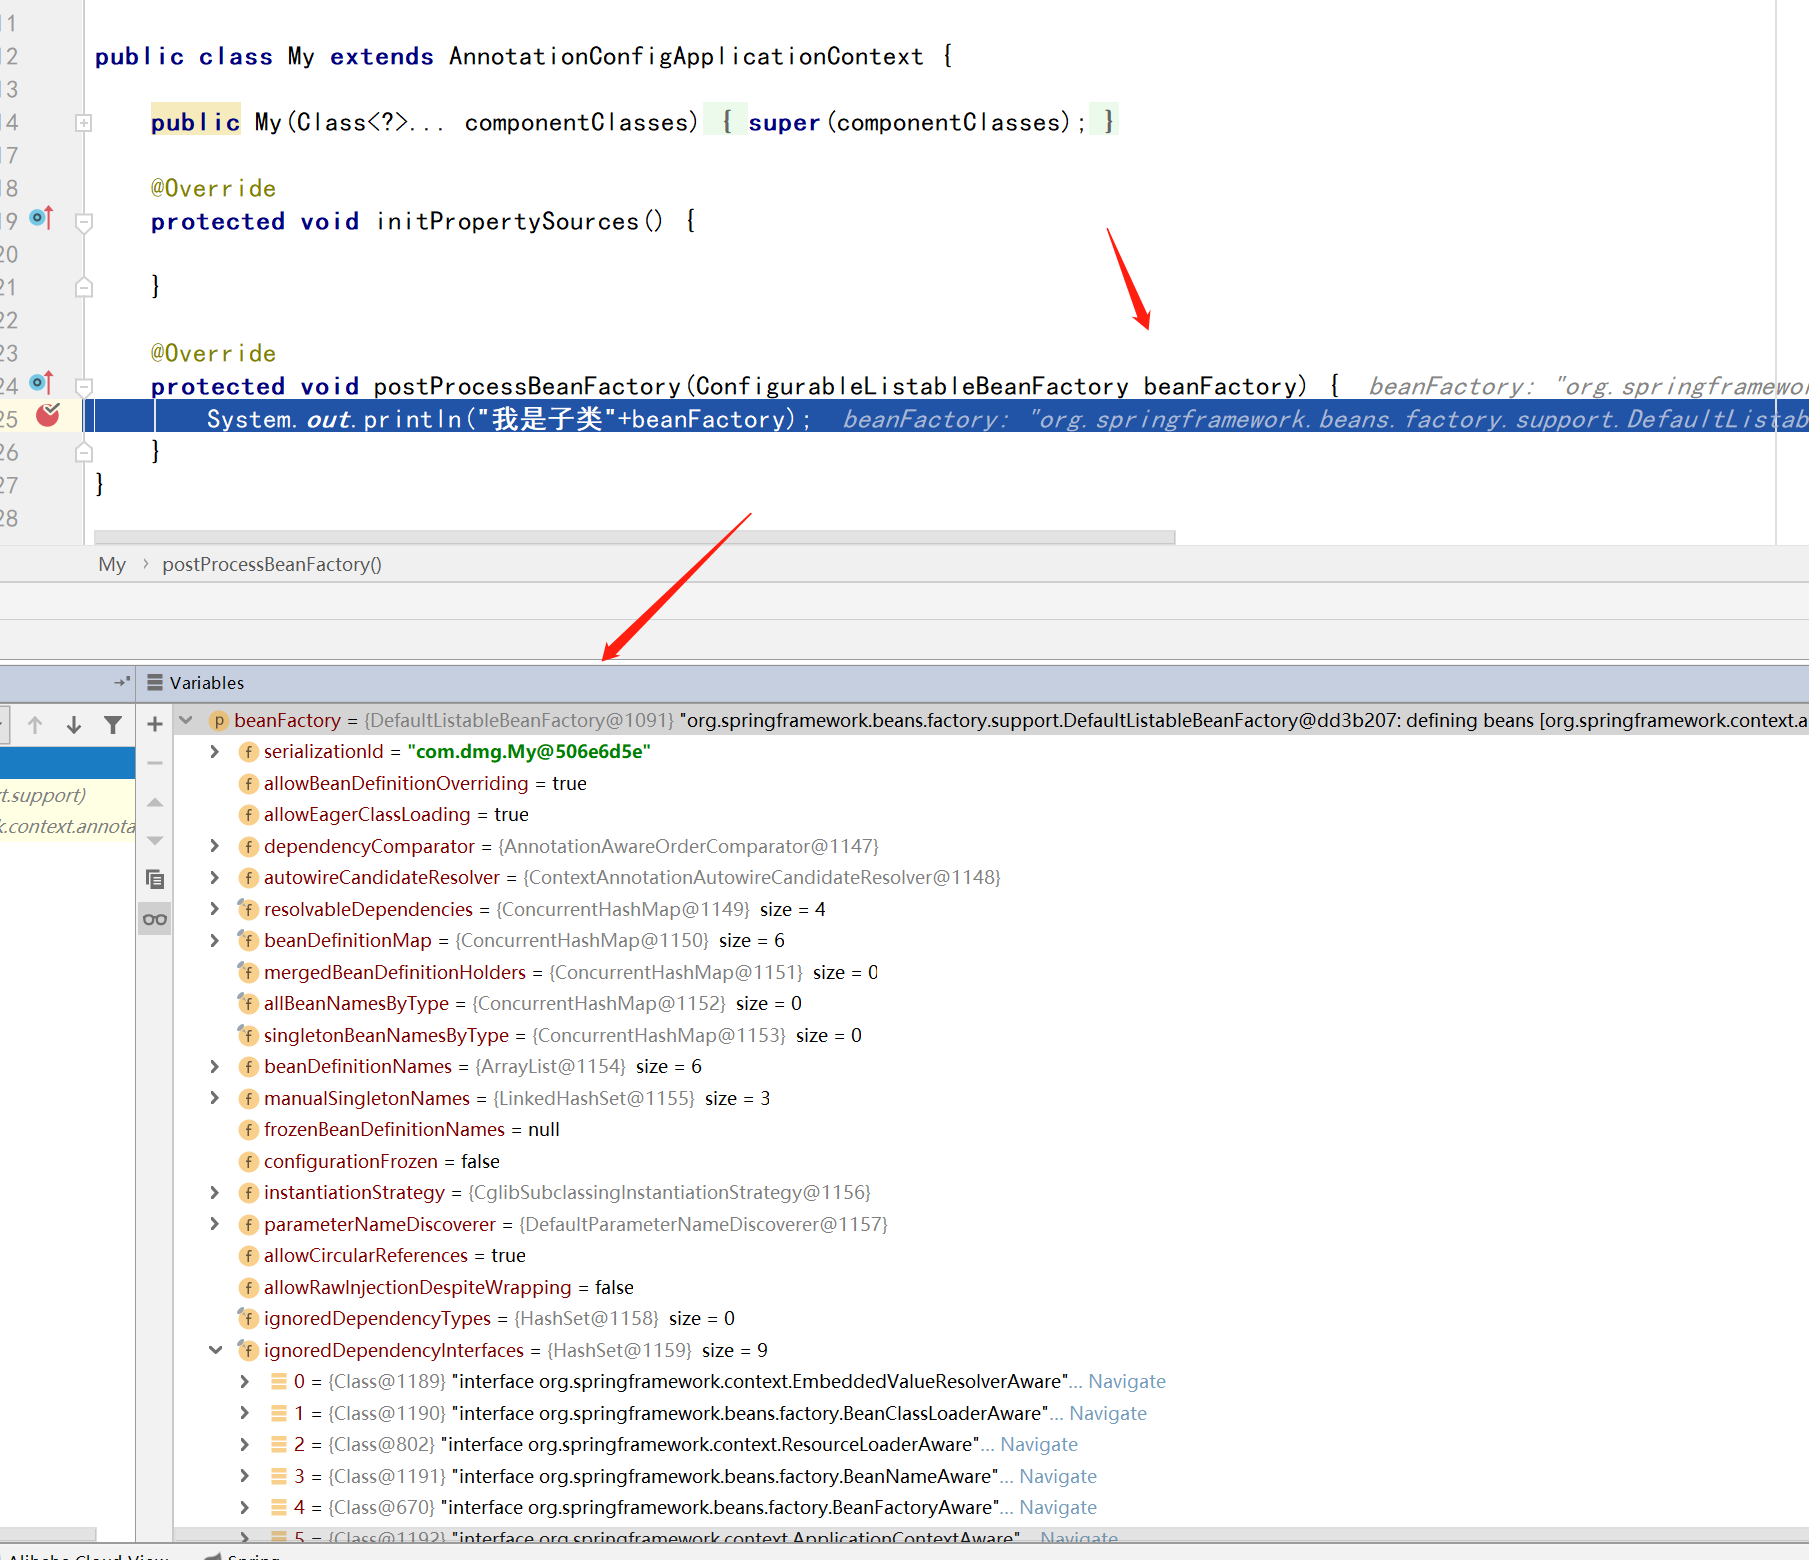
在这里就可以看到我们的bean工厂准备工作完成后,一些后置处理的工作了


 418
418


 被折叠的 条评论
为什么被折叠?
被折叠的 条评论
为什么被折叠?
 到【灌水乐园】发言


