


一、创建一个Maven项目
IDEA创建一个maven项目_人……杰的博客-CSDN博客_idea新建一个maven项目
二、将Maven项目变成Spring Boot项目
1.pom.xml中配置Spring Boot项目所需Jar 包

pom.xml:
<?xml version="1.0" encoding="UTF-8"?>
<project xmlns="http://maven.apache.org/POM/4.0.0"
         xmlns:xsi="http://www.w3.org/2001/XMLSchema-instance"
         xsi:schemaLocation="http://maven.apache.org/POM/4.0.0 http://maven.apache.org/xsd/maven-4.0.0.xsd">
    <modelVersion>4.0.0</modelVersion>

    <groupId>com.xj.study</groupId>
    <artifactId>spring-boot-study-project</artifactId>
    <version>1.0-SNAPSHOT</version>

    <parent>
        <groupId>org.springframework.boot</groupId>
        <artifactId>spring-boot-starter-parent</artifactId>
        <version>2.4.5</version>
        <relativePath/>
    </parent>

    <dependencies>
        <dependency>
            <groupId>org.springframework.boot</groupId>
            <artifactId>spring-boot-starter-web</artifactId>
        </dependency>

        <dependency>
            <groupId>org.springframework.boot</groupId>
            <artifactId>spring-boot-starter-test</artifactId>
            <scope>test</scope>
        </dependency>
    </dependencies>

    <!--build标签描述了如何来编译及打包项目,而具体的编译和打包工作是通过build中配置的 plugin 来完成-->
    <build>
        <plugins>
            <!--使用SpringBoot的打包插件-->
            <plugin>
                <groupId>org.springframework.boot</groupId>
                <artifactId>spring-boot-maven-plugin</artifactId>
                <executions>
                    <execution>
                        <goals>
                            <goal>repackage</goal>
                        </goals>
                    </execution>
                </executions>
            </plugin>
        </plugins>
    </build>
</project>
其中<build>......</build>是用来打Spring Boot项目包用的。可以参考我的另一篇博客:
使用IDEA创建一个JAR文件_人……杰的博客-CSDN博客_idea生成jar文件
2.代码编写

(1)主程序启动类
MainApplication.java:
package com.xj.main;

import org.springframework.boot.SpringApplication;
import org.springframework.boot.autoconfigure.SpringBootApplication;
import org.springframework.context.annotation.ComponentScan;

/**
 * @Author : xjfu
 * @Date : 2022/6/8 8:38
 * @Description :Spring Boot 启动类
 */

@ComponentScan("com.xj")
@SpringBootApplication
public class MainApplication {
    public static void main(String[] args) {
        SpringApplication.run(MainApplication.class, args);
    }
}
(2)Controller类
HelloController.java:
package com.xj.controller;

import org.springframework.stereotype.Controller;
import org.springframework.web.bind.annotation.RequestMapping;
import org.springframework.web.bind.annotation.ResponseBody;

/**
 * @Author : xjfu
 * @Date : 2022/6/8 8:47
 * @Description :
 */
@Controller
public class HelloController {

    @ResponseBody
    @RequestMapping(value = "/hello")
    public String sayHello(){
        return "Hello Spring Boot !";
    }
}
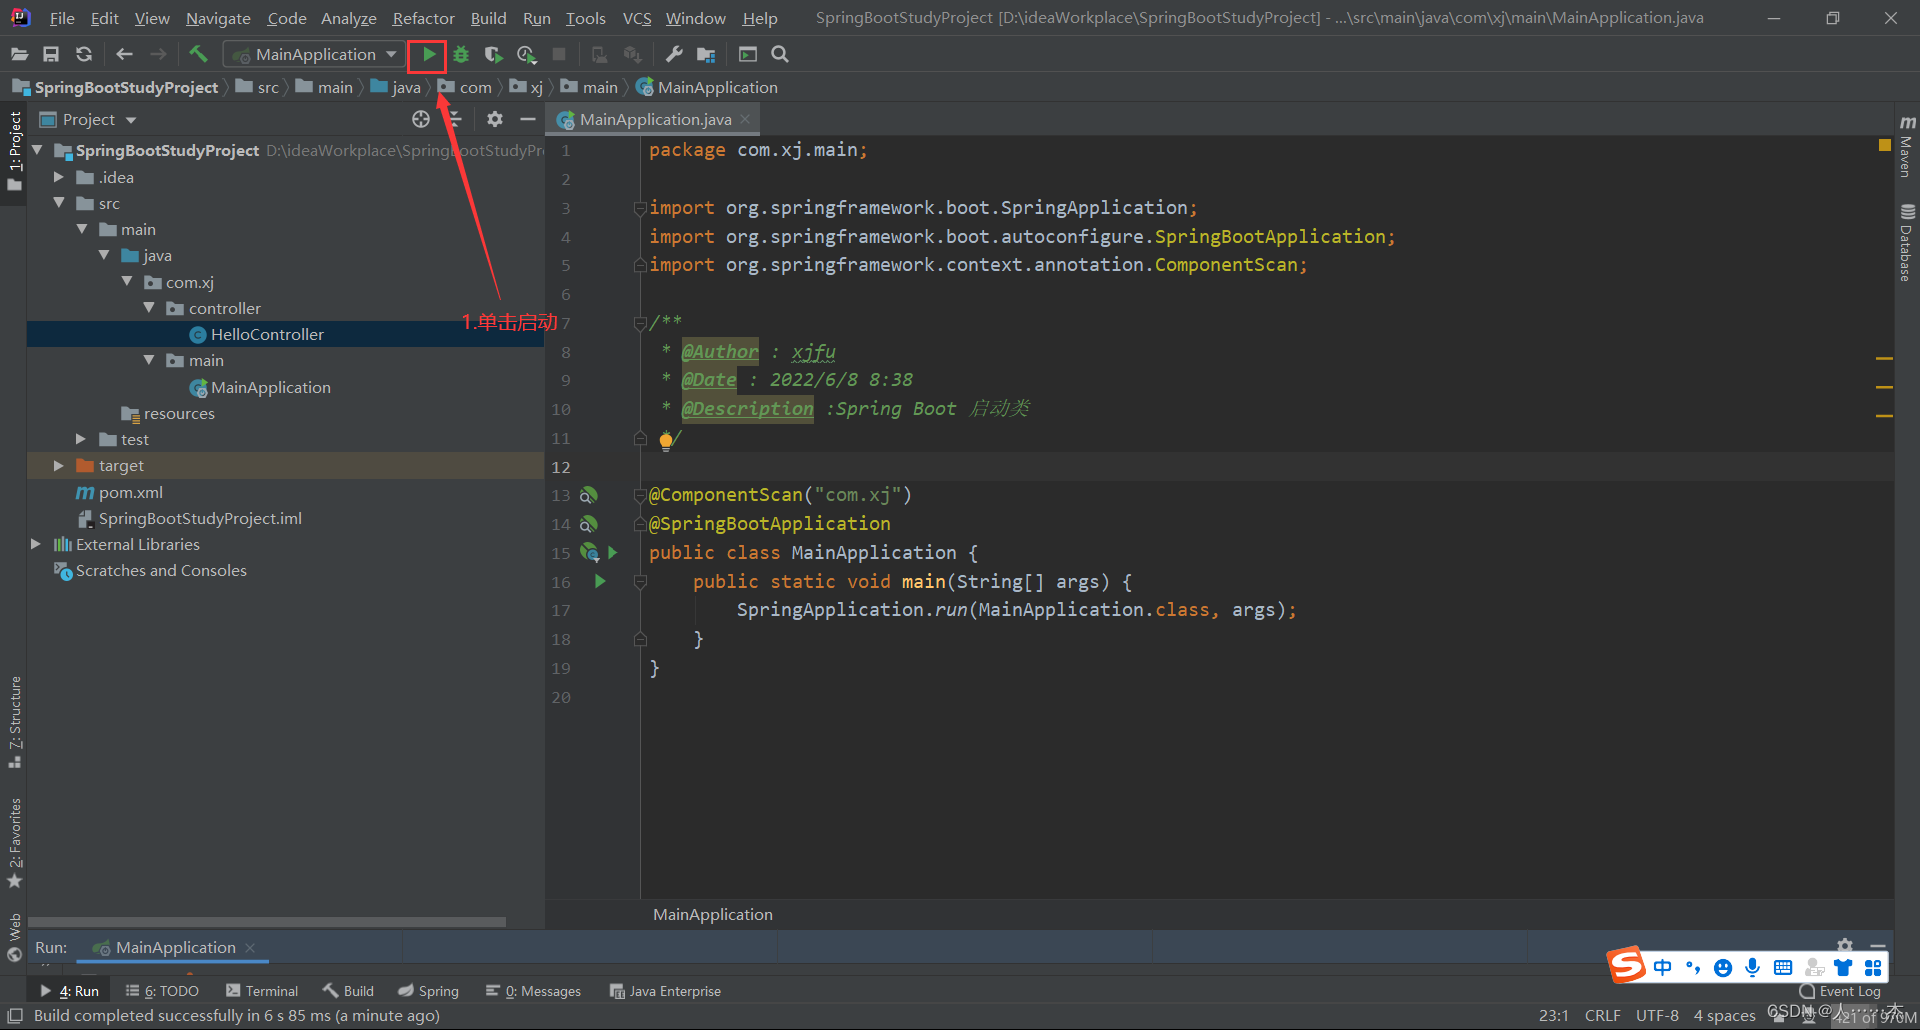
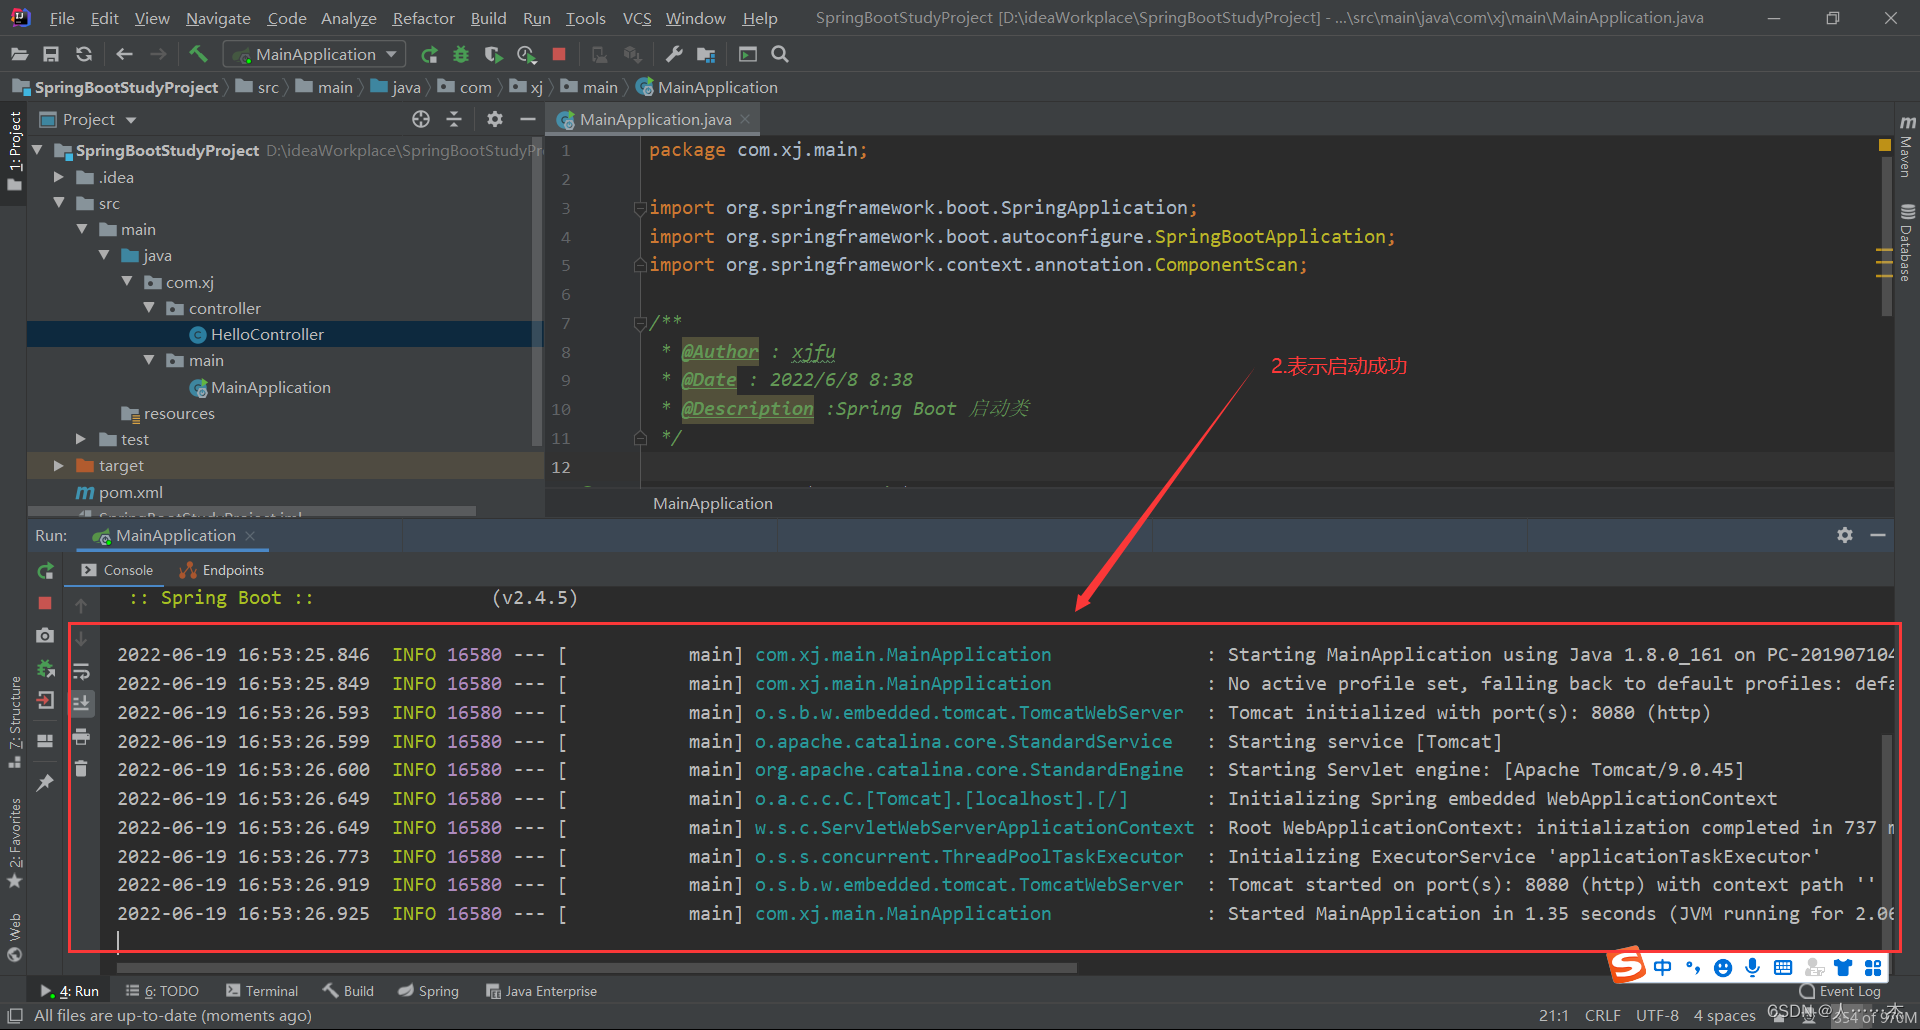
3.启动程序

三、注意事项
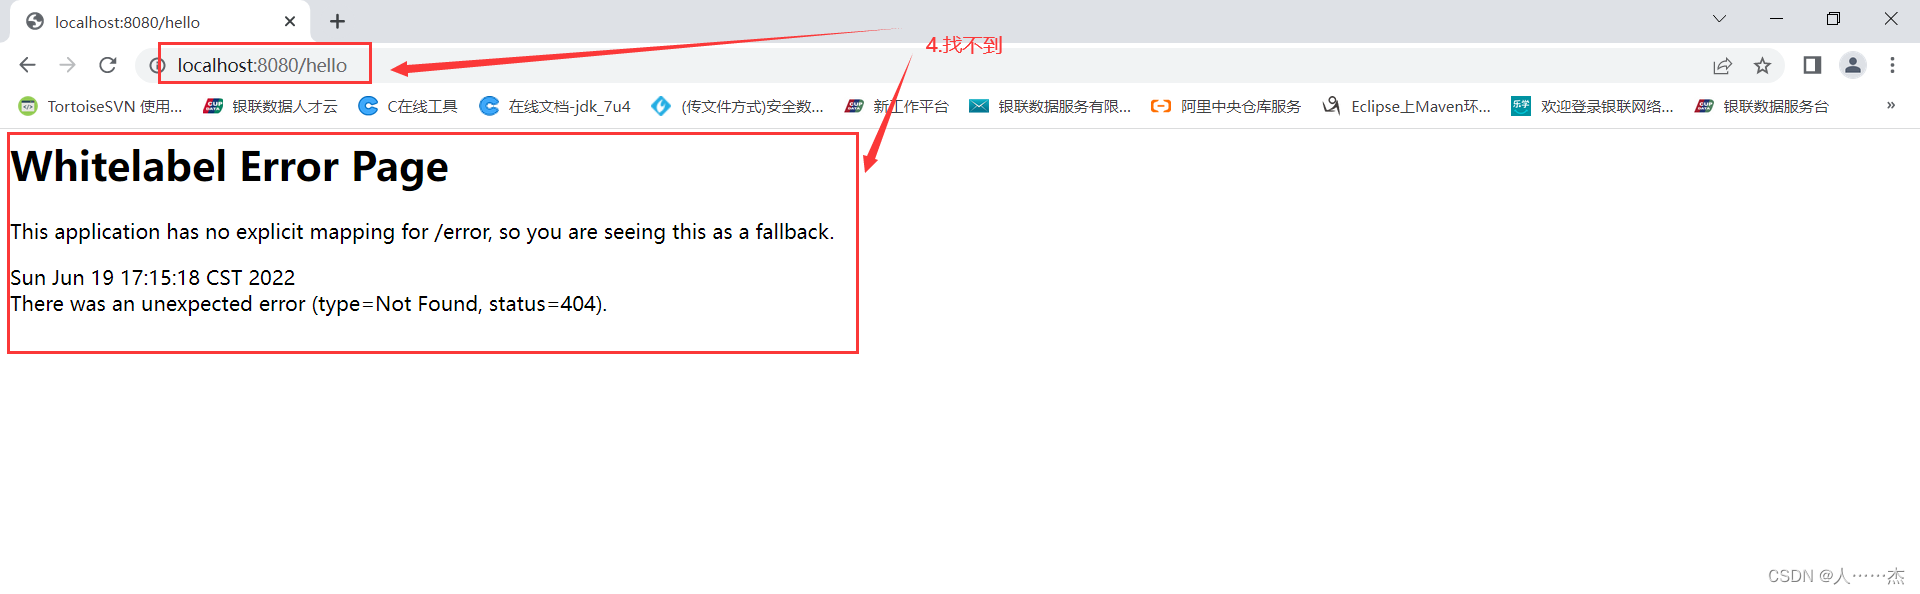
若HelloController类没有与启动类MainApplication在一个包里,或者没有在启动类MainApplication的子包中,需要添加@ComponentScan("com.xj"),让HelloController类能够被注入到,否则会找不到。
(1)HelloController类与启动类MainApplication不在一个包中

(2)HelloController类在启动类MainApplication所属包中的一个子包中
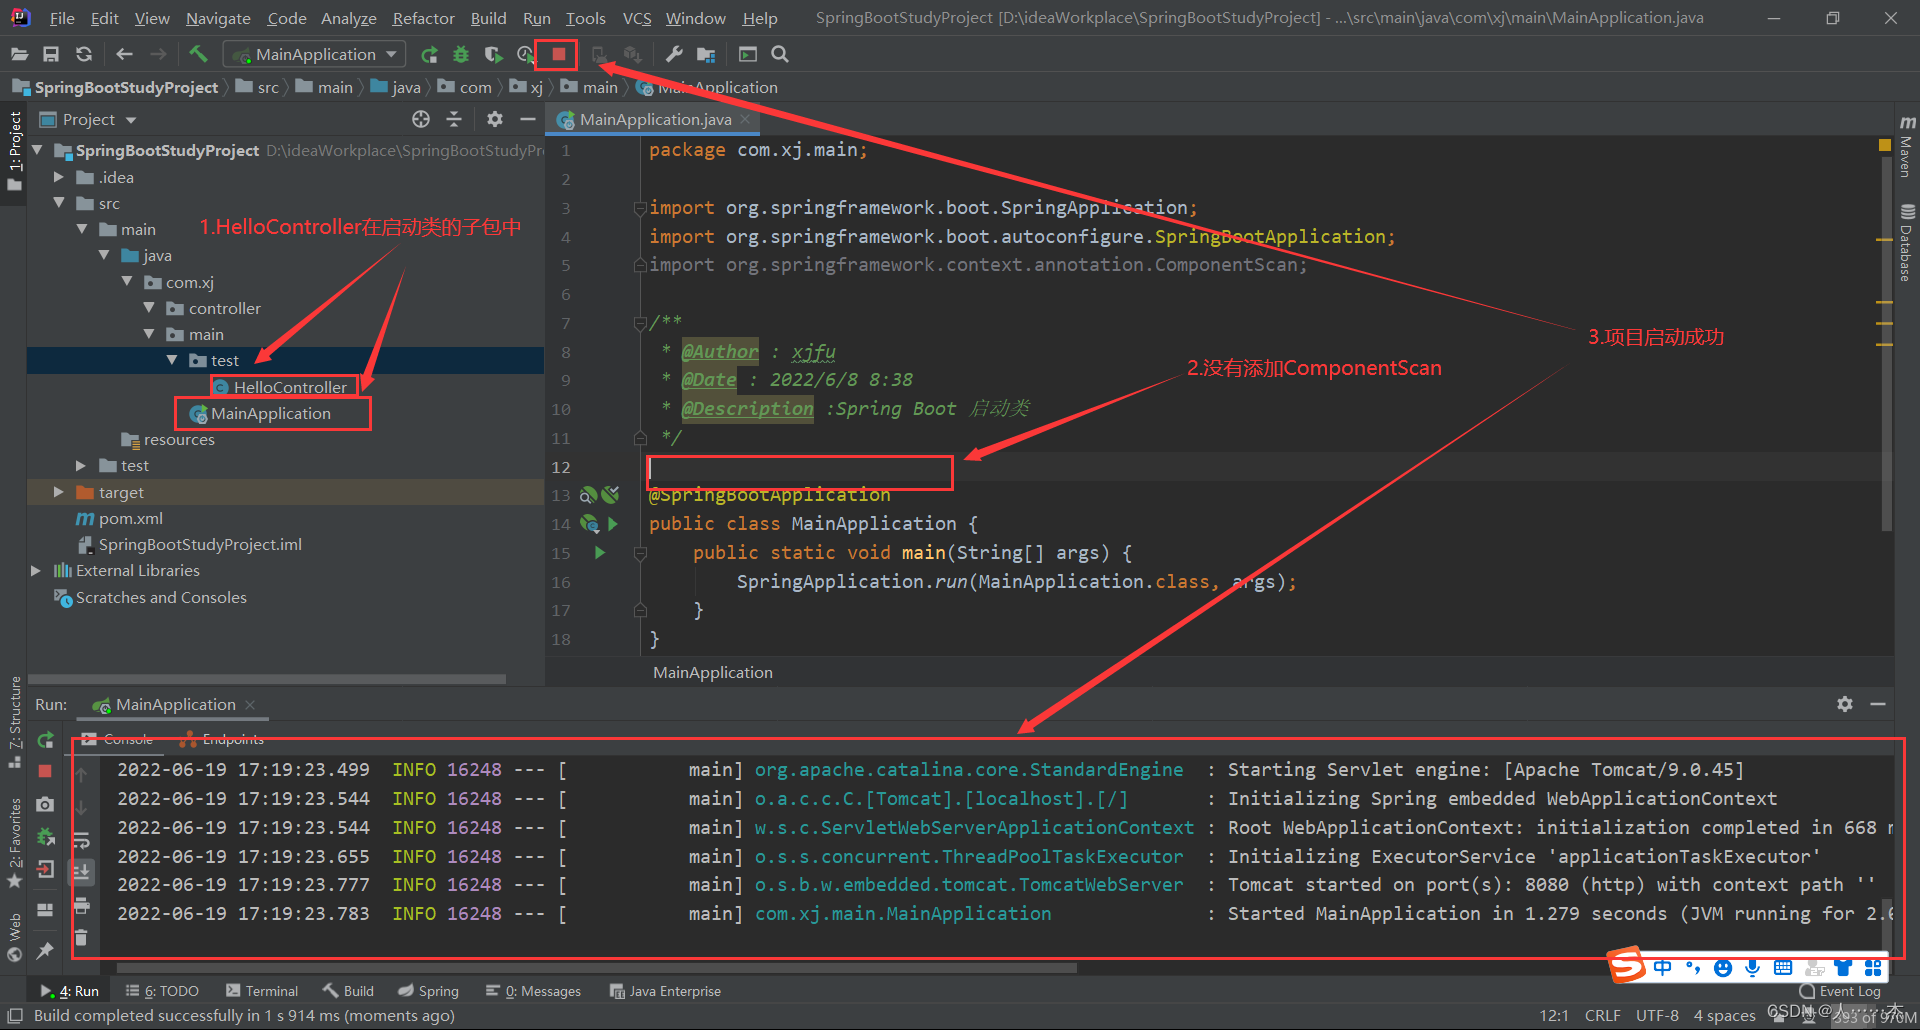

所以,要么满足Controller类与启动类在一个包中,或者在启动类的子包中,要么添加@ComponentScan()注解,对相应的包进行扫描。


 2389
2389


 被折叠的 条评论
为什么被折叠?
被折叠的 条评论
为什么被折叠?
 到【灌水乐园】发言


