


好久没有写博客了,今天抽个空写篇简单的文章,主要就是来介绍一下SurfaceView的基本使用方法,并附上一个小DEMO供大家下载。废话不多说,直接上代码。
首先自定义了一个SurfaceView:
import android.content.Context;
import android.graphics.Canvas;
import android.graphics.Paint;
import android.graphics.RectF;
import android.view.SurfaceHolder;
import android.view.SurfaceView;

import com.yulin.animdemo.R;

/**
 * Created by YuLinixon 2016/11/7 0007.
 */
public class TestSurfaceView extends SurfaceView implements SurfaceHolder.Callback {

    RenderThread renderThread;
    SurfaceHolder holder;
    Context context;

    int lastAngle = 0;
    int swipeAngle = 0;

    RectF rectF;
    Paint paint;

    boolean isDraw = true;

    private static final int sleepSpan = 50;
    private static final int plusAngle = 10;

    public TestSurfaceView(Context context) {
        super(context);
        this.context = context;
        holder = this.getHolder();
        holder.addCallback(this);

        renderThread = new RenderThread();
    }

    @Override
    public void surfaceCreated(SurfaceHolder holder) {
        isDraw = true;
        paint = new Paint();
        paint.setDither(true);
        paint.setAntiAlias(true);
        paint.setStrokeWidth(5);
        paint.setStyle(Paint.Style.STROKE);
        paint.setColor(context.getResources().getColor(R.color.colorAccent));
        rectF = new RectF(getWidth() / 4, getWidth() / 4, getWidth() / 4 * 3, getWidth() / 4 * 3);
        renderThread.start();
    }

    @Override public void surfaceChanged(SurfaceHolder holder, int format, int width, int height) {

    }

    @Override
    public void surfaceDestroyed(SurfaceHolder holder) {
        isDraw = false;
    }

    private class RenderThread extends Thread {
        @Override
        public void run() {
            while (true) {
                doDraw();
                try {
                    Thread.sleep(sleepSpan);
                } catch (Exception e) {
                    e.printStackTrace();
                }
                lastAngle = swipeAngle;
                swipeAngle += plusAngle;
            }
        }
    }

    private void doDraw() {
        Canvas canvas = holder.lockCanvas();
        try {
//            canvas.drawArc(rectF, lastAngle, swipeAngle, false, paint);
            canvas.drawArc(rectF, lastAngle, swipeAngle, true, paint);
        } catch (Exception e) {
            e.printStackTrace();
        } finally {
            holder.unlockCanvasAndPost(canvas);
        }
    }
}
然后是在Activity中的使用:
public class MainActivity extends AppCompatActivity implements View.OnClickListener{
    @Override
    protected void onCreate(Bundle savedInstanceState) {
        super.onCreate(savedInstanceState);
        TestSurfaceView surfaceView = new TestSurfaceView(this);
        setContentView(surfaceView);
    }
 }
最后是显示效果:
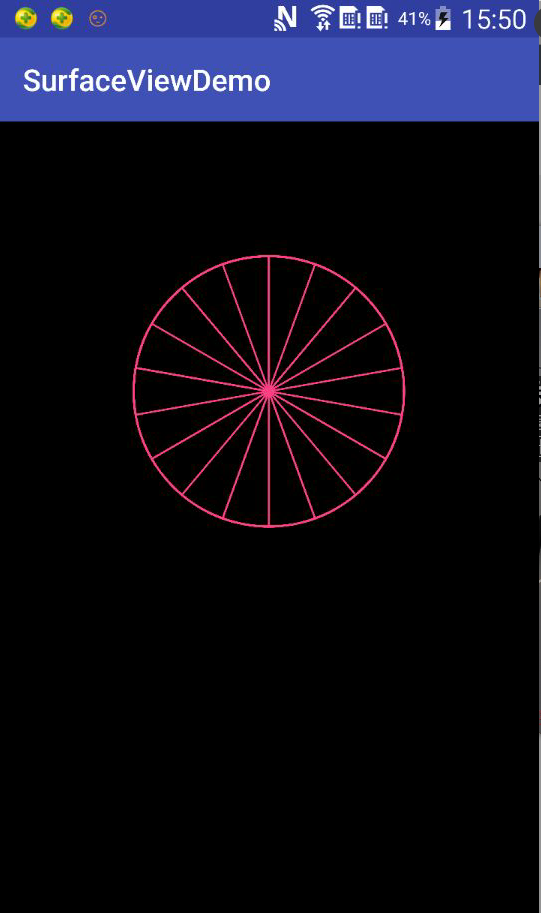
最后了解一下SurfaceView的基本使流程:
1.获取到 SurfaceView 对应的 SurfaceHolder,并且要给 SurfaceHolder 添加一个 SurfaceHolder.callback 对象。
2.创建一个线程用于渲染视图;
3.在SurfaceHolder.callback的surfaceCreated方法中开始渲染视图,绘制结束后,SurfaceHolder.callback的surfaceDestroyed方法中使用 unlockCanvasAndPost方法解锁 Canvas。
感觉是不是很简单?最后附上这个Demo的源码下载地址:


 972
972


 被折叠的 条评论
为什么被折叠?
被折叠的 条评论
为什么被折叠?
 到【灌水乐园】发言


