


1. zsh安装
1.1 root用户/拥有root权限用户安装
如果你为root用户,或者可以使用sudo apt install 命令,则推荐使用该方法安装,安装成功后直接看 终端美化部分。安装命令如下:
sudo apt install zsh
1.2 非root用户并且不在sudo组安装zsh
这种情况下,需要自己编译zsh,并将其安装在一个有write权限的目录下,本教程会将其安装在~/software
安装命令如下:
cd ~ # 到用户目录
mkdir software # 创建目录,在该目录下安装zsh和其他插件
cd software
wget -O zsh.tar.xz https://sourceforge.net/projects/zsh/files/latest/download #下载源代码
mkdir zsh && unxz zsh.tar.xz && tar -xvf zsh.tar -C zsh --strip-components 1
cd zsh

# 安装zsh
./configure --prefix=$HOME/software
make
make install

# 将 安装路径放到PATH中
echo 'export PATH="$HOME/software/bin:$PATH"' >> ~/.bashrc
# 非root用户无法直接将shell更换为zsh,只能在每次启动时,系统先启动bash,然后我们让其自动去执行zsh命令
echo "zsh" >> ~/.bashrc # 每次打开终端,在最后都让他去执行zsh
# 执行下面命令,刷新PATH
source ~/.bashrc
1.2.1可能存在的问题 (如果已经 顺利安装zsh请忽视本章节,阅读 2. 终端美化)
configure: error: "No terminal handling library was found on your system. This is probably a library called curses or ncurses. You may need to install a package called 'curses-devel' or 'ncurses-devel' on your system"
解决方案: 安装anaconda,然后激活base环境,此时就会包含 ncurses (百度anaconda安装教程,很简单)
或者安装 python3,然后执行 pip install ncurses,就可以安装ncurses(自行百度如何安装python3)
PS:使用python的包管理器pip安装ncurses超级容易,否则需要参照下面方法自己编译各种库,很麻烦!!!
备用解决方法:
参考:Building zsh without admin priv: No terminal handling library found
Error ghc7.10.3.so: undefined symbol: cur_term when building 0.0.6b7 #414
# 安装ncurses
cd ~ #
mkdir software # 如果已有software目录,则忽视
export CXXFLAGS=" -fPIC"
export CFLAGS=" -fPIC"

INSTALLATION_PATH=$HOME/software
export PATH=$INSTALLATION_PATH/bin/:$PATH
export LD_LIBRARY_PATH=$INSTALLATION_PATH/lib:$LD_LIBRARY_PATH
export CPPFLAGS="-I$INSTALLATION_PATH/include" LDFLAGS="-L$INSTALLATION_PATH/lib"

apt source libncurses5-dev
cd ncurses-***
./configure --prefix=$HOME/software/ --with-shared --without-debug --enable-widec  # 指定路径configure
make -j8
make install
# 将software/bin中的命令放到环境变量。
echo 'PATH="$HOME/software/bin:$PATH"' >> ~/.bashrc
echo "LD_LIBRARY_PATH=$HOME/software/lib:$LD_LIBRARY_PATH" >> ~/.bashrc
source ~/.bashrc

# 安装zsh
cd path/to/zsh # eg. cd ~/software/zsh
./configure --prefix ~/software --enable-shared
make -j8
make install
2. 终端美化
本章节会安装autojump,zsh-autosuggestions,zsh-syntax-highlighting等插件,这些实用插件可显著提升命令行输入效率。带来极致办公体验
mkdir ~/software
cd ~/software # 回software目录,安装ohmyzsh,用于自动生成.zshrc文件
git clone https://github.com/ohmyzsh/ohmyzsh.git
cd ohmyzsh/tools/
./install.sh
# 这儿会让选择是否将zsh设置为默认的shell,root用户选择y,非root用户选择n

# 下载安装 zsh-autosuggestions (自动补全可能路径)
cd ~/software # 回到software目录,安装zsh-autosuggestions插件
git clone https://github.com/zsh-users/zsh-autosuggestions.git $ZSH_CUSTOM/plugins/zsh-autosuggestions
# 下载 autojump (快速跳转)
git clone https://github.com/joelthelion/autojump.git
cd autojump
./install.py   #如果这里提示没有安装 python,请自行安装python,可以考虑直接安装anaconda

echo "[[ -s ~/.autojump/etc/profile.d/autojump.sh ]] && . ~/.autojump/etc/profile.d/autojump.sh" >> ~/.zshrc
echo "autoload -U compinit && compinit -u" >> ~/.zshrc
cd ~/software # 回software目录,下载语法高亮插件
# 下载安装 zsh-syntax-highlighting (终端输入高亮 正确路径下划线)
git clone https://github.com/zsh-users/zsh-syntax-highlighting.git ${ZSH_CUSTOM:-~/.oh-my-zsh/custom}/plugins/zsh-syntax-highlighting

# 更新插件配置
sed -i "s/plugins=(git)/plugins=(git autojump zsh-autosuggestions zsh-syntax-highlighting)/g" ~/.zshrc
source ~/.zshrc # 使配置立刻生效
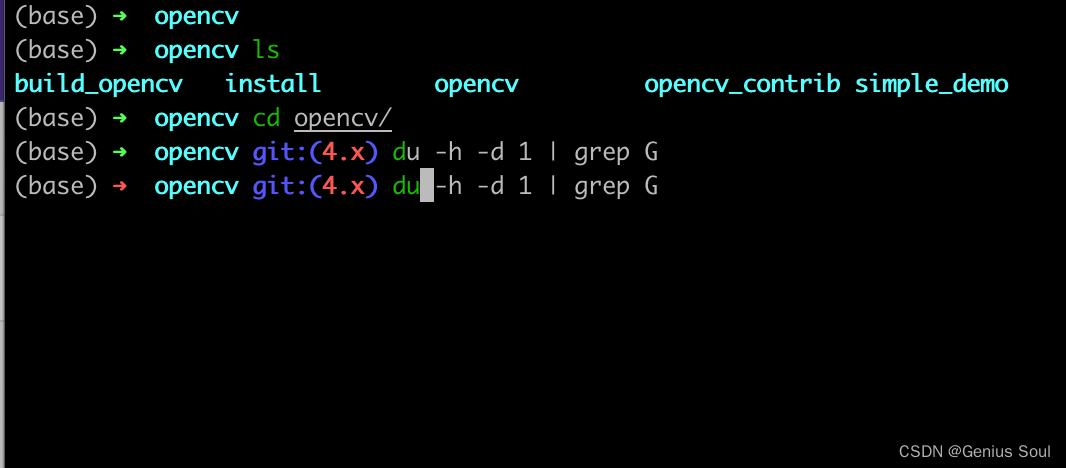
安装成功后的效果:
3. 其他zsh安装备选方案
博主本人之前可以这样安装,但后来提示找不到zsh,所以我一直使用1.2的方案安装
apt download zsh
dpkg -x zsh****.deb  /path/to/install/home


 392
392


 被折叠的 条评论
为什么被折叠?
被折叠的 条评论
为什么被折叠?
 到【灌水乐园】发言


