


开始编写一个焦点轮播图的插件 :)
实现焦点轮播的方式有许多,这里采用的方式的主要点是采用css中z-index属性和position属性,通过设置图片的层级和位置来实现焦点轮播。
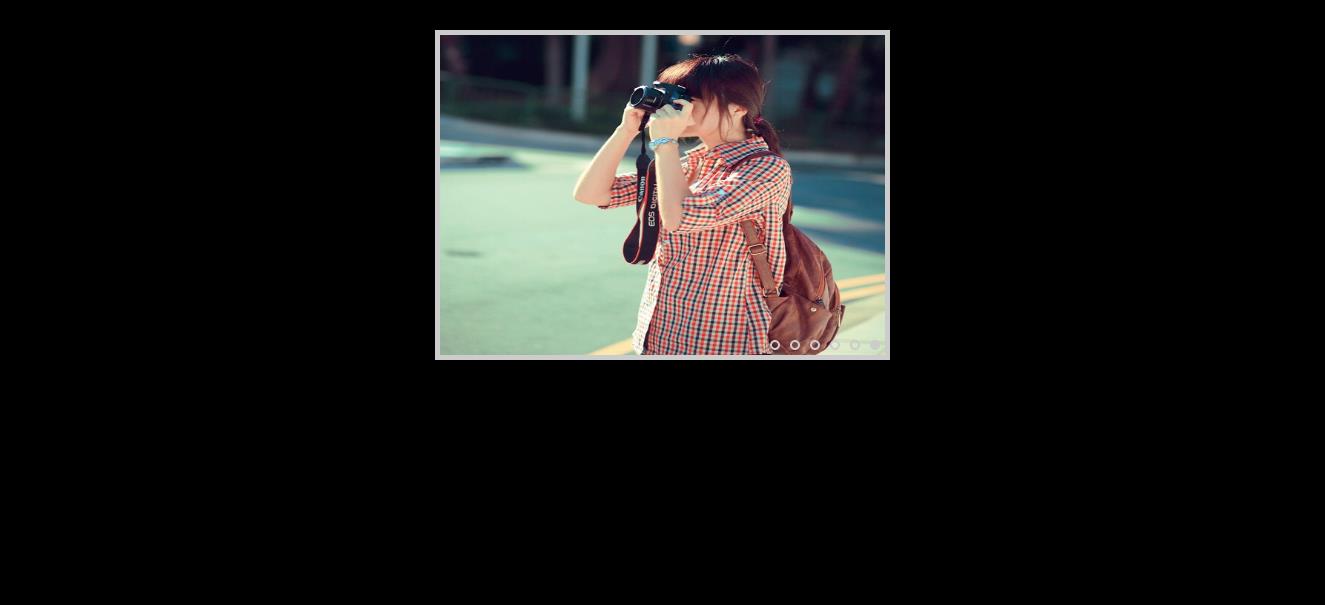
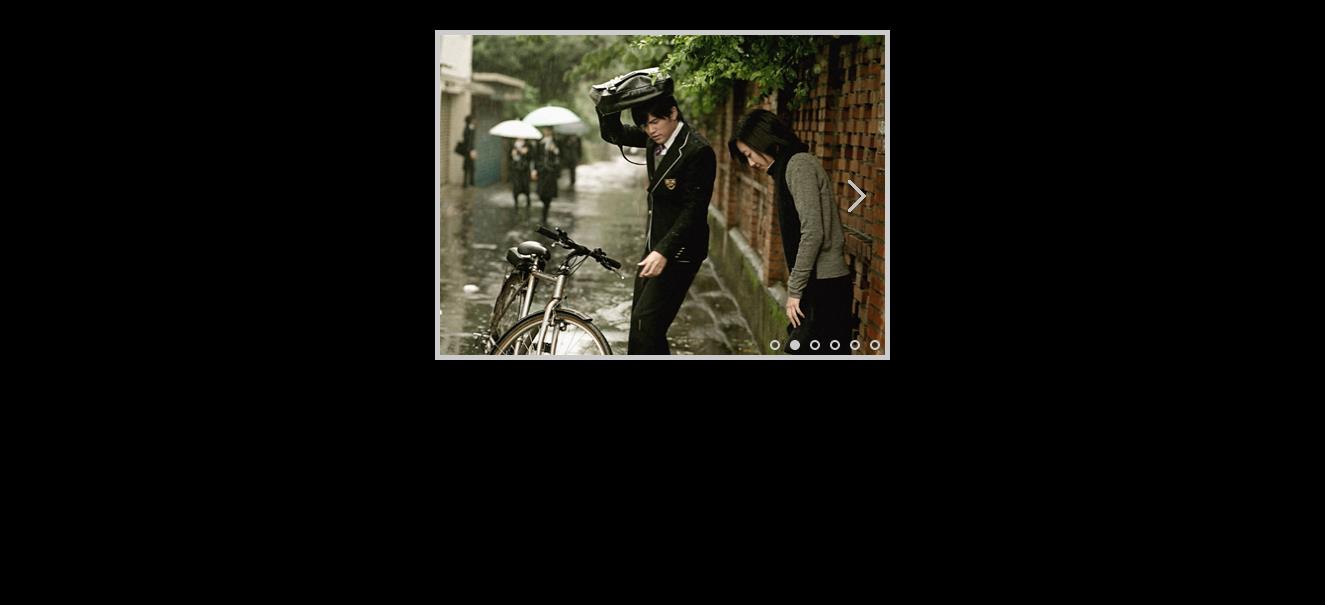
首先照例奉上最终效果图:
1、首先创建文件夹:

2、编写img.html文件
<!DOCTYPE html>
<html>
<head>
    <meta charset="utf-8">
    <title>焦点图</title>
    <link rel="stylesheet" type="text/css" href="css/img.css">
</head>
<body>
<!---必须格式-->
<div id="imgShow">
<ul class="show">
    <li><img src="img/1.jpg"></li>
    <li><img src="img/2.jpg"></li>
    <li><img src="img/3.jpg"></li>
    <li><img src="img/4.jpg"></li>
    <li><img src="img/5.jpg"></li>
    <li><img src="img/6.jpg"></li>
</ul>
</div>
</body>
<script type="text/javascript" src="js/jquery.min.js"></script>
<script type="text/javascript" src="js/jquery.imgShow.js"></script>
<script type="text/javascript" src="js/img.js"></script>
</html>
主要功能有:
焦点轮播;
自动切换;
前后切换;
宽度可设置为百分比,自适应。
2、编写img.css文件
body{background-color: #000;}
ul{
    list-style: none;
    margin: 0;
    padding: 0;
}
#imgShow{
    width: 34%;
    height:320px;
    margin: 30px auto;
    border: 5px solid #ccc;
    overflow: hidden;
    position: relative;
}
.show{
    width: 100%;
    height: 100%;
}
.show li{
    width: 100%;
    height: 100%;
    position: absolute;
}
.show li:nth-child(0){
    z-index: 99
}
.show li img{
    width: 100%;
    height: 100%;
}
.prev,.next{
    width: 60px;
    height: 60px;
    position: absolute;
    top: 50%;
    margin-top: -30px;
    z-index: 99;
    opacity: 0;
    -webkit-transition:opacity 0.5s linear;
}
.prev{
    left: 0;
    background:url(../img/arrow.png) 100% 50% no-repeat;
}
.next{
    right: 0;
    background:url(../img/arrow.png) 33% 50% no-repeat;
}
.prev:hover,.next:hover{
    opacity: 1;
}
.control{
    height: 10px;
    position: absolute;
    bottom: 5px;
    right: 0;
    z-index: 99;
}
.dot{
    width: 6px;
    height: 6px;
    cursor: pointer;
    margin: 0 5px;
    border-radius: 5px;
    border:2px solid #ccc;
    float: left;
}
.currentDot{
    background-color:#ccc;
}
.dot:hover{
    background-color: #ccc;
}
3、编写jquery.imgShow.js插件文件
;(function($){
    $.fn.imgShow = function(object){
        var object = object || {},
            change = object.change || 'true',       //设置前后切换按钮
            control = object.control || 'true',     //设置焦点切换按钮
            slideTime = object.slideTime || 800,    //滑动间隔时间
            duration = object.duration || 3000, //滑动时间
            currentIndex = object.currentIndex || 0,    //当前图片索引
            lastIndex = 0,  //最后一次图片索引
            timeout,    //定时器
            counts = $('.show li').length,     //图片数量
            imgWidth = $(this).width();        //图片宽度
        $('.show li').eq(currentIndex).css("z-index",counts);  //设定当前图片层级
        //根据宽度的变化及时调整图片切换时的大小
        var setWidth =function(){
            var currentWidth = $('#imgShow').width();
            if (currentWidth !== imgWidth) {
                imgWidth = currentWidth;
            }
        }
        setInterval(setWidth,200);
        //切换索引
        var switchTrack = function(i){
            if (i==counts) {
                currentIndex = 0;
            }else if (i<0) {
                currentIndex = counts-1;
            }
            getShow(currentIndex,lastIndex);
        }
        //自动轮播
        var autoShow = function(){
            lastIndex = currentIndex;
            ++currentIndex;
            switchTrack(currentIndex);
        }
        timeout = setInterval(autoShow,duration);
        //设定滑动动画
        var getShow = function(i,j){
            if (i!=j) {
                var offset = imgWidth;
                $('.show li').eq(j).css('z-index',counts).siblings().css('z-index',0);
                $('.show li').eq(i).css('z-index',counts);
                if (i<j){
                    offset = -imgWidth;
                }
                $('.show li').eq(i).css('left',offset+'px').animate({
                    'left':0
                },slideTime,'swing');
                $('.show li').eq(j).animate({
                    'left':-offset+'px'
                },slideTime,'swing');
                if (control==='true') {
                    $('.dot').eq(i).addClass('currentDot').siblings().removeClass('currentDot');
                }
            }
        }
        //前后切换设置
        if (change==='true') {
            $(this).append('<span class="prev arrow"></span><span class="next arrow"></span>');
            $('.arrow').each(function(index){
                $(this).click(function(){
                    clearInterval(timeout);
                    lastIndex = currentIndex;
                    if (index==0) {
                        --currentIndex;
                    }else{
                        ++currentIndex;
                    }
                    switchTrack(currentIndex);
                    timeout = setInterval(autoShow,duration);
                })
            })
        }
        //定点切换设置
        if (control==='true') {
            $(this).append('<ul class="control"></ul>');
            for (var i = 0; i < counts; i++) {
                $('.control').append('<li class="dot"></li>');
            }
            $('.dot').eq(currentIndex).addClass('currentDot');
            $('.dot').each(function(index){
                $(this).click(function(){
                    clearInterval(timeout);
                    lastIndex = currentIndex;
                    currentIndex = index;
                    switchTrack(currentIndex);
                    $(this).addClass('currentDot').siblings().removeClass('currentDot');
                    timeout = setInterval(autoShow,duration);
                });
            });
        }
    }
})(jQuery)
举个例子:若当前图片0,即将切换为图片1(也即向左滑动),设置图片0和1的层级为最高(这里直接采用图片的张数作为最高层级),其他图片的层级为0,设置图片1的位置值left为图片显示宽度,设置animate动画:图片0的位置值lef为负的图片显示宽度 ,图片1的位置值left为0,即可完成轮播效果。
4、编写img.js引用代码
$(document).ready(function(){
    $('#imgShow').imgShow({
        currentIndex:2
    });
})
这里通过传递一个对象初始化自定义的值,包括:
change , 设置前后切换按钮(‘true’|| ‘false’),默认为‘true’;
control ,设置焦点切换按钮(‘true’|| ‘false’),默认为‘true’;
slideTime ,设置滑动间隔时间,默认为800;
duration ,设置滑动时间,默认为3000;
currentIndex ,设置当前图片索引,默认为0.
至此即完成一个焦点轮播图插件。
完整插件下载地址:焦点轮播图。


 550
550

 被折叠的 条评论
为什么被折叠?
被折叠的 条评论
为什么被折叠?
 到【灌水乐园】发言


