


目标网站
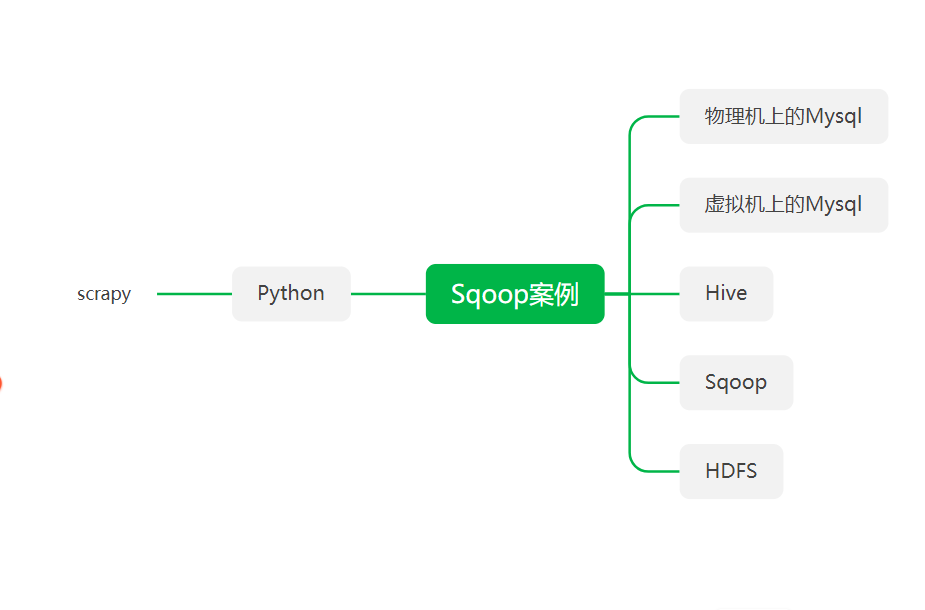
1.实现方法先使用scrapy有对目标进行分析爬取
其中涉及的知识点 " xpath scrapy re "
2.将爬取的数据存储到 虚拟机中的mysql中
3.再利用Sqoop将数据导出到HDFS中存储
4.用Sqoop将数据导入到hive中进行分析
5.再利用Hive进行分析
6.利用Sqoop将分析好的数据导出到mysql中
目标一
将网站的数据爬取到物理机中的数据库中
win+R 输入cmd 先打开控制台
进入到
输入 :E:
因为我的pyton环境是在E盘中 我将scrapy的小案例写入到了安装路径下
进入到Python的安装路径下
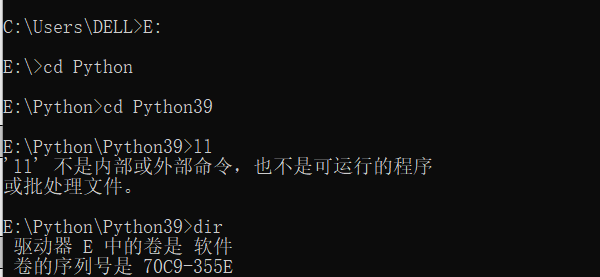
ll 是linux中的命令 这几天用的有点多 不用管那个
输入:dir
在这个文件目录下创建scrapy的小案例
输入:scrapy startproject quotes
//用来创建名为quotes的scrapy的爬虫项目
使用PyCharm打开项目
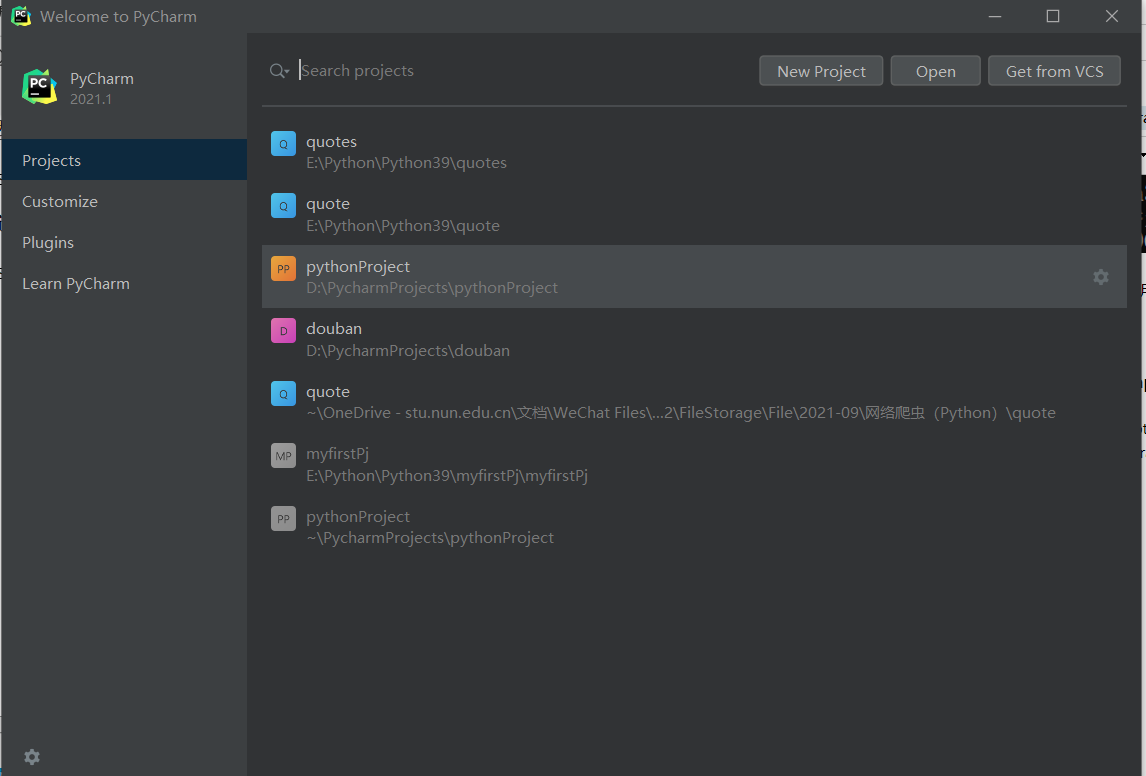
点击open

找到名为quotes的项目
点击ok
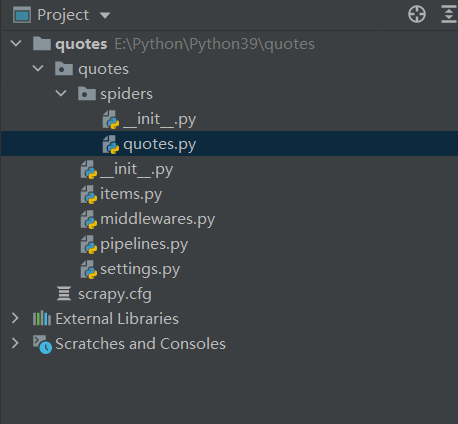
代码就已经生成
在quotes.py中进行爬取数据的分析
quotes.py代码:
		import scrapy
		from quote.items import QuoteItem

		"""
		Quotes爬虫
		"""
		class QuotesSpider(scrapy.Spider):
		#爬虫的名称
		name = 'quotes'
		#爬虫的域名
		allowed_domains = ['quotes.toscrape.com']
		#启动的URL
		start_urls = ['http://quotes.toscrape.com/']

		def parse(self, response):

		for each in response.xpath('//div[@class="quote"]'):
		item = QuoteItem()
		# 名人名言文本
		item['text'] = each.xpath('./span/text()').extract()[0]
		# 作者
		item['author'] = each.xpath('.//small/text()').extract()[0]
		tagList = each.xpath('.//a[@class="tag"]/text()').extract()
		# 标签
		item['tags'] = '/'.join(tagList)
		yield item
		# 下一页的页码
		next = response.xpath('//li[@class="next"]/a/@href').extract()[0]
		# 下一页的URL
		url = response.urljoin(next)
		# 请求下一页,回调函数为parse
		yield scrapy.Request(url=url, callback=self.parse)
		pass
items.py代码
	# Define here the models for your scraped items
	#
	# See documentation in:
	# https://docs.scrapy.org/en/latest/topics/items.html

	import scrapy

	class QuoteItem(scrapy.Item):
	# define the fields for your item here like:
	# name = scrapy.Field()
	#文本
	text = scrapy.Field()
	#作者
	author = scrapy.Field()
	# 标签
	tags = scrapy.Field()
	pass
pipelines.py代码如下
	# 主机名 这个是在C盘下的hosts中添加 你可以将自己的IP地址附上去 若你是本地的mysql那就改为localhost
	# Define your item pipelines here
	#
	# Don't forget to add your pipeline to the ITEM_PIPELINES setting
	# See: https://docs.scrapy.org/en/latest/topics/item-pipeline.html

	# useful for handling different item types with a single interface
	import pymysql

	class QuotePipeline:
	# 初始化
	def __init__(self):
	#连接到MySQL数据库
	self.connect = pymysql.connect(
	# 主机名
	host='master',
	# 用户名
	user='root',
	# 密码
	password='123456',
	# 数据库
	database='quotes',
	# 数据库编码
	charset='utf8',
	)
	self.cursor = self.connect.cursor()
	# 处理每一条数据
	def process_item(self, item, spider):
	item = dict(item)
	# 数据表名
	table = 'quote'
	# 字段的名称
	keys = ','.join(item.keys())
	# 字段的值
	values = ','.join(['%s'] * len(item))
	# 构造SQL语句
	sql = 'insert into {table}({keys}) values({values})'.format(table=table, keys=keys, values=values)
	try:
	# 执行SQL语句
	if self.cursor.execute(sql, tuple(item.values())):
	self.connect.commit()
	except:
	print("Failed!")
	self.connect.rollback()
	return item
	# 关闭爬虫
	def close_spider(self, spider):
	# 关闭cursor
	self.cursor.close()
	# 关闭连接
	self.connect.close()
settings.py代码如下
	# Scrapy settings for quote project
	#
	# For simplicity, this file contains only settings considered important or
	# commonly used. You can find more settings consulting the documentation:
	#
	# https://docs.scrapy.org/en/latest/topics/settings.html
	# https://docs.scrapy.org/en/latest/topics/downloader-middleware.html
	# https://docs.scrapy.org/en/latest/topics/spider-middleware.html

	BOT_NAME = 'quote'

	SPIDER_MODULES = ['quote.spiders']
	NEWSPIDER_MODULE = 'quote.spiders'


	# Crawl responsibly by identifying yourself (and your website) on the user-agent
	#USER_AGENT = 'quote (+http://www.yourdomain.com)'

	# Obey robots.txt rules
	# ROBOTSTXT_OBEY = True
	ROBOTSTXT_OBEY = False

	# Configure maximum concurrent requests performed by Scrapy (default: 16)
	#CONCURRENT_REQUESTS = 32

	# Configure a delay for requests for the same website (default: 0)
	# See https://docs.scrapy.org/en/latest/topics/settings.html#download-delay
	# See also autothrottle settings and docs
	#DOWNLOAD_DELAY = 3
	# The download delay setting will honor only one of:
	#CONCURRENT_REQUESTS_PER_DOMAIN = 16
	#CONCURRENT_REQUESTS_PER_IP = 16

	# Disable cookies (enabled by default)
	#COOKIES_ENABLED = False

	# Disable Telnet Console (enabled by default)
	#TELNETCONSOLE_ENABLED = False

	# Override the default request headers:
	#DEFAULT_REQUEST_HEADERS = {
	# 'Accept': 'text/html,application/xhtml+xml,application/xml;q=0.9,*/*;q=0.8',
	# 'Accept-Language': 'en',
	#}

	DEFAULT_REQUEST_HEADERS = {
	'user-agent': 'Mozilla/5.0 (Windows NT 10.0; Win64; x64) AppleWebKit/537.36 (KHTML, like Gecko) Chrome/68.0.3440.106 Safari/537.36',
	'Accept': 'text/html,application/xhtml+xml,application/xml;q=0.9,*/*;q=0.8',
	# 'Accept-Language': 'en',
	}

	# Enable or disable spider middlewares
	# See https://docs.scrapy.org/en/latest/topics/spider-middleware.html
	#SPIDER_MIDDLEWARES = {
	# 'quote.middlewares.QuoteSpiderMiddleware': 543,
	#}

	# Enable or disable downloader middlewares
	# See https://docs.scrapy.org/en/latest/topics/downloader-middleware.html
	#DOWNLOADER_MIDDLEWARES = {
	# 'quote.middlewares.QuoteDownloaderMiddleware': 543,
	#}

	# Enable or disable extensions
	# See https://docs.scrapy.org/en/latest/topics/extensions.html
	#EXTENSIONS = {
	# 'scrapy.extensions.telnet.TelnetConsole': None,
	#}

	# Configure item pipelines
	# See https://docs.scrapy.org/en/latest/topics/item-pipeline.html
	#ITEM_PIPELINES = {
	# 'quote.pipelines.QuotePipeline': 300,
	#}
	ITEM_PIPELINES = {
	'quote.pipelines.QuotePipeline': 300,
	}

	# Enable and configure the AutoThrottle extension (disabled by default)
	# See https://docs.scrapy.org/en/latest/topics/autothrottle.html
	#AUTOTHROTTLE_ENABLED = True
	# The initial download delay
	#AUTOTHROTTLE_START_DELAY = 5
	# The maximum download delay to be set in case of high latencies
	#AUTOTHROTTLE_MAX_DELAY = 60
	# The average number of requests Scrapy should be sending in parallel to
	# each remote server
	#AUTOTHROTTLE_TARGET_CONCURRENCY = 1.0
	# Enable showing throttling stats for every response received:
	#AUTOTHROTTLE_DEBUG = False

	# Enable and configure HTTP caching (disabled by default)
	# See https://docs.scrapy.org/en/latest/topics/downloader-middleware.html#httpcache-middleware-settings
	#HTTPCACHE_ENABLED = True
	#HTTPCACHE_EXPIRATION_SECS = 0
	#HTTPCACHE_DIR = 'httpcache'
	#HTTPCACHE_IGNORE_HTTP_CODES = []
	#HTTPCACHE_STORAGE = 'scrapy.extensions.httpcache.FilesystemCacheStorage'
点击

中的Terminal
输入

然后回车执行
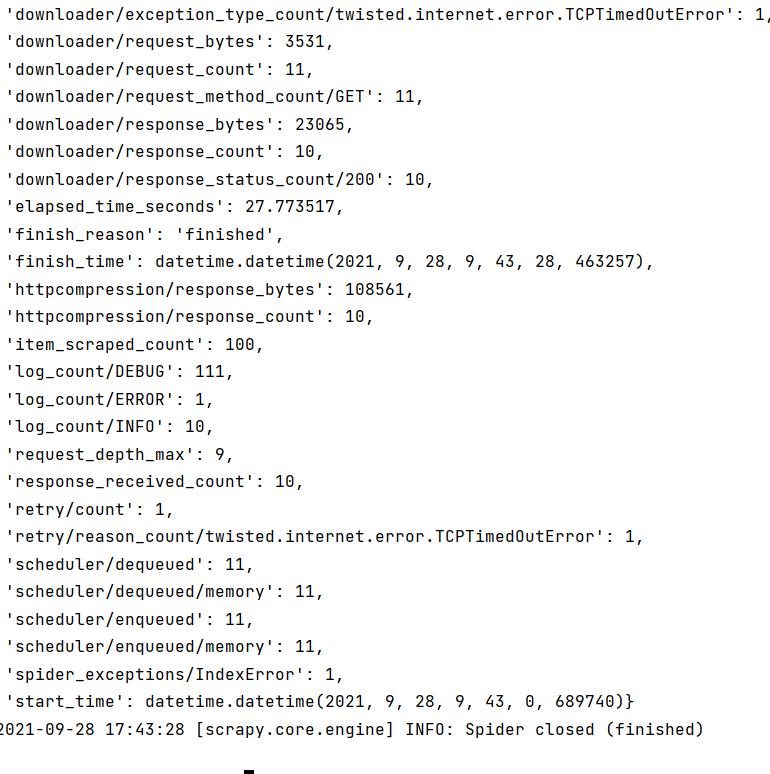
执行完毕
去数据库中查看数据是否已经导入
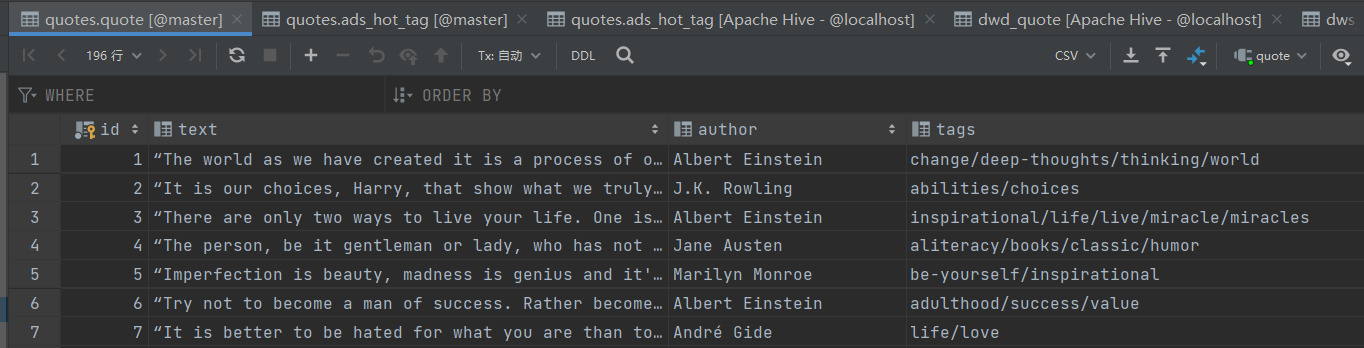
发现数据已经导入到数据库中
这里咱们就完成了第一个步骤
目标一就已经完成
目标二
将数据存储到虚拟机中的mysql中
- 需要将配置数据库文件的主机名改为虚拟机的主机名
- 将本地机的用户名和密码改为虚拟机MySQL中的用户名及密码
- 重新运行爬虫 依旧是在命令行中输入
scrapy crawl quotes将数据爬到数据库中
目标三
利用Sqoop将mysql数据导出到HDFS中
在进行之后的操作之前我们需要虚拟机上的的Hadoop,MySQL,Hive,JDK等安装完毕
在使用将MySQL中的数据利用Sqoop传输到HDFS中之前将Hadoop开启
- 首先进入到sqoop的安装目录下
cd /安装目录/bin/
输入:
						sqoop import \
					--connect jdbc:mysql://master:3306/quotes \    #master是主机名
					--username root \	#root是用户名
					--password 123456 \	#123456密码
					--table quote \	#quote表名
					--target-dir /warehouse/quotes/quote \ #HDFS中的地址 可以去访问虚拟机中的50070端口进行复制
					--delete-target-dir \
					--num-mappers 1 \调用mapper的数量 由于只是简单的存储数据 只会用到一个mapper 所以数量为一

					--fields-terminated-by "\t"
Sqoop底层的原理依旧是类似MR 但是没有R 原因是因为其中不需要得到回复
- 去浏览器中访问
主机名:50070
我的主机名为master
master:50070

中的这个地址
/warehouse/quotes/quote
查看是否有文件生成
目标四
用sqoop将数据导入到hive中进行分析
- 首先打开hive中建表
- 在运行hadoop之后
- **在虚拟机中输入
hive** - 创建数据库quots
- 输入
use quotes - 输入
drop table if exists ods_quote; - 输入
创建ods_quote表
	create external table ods_quote (
	    `id` int,
	    `text` string ,
	    `author` string ,
	    `tags` string
	)
	row format delimited fields terminated by '\t'
	location '/warehouse/quotes/ods/ods_quote/';
- 输入
drop table if exists dwd_quote; - 输入
创建dwd_quote表
	create external table dwd_quote (
	    `id` int,
	    `text` string ,
	    `author` string ,
	    `tags` string
	)
	row format delimited fields terminated by '\t'
	location '/warehouse/quotes/dwd/dwd_quote/';
- 输入
drop table if exists dws_quote; - 输入
创建dws_quote
	create external table dws_quote (
	    `text` string ,
	    `author` string ,
	    `tag` string
	)
	row format delimited fields terminated by '\t'
	location '/warehouse/quotes/dws/dws_quote/';
- 输入
drop table if exists ads_hot_tag; - 输入
创建ads_hot_tag
	create external table ads_hot_tag (
	    `tag` string ,
	    `tag_count` int
	)
	row format delimited fields terminated by '\t'
	location '/warehouse/quotes/ads/ads_hot_tag/';
完成创建表结构,接下来进行导数据
从HDFS中将表导入到ODS层作为原始数据进行保存 为之后的数据仓库建立提供基础
- 这里我们建立一个脚本来进行操作
也可以直接进行数据导入
在虚拟机的任意目录下vi quotes_ods.sh
在vim 界面 按一下 a 键进入编辑模式 然后将以下文件输入其中
	#!/bin/bash
	hive_db=quotes
	hive=/usr/software/apache-hive-2.3.3-bin/bin/hive
	sql="
	load data inpath '/origin_data/quotes/quote' OVERWRITE into table "$hive_db".ods_quote;
	"
	$hive -e "$sql"
这个是用来指定其中hive的路径hive=/usr/software/apache-hive-2.3.3-bin/bin/hive
将/bin/之前替换为你的hive路径hive=hive路径/bin/hive
查询hive路径可以在进入hive的安装包之后输入pwd然后复制下面的地址信息
- 在刚刚vi 脚本的位置下
./quotes_ods.sh执行shell脚本 - 执行之后我们在hive中查询ODS层中数据的导入情况
select * from quotes.ods_quote limit 10;
这里由于数据较多我们只查询10条数据 使用limit
- DWD层的数据实现
这回我们使用直接导入的方法进行导入
也可以参考之前的脚本将其中的sql部分替换
我们在执行完hive之后输入sql语句
	insert overwrite table quotes.dwd_quote
	select * from quotes.ods_quote
	where tags !='none';
DWD主要的工作是对数据进行清洗,过滤,脱敏,去除脏数据
所以上面的语句是对数据中标签为空的数据进行过滤
- 我们查询以下是否还有标签为none的数据
select * from quotes.dwd_quote where tags='none';
由于每个名人名言的标签不止一个 所以我们需要将标签分开然后 炸裂开来
(学过sql的话就是类似substring_index的函数)然后将多个标签合并
select author,texttag from quotes.dwd_quote lateral view explode(split(tags,'/')) new_view as tag limit 5;
- 实现DWS
首先我们需要将DWD层的标签字段进行拆分
在hive中输入
	insert overwrite table quotes.dws_quote
	select author,text,tag from quotes.dwd_quote
	lateral view explode(split(tags,'/'))  new_view as tag;
查询是否已经将数据导入到dwd_quote表中
select* from quotes.dws_quote limit 5;
- 实现ADS层
ADS层一般是用来对特定的数据进行查询,为报表提供数据
在hive中输入
 insert overwrite table quotes.ads_hot_tag
select tag,count(tag) as tag_count from quotes.dws_quote group by tag order by tag_count desc limit 10;
然后查询是否已经将数据导入进去
select * from quotes.ads_hot_tag;
到此我们在hive中就将数据已经分层,清洗以及选择
目标五
数据导出
将hive中的数据导出到MySQL中
这里我们使用脚本将会更方便点
在任意目录下输入vi quotes_sqoop_export.sh
按一下a键 进入插入模式然后输入
#!/bin/bash

mysql_db=quotes
mysql_host=master
mysql_user=root
mysql_pwd=123456

#
export_data() {
/usr/software/sqoop-1.4.6/bin/sqoop export \
--connect jdbc:mysql://$mysql_host:3306/$mysql_db \
--username $mysql_user \
--password $mysql_pwd \
--table $1 \
--num-mappers 1 \
--export-dir /sqoop/quotes/$1 \
--input-fields-terminated-by "\t" \
--update-mode allowinsert \

}

case $1 in

  "ads_hot_tag")
     export_data "ads_hot_tag"
;;
   "all")
     export_data "ads_hot_tag"
;;
esac
与之前的替换相同
然后在vi大的目录下 执行脚本 命令./quotes_sqoop_export.sh ads_hot_tag
最后在Mysql中验证查询
select * from quotes.ads_hot_tag;


 430
430


 被折叠的 条评论
为什么被折叠?
被折叠的 条评论
为什么被折叠?
 到【灌水乐园】发言


