


 本文介绍了如何使用RecyclerView替代ListView,通过详细步骤展示了如何实现横向滑动和瀑布流效果。首先,创建RecyclerView及适配器,接着在MainActivity中设置布局管理器。为了实现横向滑动,需修改行布局宽度并调整LinearLayoutManager属性。实现瀑布流则需使用StaggeredGridLayoutManager,并随机设置TextView长度以展示效果。最后,文中还讲解了如何在RecyclerView中监听点击事件,通过自定义ViewHolder并注册监听实现。
在开发的过程中,我们经常使用ListView控件,但是ListView也有它的缺点,就是它不能够左右滑动数据,运行效率不高;
所以我们可以使用更强大的控件RecyclerView,可以说它是一个增强版的ListView,Google推荐使用,那就简单的使用一下这个控件。
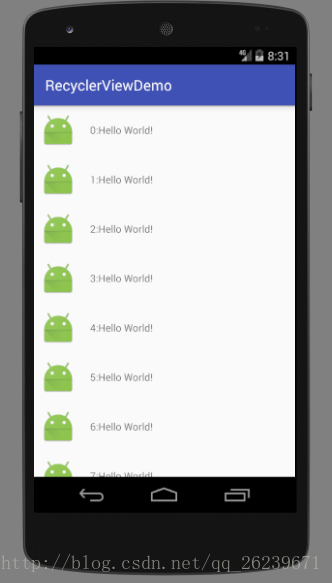
首先,我们先来实现一个跟ListView一样效果的界面。
因为RecyclerView是在support包中,所以我们要在build.gradle中添加该依赖。
compile 'com.android.support:recyclerview-v7:25.1.0'第一步,在布局中创建出该控件
<?xml version="1.0" encoding="utf-8"?>
<RelativeLayout xmlns:android="http://schemas.android.com/apk/res/android"
    xmlns:tools="http://schemas.android.com/tools"
    android:id="@+id/activity_main"
    android:layout_width="match_parent"
    android:layout_height="match_parent"
    tools:context="com.example.dell.recyclerviewdemo.MainActivity">

    <android.support.v7.widget.RecyclerView
        android:id="@+id/recyc"
        android:layout_width="match_parent"
        android:layout_height="match_parent" />
</RelativeLayout>
第二步,创建行布局item

<?xml version="1.0" encoding="utf-8"?>
<LinearLayout xmlns:android="http://schemas.android.com/apk/res/android"
    android:layout_width="match_parent"
    android:layout_height="wrap_content"
    android:orientation="horizontal"
    android:padding="10dp">

    <ImageView
        android:id="@+id/item_img"
        android:layout_width="wrap_content"
        android:layout_height="wrap_content"
        android:src="@mipmap/ic_launcher" />

    <TextView
        android:id="@+id/item_text"
        android:layout_width="wrap_content"
        android:layout_height="wrap_content"
        android:layout_gravity="center"
        android:layout_marginLeft="20dp"
        android:text="Hello World!" />
</LinearLayout>
第三步:创建实体类,来封装数据
/**
 * Created by Dell on 2017/1/9.
 */

public class ItemVO {

    private int mImg;
    private String mName;

    public ItemVO(int mImg, String mName) {
        this.mImg = mImg;
        this.mName = mName;
    }

    public void setmImg(int mImg) {
        <
最低0.47元/天 解锁文章


 990
990

 被折叠的 条评论
为什么被折叠?
被折叠的 条评论
为什么被折叠?
 到【灌水乐园】发言


