


 超级会员免费看

前言
我们在开发的接口中,一般会带上用户登录的token认证,需在请求头部传Authorization。
Flask-RESTX 生成 Swagger 文档,可以直接在文档上登录,方便快速测试接口。
需登录认证的接口
接着前面一篇,需要登录的接口加上@jwt_required()装饰器
from flask_jwt_extended import jwt_required
@api.route('/')
class TodoList(Resource):
'''Shows a list of all todos, and lets you POST to add new tasks'''
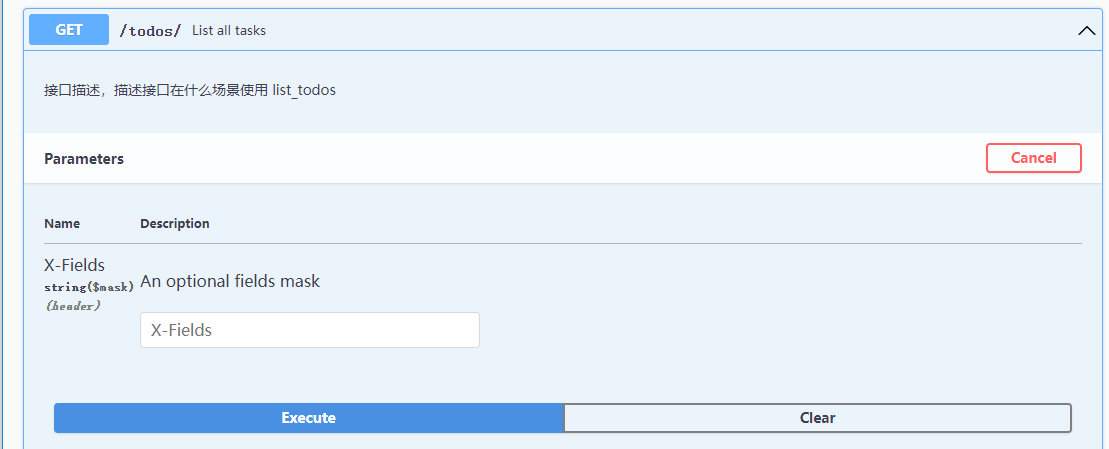
@api.doc(description='接口描述,描述接口在什么场景使用 list_todos')
@api.marshal_list_with(todo)
@jwt_required()
def get(self):
'''List all tasks'''
return DAO.todos
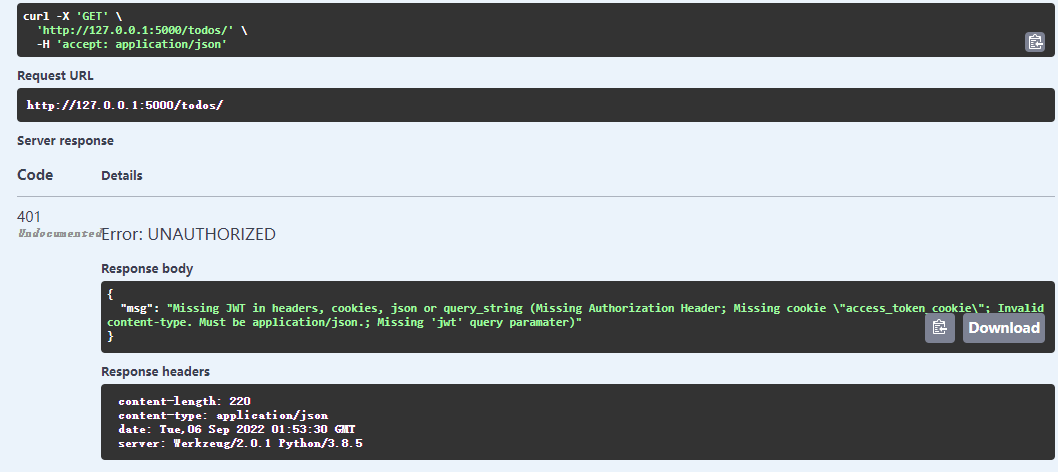
在 Swagger 文档中测试该接口
会返回401
接下来我们看下,如何在文档中全局登录

 订阅专栏 解锁全文


 1548
1548


 被折叠的 条评论
为什么被折叠?
被折叠的 条评论
为什么被折叠?
 到【灌水乐园】发言


