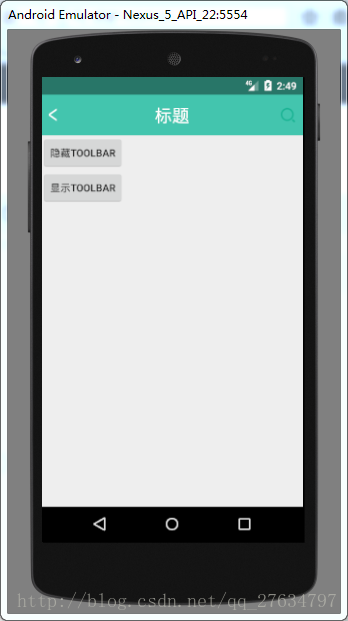
效果图:
    前一篇说的是三步实现状态栏背景颜色的修改,那样不能动态实现,局限性太大了。用toolbar就可以实现。现在主流APP,首页都是1个activity+多个fragment的形式,除个性中心那个页面外,其他页面都是显示状态栏的,个人中心页面都是内容填充状态栏。用上一篇的三步实现沉浸式状态栏没法实现,用toolbar就可以实现。有人说他没用过toolbar,懒得去尝试,其实toolbar就是一个布局。有什么难的。
    用toolbar也是只需要三步实现沉浸式状态栏。
    第一步,在布局文件中加上toolbar,以我的toolbar内容为例:
<android.support.v7.widget.Toolbar
        android:id="@+id/toolbar"
        android:layout_width="match_parent"
        android:layout_height="wrap_content"
        android:minHeight="?attr/actionBarSize"
        android:fitsSystemWindows="true"
        app:contentInsetLeft="0dp"
        app:contentInsetStart="0dp"
        android:background="@color/light_bule"
        app:popupTheme="@style/ThemeOverlay.AppCompat.Light">

        <RelativeLayout
            android:layout_width="match_parent"
            android:layout_height="?attr/actionBarSize"
            android:orientation="horizontal">

            <ImageView
                android:id="@+id/img1_toolbar"
                android:layout_width="wrap_content"
                android:layout_height="wrap_content"
                android:layout_centerVertical="true"
                android:layout_marginLeft="30px"
                android:src="@mipmap/arrow_back_white" />

            <LinearLayout
                android:id="@+id/ll2_toolbar"
                android:layout_width="wrap_content"
                android:layout_height="wrap_content"
                android:layout_centerInParent="true"
                android:orientation="horizontal">
                <TextView
                    android:layout_width="wrap_content"
                    android:layout_height="wrap_content"
                    android:text="标题"
                    android:textColor="#ffffff"
                    android:textSize="24sp"/>
            </LinearLayout>

            <LinearLayout
                android:layout_width="wrap_content"
                android:layout_height="wrap_content"
                android:layout_alignParentRight="true"
                android:layout_centerVertical="true"
                android:orientation="horizontal">

                <TextView
                    android:id="@+id/tv3_toolbar"
                    android:layout_width="wrap_content"
                    android:layout_height="wrap_content"
                    android:layout_marginRight="30px"
                    android:background="@mipmap/search" />

            </LinearLayout>
        </RelativeLayout>
    </android.support.v7.widget.Toolbar>
你的标题是什么,你就换你自己的内容。这里要注意的就是这几个属性。
        android:layout_height="wrap_content"
        android:minHeight="?attr/actionBarSize"
        android:fitsSystemWindows="true"
        app:contentInsetLeft="0dp"
        app:contentInsetStart="0dp"
    高度最好是包裹内容,然后加上一个最小高度,不然内容会显示不全。然后就是fitsSystemWindows这个属性,可以让布局内容填充状态栏的,前面一篇也有说过这个属性,再就是距左边,距开始0dp这两个属性,你不加,你就会发现总感觉toolbar的内容会往右边偏。
    第二步,当然是去掉标题了,不然多难看。最好就是在主题里面添加,不然每一个activity都要加一次,多麻烦。有的人说了,我就在基类里面加,你随意。干我P事,反正我是在主题里面加的。在res下的values目录下的styles.xml文件下添加如下代码
    <style name="AppTheme.NoActionBar">
        <item name="windowActionBar">false</item>
        <item name="windowNoTitle">true</item>
    </style>
然后在res目录下,新建一个values-v19目录,在里面新建一个styles.xml文件(明眼人一看就知道是干什么的,没错,做适配的嘛)。添加如下代码
<style name="AppTheme.NoActionBar">
        <item name="windowActionBar">false</item>
        <item name="windowNoTitle">true</item>
        <item name="android:windowTranslucentStatus">true</item>
    </style>
第三步,在你的清单文件里面的主题,替换成这里的主题即可。
项目链接


 918
918

 被折叠的 条评论
为什么被折叠?
被折叠的 条评论
为什么被折叠?
 到【灌水乐园】发言


