


 本文通过一个实例介绍了如何在Android中使用fragment将值传递给activity,并通过startActivityForResult和onActivityResult实现回传。强调startActivityForResult和onActivityResult应写在fragment内部,而非activity中。
有时,根据项目需要,我们需要在fragment中传值给下一个activity,然后下一个ac设置值再回传给fragment中显示;
这个时候就要用到了startActivityForResult和onActivityResult这2个方法
个人的理解是,这2个方法一定要用fragment自己的写,不要写在Activity中。
来看一个例子
1、建立一个MainActivity,继承了FragmentActivity
package com.example.fragmentdelivery;
import android.app.Activity;
import android.os.Bundle;
import android.support.v4.app.FragmentActivity;
import android.view.Menu;
import android.view.MenuItem;


public class MainActivity extends FragmentActivity {

    @Override
    protected void onCreate(Bundle savedInstanceState) {
        super.onCreate(savedInstanceState);
        //这里的布局就放一个fragmentOne,所有的方法都写在这个fragmentOne里
        setContentView(R.layout.activity_main);
    }

}
<RelativeLayout xmlns:android="http://schemas.android.com/apk/res/android"
    xmlns:tools="http://schemas.android.com/tools"
    android:layout_width="match_parent"
    android:layout_height="match_parent"
   >

    <fragment
        class="com.example.fragmentdelivery.FragmentOne"
        android:layout_width="match_parent"
        android:layout_height="match_parent"
       />

</RelativeLayout>
2、然后我们新建一个FragmentOne的类,继承了Fragment,看看fragment里面的代码;
注意,startActivityForResult和onActivityResult这2个方法都是在本fragment中里面写的
package com.example.fragmentdelivery;
import android.content.Intent;
import android.os.Bundle;
import android.support.v4.app.Fragment;
import android.view.LayoutInflater;
import android.view.View;
import android.view.View.OnClickListener;
import android.view.ViewGroup;
import android.widget.Button;
import android.widget.TextView;

public class FragmentOne extends Fragment {

	private TextView text;
	private Button button;

	@Override
	public View onCreateView(LayoutInflater inflater, ViewGroup container,
			Bundle savedInstanceState) {
		View view = View.inflate(getActivity(), R.layout.fragment1, null);
		text = (TextView) view.findViewById(R.id.textView);
		button = (Button) view.findViewById(R.id.button1);
		button.setOnClickListener(new OnClickListener() {
			public void onClick(View v) {
				Intent intent = new Intent(getActivity(), SecondActivity.class);
				intent.putExtra("name", "这个是第一个Activity传递过来的是数据");
				startActivityForResult(intent, 1);
			}
		});
		return view;
	}

	//注意:这里要重给fragment的onActivityResult()方法
	public void onActivityResult(int requestCode, int resultCode, Intent data) {
		super.onActivityResult(requestCode, resultCode, data);

		if (requestCode == 1 && resultCode == 3) {
			String str = data.getStringExtra("result");
			text.setText(str);
		}
	}
}
然后是FragmentOne的布局
<RelativeLayout xmlns:android="http://schemas.android.com/apk/res/android"
    xmlns:tools="http://schemas.android.com/tools"
    android:layout_width="match_parent"
    android:layout_height="match_parent"
    tools:context="cn.itcast.fragment.MainActivity" >

    <TextView
        android:id="@+id/textView"
        android:layout_width="match_parent"
        android:layout_height="match_parent"
        android:textSize="30sp"
        android:text="默认值"
        android:background="#84ff84" />

    <Button
        android:id="@+id/button1"
        android:layout_width="wrap_content"
        android:layout_height="wrap_content"
        android:layout_centerHorizontal="true"
        android:layout_centerVertical="true"
        android:onClick="deliveryMessage"
        android:text="进入下一个ac" />

</RelativeLayout>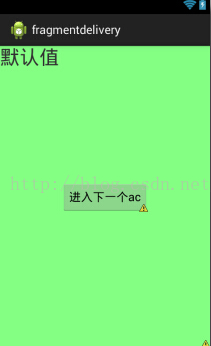
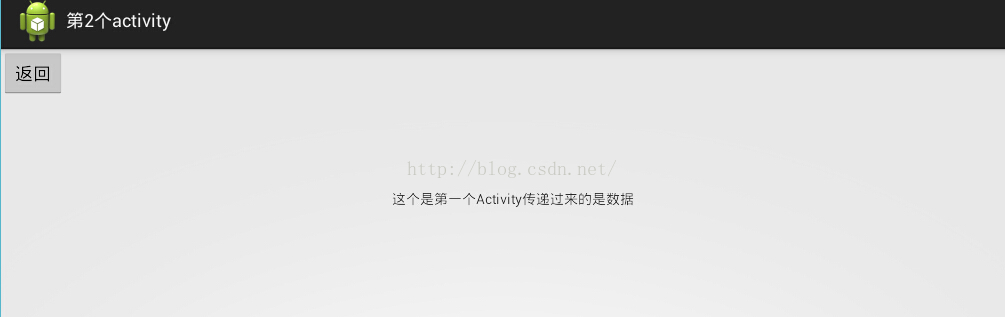
3、然后我们创建第2个Activity,在第2个ac中使用setResult方法,把值回传给FragmentOne
package com.example.fragmentdelivery;
import android.content.Intent;
import android.os.Bundle;
import android.support.v4.app.FragmentActivity;
import android.view.View;
import android.view.View.OnClickListener;
import android.widget.Button;
import android.widget.TextView;

public class SecondActivity extends FragmentActivity {

	private Button button;
	private TextView txt;
	private Intent intent2=new Intent();

	private Intent inte;

	@Override
	protected void onCreate(Bundle savedInstanceState) {
		super.onCreate(savedInstanceState);
		setContentView(R.layout.activity_main2);

		button = (Button) findViewById(R.id.back);
		txt=(TextView) findViewById(R.id.Text1);
		inte=getIntent();
		txt.setText(inte.getStringExtra("name"));//这里是显示,由第1个Activity传递过来的是数据

		button.setOnClickListener(new OnClickListener() {

			@Override
			public void onClick(View v) {
				intent2.putExtra("result", "这个是SecondActivity传递过来的数据");//把这里的值回传给FragmentOne中去展示
				setResult(3, intent2);
				finish();

			}
		});

	}

}
<RelativeLayout xmlns:android="http://schemas.android.com/apk/res/android"
xmlns:tools="http://schemas.android.com/tools"
android:layout_width="match_parent"
android:layout_height="match_parent"
>
<Button
android:id="@+id/back"
android:layout_width="wrap_content"
android:layout_height="wrap_content"
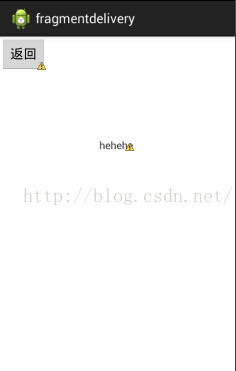
android:text="返回"
/>
<TextView
android:id="@+id/Text1"
android:layout_width="wrap_content"
android:layout_height="wrap_content"
android:layout_below="@+id/back"
android:layout_centerHorizontal="true"
android:layout_marginTop="92dp"
android:text="hehehe "
>
</TextView>
</RelativeLayout>
====================分割线============================
所有的代码都完成了,最后看看流程
1、进入MainActivity ,点击按钮,会进入SecondActivity,因为我们在这里用Intent传值给SecondActivity,
	Intent intent = new Intent(getActivity(), SecondActivity.class);
	intent.putExtra("name", "这个是第一个Activity传递过来的是数据");
	startActivityForResult(intent, 1);
2、点击上面的返回按钮,会执行以下语句,把后面的字符串传递给FragmentOne中去展示
		intent2.putExtra("result", "这个是SecondActivity传递过来的数据");//把这里的值回传给FragmentOne中去展示
		setResult(3, intent2);
		finish();
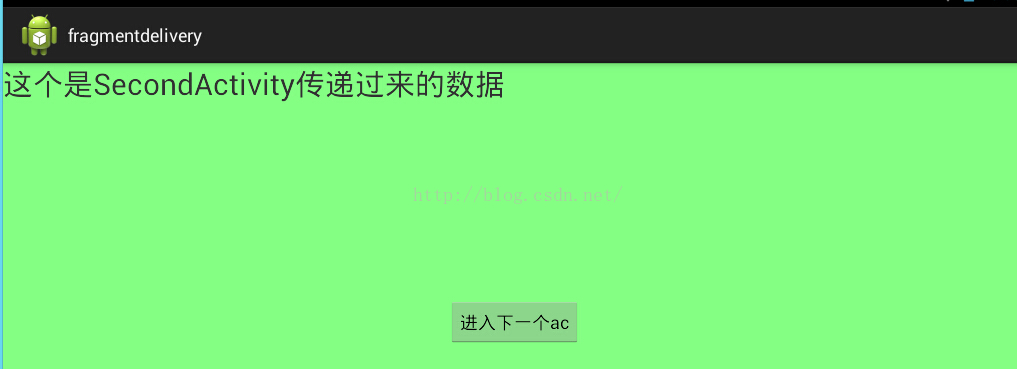
表示从SecondActivity中传递出来的值已经是正确显示了。


 5627
5627

 被折叠的 条评论
为什么被折叠?
被折叠的 条评论
为什么被折叠?
 到【灌水乐园】发言


