


springboot实现发送邮件,gmail邮件,包括发送附件还有正文,以及注意覆盖问题
复盘下前个把月前写的个关于邮件激活的接口,踩了些坑,就当记录下
前言
`需求:发送邮件审核,点击邮件链接之后,审核数据通过或不通过
1 使用步骤
1.导入pom依赖
代码如下(示例):
  <!--集成邮箱-->
        <dependency>
            <groupId>org.springframework.boot</groupId>
            <artifactId>spring-boot-starter-mail</artifactId>
            <version>2.7.0</version>
        </dependency>
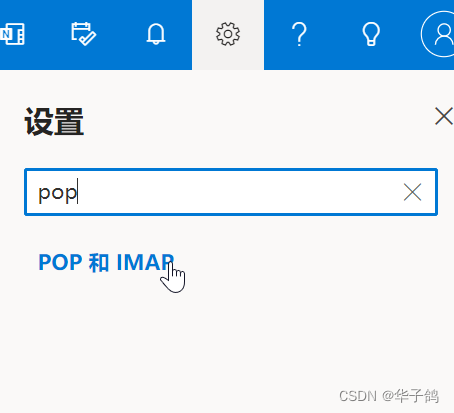
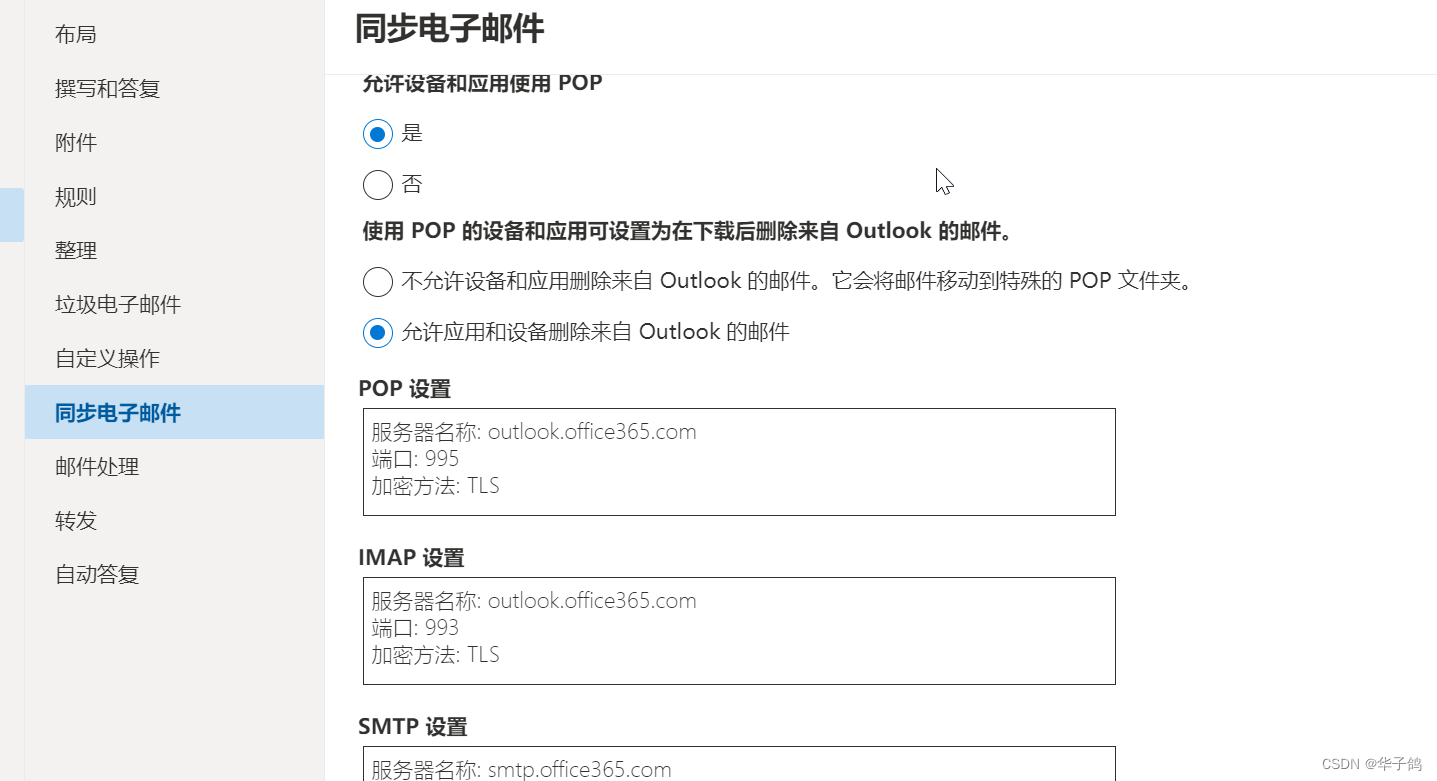
2:一些个gmail邮件要打开的配置

3.模版的修改补充。
注意点:如何既要发送附件还有正文第一个MimeBodyPart放附件,另外一个重新new一个MimeBodyPart()放正文;,然后的话才不会覆盖,
代码如下(示例)重要部分有注释:
 package com.example.util;

import com.sun.mail.util.MailSSLSocketFactory;
import org.springframework.web.multipart.MultipartFile;

import javax.activation.DataHandler;
import javax.activation.DataSource;
import javax.activation.FileDataSource;
import javax.mail.*;
import javax.mail.internet.InternetAddress;
import javax.mail.internet.MimeBodyPart;
import javax.mail.internet.MimeMessage;
import javax.mail.internet.MimeMultipart;
import java.io.File;
import java.util.Properties;


public class sendEmailUtil {
    public R sendEmail(MultipartFile multipartFile, Integer userid) {
        try {
            //用的是hotmail.com 可自己激活测试 后续可能有邮件类型更改 摸版差不多

            String host = "outlook.office365.com";//Ip address of your system smtp-mail.outlook.com
            String user = "";//email address you configured in hmail server
            String pwd = "";//password of email address

            Properties props = new Properties();
            props.put("mail.smtp.host", host);
            props.put("mail.smtp.port", "587");
            props.put("mail.smtp.auth", "true");
            props.put("mail.smtp.starttls.enable", "true");
            props.put("mail.smtp.ssl.enable", "false");
            MailSSLSocketFactory sf = new MailSSLSocketFactory();
            sf.setTrustAllHosts(true);
            props.put("mail.smtp.ssl.checkserveridentity", "false");
            props.put("mail.smtp.ssl.socketFactory", sf);

            MyAuthenticator authenticator = null;
            authenticator = new MyAuthenticator(user, pwd);
            Session ses = Session.getInstance(props, authenticator);
            ses.setDebug(true);

            MimeMessage message = new MimeMessage(ses);
            message.setFrom(new InternetAddress(user));
            String[] to = new String[1];
            to[0] = ""; //后续修改为目标邮件
            InternetAddress[] sendTo = new InternetAddress[1];
            for (int j = 0; j < 1; j++) {
                sendTo[j] = new InternetAddress(to[j]);
            }
            message.setRecipients(Message.RecipientType.TO, sendTo);


            Multipart multipart = new MimeMultipart();


            //添加附件部分
            File file = null;
            String originalFilename = multipartFile.getOriginalFilename();
            String[] filename = originalFilename.split("\\.");
            file= File.createTempFile(filename[0],  "."+filename[1]  );
            multipartFile.transferTo(file);
            DataSource source = new FileDataSource((file));


            BodyPart messageBodyPart = new MimeBodyPart();
            messageBodyPart.setDataHandler(new DataHandler(source));
            messageBodyPart.setFileName(file.getName()+".");
            multipart.addBodyPart(messageBodyPart); //添加excel表文件(multipartFile)文件

            //重点! 如果既要发附件又要发正文则再new 一个MimeBodyPart();不然会覆盖!!
            messageBodyPart = new MimeBodyPart();
            messageBodyPart.setText("点击链接之后审核通过或失败:"+"<a href=\""+"\"");//创建多重消息
            multipart.addBodyPart(messageBodyPart);
            message.setContent(multipart);
            message.setSubject("数据激活审核邮件:,excel表在附件,激活链接在正文");//标题


            Transport.send(message, message.getAllRecipients());
            System.out.println("done");


        } catch (Exception e) {
            System.out.println(e.toString());

        }

        return R.ok().message("发送成功-需等待1-2分钟-审核通过数据将会导入数据库");

    }


}
需要补充一个MyAuthenticator类
public class MyAuthenticator extends Authenticator {
    String userName = null;
    String password = null;

    public MyAuthenticator() {
    }

    public MyAuthenticator(String username, String password) {
        this.userName = username;
        this.password = password;
    }

    @Override
    protected PasswordAuthentication getPasswordAuthentication() {
        return new PasswordAuthentication(userName, password);
    }
}
总结
大概这么多,有什么问题互相讨论
想要探讨一个问题:
1:单条数据激活可以通过把主键id拼接在激活链接url上,写个接口激活,那么如果需要激活大批量的数据,你会怎么实现呢?


 2036
2036


 被折叠的 条评论
为什么被折叠?
被折叠的 条评论
为什么被折叠?
 到【灌水乐园】发言


