


官方编译方法:
- Checkout the osmdroid source from git to a local folder.
使用git下载源码
git clone https://github.com/osmdroid/osmdroid.git- Navigate to the osmdroid folder and run the command
下载完之后进入下载的osmdroid目录执行下面的命令,如果命令not found 则需要配置git环境变量,或者在命令前面添加 ./
gradlew clean install.
This will also install to your local maven repository. - To run tests against a device or avd,
运行测试
run gradlew cC - 使用Android Studio 导入项目
根据官方的编译方法发现总是卡住,即使翻墙了也无济于事。就用下面的笨办法编译了一下,简单介绍一下,osmdroid-android和osmdroid-third-party是Library,在项目中我想用osmdroid的引擎加载google的地图,所以需要用到这两个库。
- 新建 android Library,将osmdroid-android目录下的main文件夹直接拷贝到新建Library对应的目录下,删除原本的main目录。
- osmdroid-third-party的操作同上,但要注意一点,third-party需要用到谷歌map的api,所以需要用google apis进行编译。
- 两个Library建完之后就可以引入自己真正的项目
compile project(':osmdroid-android')
compile project(':osmdroid-third-party')
简单展示一下地图
布局中添加mapview控件,导包不要导错了,是org下的mapview
<org.osmdroid.views.MapView
        android:id="@+id/map"
        tilesource="MapquestOSM"
        android:layout_width="match_parent"
        android:layout_height="match_parent"
        android:clickable="true"
        android:enabled="true" />
代码实例化
mMapView = (MapView) findViewById(R.id.map);
mController = mMapView.getController();
mMapView.setTileSource(TileSourceFactory.MAPNIK);
mMapView.setBuiltInZoomControls(true);
mMapView.setMultiTouchControls(true);
GeoPoint center = new GeoPoint(39.901873, 116.326655);
//地图是通过controller控制中心点的
mController.setCenter(center);
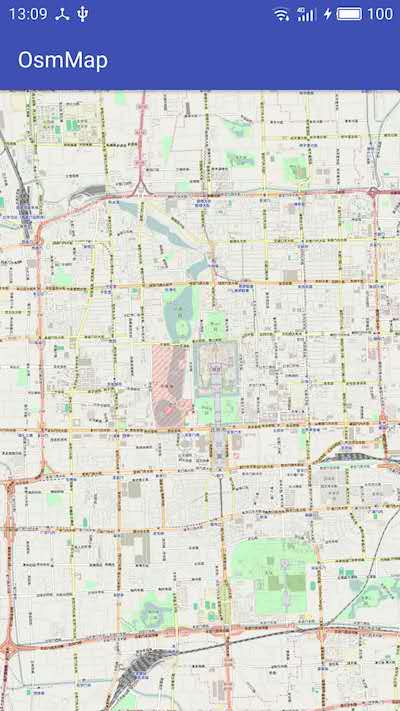
mController.setZoom(12);效果


 被折叠的 条评论
为什么被折叠?
被折叠的 条评论
为什么被折叠?
 到【灌水乐园】发言


