


使用主机配置
系统:Debian 10.5
硬盘:40G
内存:1G
安装mediawiki需求
mediawiki官网要求:https://www.mediawiki.org/wiki/Manual:Installation_requirements
这里我使用如下需配置:
1、网页服务器:Apache
2、数据库服务器:MySQL 5.7.36
3、服务器端脚本语言:PHP 7.1.13
4、MediaWiki 1.33.4
安装Apache
Apache官网:http://httpd.apache.org/
预先下载Apache安装包,并解压
wget https://dlcdn.apache.org//httpd/httpd-2.4.51.tar.gz
tar xvzf httpd-2.4.51.tar.gz
Apache安装要求:
1、确保系统已经安装了APR 和 APR-Util
2、确保系统已经安装了Perl-Compatible Regular Expressions Library (PCRE)
3、磁盘空间大于50M(已达要求)
4、ANSI-C Compiler and Build System(已达要求)
5、准确计时(已达要求)
6、Perl 5 [可选要求]
安装APR 和 APR-Util
Apache APR官网:http://apr.apache.org/
1、从Apache APR官网下载APR和APR-Util到Apache源码包的srclib文件中
cd httpd-2.4.51/srclib/
wget https://dlcdn.apache.org//apr/apr-1.7.0.tar.gz
wget https://dlcdn.apache.org//apr/apr-util-1.6.1.tar.gz
2、将上面下载的压缩包都解压,并重命名为apr和apr-util
tar xvzf apr-1.7.0.tar.gz
tar xvzf apr-util-1.6.1.tar.gz

mv apr-1.7.0 apr
mv apr-util-1.6.1 apr-util
3、执行配置文件./configure,并安装
apr
cd apr
./configure --prefix=/opt/apr     //--prefix=/opt/apr: 指定apr安装在/opt/apr文件夹中
make
make install
apr-util
cd apr-util
//--prefix=/opt/apr-util: 指定apr-util安装在/opt/apr-util文件夹中; --with-apr=/opt/apr: apr-util的安装依赖于apr
./configure --prefix=/opt/apr-util --with-apr=/opt/apr
make
make install
安装Perl-Compatible Regular Expressions Library (PCRE)
1、官网下载源码,并解压
wget https://sourceforge.net/projects/pcre/files/pcre/8.45/pcre-8.45.tar.gz
tar xvzf pcre-8.45.tar.gz
2、配置
cd pcre-8.45/
./configure --prefix=/opt/pcre-8.45
3、编译与安装
cd pcre-8.45/
make
make install
执行安装Apache
1、配置:需要用–with-xxx=path指明apr、apr-util、pcre的安装路径
cd httpd-2.4.51/
./configure --prefix=/opt/httpd-2.4.51 --with-apr=/opt/apr --with-apr-util=/opt/apr-util --with-pcre=/opt/pcre-8.45 --enable-so
2、编译与安装
make
make install
3、启动Apache
cd /opt/httpd-2.4.51/bin
./apachectl -k start          //如需停止将start改为stop
用浏览器访问http://localhost时提示It works!
4、编辑apache安装目录下htdocs/httpd.conf 文件以调用 PHP 模块。LoadModule 表达式右边的路径必须指向系统中的 PHP 模块。以上的 make install 命令可能已经完成了这些,但务必要检查。
LoadModule php7_module modules/libphp7.so
5、告知 Apache 将特定的扩展名解析成 PHP,例如,让 Apache 将扩展名 .php 解析成 PHP。在httpd.conf 文件末尾添加如下代码。
<FilesMatch \.php$>
    SetHandler application/x-httpd-php
</FilesMatch>
如果需要可以将 .phps 文件由 PHP 源码过滤器处理,使得其在显示时可以高亮源码。
<FilesMatch "\.phps$">
    SetHandler application/x-httpd-php-source
</FilesMatch>
.
安装MySQL数据库

官网:https://dev.mysql.com/
官网安装教程:https://dev.mysql.com/doc/mysql-apt-repo-quick-guide/en/
(全新安装MySQL)
添加 MySQL APT 存储库
1、从https://dev.mysql.com/downloads/repo/apt/下载发行包
wget https://dev.mysql.com/get/mysql-apt-config_0.8.19-1_all.deb
2、安装下载的发布包
sudo dpkg -i mysql-apt-config_0.8.19-1_all.deb
3、使用以下命令从 MySQL APT 存储库更新包信息(此步骤是必需的)
sudo apt-get update
使用 APT 安装 MySQL
sudo apt-get install mysql-server
1、安装过程需要输入“y”确认继续执行。
2、安装过程需要输入root密码,确保记住设置的 root 密码。如果想以后再设置密码的用户可以将对话框中的密码字段留空,然后按确定即可,后续使用程序mysql_secure_installation设置 root 密码 。
启动 MySQL 服务器
systemctl start mysql //查看状态
如果操作系统已启用 systemd,则应使用标准 systemctl(或 相反参数的service)命令,例如stop、 start、status和 restart来管理 MySQL 服务器服务。该mysql服务默认启用,并在系统重新启动时启动。有关其他信息,请参阅 使用 systemd 管理 MySQL 服务器。
创建一个wiki数据
1、选择传统身份验证方法登录
mysql -u root -p
2、创建数据库
create database wiki;
3、查看创建的数据库
show databases;
4、使用wiki数据库
use wiki;
5、查看当前使用的数据库
select database();
6、退出登录
exit
命令解说
1、删除数据库
drop database "name";
2、 查看当前数据库创建语句
show create database "name";
3、修改数据库
alter database "name" character set xxx;
character set:指定数据库采用xxx字符集
.
安装PHP
PHP需要开启一下扩展,所有这些都在 PHP 中默认启用,了解即可
1、Perl Compatible Regular Expressions (PCRE)(上步骤已安装)
2、sessions
3、spl
4、openssl
5、json (MediaWiki 1.22+)
6、mbstring (required since 1.27, recommended for earlier versions)
7、fileinfo (required since 1.30)
8、intl (required since 1.36)
9、xml
下载PHP安装包,并解压
wget https://www.php.net/distributions/php-7.1.32.tar.gz
tar zxvf php-7.1.32.tar.gz
配置
cd php-7.1.32
./configure --with-apxs2=/opt/httpd-2.4.51/bin/apxs --with-mysqli=mysqlnd --with-pdo-mysql=mysqlnd --enable-mbstring
注意:配置过程如果报错:libxml2 not found. Please check your libxml2 installation,安装libxml2即可。
apt-get install libxml2-dev
编译与安装PHP
make
make install
安装 php.ini 文件
cd php-7.1.32/
cp php.ini-development /usr/local/lib/php.ini
编辑此文件以获取配置指令
安装mediawiki
个版本下载资源:https://releases.wikimedia.org/mediawiki/
下载mediawiki安装包,并解压
wget https://releases.wikimedia.org/mediawiki/1.33/mediawiki-core-1.33.4.tar.gz
tar zxvf mediawiki-core-1.33.4.tar.gz
cd mediawiki-core-1.33.4
将解压后的文件全复制到apache安装目录下的htdocs文件夹下
cp -r * /opt/httpd-2.4.51/htdocs/
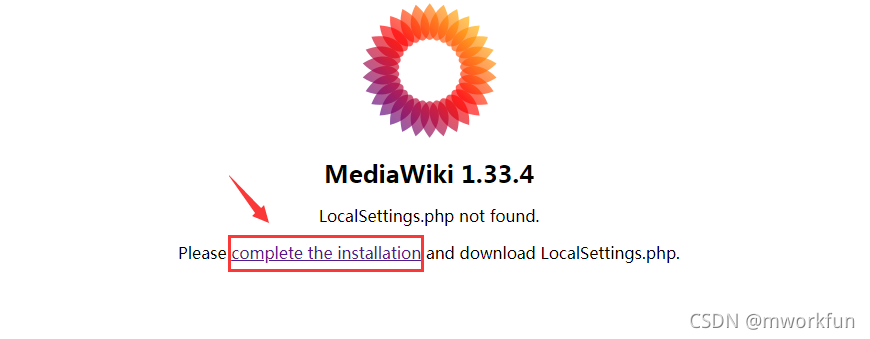
浏览器打开http://IP/mw-config/index.php
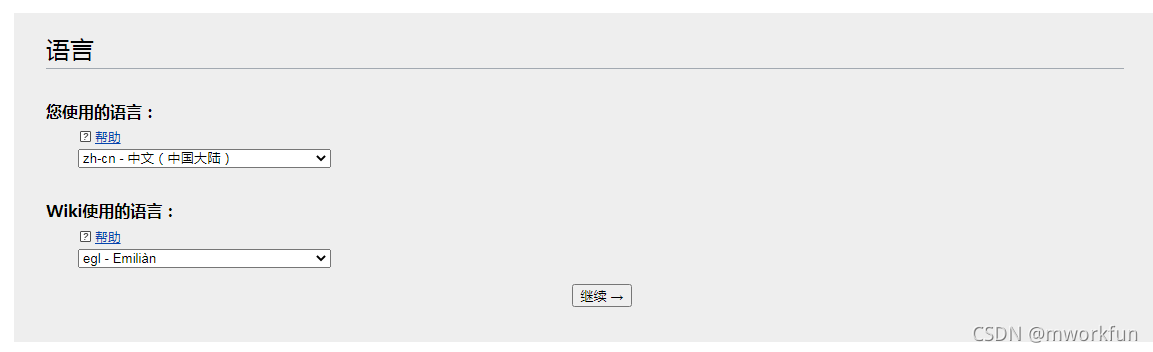
选择语言
环境检测,错误解决
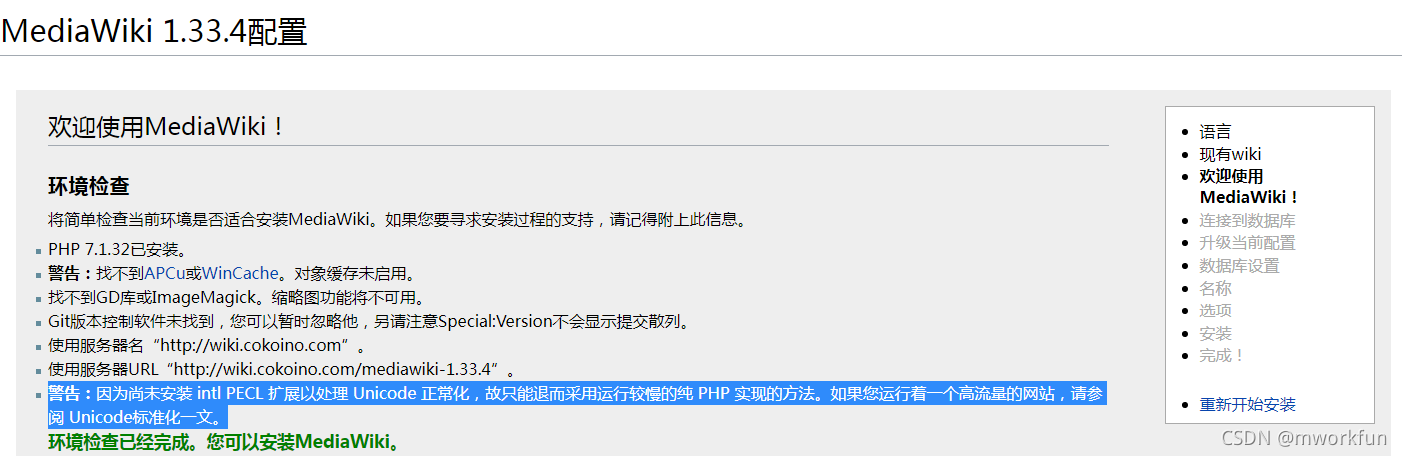
1、警告:找不到APCu或WinCache。对象缓存未启用。
1.1、下载APCu
wget https://pecl.php.net/get/apcu-5.1.21.tgz
tar zxvf apcu-5.1.21.tgz
cd apcu-5.1.21/
1.2、生成configure文件
/usr/local/bin/phpize // /usr/local/bin/为PHP的安装路径
如果报错:Cannot find autoconf. Please check your autoconf installation and the $PHP_AUTOCONF environme
apt-get install autoconf
1.3、配置
/usr/local/bin/为php的安装目录。
./configure --enable-apcu --enable-apcu-debug --with-php-config=/usr/local/bin/php-config
1.4、安装APCu
make
make install
1.5、修改php安装目录下的php.ini配置文件,在末尾添加如下代码:
extension = apcu.so
apc.enabled= on
apc.shm_size= 64M
apc.enable_cli = on
1.6、重启apache
cd /opt/httpd-2.4.51/bin
./apachectl  stop
./apachectl  start
2、找不到GD库或ImageMagick。缩略图功能将不可用。
ImageMagick官网:https://imagemagick.org/
2.1、下载imagemagick
wget https://download.imagemagick.org/ImageMagick/download/ImageMagick.tar.gz
tar zxvf ImageMagick.tar.gz
cd ImageMagick.tar.gz
2.2、配置、编译与安装
./configure
make
sudo make install
2.3、配置动态链接器运行时绑定
sudo ldconfig /usr/local/lib
后期如果需要使用ImageMagick,在mediawiki配置生成的LocalSettings.php中将$wgUseImageMagick设置为true。
3、Git版本控制软件未找到,您可以暂时忽略他,另请注意Special:Version不会显示提交散列。
后期需要再增加即可。
4、警告:因为尚未安装 intl PECL 扩展以处理 Unicode 正常化,故只能退而采用运行较慢的纯 PHP 实现的方法。如果您运行着一个高流量的网站,请参阅 Unicode标准化一文。
4.1、安装ICU
wget https://github.com/unicode-org/icu/releases/download/release-60-3/icu4c-60_3-src.tgz
tar zxvf icu4c-60_3-src.tgz
cd icu/source
./configure --prefix=/opt/icu
make
make install
4.2、重新配置PHP,加入–enable-intl,然后安装
cd php-7.1.32
./configure --with-apxs2=/opt/httpd-2.4.51/bin/apxs --with-mysqli=mysqlnd --with-pdo-mysql=mysqlnd --enable-mbstring --with-icu-dir=/opt/icu --enable-intl
make
make install
4.3、重启apache
cd /opt/httpd-2.4.51/bin
./apachectl  stop
./apachectl  start
配置数据库
1、连接数据库
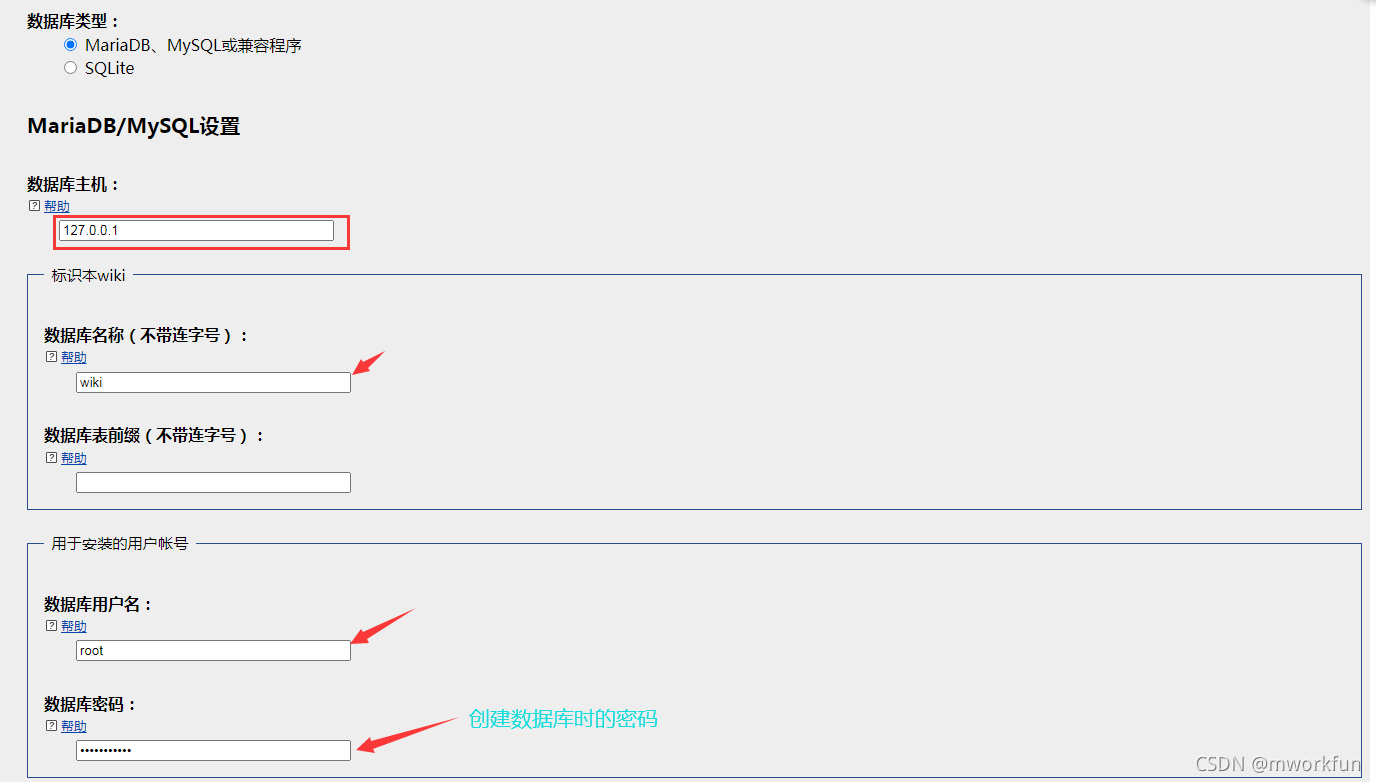
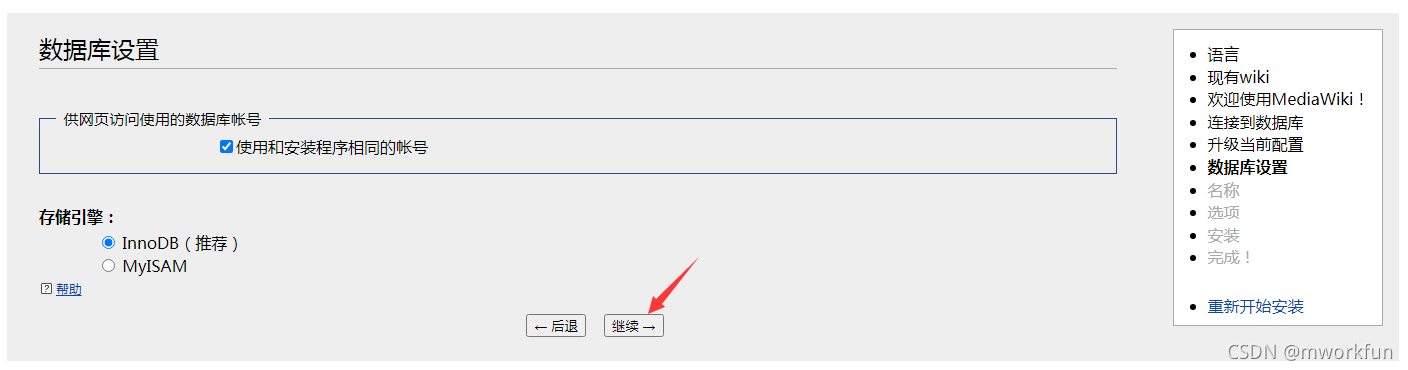
2、数据库设置
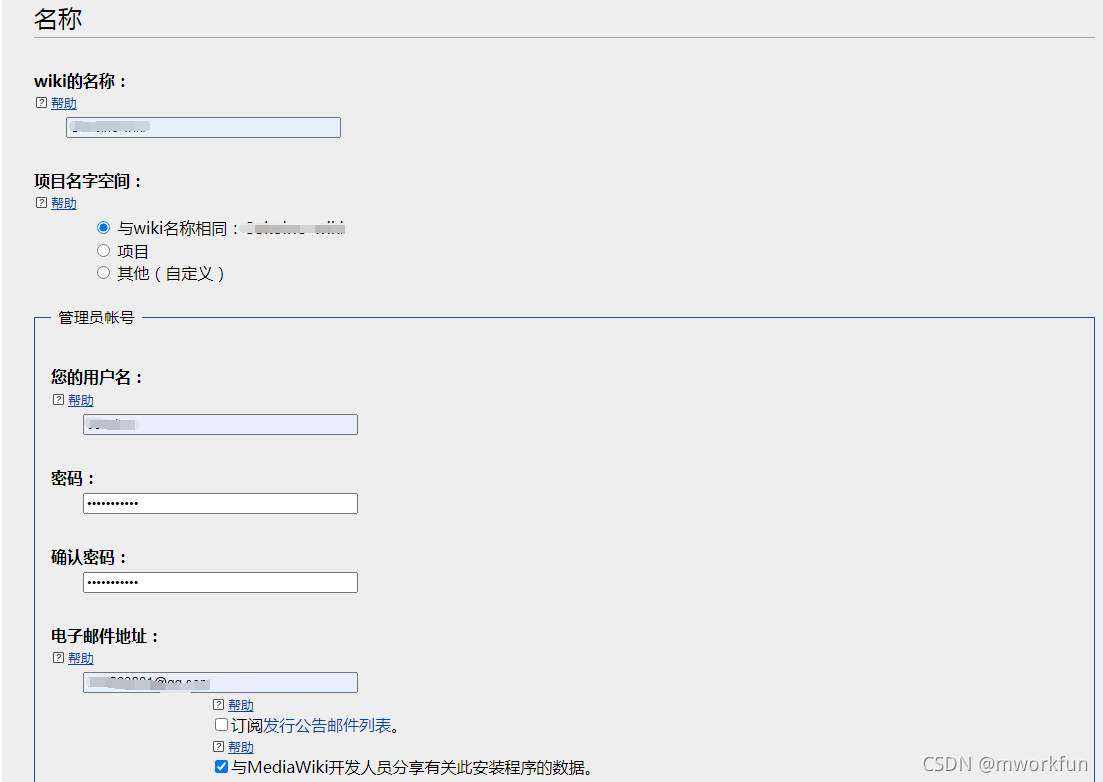
设置名称
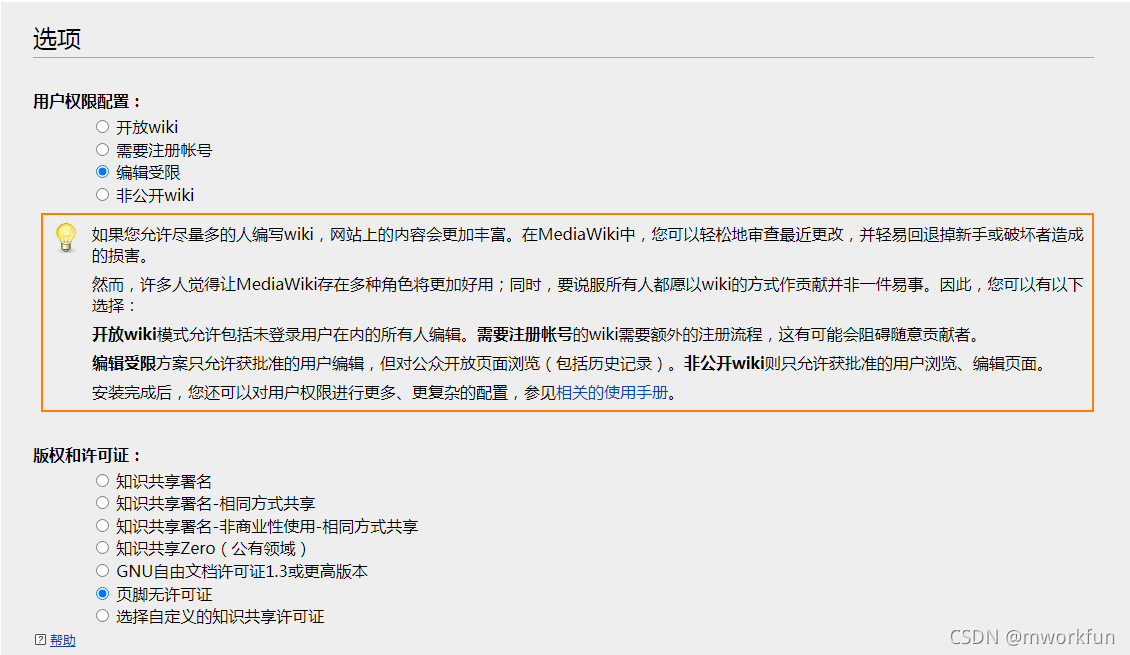
选项
其他选项默认即可。
安装
1、
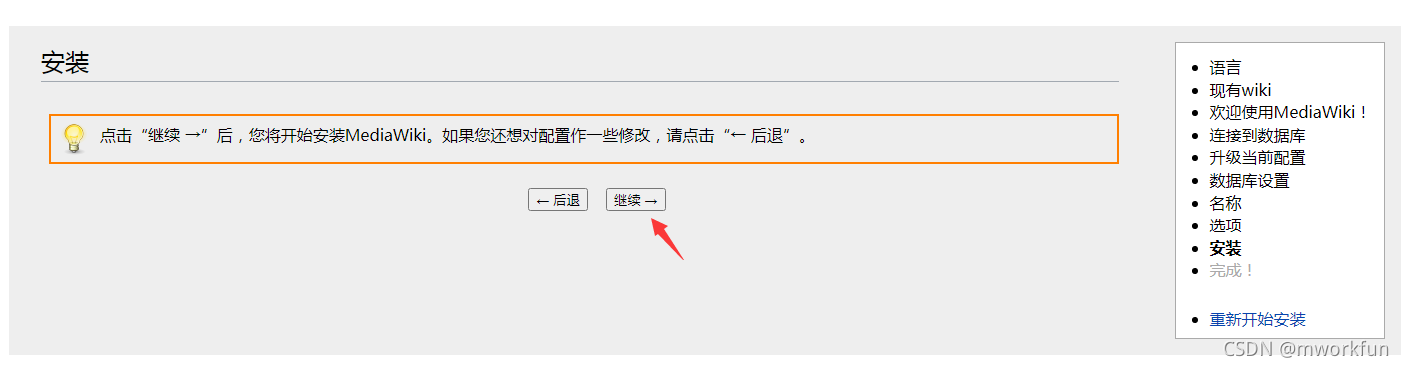
2、
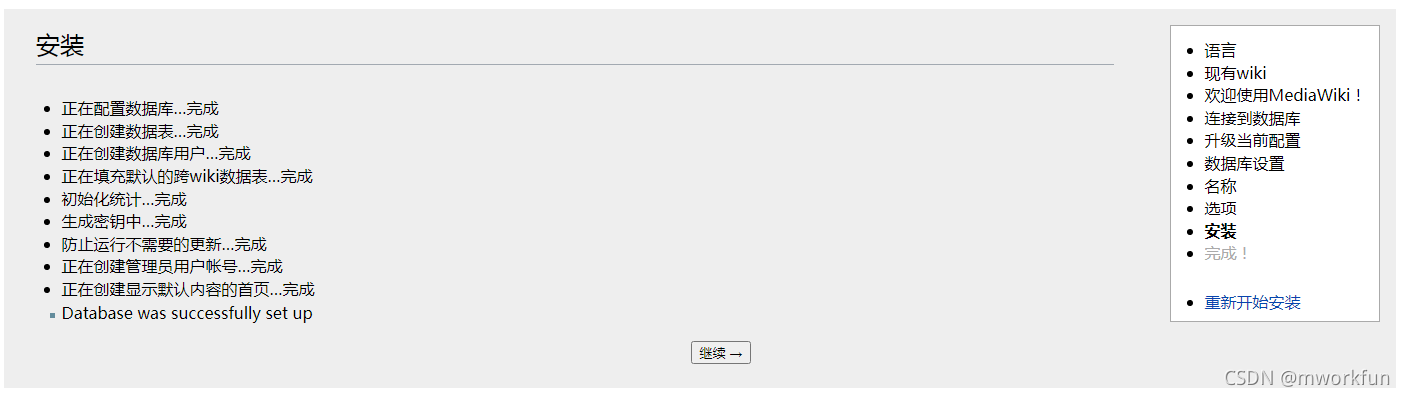
3、
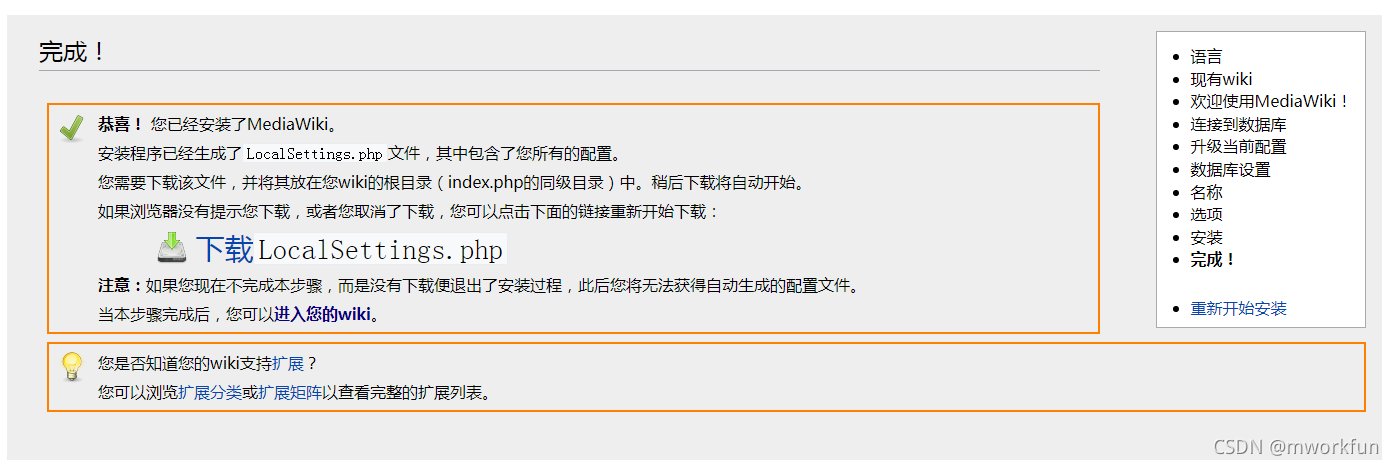
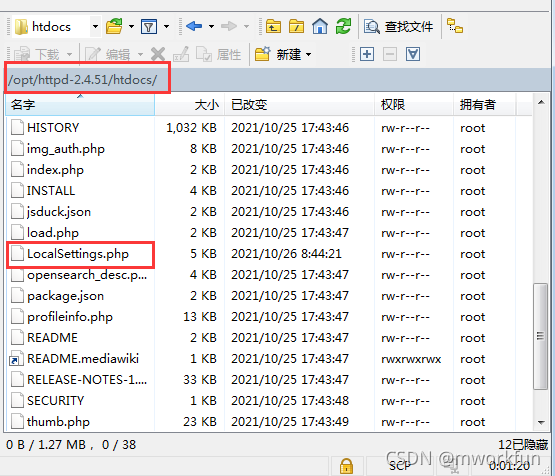
4、将生成的LocalSettings.php文件复制到/opt/httpd-2.4.51/htdocs(mediawiki根目录)文件夹下。
5、进入wiki
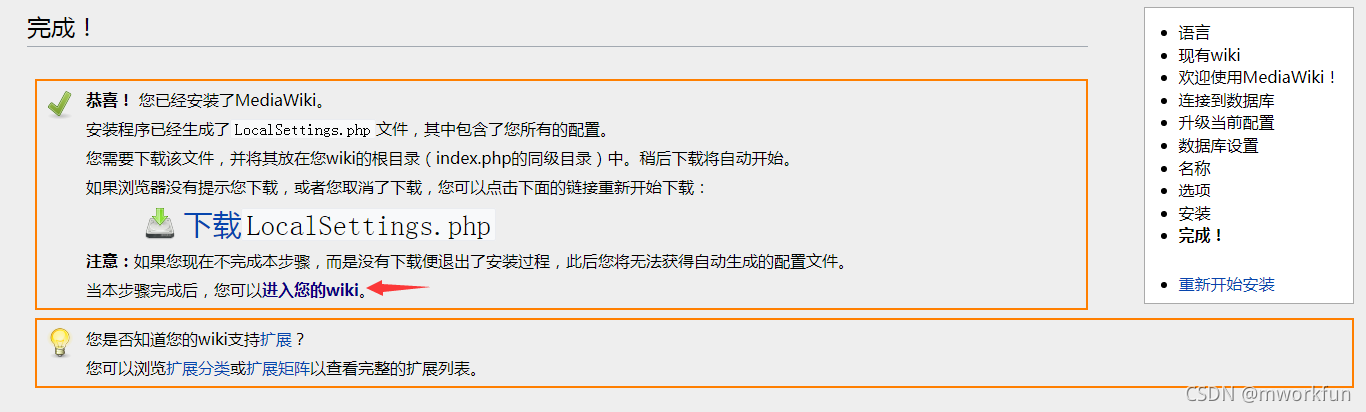
6、完成,后续只需装修wiki即可
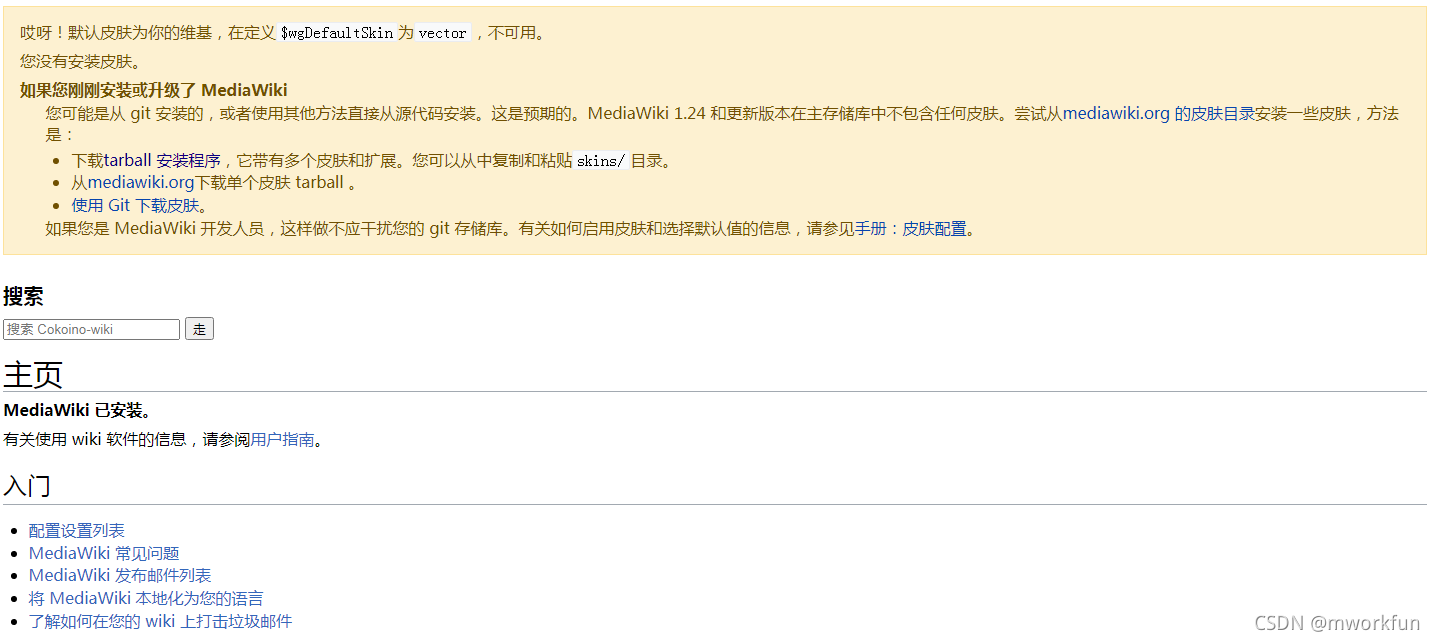
装饰mediawiki
安装皮肤
官网皮肤:https://www.mediawiki.org/wiki/Category:All_skins
Vector皮肤主页:https://www.mediawiki.org/wiki/Skin:Vector
各版本Vector皮肤:https://gerrit.wikimedia.org/g/mediawiki/skins/Vector
1、进入mediawiki的skins文件夹中,新建Vector文件夹,使用默认Vector皮肤
cd /opt/httpd-2.4.51/htdocs/skins
mkdir Vector
2、下载Vector皮肤并解压
cd Vector
wget https://gerrit.wikimedia.org/r/plugins/gitiles/mediawiki/skins/Vector/+archive/refs/heads/REL1_33.tar.gz
tar zxvf REL1_33.tar.gz
3、在 LocalSettings.php末尾添加以下代码
wfLoadSkin( 'Vector' );
$wgVectorUseIconWatch  =  true ;
$wgVectorResponsive  =  true ;
$wgVectorPrintLogo  =  [
        'url'  =>  'https://en.wikipedia.org/static/images/mobile/copyright/wik$
        'width'  =>  174 ,
        'height'  =>  27
];
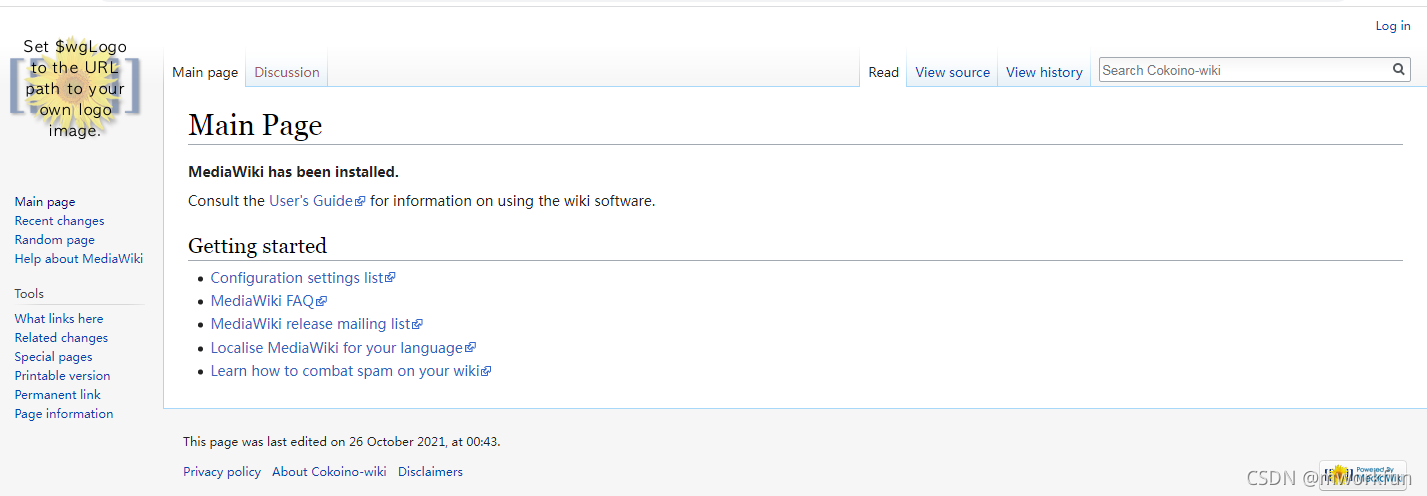
4、完成,刷新网页显示如下
mediawiki短网址
官网参考:https://www.mediawiki.org/wiki/Extension:UrlShortener
1、在mediawiki的extensions目录中新建UrlShortener文件夹
cd /opt/httpd-2.4.51/htdocs/wiki/extensions/
mkdir UrlShortener
2、下载源码
各版本:https://gerrit.wikimedia.org/r/plugins/gitiles/mediawiki/extensions/UrlShortener/+refs
下载1.33版本
cd UrlShortener
wget https://gerrit.wikimedia.org/r/plugins/gitiles/mediawiki/extensions/UrlShortener/+archive/refs/heads/REL1_33.tar.gz
tar zxvf REL1_33.tar.gz

rm REL1_33.tar.gz       //删除压缩包
3、在LocalSettings.php文件底部添加以下代码
wfLoadExtension ( 'UrlShortener' );


 1330
1330

 被折叠的 条评论
为什么被折叠?
被折叠的 条评论
为什么被折叠?
 到【灌水乐园】发言


