


bean的加载方式二 注解
关于xml里定义bean 太复杂了
我们要选择通过注解配置bean
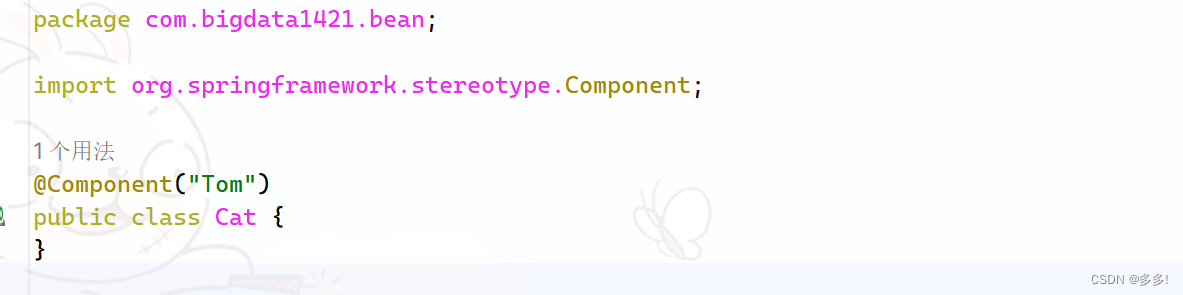
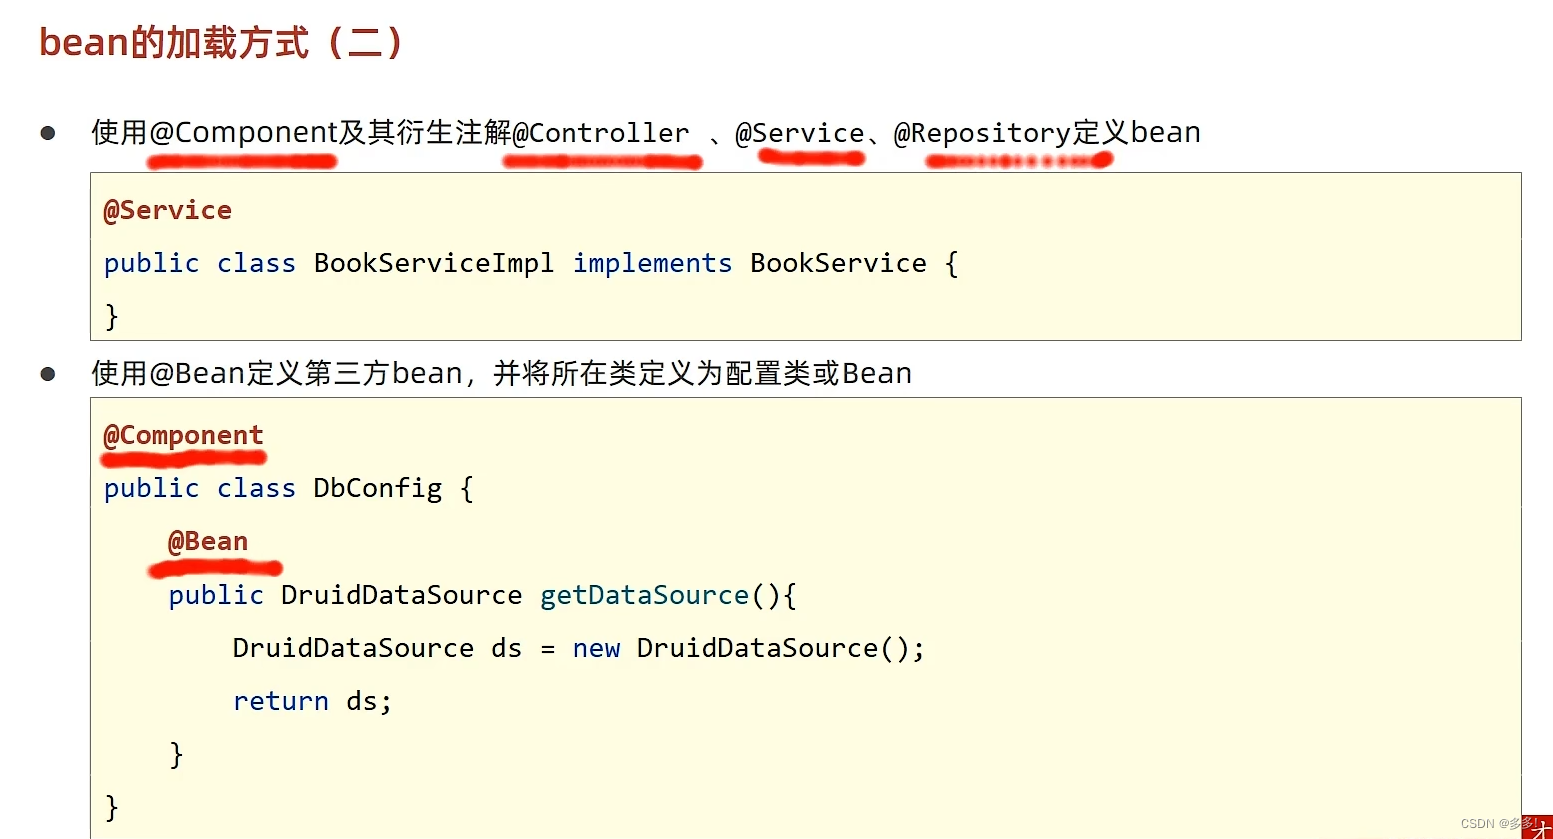
@Component代表是一个bean
"Tom"代表的是id
声明bean还有其他的衍生注解
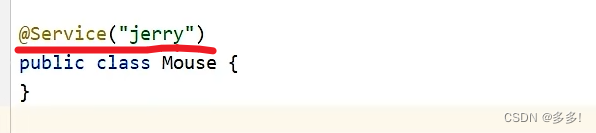
@Service 也属于是衍生注解
我们要学会在xml文件里再声明命名空间
context
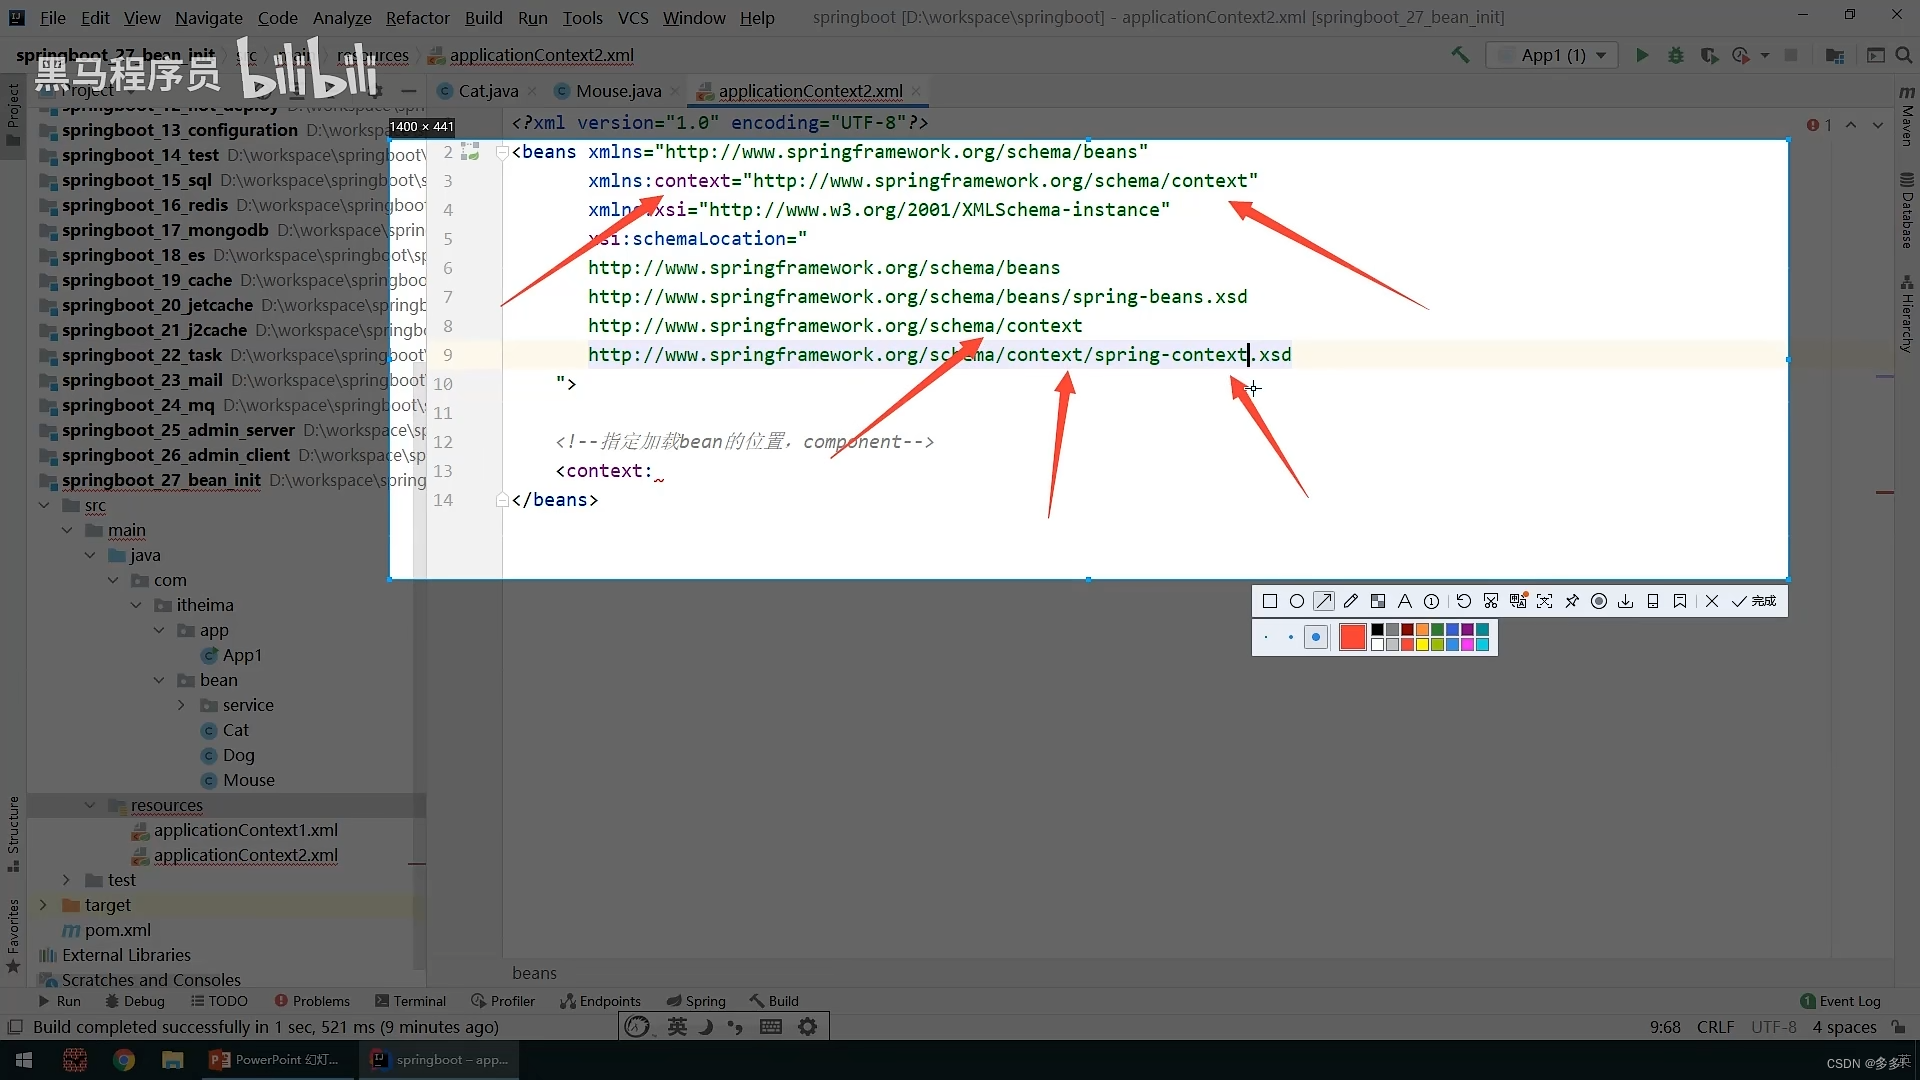
<beans xmlns="http://www.springframework.org/schema/beans"
       xmlns:context="http://www.springframework.org/schema/context"
       xmlns:xsi="http://www.w3.org/2001/XMLSchema-instance"
       xsi:schemaLocation="
       http://www.springframework.org/schema/beans
       http://www.springframework.org/schema/beans/spring-beans.xsd
       http://www.springframework.org/schema/context
       http://www.springframework.org/schema/context/spring-context.xsd
        ">
我们在指定bean的位置 component

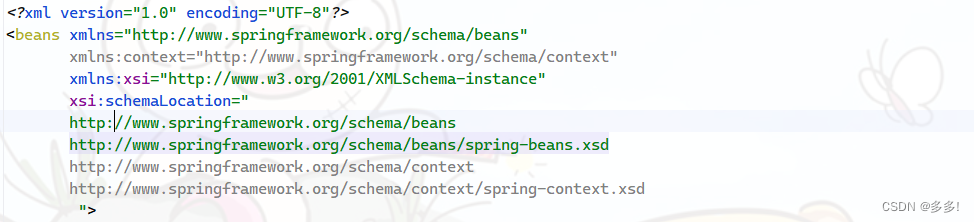
<?xml version="1.0" encoding="UTF-8"?>
<beans xmlns="http://www.springframework.org/schema/beans"
       xmlns:context="http://www.springframework.org/schema/context"
       xmlns:xsi="http://www.w3.org/2001/XMLSchema-instance"
       xsi:schemaLocation="
       http://www.springframework.org/schema/beans
       http://www.springframework.org/schema/beans/spring-beans.xsd
       http://www.springframework.org/schema/context
       http://www.springframework.org/schema/context/spring-context.xsd
        ">

    <!--        指定加载bean的位置 component-->
    <context:component-scan base-package="com.bigdata1421.bean"/>

</beans>
我们直接在APP测试
package com.bigdata1421.bean.app;

import org.springframework.context.ApplicationContext;
import org.springframework.context.support.ClassPathXmlApplicationContext;

public class App2 {

    public static void main(String[] args) {
        ApplicationContext ctx=new ClassPathXmlApplicationContext("applicationContext2.xml");
        String[] arr = ctx.getBeanDefinitionNames();
        for (String s : arr) {
            System.out.println(s);
        }

    }

}
打印

我们这种实现
是靠我们组件扫描

再加上我们的类上写注解 实现的

但是这样我们想一想
我们无法在第三方bean上加载
因为我们无法给第三方bean挂注解
我们选择创建config 配置包下的配置类
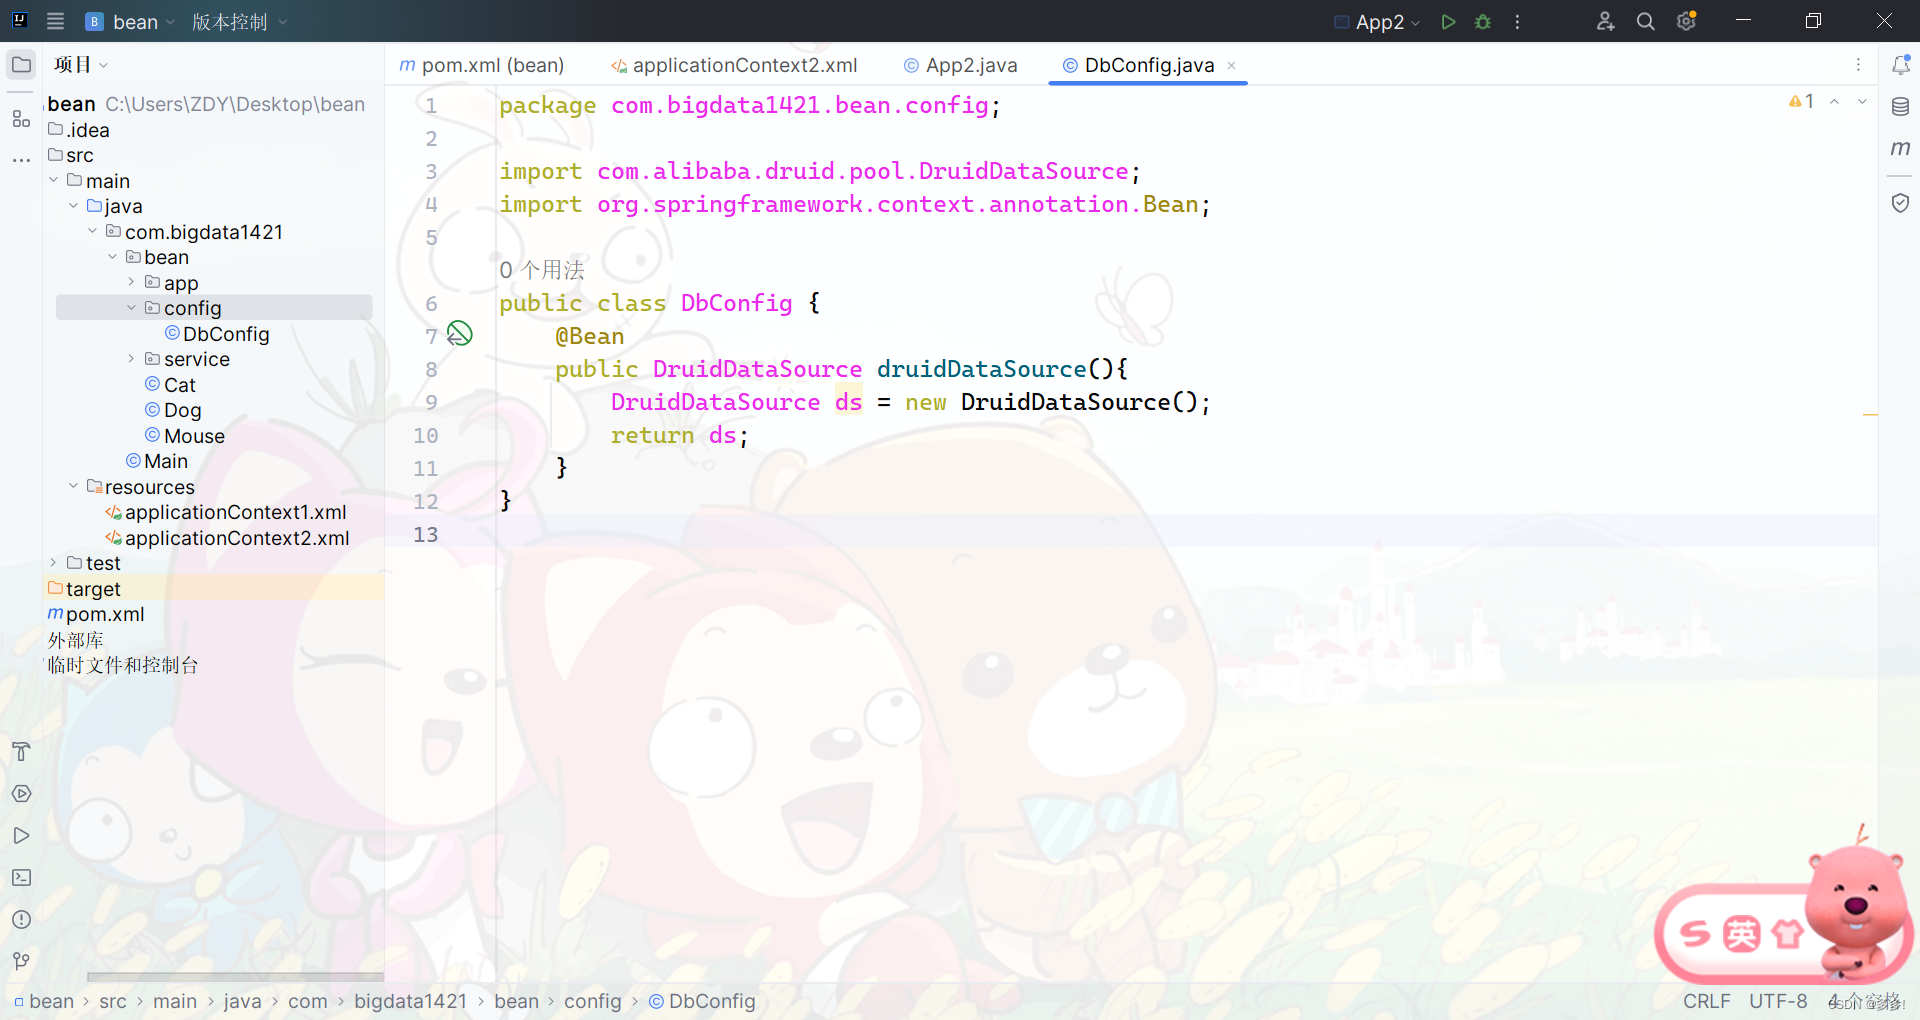
挂上注解
package com.bigdata1421.config;
import com.alibaba.druid.pool.DruidDataSource;
import org.springframework.context.annotation.Bean;
import org.springframework.stereotype.Component;
@Component
public class DbConfig {
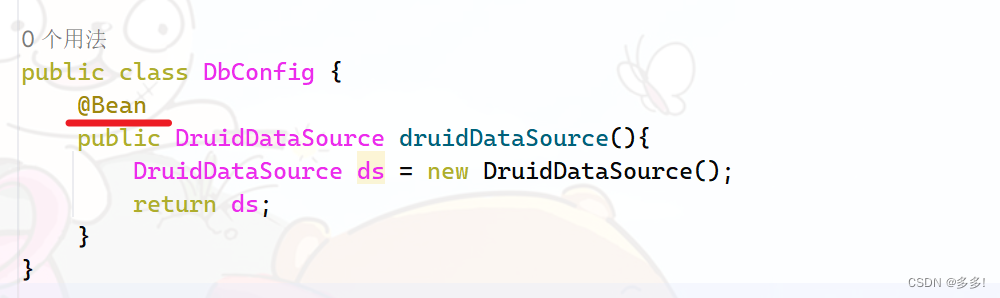
@Bean
public DruidDataSource druidDataSource(){
DruidDataSource ds = new DruidDataSource();
return ds;
}
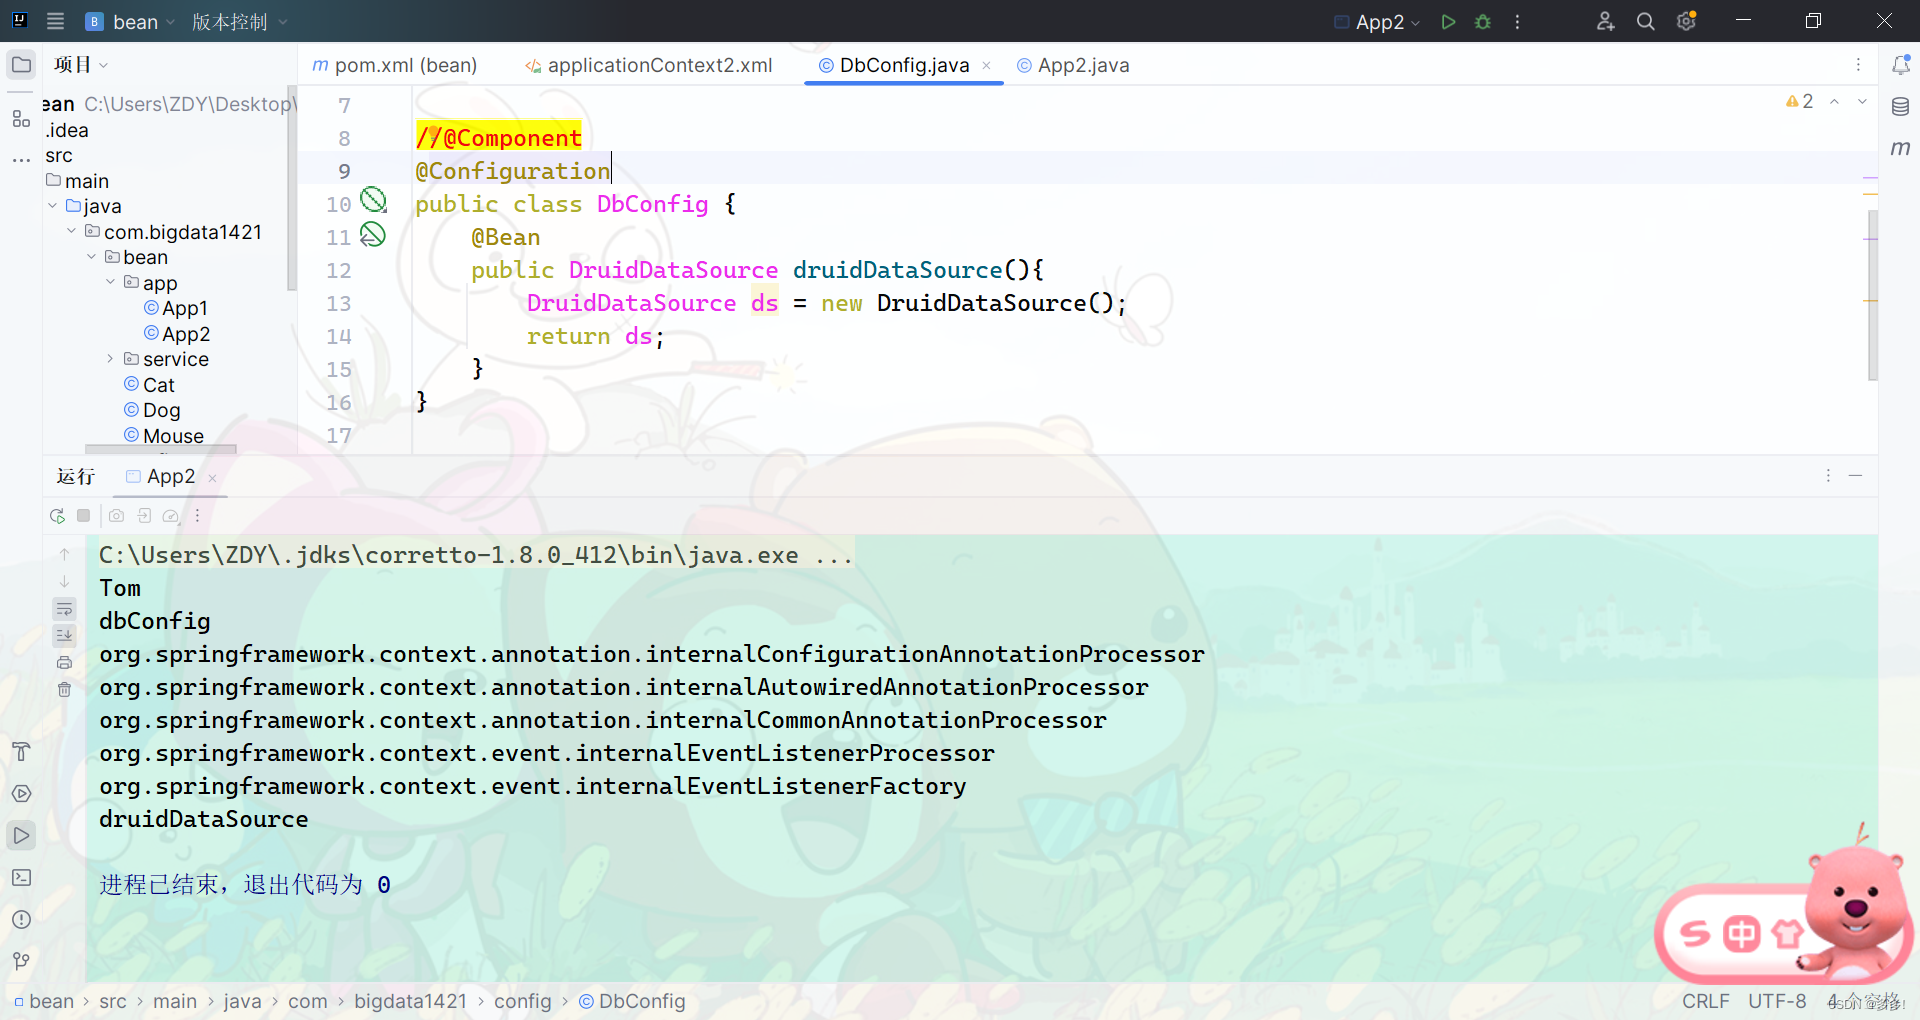
}我们注意项目结构
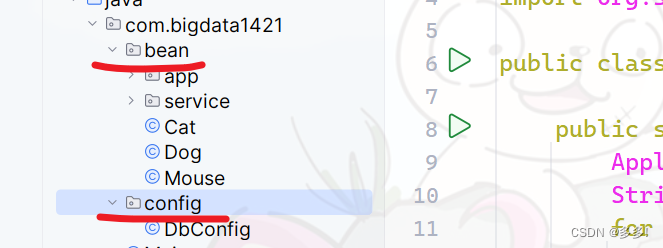
在配置里面挂上

<!--        指定加载bean的位置 component-->
<context:component-scan base-package="com.bigdata1421.bean,com.bigdata1421.config"/>
运行以后 我们发现成功加载了第三方bean

我们的加载第三方bean就是这样的

或者你换成这个注解
这个注解是专门用来做一个配置类的声明
@Configuration
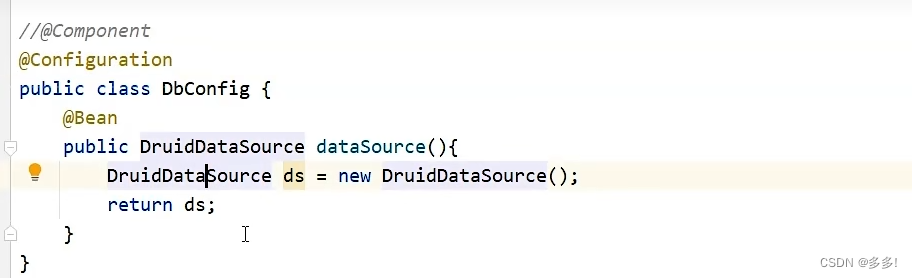
我们看这个注解
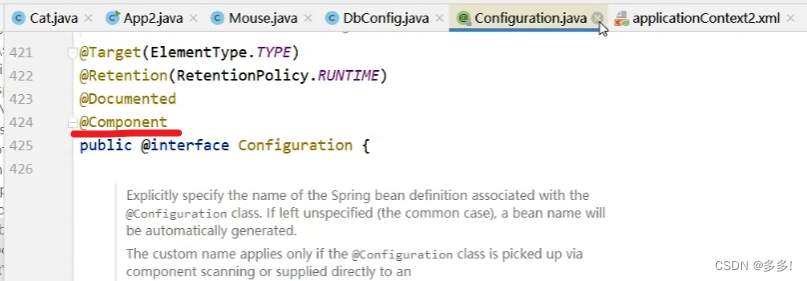
我们推荐这样

小结

个人号推广
博客主页
Web后端开发
https://blog.csdn.net/qq_30500575/category_12624592.html?spm=1001.2014.3001.5482
Web前端开发
https://blog.csdn.net/qq_30500575/category_12642989.html?spm=1001.2014.3001.5482
数据库开发
https://blog.csdn.net/qq_30500575/category_12651993.html?spm=1001.2014.3001.5482
项目实战
https://blog.csdn.net/qq_30500575/category_12699801.html?spm=1001.2014.3001.5482
算法与数据结构
https://blog.csdn.net/qq_30500575/category_12630954.html?spm=1001.2014.3001.5482
计算机基础
https://blog.csdn.net/qq_30500575/category_12701605.html?spm=1001.2014.3001.5482
回忆录
https://blog.csdn.net/qq_30500575/category_12620276.html?spm=1001.2014.3001.5482


 9462
9462

 被折叠的 条评论
为什么被折叠?
被折叠的 条评论
为什么被折叠?
 到【灌水乐园】发言


