


所需材料
compile('org.springframework.boot:spring-boot-starter-actuator')
2.x版本使用方法:application.yml添加如下配置,意思是暴露所有端口,注意2.x版本info中的address名称跟1.x不一样
management:
    endpoints:
      web:
        exposure:
          include: '*'
info:
  app:
    name: ${spring.application.name}
    address: ${spring.cloud.client.ip-address}:${server.port}
    env: ${spring.profiles.active}
    version: 20190703A
  config:
    version: ${config.version}
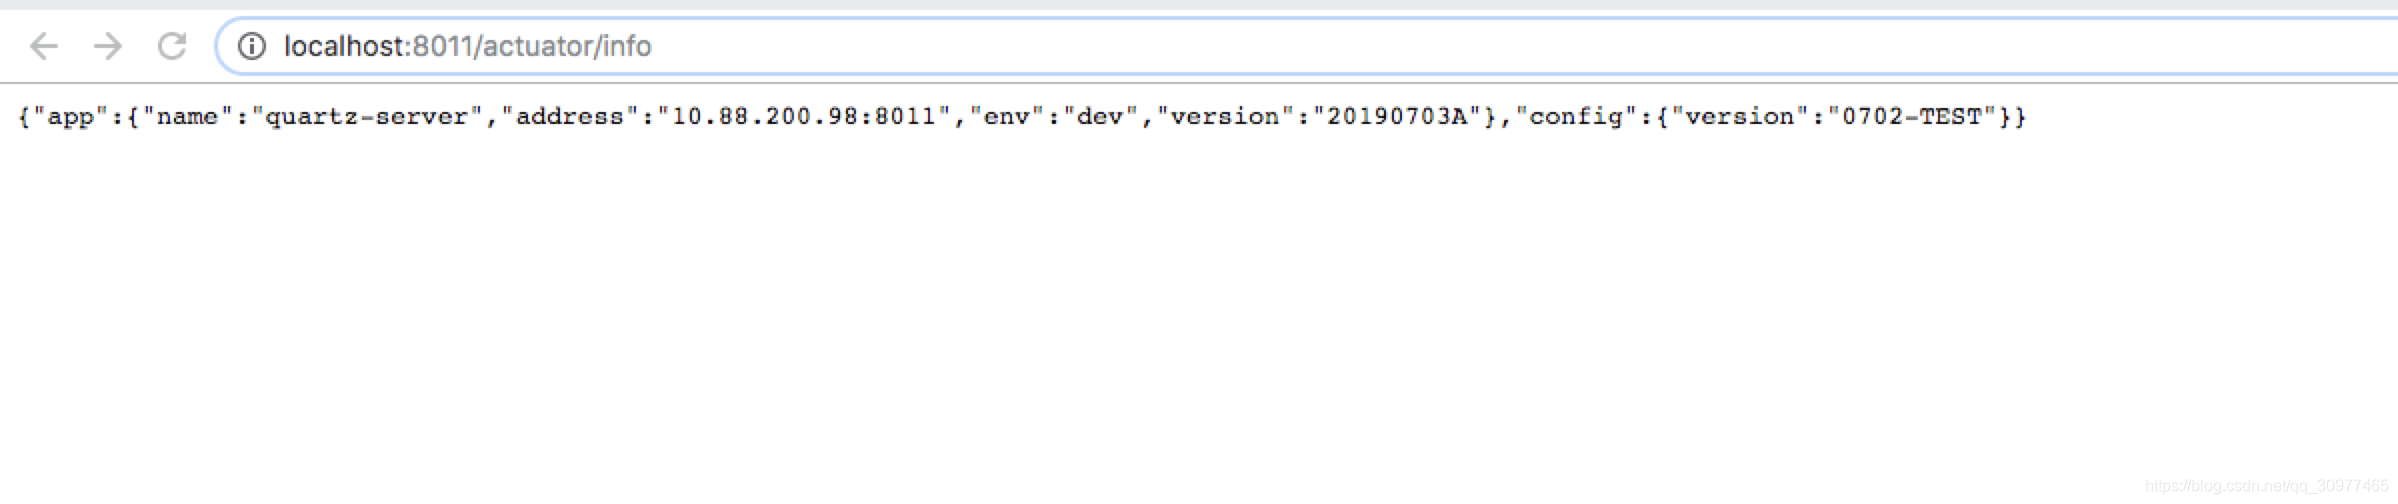
2.x版本查看方式,注意使用服务对应的端口
http://localhost:8011/actuator/info
1.x版本使用方式:application.yml添加如下配置
management:
    security:
      enabled: false

info:
  app:
    name: ${spring.application.name}
    address: ${spring.cloud.client.ipAddress}:${server.port}
    env: ${spring.profiles.active}
    version: 20190703A
  config:
    version: ${config.version}
1.x查看
http://localhost:8011/info
差异对比:即2.x版本在请求url中都需添加/actuator/,address的名称有略微差异
示例:其他env等信息可自行调试查看
收工✋


 6292
6292


 被折叠的 条评论
为什么被折叠?
被折叠的 条评论
为什么被折叠?
 到【灌水乐园】发言


