


基本配置:
1、vscode 配置: 添加lombok插件
2、可能需要修改pom.xml中依赖库的版本 例如: dom4j的版本
3、基本流程
后台配置:
1、 初始化数据库
执行sql文件语句
2、修改配置文件:
修改: 数据库配置文件部分、修改redis修改部分
jeecg-boot-module-system/src/main/resources/application-dev.yml3、启动
jeecg-boot-module-system/src/main/java/org/jeecg/JeecgSystemApplication.java 类作为入口文件。
4、swagger 文档路径:
http://localhost:8080/jeecg-boot/doc.html
前端配置:
1、修改配置文件 .env.development
NODE_ENV=development
VUE_APP_API_BASE_URL=http://localhost:8080/jeecg-boot  // 后台地址
VUE_APP_CAS_BASE_URL=http://cas.example.org:8443/cas
VUE_APP_ONLINE_BASE_URL=http://fileview.jeecg.com/onlinePreview
2、可能需要修改vue.config.js中跨域配置
3、npm run serve 启动项目
基本demo流程
1、后台:
1、创建api控制器:
文件在jeecg-boot-modules-system项目中的modules包中
@Slf4j
@RestController
@RequestMapping("/test/jeecgDemo")
public class LemonDemoController {

    @GetMapping(value = "/hello")
    public Result<String> hello() {
        Result<String> result = new Result<String>();
        result.setResult("hello world");
        result.setSuccess(true);
        return result;

    }
}
2、配置权限忽略:
配置文件: jeecg-boot-base/jeecg-boot-base-core/org.jeecg.config.shiro.ShiroConfig
加入配置:filterChainDefinitionMap.put("/test/jeecgDemo/hello", "anon");3、重启并访问:http://localhost:8080/jeecg-boot/test/jeecgDemo/hello
2、前台:
1、views目录中创建基本的vue文件
<template>
  <div>
    {{ msg }}
  </div>
</template>

<script>
  import {getAction} from '@/api/manage'
  export default {
    data () {
      return {
        msg: ""
      }
    },
    methods: {
      hello () {
        var url = "/test/jeecgDemo/hello" // 注意api路径
        getAction(url).then((res) => {
          if (res.success) {
            this.msg = res.result;
          }
        })
      }
    },
    created() {
      this.hello();
    }
  }
</script>
3、页面配置:系统管理菜单中配置
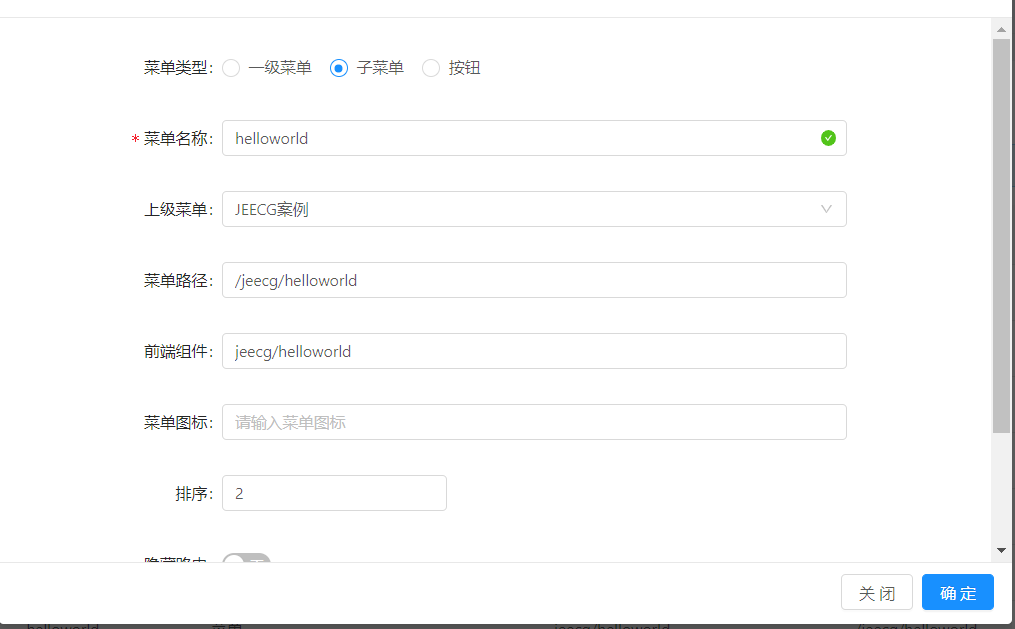
1、菜单配置
配置信息: 菜单名、路径、前端组件等等信息
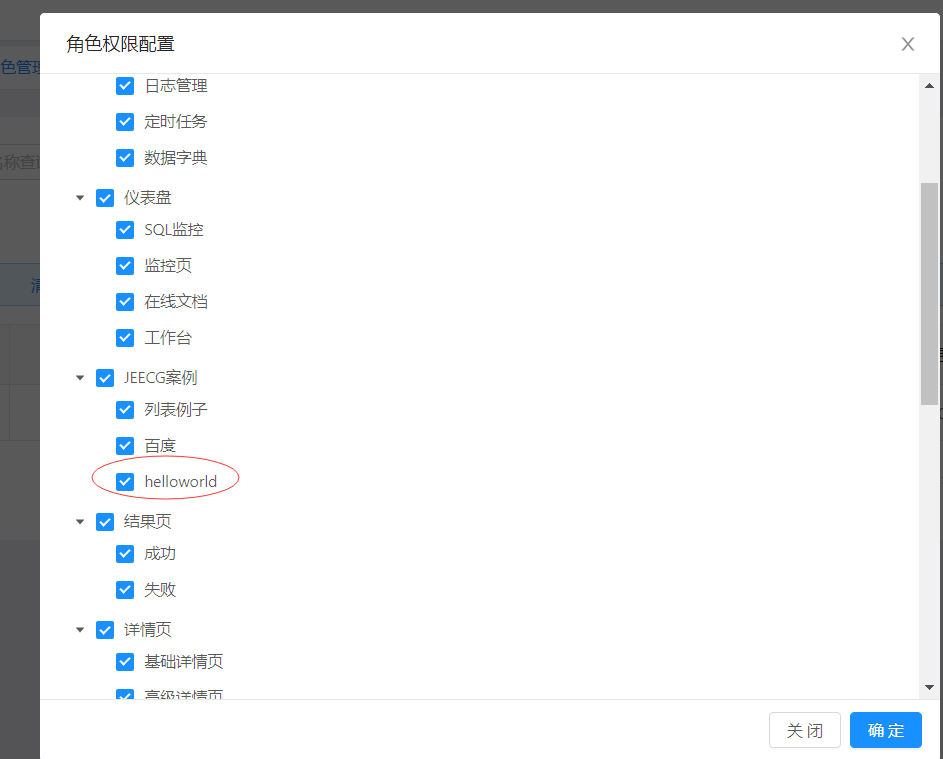
2、角色配置:权限
配置可访问权限,角色授权。


 1673
1673


 被折叠的 条评论
为什么被折叠?
被折叠的 条评论
为什么被折叠?
 到【灌水乐园】发言


