


本次安装部署是在docker环境中进行,没有安装docker的,先安装docker环境,具体也可以参考我另一篇文章:
[https://blog.csdn.net/qq_31366767/article/details/120880458]
## 一、ElasticSearch 安装配置
1、 首先先创建好安装目录,然後在改目录下创建 docker-compse.yml 文件
```bash
version: '2'
networks:
es:
services:
elasticsearch:
image: elasticsearch:7.13.4
container_name: elasticsearch
restart: always
volumes: # 数据卷挂载路径设置,将本机目录映射到容器目录
- ./data:/usr/share/elasticsearch/data:Z
- ./logs:/usr/share/elasticsearch/logs:Z
- ./config/elasticsearch.yml:/usr/share/elasticsearch/config/elasticsearch.yml:Z
- ./plugins:/usr/share/elasticsearch/plugins:Z
ports:
- 9200:9200
- 9300:9300
privileged: true
environment:
# 开启内存锁定
- bootstrap.memory_lock=true
# 修改jvm内存
- ES_JAVA_OPTS=-Xms512m -Xmx512m
- TAKE_FILE_OWNERSHIP=true
# 指定单节点启动
- discovery.type=single-node
ulimits:
# 取消内存相关限制 用于开启内存锁定
memlock:
soft: -1
hard: -1
networks:
- es
```
2、在对应的文件目录下,创建elasticsearch.yml 文件,本文是在 当前安装目录下的 config目录里面创建。
```bash
cluster.name: "docker-cluster"
network.host: 0.0.0.0
http.port: 9200
# 开启es跨域
http.cors.enabled: true
http.cors.allow-origin: "*"
http.cors.allow-headers: Authorization
# 开启安全控制
xpack.security.enabled: true
xpack.security.transport.ssl.enabled: true
```
3、运行 启动命令
```bash
docker-compose up -d
```
4、修改用户密码
4.1 进入容器
```bash
docker exec -it elasticsearch sh
```
4.2 进入密码设置
```bash
./bin/elasticsearch-setup-passwords -h
```
4.3 设置密码 (自动生成模式,定义配置 输入 ./bin/elasticsearch-setup-passwords interactive )
```bash
./bin/elasticsearch-setup-passwords auto
```
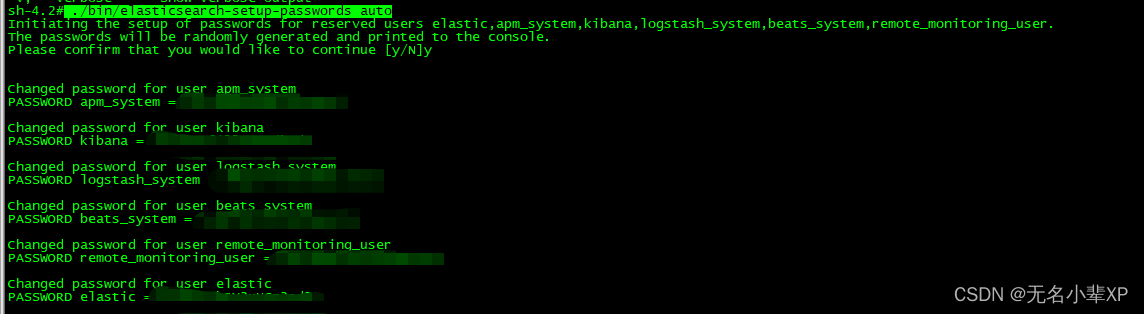
至此 密码设置完成
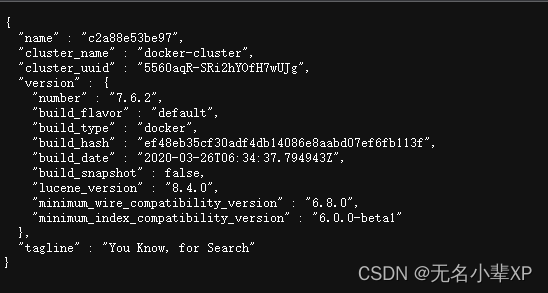
5、验证
在浏览器输入 http://xxxx.xxx.xxx.xxx:9200/
输入 账号/密码
## 二、Kibana安装配置
1、 首先先创建好安装目录,然後在改目录下创建 docker-compse.yml 文件
```bash
version: '2'
networks:
es:
services:
kibana:
image: kibana:7.6.2
container_name: kibana
privileged: true
restart: always
volumes:
- ./config/kibana.yml:/usr/share/kibana/config/kibana.yml:Z
ports:
- 5601:5601
networks:
- es
```
2、在对应的文件目录下,创建kibana.yml 文件,本文是在 当前安装目录下的 config目录里面创建。
```bash
#
server.name: kibana
server.host: "0.0.0.0"
# http://ip:9200 TODO 修改为自己的ip
elasticsearch.hosts: [ "http://xxxx.xxxx.xxxx.xxx:9200" ]
xpack.monitoring.ui.container.elasticsearch.enabled: true
elasticsearch.username: "elastic" # es账号
elasticsearch.password: "xxxxxx" # es密码
i18n.locale: zh-CN # 中文
```
3、运行 启动命令
```bash
docker-compose up -d
```
浏览器输入网址:http://xxxx.xxxx.xxxx.xxxx:5601 输入账号密码
## 三、Fluentd 安装配置
1、 首先先创建好安装目录,之后需要创建Dockerfile,内容如下
```bash
USER root
RUN gem install elasticsearch -v 7.17.0
RUN ["gem", "install", "fluent-plugin-elasticsearch", "--no-document", "--version", "5.0.3"]
USER root
```
然后开始制作 docker的 images,我这里命名为 fluent,
```bash
docker build -t fluent .
```
**值得注意的是,fluent-plugin-elasticsearch 插件的版本应该和 elasticsearch 对应,我这边使用的elasticsearch 为7.6.2 则 fluent-plugin-elasticsearch 应该在 5.0.3,版本无法对应的话,fluent 启动时 将报 无法连接至elasticsearch,如下:**
```bash
"The client is unable to verify that the server is Elasticsearch. Some functionality may not be compatible if the server is running an unsupported product."
```
2、准备 docker-compose 文件
```bash
version: '2'
services:
server-fluentd:
image: fluentd:latest
container_name: server-fluentd
ports:
- "24224:24224"
- "24224:24224/udp"
restart: always
environment:
- FLUENTD_CONF=fluentd.conf
volumes:
- ./log:/var/log
- ./fluentd.conf:/fluentd/etc/fluentd.conf
```
3、创建fluentd的配置文件fluentd.conf
```bash
<source>
@type forward
port 24224
bind 0.0.0.0
</source>
<match *.**>
@type copy
<store>
@type elasticsearch
host localhost
port 9200
logstash_format true
</store>
<store>
@type stdout
</store>
</match>
```
4、运行 启动命令
```bash
docker-compose up -d
```
因为 我没有给fluentd 指定 index 的名称,所以当它成功连接Elasticsearch 时 会创建一个默认的index,名为 logstash-*
此时,你可是在 Elasticsearch 使用索引查询命令查看
```bash
curl http://localhost:9200/_cat/indices?v
```

看到索引创建以后,则代表连接成功。接下来 我们使用 EFK 来采集nginx的容器日志。
## 四、 EFK 来采集nginx的容器日志
1、创建nginx 的docker-compose 文件
```bash
version: '3'
services:
nginx:
image: nginx:latest
ports:
- "80:80"
- "443:443"
container_name: nginx
logging:
driver: fluentd
options:
fluentd-address: localhost:24224
fluentd-async-connect: 'true'
mode: non-blocking
max-buffer-size: 4m
tag: nginx
```
在这里 使用 fluentd nginx 容器所产生的日志将直接推送至 fluentd
2、运行 启动命令
```bash
docker-compose up -d
```
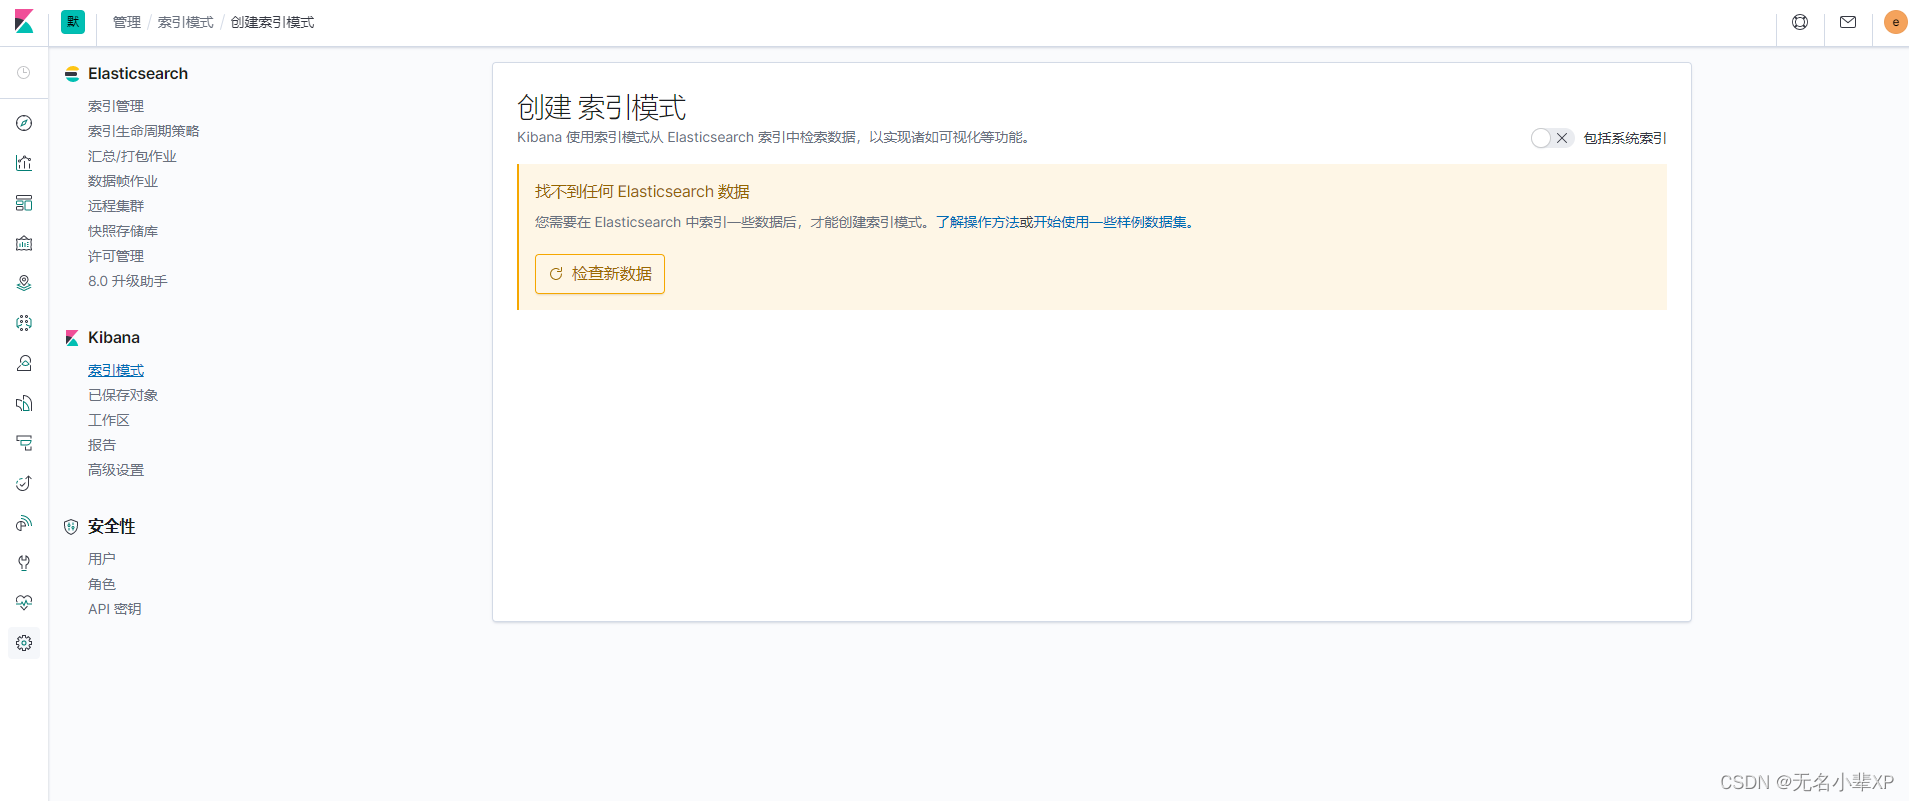
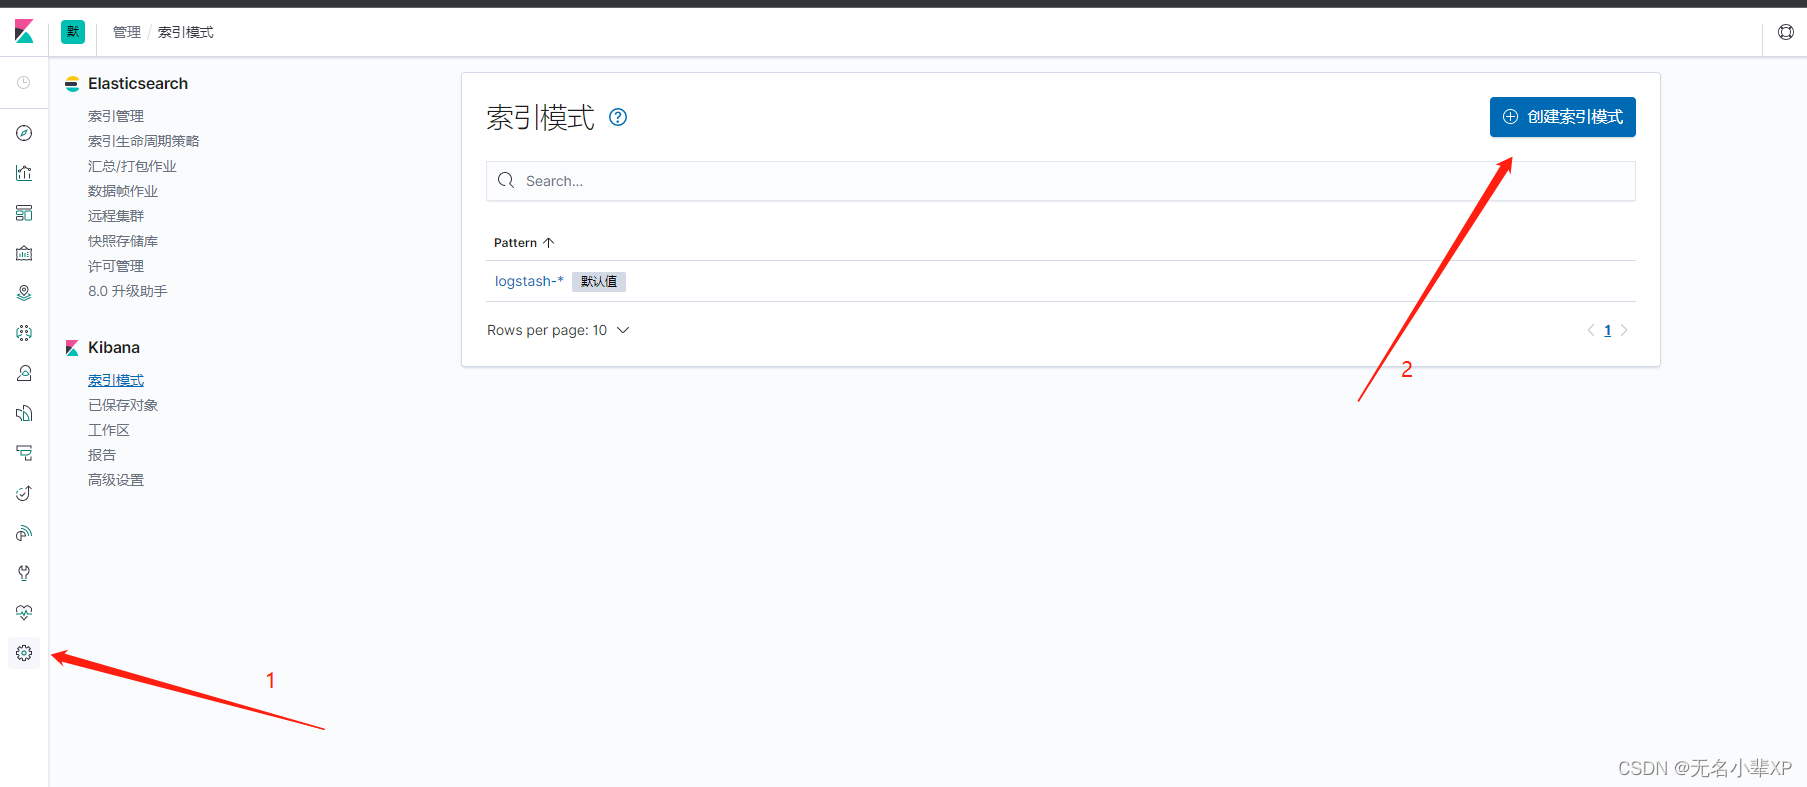
3、在kibana 配置日志展示
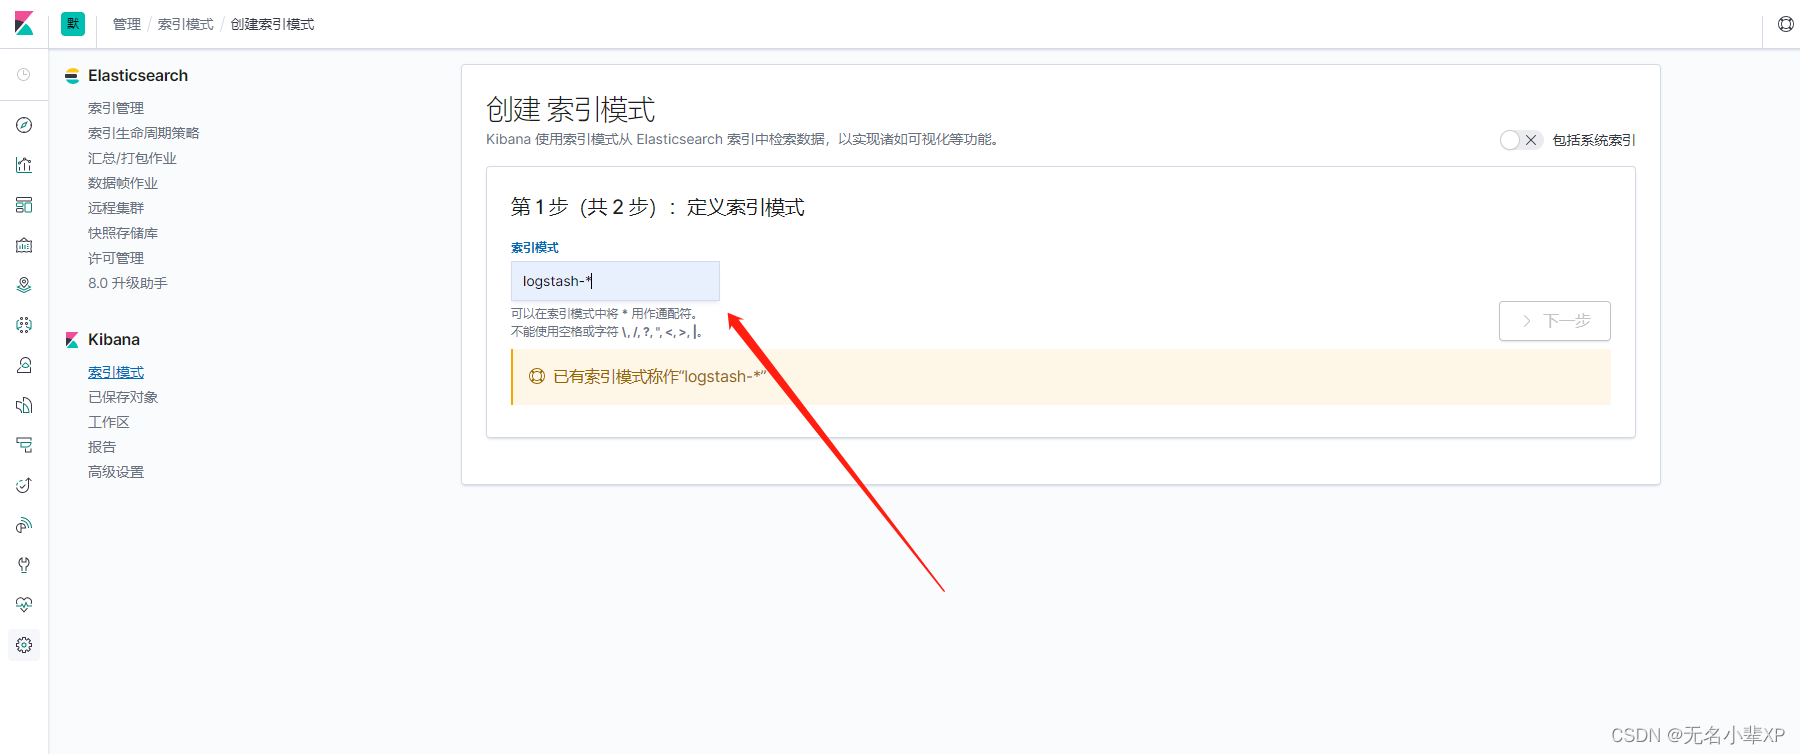
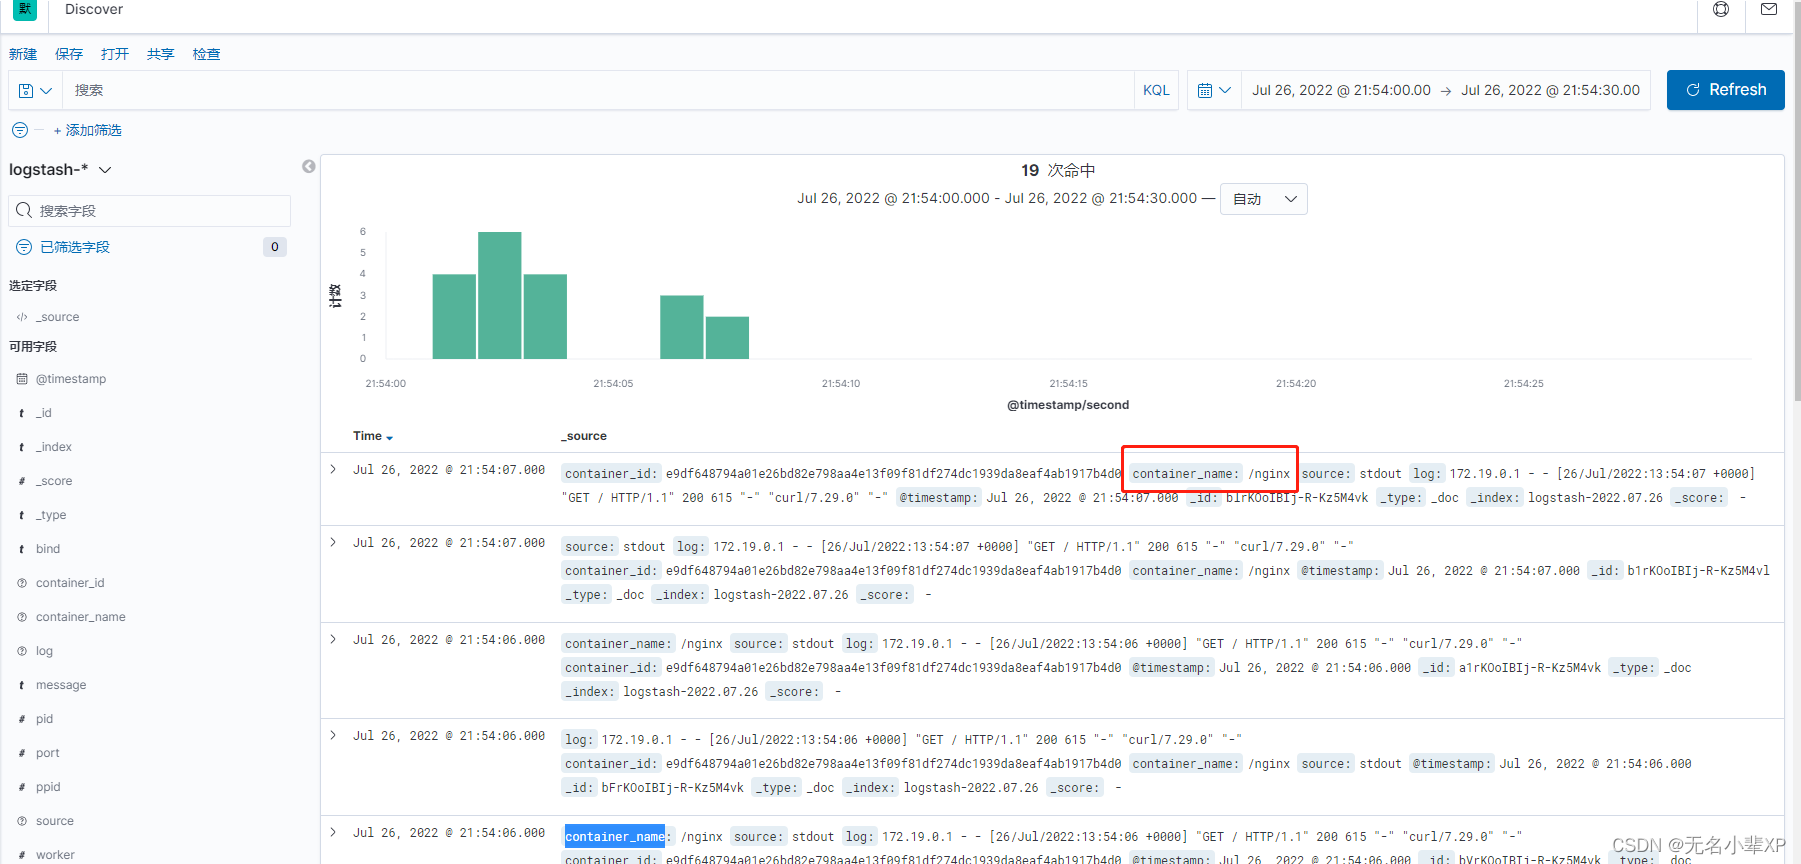
至此 简单的EFK 日志查看就已经完成,后续将在项目中实践。


 1787
1787

 被折叠的 条评论
为什么被折叠?
被折叠的 条评论
为什么被折叠?
 到【灌水乐园】发言


