


步骤1:基本面板
步骤2:ContentPane
步骤3:SplitPanel
步骤4:JScrollPanel
步骤5:TabbedPanel
步骤6:CardLayerout
步骤7:练习-SplitPanel
步骤8:答案-SplitPanel
步骤9:练习-按照eclipse的风格显示多个java文件
步骤10:答案-按照eclipse的风格显示多个java文件
示例 1 : 基本面板
JPanel即为基本面板
面板和JFrame一样都是容器,不过面板一般用来充当中间容器,把组件放在面板上,然后再把面板放在窗体上。
一旦移动一个面板,其上面的组件,就会全部统一跟着移动,采用这种方式,便于进行整体界面的设计
|
|
示例 2 : ContentPane
JFrame上有一层面板,叫做ContentPane
平时通过f.add()向JFrame增加组件,其实是向JFrame上的 ContentPane加东西
|
|
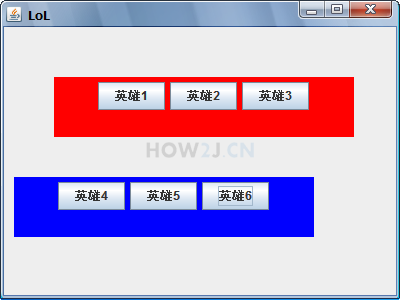
示例 3 : SplitPanel
创建一个水平JSplitPane,左边是pLeft,右边是pRight

|
|
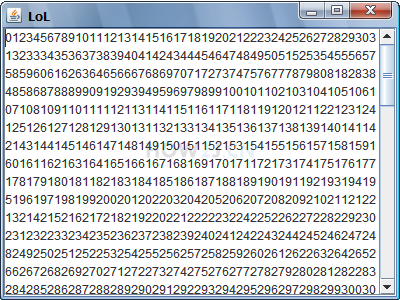
示例 4 : JScrollPanel
使用带滚动条的面板有两种方式
1. 在创建JScrollPane,把组件作为参数传进去
|
|
2. 希望带滚动条的面板显示其他组件的时候,调用setViewportView
|
|
|
|
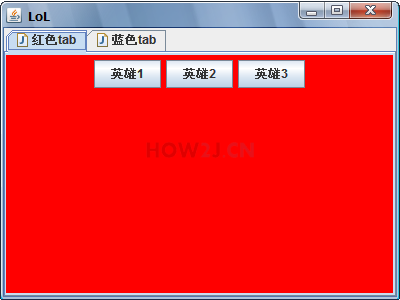
示例 5 : TabbedPanel
|
|
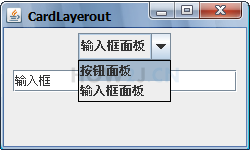
示例 6 : CardLayerout
CardLayerout 布局器 很像TabbedPanel ,在本例里面上面是一个下拉框,下面是一个CardLayerout 的JPanel
这个JPanel里有两个面板,可以通过CardLayerout方便的切换
|
|
更多内容,点击了解: https://how2j.cn/k/gui/gui-panel/406.html


 961
961


 被折叠的 条评论
为什么被折叠?
被折叠的 条评论
为什么被折叠?
 到【灌水乐园】发言


