


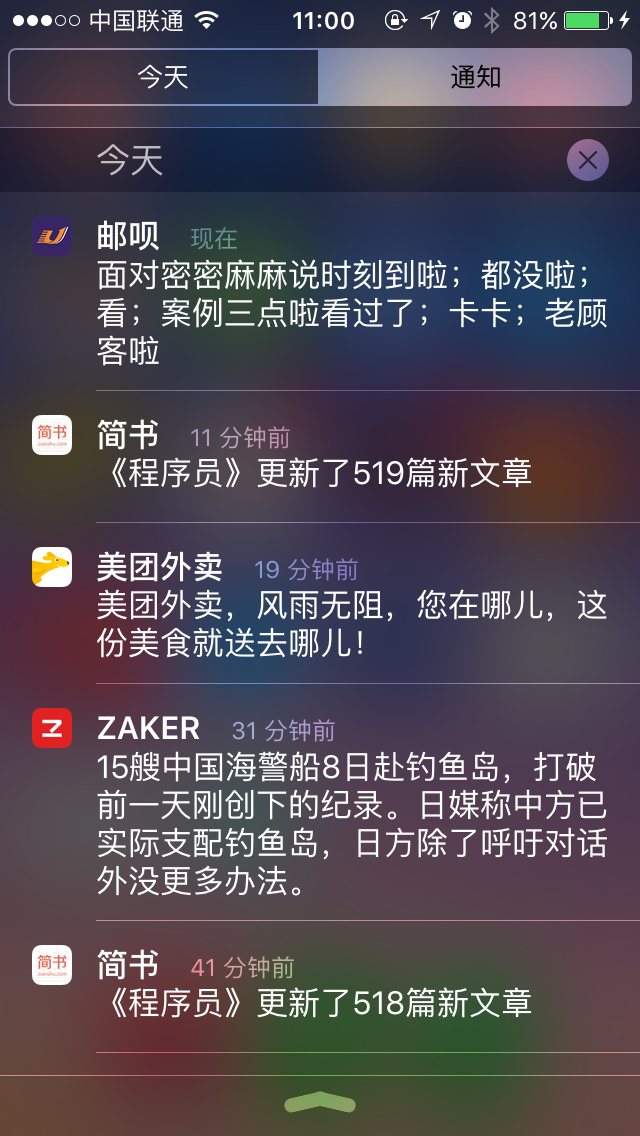
最近我们要做一个项目,通过自定义,消息来处理,订单,自定义消息和通知其实有这本质的 区别,自定义消息,应用必须是运行前台,我们可以通过注册通知来来监听自定义的消息
极光推送,实现点对点的推送,必须要注册拿到regitsteID,通过拿到regitstID,发送给应用服务器,之后我们就可以实现点对点的推送了,如何拿到registerID,代码中已有详细,
(BOOL)application:(UIApplication )application didFinishLaunchingWithOptions:(NSDictionary )launchOptions {
//极光推送;
NSString *advertisingId = [[[ASIdentifierManager sharedManager] advertisingIdentifier] UUIDString];
//Required
if ([[UIDevice currentDevice].systemVersion floatValue] >= 8.0) {
//可以添加自定义categories
[JPUSHService registerForRemoteNotificationTypes:(UIUserNotificationTypeBadge |
UIUserNotificationTypeSound |
UIUserNotificationTypeAlert)
categories:nil];
} else {
//categories 必须为nil
[JPUSHService registerForRemoteNotificationTypes:(UIRemoteNotificationTypeBadge |
UIRemoteNotificationTypeSound |
UIRemoteNotificationTypeAlert)
categories:nil];
}
[JPUSHService crashLogON];如需继续使用pushConfig.plist文件声明appKey等配置内容,请依旧使用[JPUSHService setupWithOption:launchOptions]方式初始化。
[JPUSHService setupWithOption:launchOptions appKey:appKey
channel:channel
apsForProduction:isProduction
advertisingIdentifier:advertisingId];NSNotificationCenter *defaultCenter = [NSNotificationCenter defaultCenter];
//[defaultCenter addObserver:self selector:@selector(networkDidReceiveMessage:) name:kJPFNetworkDidReceiveMessageNotification object:nil];[defaultCenter addObserver:self selector:@selector(networkDidLogin:) name:kJPFNetworkDidLoginNotification object:nil];
return YES;
}
//获取divceToken,如果你divieceToken没有获取到只能说明的你证书的配置问题;
- (void)application:(UIApplication )application didRegisterForRemoteNotificationsWithDeviceToken:(NSData )deviceToken{
NSLog(@”My token is: %@”, deviceToken);
//记得一定要向极光服务器注册diviceToken来换取registedID
[JPUSHService registerDeviceToken:deviceToken];
}
//要获得registeID,可以在这里获取啊
- (void)networkDidLogin:(NSNotification *)notification {
NSLog(@"已登录");
if ([JPUSHService registrationID]) {

    //下面是我拿到registeID,发送给服务器的代码,可以根据你需求来处理
    NSString *registerid = [JPUSHService registrationID];

    NSLog(@"APPDelegate开始上传rgeisterID");

    RegisteDVIParam *parm = [[RegisteDVIParam alloc]init];
    NSUserDefaults *defaults = [NSUserDefaults standardUserDefaults];
    [defaults setObject:registerid forKey:@"registerid"];

    if (registerid) {
        parm.plateform = @1;
        parm.registrationId =registerid ;

        [GetCourierOperation UpDateRegAndDeviceWithParm:parm success:^(NearByCourierResult *result) {


            NSLog(@"上传成功啦%@",result);
            } failure:^(NSError *error) {
            NSLog(@"上传失败");
        }];
    }

    [defaults setObject:registerid forKey:@"registerid"];

    NSLog(@"*******get RegistrationID = %@ ",[JPUSHService registrationID]);
    }
}
//下面是自定义消息,这是极光推送,特有的机制,应用只有在前台才能收到自定义消息;
- (void)viewDidLoad {
[super viewDidLoad];
//接受自定义消息;
NSNotificationCenter *defaultCenter = [NSNotificationCenter defaultCenter];

[defaultCenter addObserver:self
                  selector:@selector(networkDidReceiveMessage:)
                      name:kJPFNetworkDidReceiveMessageNotification
                    object:nil];
[self addChildVC];
[self resetPopover];
[self setUpPublishView];
}
- (void)networkDidReceiveMessage:(NSNotification *)notification {
NSDictionary *userInfo = [notification userInfo];
NSString *title = [userInfo valueForKey:@”title”];
NSString *content = [userInfo valueForKey:@”content”];
NSDictionary *extra = [userInfo valueForKey:@”extras”];
NSDateFormatter *dateFormatter = [[NSDateFormatter alloc] init];
[dateFormatter setDateFormat:@"yyyy-MM-dd hh:mm:ss"];
NSString *currentContent = [NSString
stringWithFormat:
@"收到自定义消息:%@\ntitle:%@\ncontent:%@\nextra:%@\n",
[NSDateFormatter localizedStringFromDate:[NSDate date]
dateStyle:NSDateFormatterNoStyle
timeStyle:NSDateFormatterMediumStyle],
title, content, [self logDic:extra]];
NSLog(@"*********%@", currentContent);
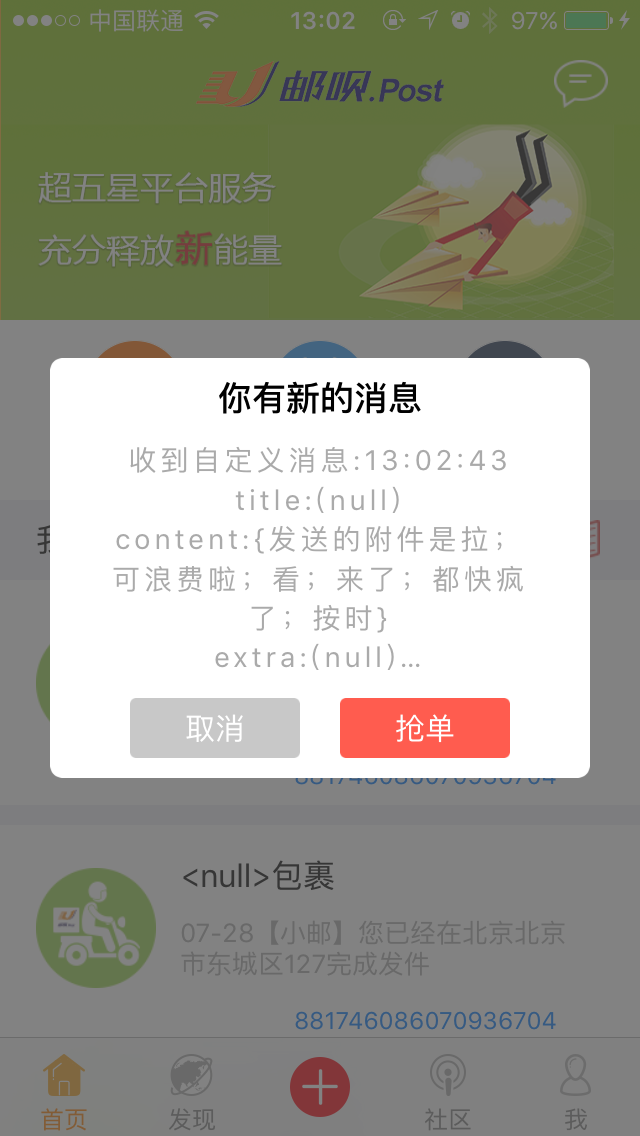
//此处我用了一个弹出视图,来展示自定义消息,自定义消息本质来说一串json,这个可以根据需求,来设计这串json,数据的展示通过解析json来实现,
LXAlertView *alert=[[LXAlertView alloc] initWithTitle:@"你有新的消息" message:currentContent cancelBtnTitle:@"取消" otherBtnTitle:@"抢单" clickIndexBlock:^(NSInteger clickIndex) {
NSLog(@"点击index====%ld",clickIndex);
}];
alert.animationStyle=LXASAnimationLeftShake;
[alert showLXAlertView];
// [_messageContents insertObject:currentContent atIndex:0];
//
// NSString *allContent = [NSString
// stringWithFormat:@"%@收到消息:\n%@\nextra:%@",
// [NSDateFormatter
// localizedStringFromDate:[NSDate date]
// dateStyle:NSDateFormatterNoStyle
// timeStyle:NSDateFormatterMediumStyle],
// [_messageContents componentsJoinedByString:nil],
// [self logDic:extra]];
//
// _messageContentView.text = allContent;
// _messageCount++;
// [self reloadMessageCountLabel];
}
- (NSString )logDic:(NSDictionary )dic {
if (![dic count]) {
return nil;
}
NSString *tempStr1 =
[[dic description] stringByReplacingOccurrencesOfString:@”\u”
withString:@”\U”];
NSString *tempStr2 =
[tempStr1 stringByReplacingOccurrencesOfString:@”\”” withString:@”\\”“];
NSString *tempStr3 =
[[@”\”” stringByAppendingString:tempStr2] stringByAppendingString:@”\”“];
NSData *tempData = [tempStr3 dataUsingEncoding:NSUTF8StringEncoding];
NSString *str =
[NSPropertyListSerialization propertyListFromData:tempData
mutabilityOption:NSPropertyListImmutable
format:NULL
errorDescription:NULL];
return str;
}
//自定义消息的截图;
最后要说的是,自定义消息,只能运行在前台,那么如果用户在后台怎么办,所以当服务器想用户推送自定义消息时,需要先发送一条通知,用户点击这个通知进入到前台接收自定义消息,
代码就这些,希望能解决大家的问题


 3万+
3万+

 被折叠的 条评论
为什么被折叠?
被折叠的 条评论
为什么被折叠?
 到【灌水乐园】发言


