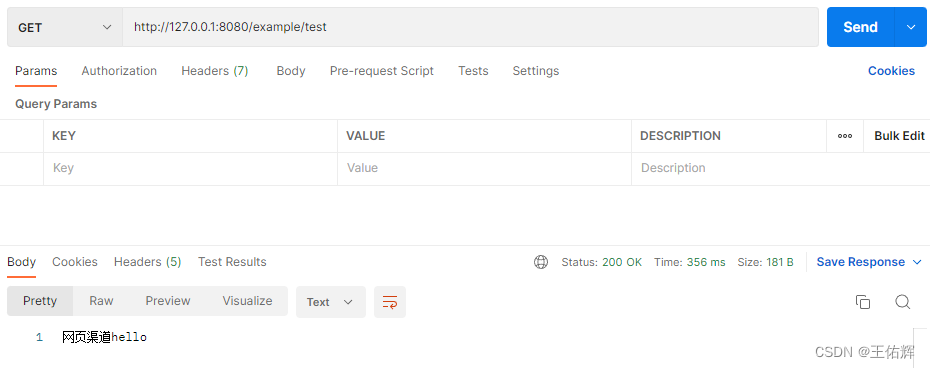
一、示例截图
二、实现原理
- 1.一个接口两个实现类
- 2.用@Resource注解的特性,根据名字查找对应的bean
三、代码示例
package com.learning.controller;

import com.learning.service.IPlatformService;
import lombok.AllArgsConstructor;
import org.springframework.beans.factory.annotation.Autowired;
import org.springframework.web.bind.annotation.GetMapping;
import org.springframework.web.bind.annotation.RequestMapping;
import org.springframework.web.bind.annotation.ResponseBody;
import org.springframework.web.bind.annotation.RestController;

import javax.annotation.Resource;

/**
 * @Date 2023/3/20 11:26
 * @Description 控制层接口
 */
@RestController
@RequestMapping("example")
public class ExampleController {

    @Resource(name = "${platform.service}Service")
    private IPlatformService platformService;

    @GetMapping("/test")
    @ResponseBody
    private String test(){
        return platformService.get("hello");
    }

}
package com.learning.service;

public interface IPlatformService {
    String get(String hello);
}
package com.learning.service.impl;

import com.learning.service.IPlatformService;
import org.springframework.stereotype.Service;

/**
 * @Date 2023/3/20 11:29
 * @Description 网页渠道
 */
@Service
public class WebService implements IPlatformService {
    @Override
    public String get(String hello) {
        return "网页渠道" + hello;
    }
}
package com.learning.service.impl;

import com.learning.service.IPlatformService;
import org.springframework.stereotype.Service;

/**
 * @Date 2023/3/20 11:29
 * @Description 微信渠道
 */
@Service
public class WeiXinService implements IPlatformService {
    @Override
    public String get(String hello) {
        return "微信渠道" + hello;
    }
}
# application.yaml配置
platform:
  service: web
package com.learning;

import org.springframework.boot.SpringApplication;
import org.springframework.boot.autoconfigure.SpringBootApplication;

/**
 * @Date 2023/3/20 11:38
 * @Description 启动类
 */
@SpringBootApplication
public class Application {
    public static void main(String[] args) {
        SpringApplication.run(Application.class, args);
    }
}


 9009
9009


 被折叠的 条评论
为什么被折叠?
被折叠的 条评论
为什么被折叠?
 到【灌水乐园】发言


