


一、Junit
1.Junit简介
JUnit是由 ErichGamma 和Kent Beck 编写的一个回归测试框架(regressiontesting framework)。Junit测试是程序员测试,即所谓白盒测试,因为程序员知道被测试的软件如何(How)完成功能和完成什么样(What)的功能。Junit是一套框架,继承TestCase类,就可以用Junit进行自动测试了。Junit环境搭建就不说了,网上一搜一大堆。
2.Demo
待测试类:
    public class Math{
        public int add(int a, int b){return a+b;}
        public int sub(int a, int b){return a-b;}
        }
测试类:
    public class TestMath{
        @Test
        public void testAdd(){
            assertEquals(9,new Math().add(6,3));
            }
        @Test
        public void testSub(){
            assertEquals(3,new Math().sub(6,3));
            }
        }
Run TestMath:
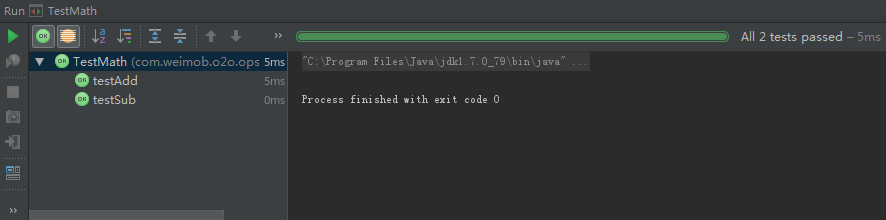
看~绿色的条条就对了~~~(本人用的Intelij IDEA 2016.2)
注:
*测试方法必须要用@Test注解
*测试方法必须使用public void 修饰,不能带有任何的参数
*测试代码区别被测试代码存放(发布时删除测试代码方便,不乱)
*测试方法必须可以进行独立测试,不能有任何依赖
3.常用注解
->@beforeclass,afterclass:在所有方法被调用前,后执行的静态方法,beforeclass适合加载配置文件,afterclass用于清理释放资源(数据库连接等)
->@before,@after:对类中每个方法前后各执行一次
->@Ingore:所注解的测试方法会被忽略
->@RunWith:用于更改测试运行器(自行更改测试运行器继承org.junit.runner.Runner即可)
->@Test(timeout = 毫秒)
->@Test(expected = XX.class)
4.测试套件
如若测试的类很多很多,一一测试很是麻烦,那么就可以使用测试套件组织测试类一起运行。
类1:
    public class TestAdd{
        @Test
        public void testAdd(){
            assertEquals(9,new Math().add(6,3));
        }
    }
类2:
  public class TestSub{
        @Test
        public void testSub(){
            assertEquals(3,new Math().sub(6,3));
            }
        }
    }
测试套件类:
    @RunWith(Suite.class)
    @Suite.SuiteClasses({TestAdd.class,TestSub.class})
    public class TestMath {
    }
Run TestMath:
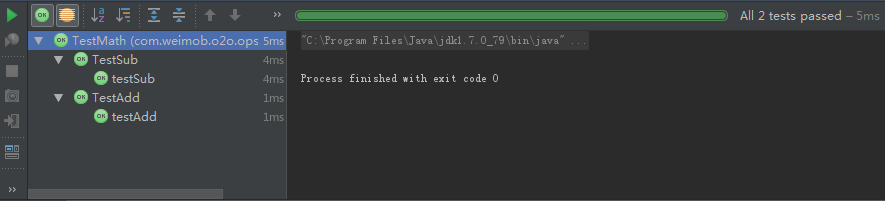
绿色的条条就对啦~~
注:
*@RunWith(suit.class)注解标记该类是测试套件入口类,入口类不包含任何方法
5.多组参数配置
一次只能测试一组数据多少有点不过瘾啊,而且相信小伙伴也不会只测试一组数据就提交了吧 ~ 那么,多组数据的参数配置就来啦~~
@RunWith(Parameterized.class)
public class TestMath {
    int expect;
    int num1;
    int num2;

    @Parameterized.Parameters
    public static Collection<Object[]> t(){
        return Arrays.asList(new Object[][]{
            {3,1,2},
            {4,2,2},
            {0,0,0}
        });
    }

    public TestMath(int expect, int num1, int num2){
        this.expect = expect;
        this.num1 = num1;
        this.num2 = num2;
    }

    @Test
    public void teatAdd(){
        assertEquals(expect,new Math().add(num1,num2));
    }
}
Run TestMath:
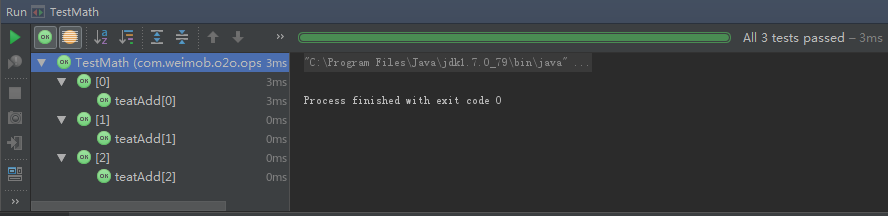
又是绿的,好烦。。。
注:
*更改默认的测试运行器为@RunWith(Parameterized.class)
*声明变量expect,num1,num2用于存放预期和结果值
*使用@Parameterized.Parameters注解返回值为Collection的公共静态方法
*测试类中添加带参的公共构造函数,为变量赋值
二、DbUnit
1.DbUnit简介
DbUnit是一个基于Junit扩展的数据库测试框架,它通过使用用户自定义的数据集以及相关操作使数据库处于一种可知的状态,从而使得测试自动化、可重复和相对独立
2.DbUnit工作流程
测试前:
*准备好测试用的准备数据和预想结果数据
*备份数据库,并读入准备数据
测试中:
*测试对象方法,比较实际执行结果跟预期结果
测试后:
*将数据库还原到测试前状态
3.Demo
Spring-dao.xml配置(加载驱动,执行DDL,DML):
<?xml version="1.0" encoding="UTF-8"?>
<beans xmlns="http://www.springframework.org/schema/beans"
       xmlns:xsi="http://www.w3.org/2001/XMLSchema-instance"
       xmlns:jdbc="http://www.springframework.org/schema/jdbc"
       xsi:schemaLocation="http://www.springframework.org/schema/beans
    http://www.springframework.org/schema/beans/spring-beans.xsd
        http://www.springframework.org/schema/jdbc
        http://www.springframework.org/schema/jdbc/spring-jdbc-4.1.xsd"
       default-lazy-init="false" default-autowire="byName">

    <bean id="dataSource"
          class="org.springframework.jdbc.datasource.DriverManagerDataSource">
        <property name="driverClassName" value="org.h2.Driver" />
        <property name="url" value="jdbc:h2:mem:bone;DB_CLOSE_DELAY=-1;MODE=MySQL" />
    </bean>
        <jdbc:initialize-database data-source="dataSource" ignore-failures="DROPS">
        <jdbc:script location="classpath:ddl.sql" />
        <jdbc:script location="classpath:dml.sql" />
    </jdbc:initialize-database>
</beans>
DDL.sql:
CREATE TABLE `db_unit` (
  `id` int(11) NOT NULL AUTO_INCREMENT,
  `title` varchar(100) NOT NULL,
  `content` varchar(600) NOT NULL,
  `createTime` datetime NOT NULL,
  PRIMARY KEY (`id`)
) ENGINE=InnoDB DEFAULT CHARSET=utf8;
DML.sql:
insert into `db_unit` (`id`,`title`,`content`,`createTime`) values (1, 'title of first note', 'content of first note', NOW());
insert into `db_unit` (`id`,`title`,`content`,`createTime`) values (2, 'title of second note', 'content of second note', NOW());
insert into `db_unit` (`id`,`title`,`content`,`createTime`) values (3, 'title of third note', 'content of third note', NOW());
insert into `db_unit` (`id`,`title`,`content`,`createTime`) values (4, 'title of fourth note', 'content of forth note', NOW());
DbUnitMapper.java:
public interface DbunitMapper {
    int insert(DbunitDomain note);
    int delete(int noteId);
    int update(DbunitDomain note);
    DbunitDomain selectDbunitById(int id);
}
DbUintDaoTest.java:
/**
 * DbunitMapper实现的测试类
 *
 * 这个类必须有@RunWith(SpringJUnit4ClassRunner.class)直接指定使用spring测试, @ContextConfiguration 注解指定要使用此单元测试类需要预先加载的spring配置文件
 *
 * Created by chenjie
 */
@RunWith(SpringJUnit4ClassRunner.class)
@ContextConfiguration(locations = {"classpath:spring-dao.xml"})
public class DbunitDaoTest {

    /**
     * 使用@Autowired注解自动注入dbunitMapper测试类
     */
    @Autowired
    private DbunitMapper dbunitMapper;

    /**
     * 测试dbunitMapper的insert方法, 此处我们构造了一个dbunitDomain对象,然后将起insert到数据库
     */
    @Test
    public void insertTest() {
        DbunitDomain dbunitDomain = new DbunitDomain();
        dbunitDomain.setTitle("test title");
        dbunitDomain.setContent("test content");
        dbunitDomain.setCreateTime(new Date());
        dbunitMapper.insert(dbunitDomain);

        //此处通过验证note的id属性是否为正整数来验证插入是否成功
        Assert.assertTrue(dbunitDomain.getId() > 0);
    }

    /**
     * 测试更新操作
     */
    @Test
    public void updateTest() {
        DbunitDomain dbunitDomain = new DbunitDomain();
        dbunitDomain.setId(1);
        String newTitle = "new Title";
        dbunitDomain.setTitle(newTitle);
        String newContent = "new Content";
        dbunitDomain.setContent(newContent);

        int effectRows = dbunitMapper.update(dbunitDomain);
        //此处通过update操作返回的受影响行数来断定update操作是否执行成功
        Assert.assertTrue (effectRows == 1);
    }

    /**
     * 测试delete操作
     */
    @Test
    public void deleteTest() {
        int wantDeleteId = 2;
        int effectRows = dbunitMapper.delete(wantDeleteId);
        //通过验证受影响行数来断定是否成功执行操作
        Assert.assertEquals(1, effectRows);
    }

    /**
     * 测试select操作
     */
    @Test
    public void selectTest() {
        int selectId = 3;
        DbunitDomain dbunitDomain = dbunitMapper.selectDbunitById(selectId);
        //通过select出的dbunitDomain的id属性来断言是否成功
        Assert.assertEquals(selectId, dbunitDomain.getId());
    }
}
Run DbunitDaoTest:
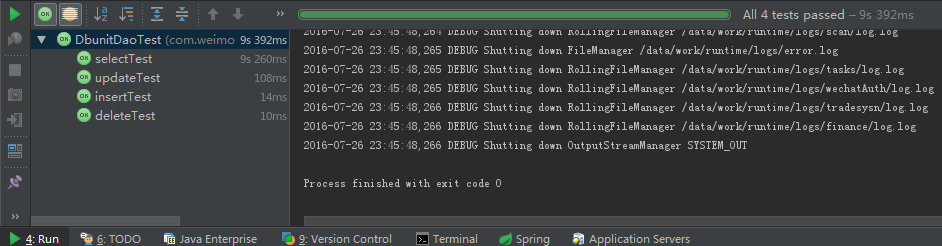
还是绿的,很烦。。。
三、JMockit
1.JMockit简介
JMockit是一个mock的轻量级框架,他允许你动态的改变已有的方法,这主要基于java 的Instrumentation框架,这样便可以使得JMockit能够适应几乎所有的设计。
它允许你重定义private,static and final方法,甚至是no-arg constructors都能够并轻易的重定义(其他的改天再说吧,太困了0.0)


 378
378

 被折叠的 条评论
为什么被折叠?
被折叠的 条评论
为什么被折叠?
 到【灌水乐园】发言


