


windows平台下kafka简单安装使用
一、安装jdk
二、安装zookeeper
Kafka的运行依赖于Zookeeper,所以在运行Kafka之前我们需要安装并运行Zookeeper
1、下载zookeeper并修改参考上一篇:https://blog.csdn.net/qq_32595131/article/details/103297223
2、配置环境变量
1)ZOOKEEPER_HOME:D:\machine\kafka_2.11-1.1.0
2)Path: 在现有的值后面添加";%ZOOKEEPER_HOME%\bin;"
3、启动zookeeper:
打开cmd然后执行zkserver
三、安装kafka
1、下载kafka:
https://www.apache.org/dyn/closer.cgi?path=/kafka/1.1.0/kafka_2.11-1.1.0.tgz

2、解压文件到D:\machine\kafka_2.11-1.1.0
3、在D:\machine\kafka_2.11-1.1.0下新建文件名为kafka-logs,打开D:\machine\kafka_2.11-1.1.0\config,修改log.dirs=D:\machine\kafka_2.11-1.1.0\kafka-logs

4、cmd中进入kafka目录,D:\machine\kafka_2.11-1.1.0,执行以下命令,启动kafka通讯的服务器broker:
.\bin\windows\kafka-server-start.bat .\config\server.properties
启动过程报错,参考此链接:https://blog.csdn.net/weixin_44100514/article/details/88413870 可解决

5、重新打开一个cmd,进入kafka文件目录D:\machine\kafka_2.11-1.1.0\bin\windows,创建kafka的消息topics
kafka-topics.bat --create --zookeeper localhost:2181 --replication-factor 1 --partitions 1 --topic testDemo

5.1:可以查看创建的topics:进入D:\machine\kafka_2.11-1.1.0\bin\windows目录:
kafka-topics.bat --describe --zookeeper localhost:2181 --topic testDemo

6、分别打开两个cmd窗口,进入目录D:\machine\kafka_2.11-1.1.0\bin\windows,创建Producer和Consumer
(1)Producer
进入目录D:\machine\kafka_2.11-1.1.0\bin\windows输入如下命令:
kafka-console-producer.bat --broker-list localhost:9092 --topic testDemo
(2)Consumer
进入目录D:\machine\kafka_2.11-1.1.0\bin\windows输入如下命令:
kafka-console-consumer.bat --zookeeper localhost:2181 --topic testDemo
然后就可以在Producer中发信息,在Consumer中收信息了

7、未完 java代码测试
新建maven项目:
选择工作空间目录:

选择项目:

编写项目组和名称 finish:

修改pom.xml文件:
import org.springframework.web.bind.annotation.RequestMapping;
import org.springframework.web.bind.annotation.RestController;
@RestController
@RequestMapping(“hello”)
public class OneController {
@RequestMapping("")
public String hello() {
       return "helloworld";
}
}
app.java:

package com.test.kafkatest;
import org.springframework.boot.SpringApplication;
import org.springframework.boot.autoconfigure.SpringBootApplication;
/**
- Hello world!
*/
@SpringBootApplication
public class App
{
public static void main( String[] args )
{
System.out.println( “Hello World!” );
SpringApplication.run(App.class, args);
}
}
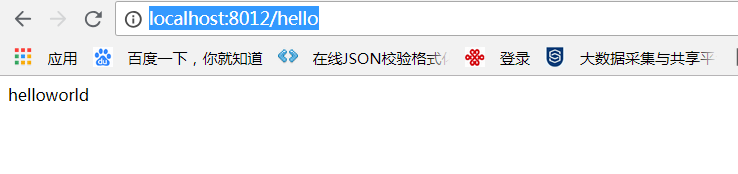
启动访问http://localhost:8012/hello即可:
参考链接:
1、https://www.cnblogs.com/mh-study/p/9537970.html
2、https://blog.csdn.net/tiantangdizhibuxiang/article/details/80556064


 3915
3915


 被折叠的 条评论
为什么被折叠?
被折叠的 条评论
为什么被折叠?
 到【灌水乐园】发言


