


Nexus 下载:Nexus Repository OSS - Software Component Management | Sonatype
运行环境(需要 Java 8):https://help.sonatype.com/repomanager3/installation/java-runtime-environment
CentOS 1905 配置 Nexus 3.17.0-01(Yum 私库)
- 查看 CentOS Java 运行环境:
自定义 Java 运行环境请修改 nexus-3.17.0-01/bin/nexus 中的 INSTALL4J_JAVA_HOME_OVERRIDE 指向您的 JDK/JRE。[root@localhost ~]# java -version openjdk version "1.8.0_222-ea" OpenJDK Runtime Environment (build 1.8.0_222-ea-b03) OpenJDK 64-Bit Server VM (build 25.222-b03, mixed mode) [root@localhost ~]#
- 解压 Nexus:
[root@192 ~]# cd /nexus/ [root@192 nexus]# ls nexus-3.17.0-01-unix.tar.gz [root@192 nexus]# tar -zxvf nexus-3.17.0-01-unix.tar.gz - 进入 bin 文件夹:
[root@192 nexus]# ls nexus-3.17.0-01 nexus-3.17.0-01-unix.tar.gz sonatype-work [root@192 nexus]# cd nexus-3.17.0-01/ [root@192 nexus-3.17.0-01]# ls bin deploy etc lib NOTICE.txt OSS-LICENSE.txt PRO-LICENSE.txt public system [root@192 nexus-3.17.0-01]# cd bin/ [root@192 bin]# ls contrib nexus nexus.rc nexus.vmoptions [root@192 bin]# - 查看 Nexus 相关命令:
警告:检测到以“root”用户身份执行。这是不推荐的![root@192 bin]# ./nexus WARNING: ************************************************************ WARNING: Detected execution as "root" user. This is NOT recommended! WARNING: ************************************************************ Usage: ./nexus {start|stop|run|run-redirect|status|restart|force-reload} [root@192 bin]#
- 启动 Nexus:
可将 Nexus 设置为 CentOS 服务:[root@192 bin]# ./nexus start WARNING: ************************************************************ WARNING: Detected execution as "root" user. This is NOT recommended! WARNING: ************************************************************ Starting nexus [root@192 bin]#
查看相关命令:ln -s /nexus/nexus-3.17.0-01/bin/nexus /etc/init.d/nexus
设置开机自启:[root@192 bin]# service nexus WARNING: ************************************************************ WARNING: Detected execution as "root" user. This is NOT recommended! WARNING: ************************************************************ Usage: /etc/init.d/nexus {start|stop|run|run-redirect|status|restart|force-reload} [root@192 bin]#
查看开机自启:/sbin/chkconfig nexus on
显示:/sbin/chkconfig --list[root@192 ~]# /sbin/chkconfig --list Note: This output shows SysV services only and does not include native systemd services. SysV configuration data might be overridden by native systemd configuration. If you want to list systemd services use 'systemctl list-unit-files'. To see services enabled on particular target use 'systemctl list-dependencies [target]'. netconsole 0:off 1:off 2:off 3:off 4:off 5:off 6:off network 0:off 1:off 2:on 3:on 4:on 5:on 6:off nexus 0:off 1:off 2:on 3:on 4:on 5:on 6:off [root@192 ~]# - 查看 Nexus 状态:
[root@192 bin]# ./nexus status WARNING: ************************************************************ WARNING: Detected execution as "root" user. This is NOT recommended! WARNING: ************************************************************ nexus is running. [root@192 bin]# - 查看 Nexus 默认端口:
[root@192 bin]# cd .. [root@192 nexus-3.17.0-01]# cd etc/ [root@192 etc]# ls fabric jetty karaf logback nexus-default.properties ssl [root@192 etc]# cat nexus-default.properties ## DO NOT EDIT - CUSTOMIZATIONS BELONG IN $data-dir/etc/nexus.properties ## # Jetty section application-port=8081 application-host=0.0.0.0 nexus-args=${jetty.etc}/jetty.xml,${jetty.etc}/jetty-http.xml,${jetty.etc}/jetty-requestlog.xml nexus-context-path=/ # Nexus section nexus-edition=nexus-pro-edition nexus-features=\ nexus-pro-feature nexus.hazelcast.discovery.isEnabled=true [root@192 etc]# - 访问 Nexus:
需要开通8081端口:firewall-cmd --zone=public --add-port=8081/tcp --permanent firewall-cmd --reload firewall-cmd --list-all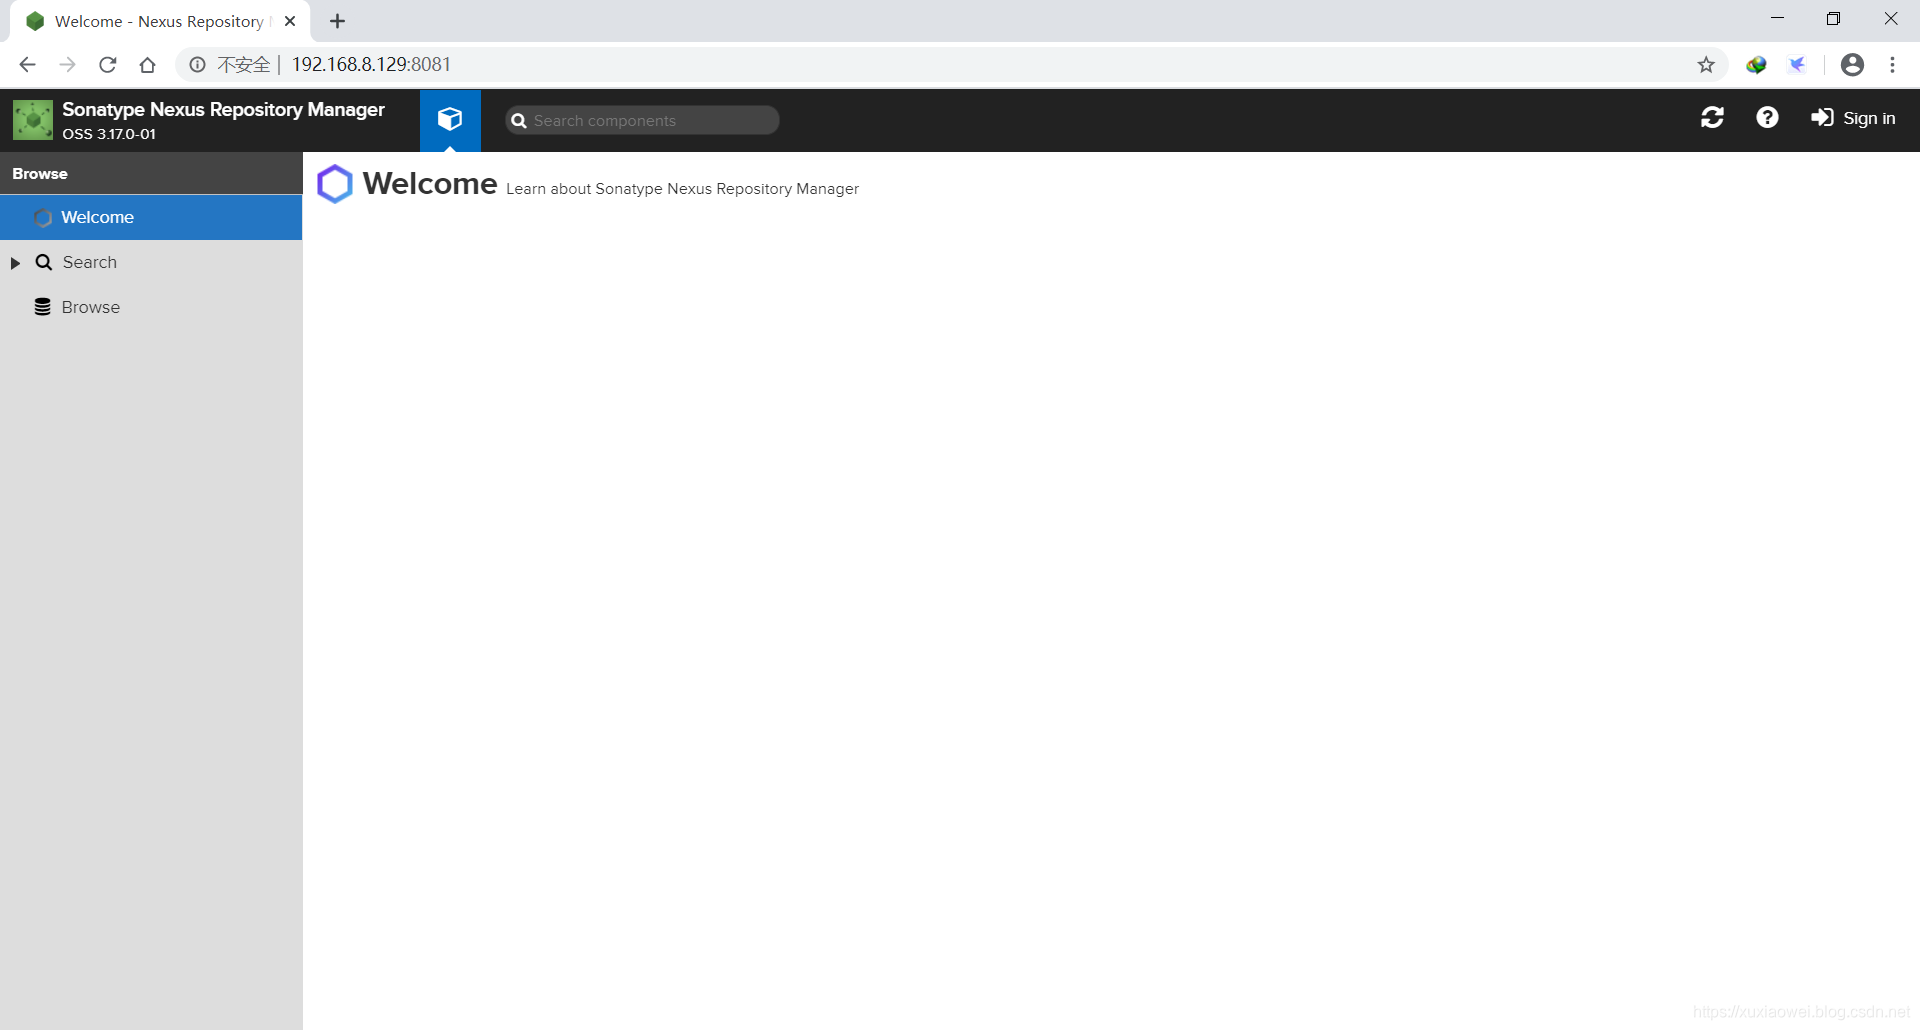
- 登录:
默认管理员账户:admin
默认所在文件如图所示:
- 查看默认密码:
[root@192 etc]# cd .. [root@192 nexus-3.17.0-01]# cd .. [root@192 nexus]# ls nexus-3.17.0-01 nexus-3.17.0-01-unix.tar.gz sonatype-work [root@192 nexus]# cd sonatype-work/ [root@192 sonatype-work]# ls nexus3 [root@192 sonatype-work]# cd nexus3/ [root@192 nexus3]# ls admin.password blobs cache db elasticsearch etc generated-bundles instances kar keystores lock log orient port restore-from-backup tmp [root@192 nexus3]# cat admin.password b78060ee-1edd-46ba-82de-e3c7371ff525 [root@192 nexus3]# - 此向导将帮助您完成所需的安装任务。
点 Next:
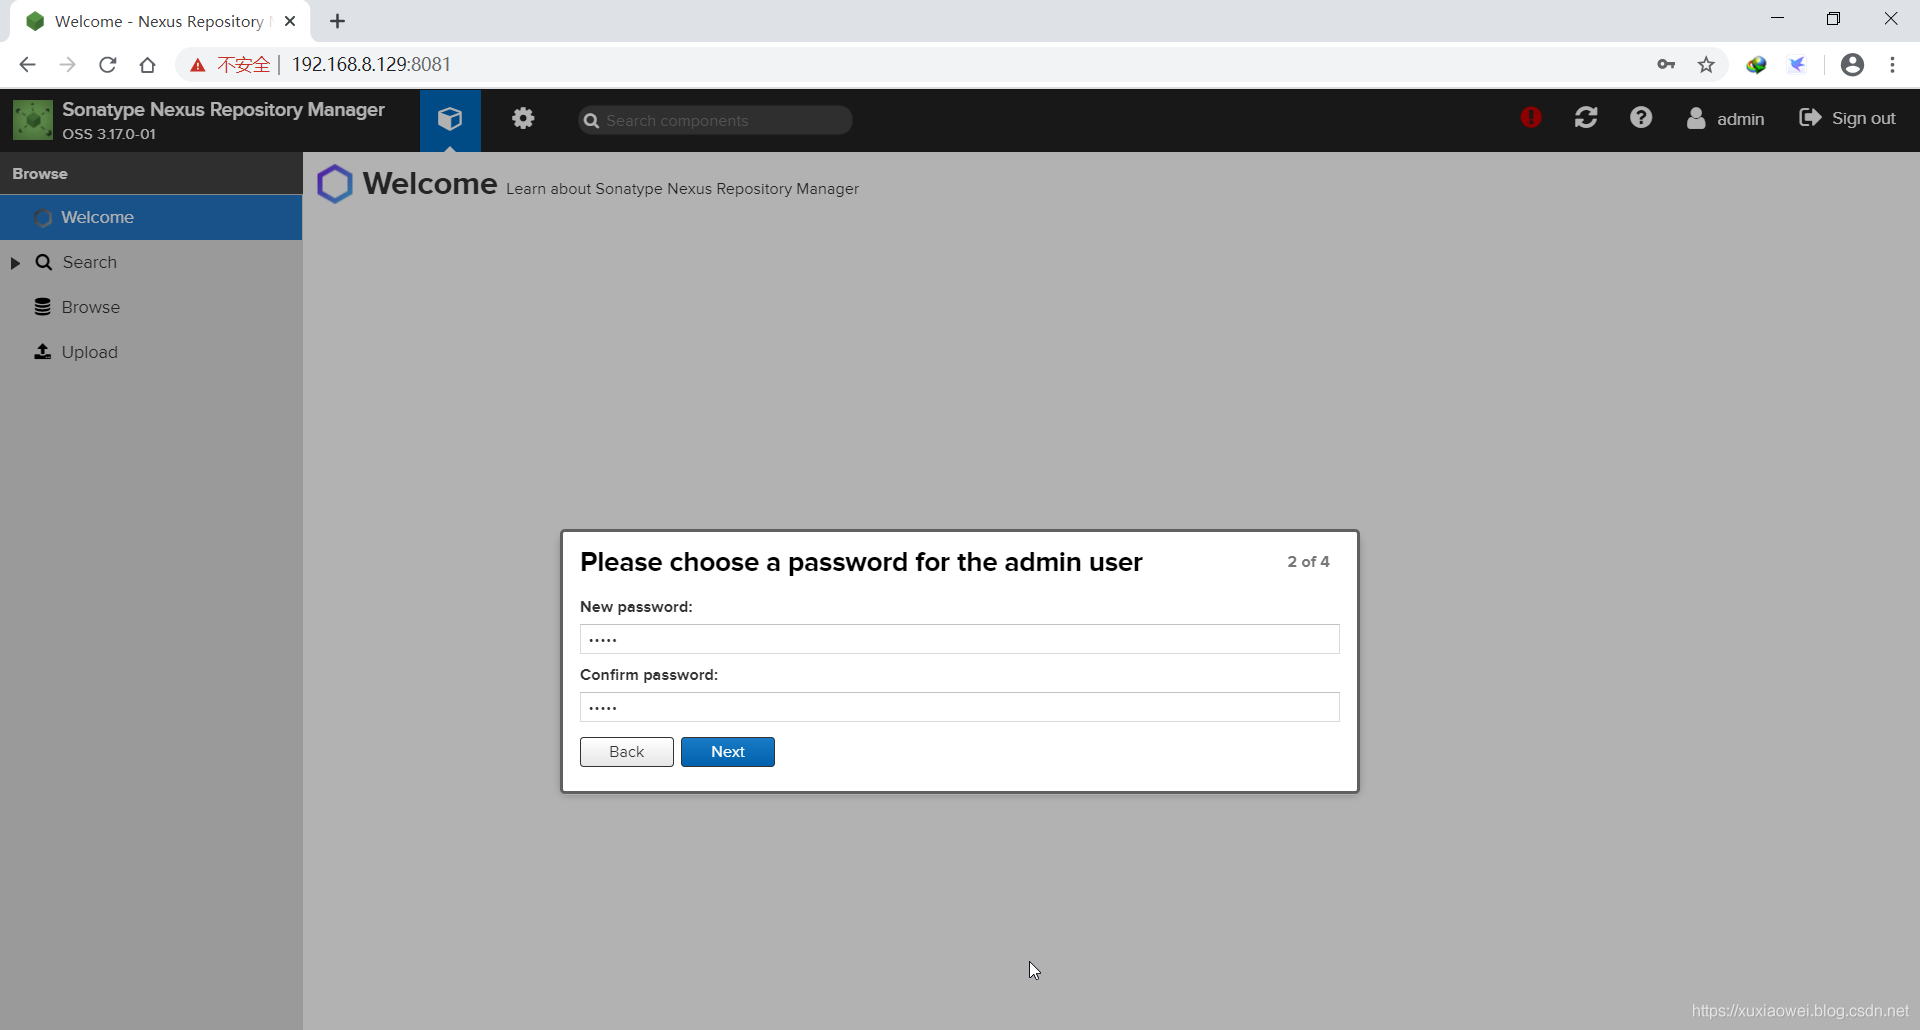
- 修改密码:
- 配置匿名访问:
默认情况下,启用匿名访问将允许未经身份验证的下载、浏览和搜索存储库内容。可以通过编辑分配给匿名用户的角色来更改未经身份验证用户的权限。
直接点击 Next,不开启匿名访问: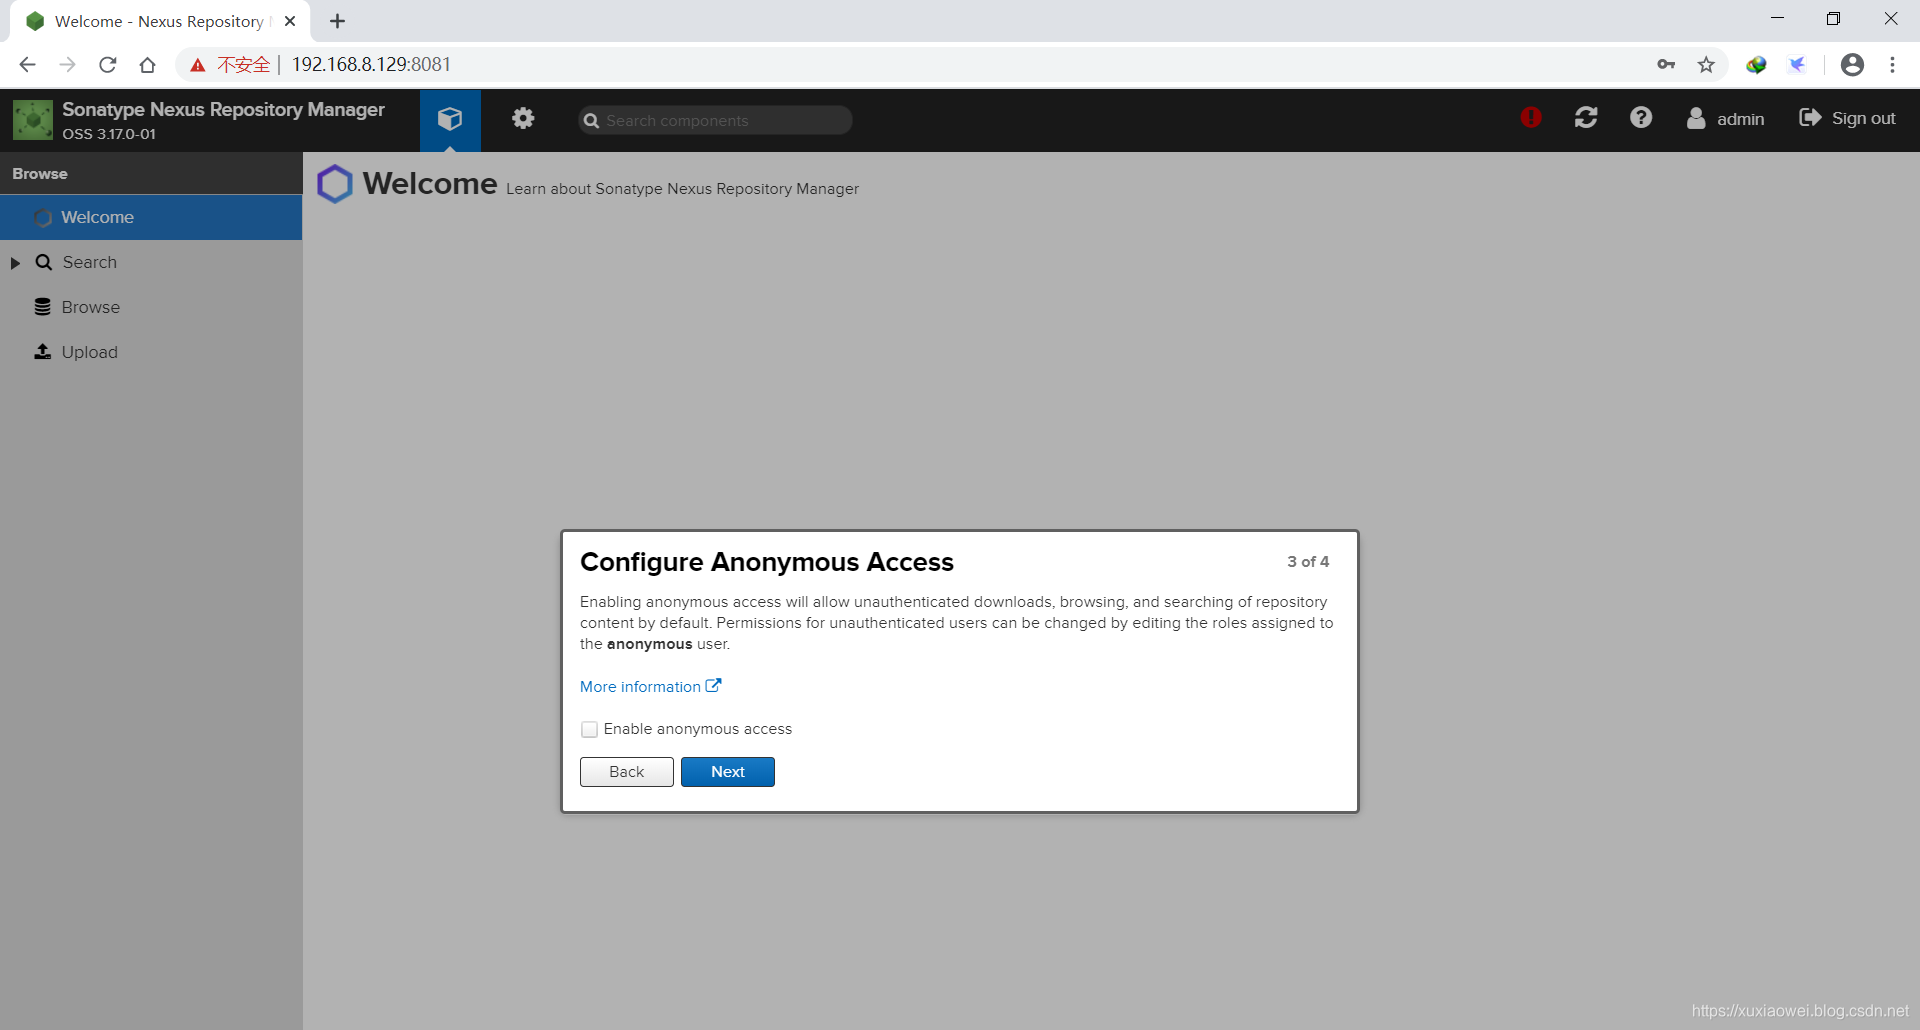
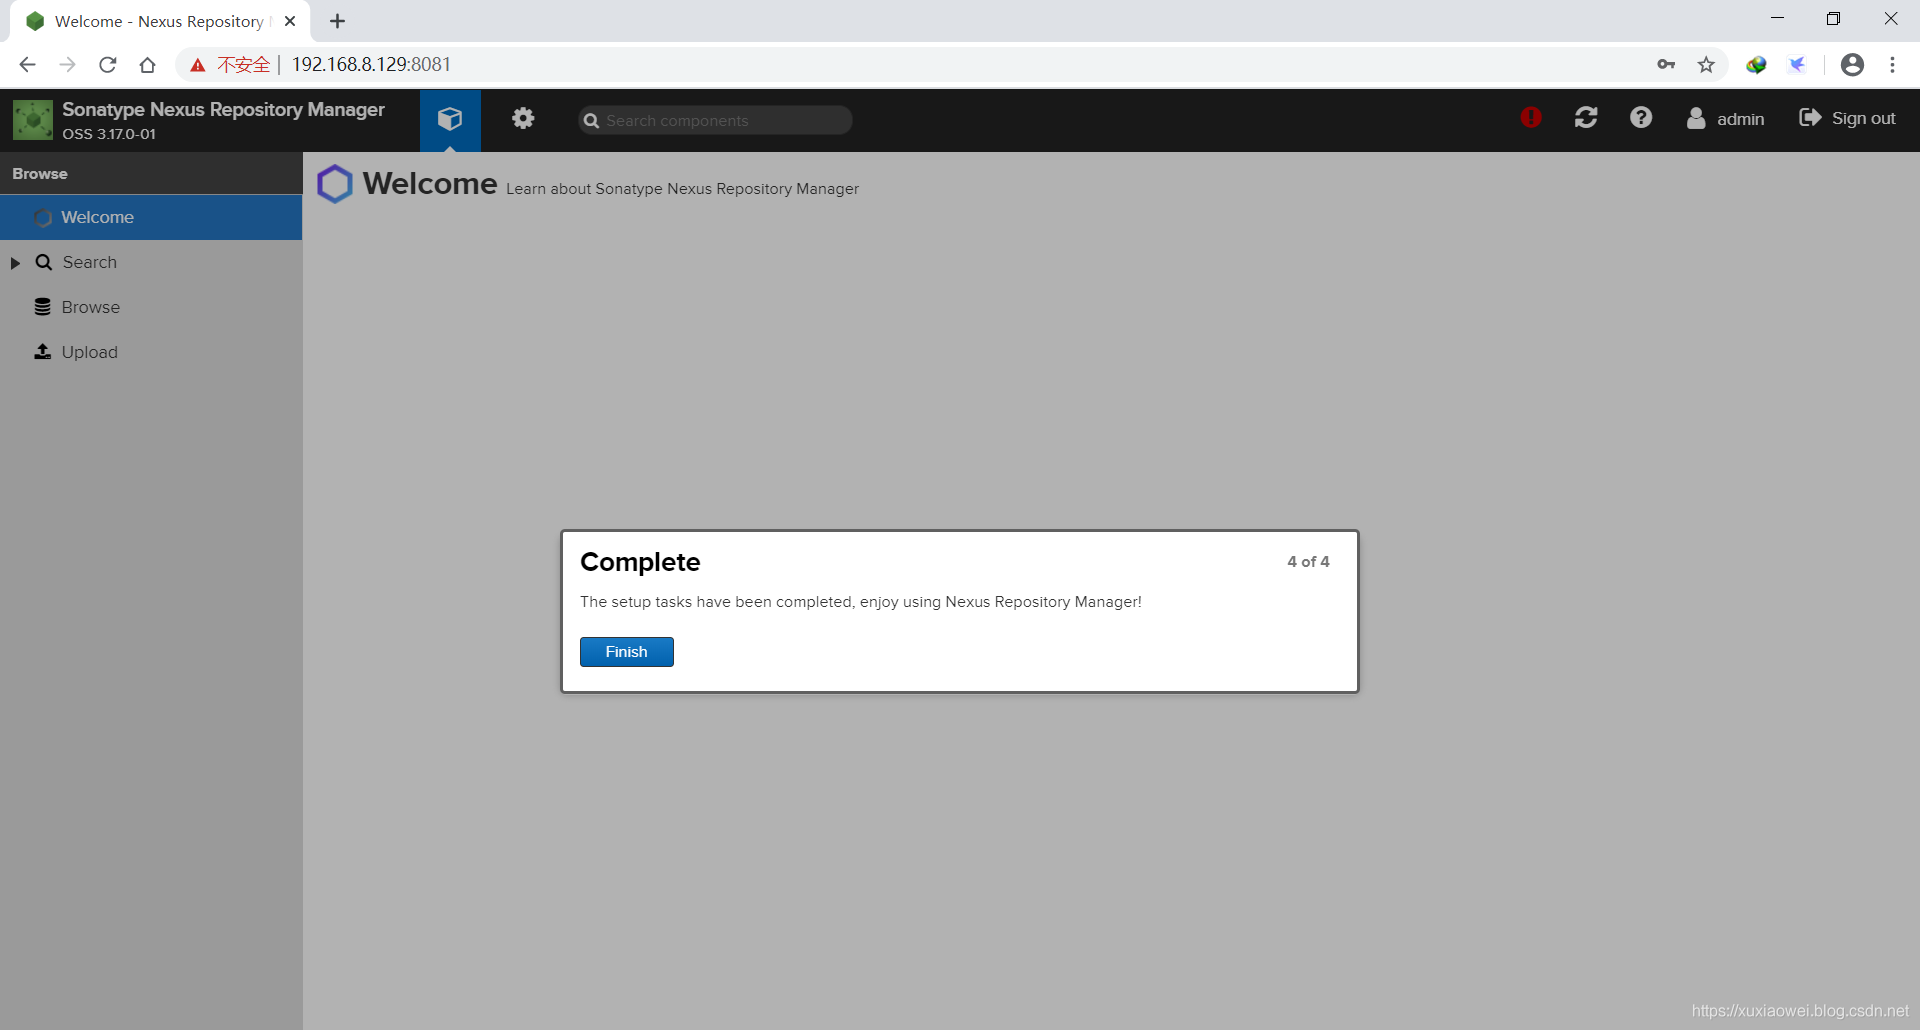
- 点击 Finish:
- 创建代理仓库:
由于中央仓库网速较慢,使用 阿里云 Maven 作为首选代理仓库:
按照如图所示点击: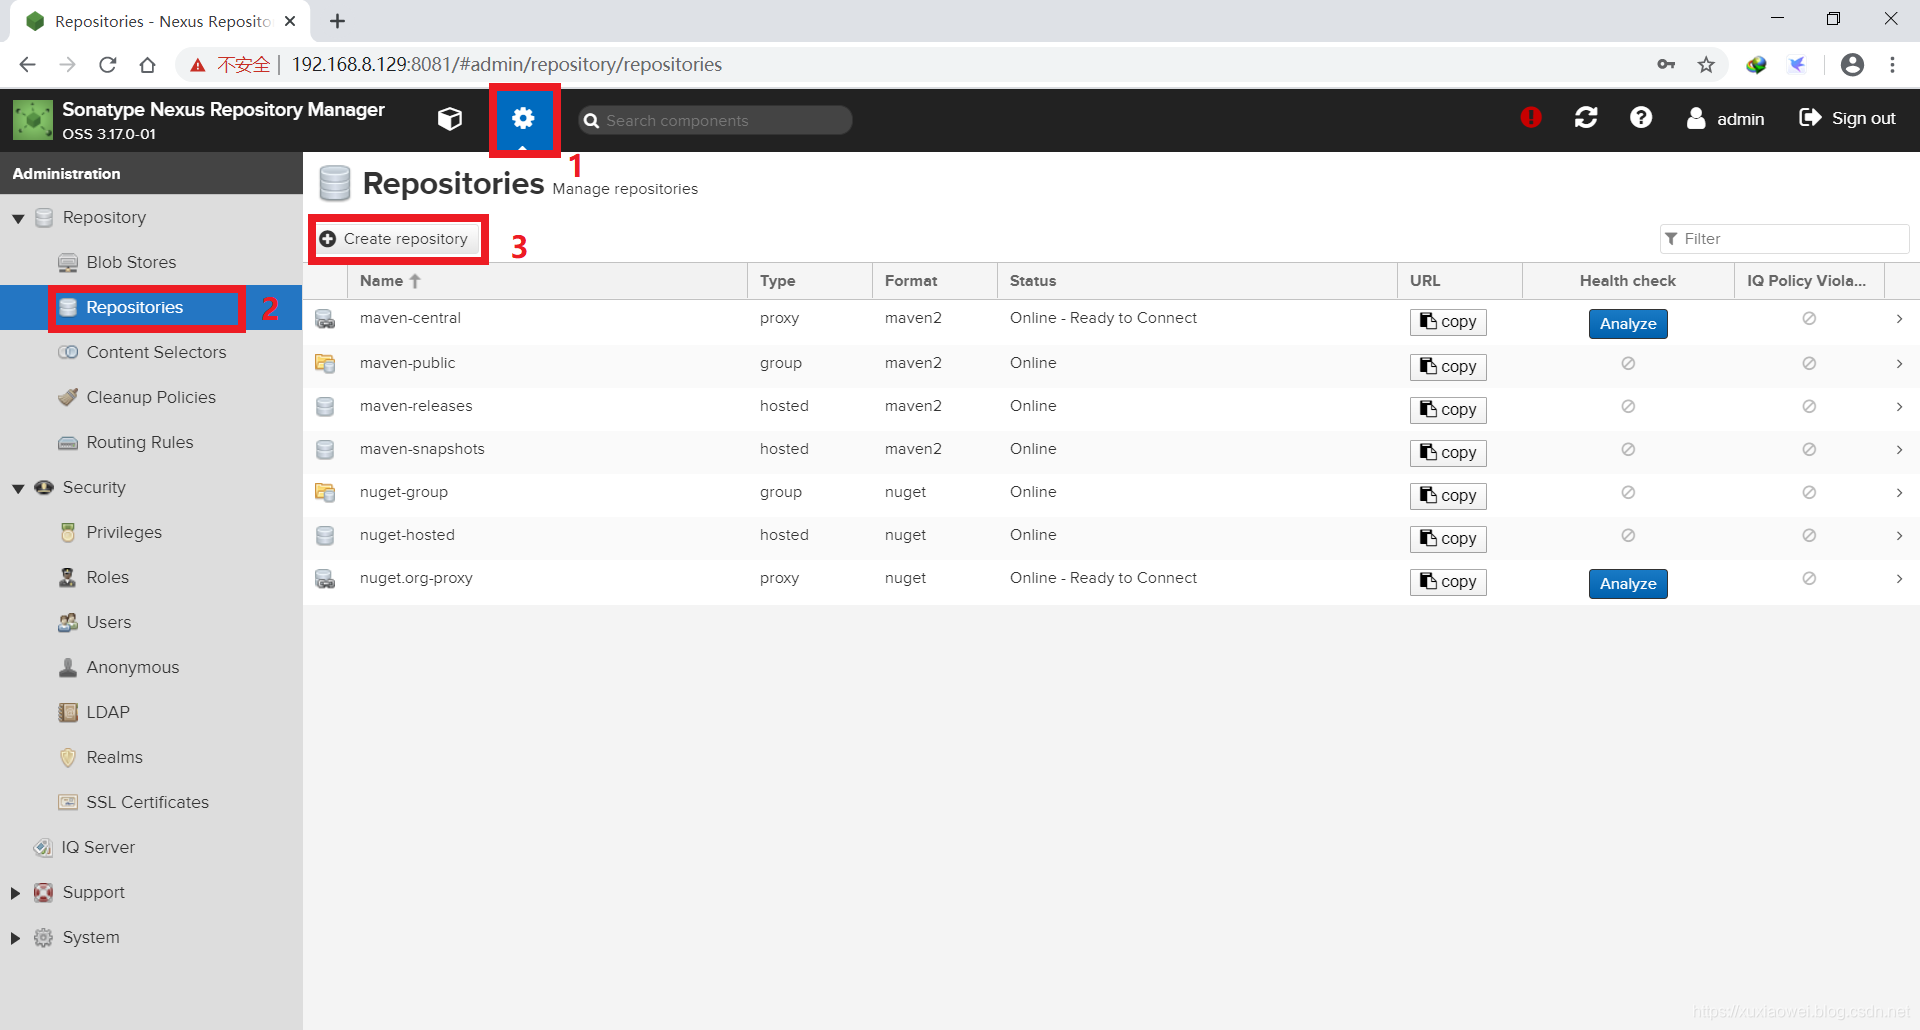
- 选择 maven2 (proxy):

- 填写仓库唯一标识符与远程代理存储的位置,其他默认即可:
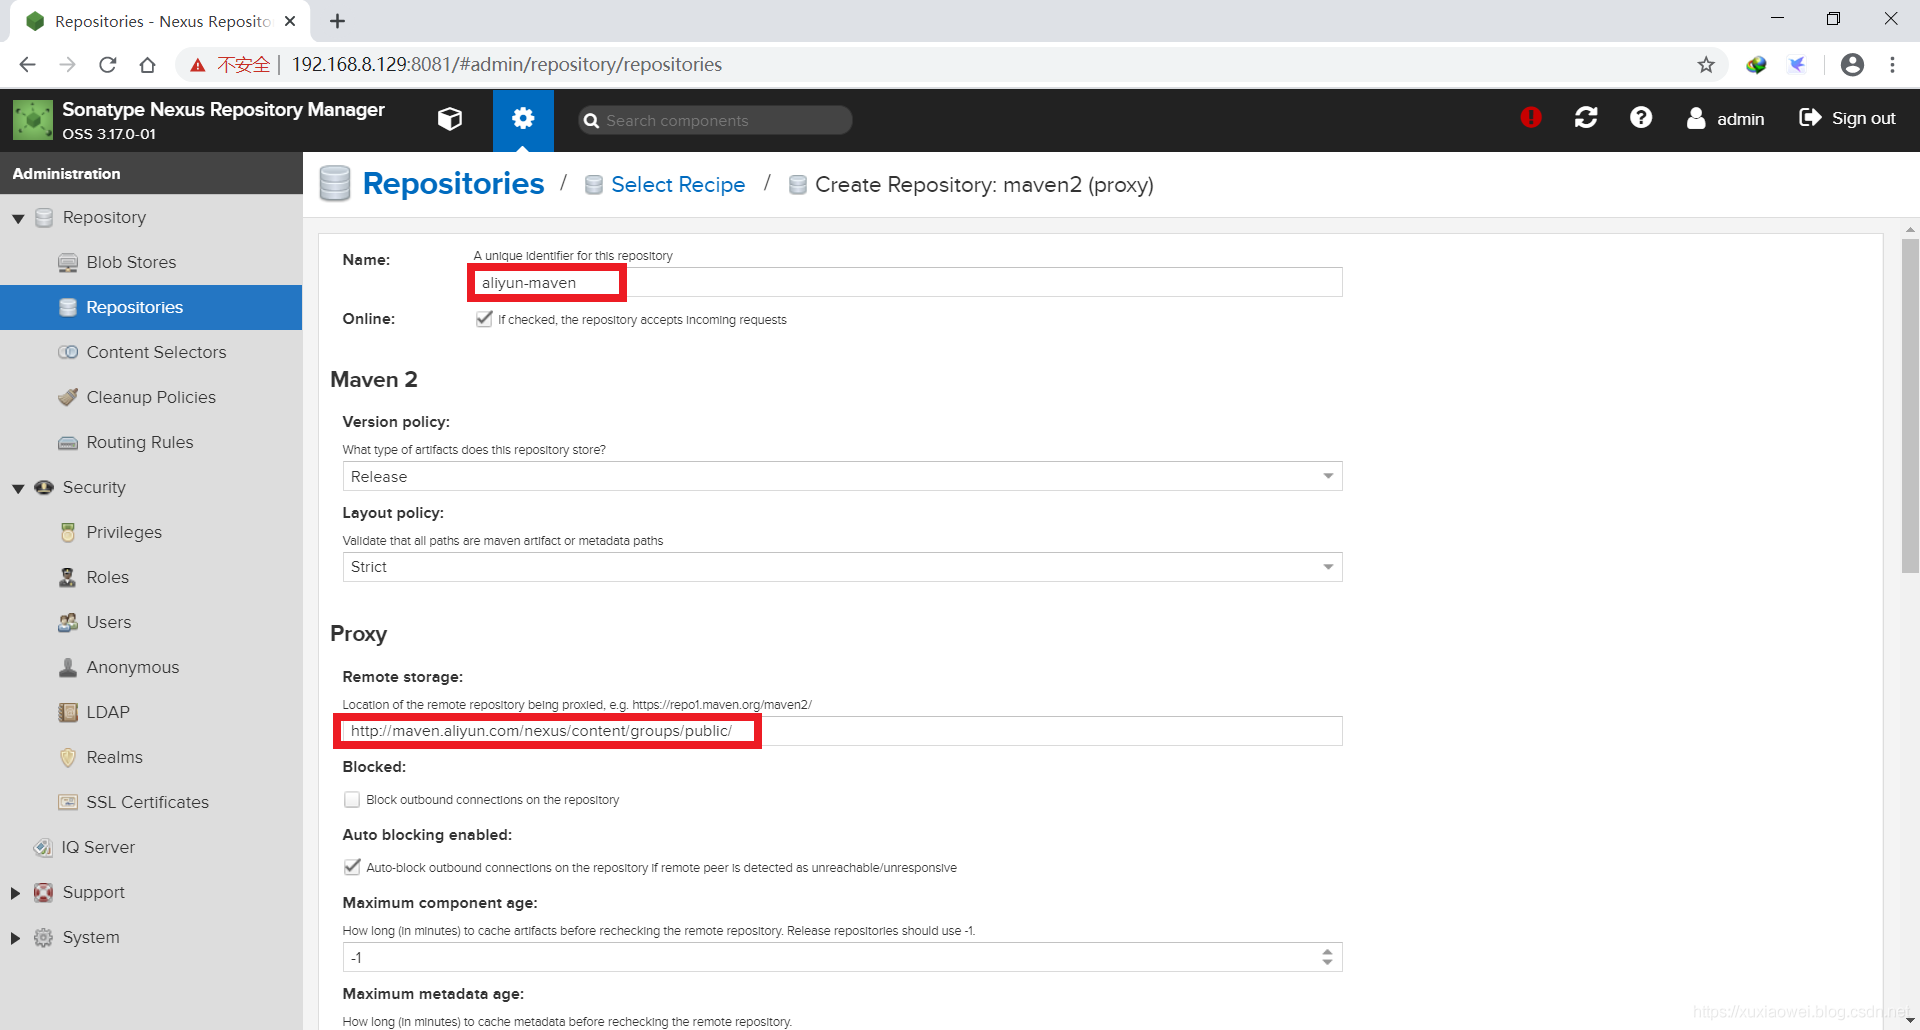
点 Create repository 创建仓库: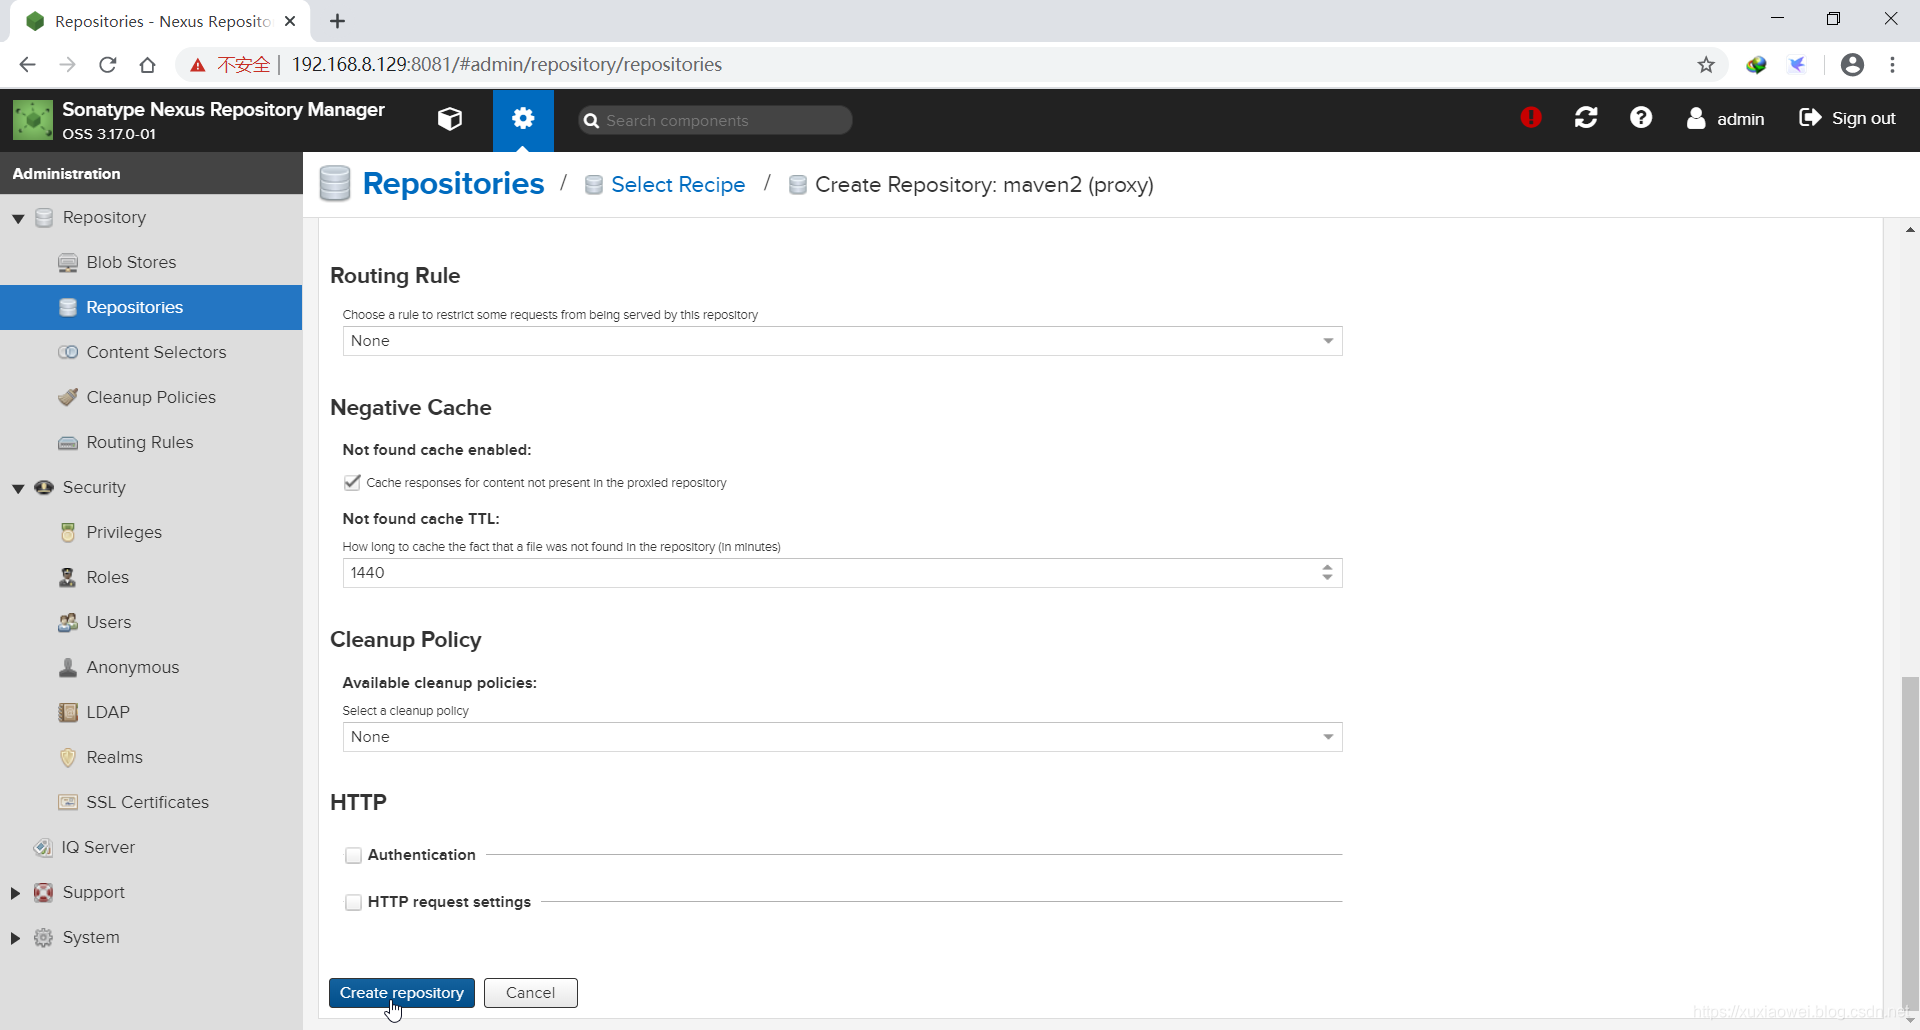
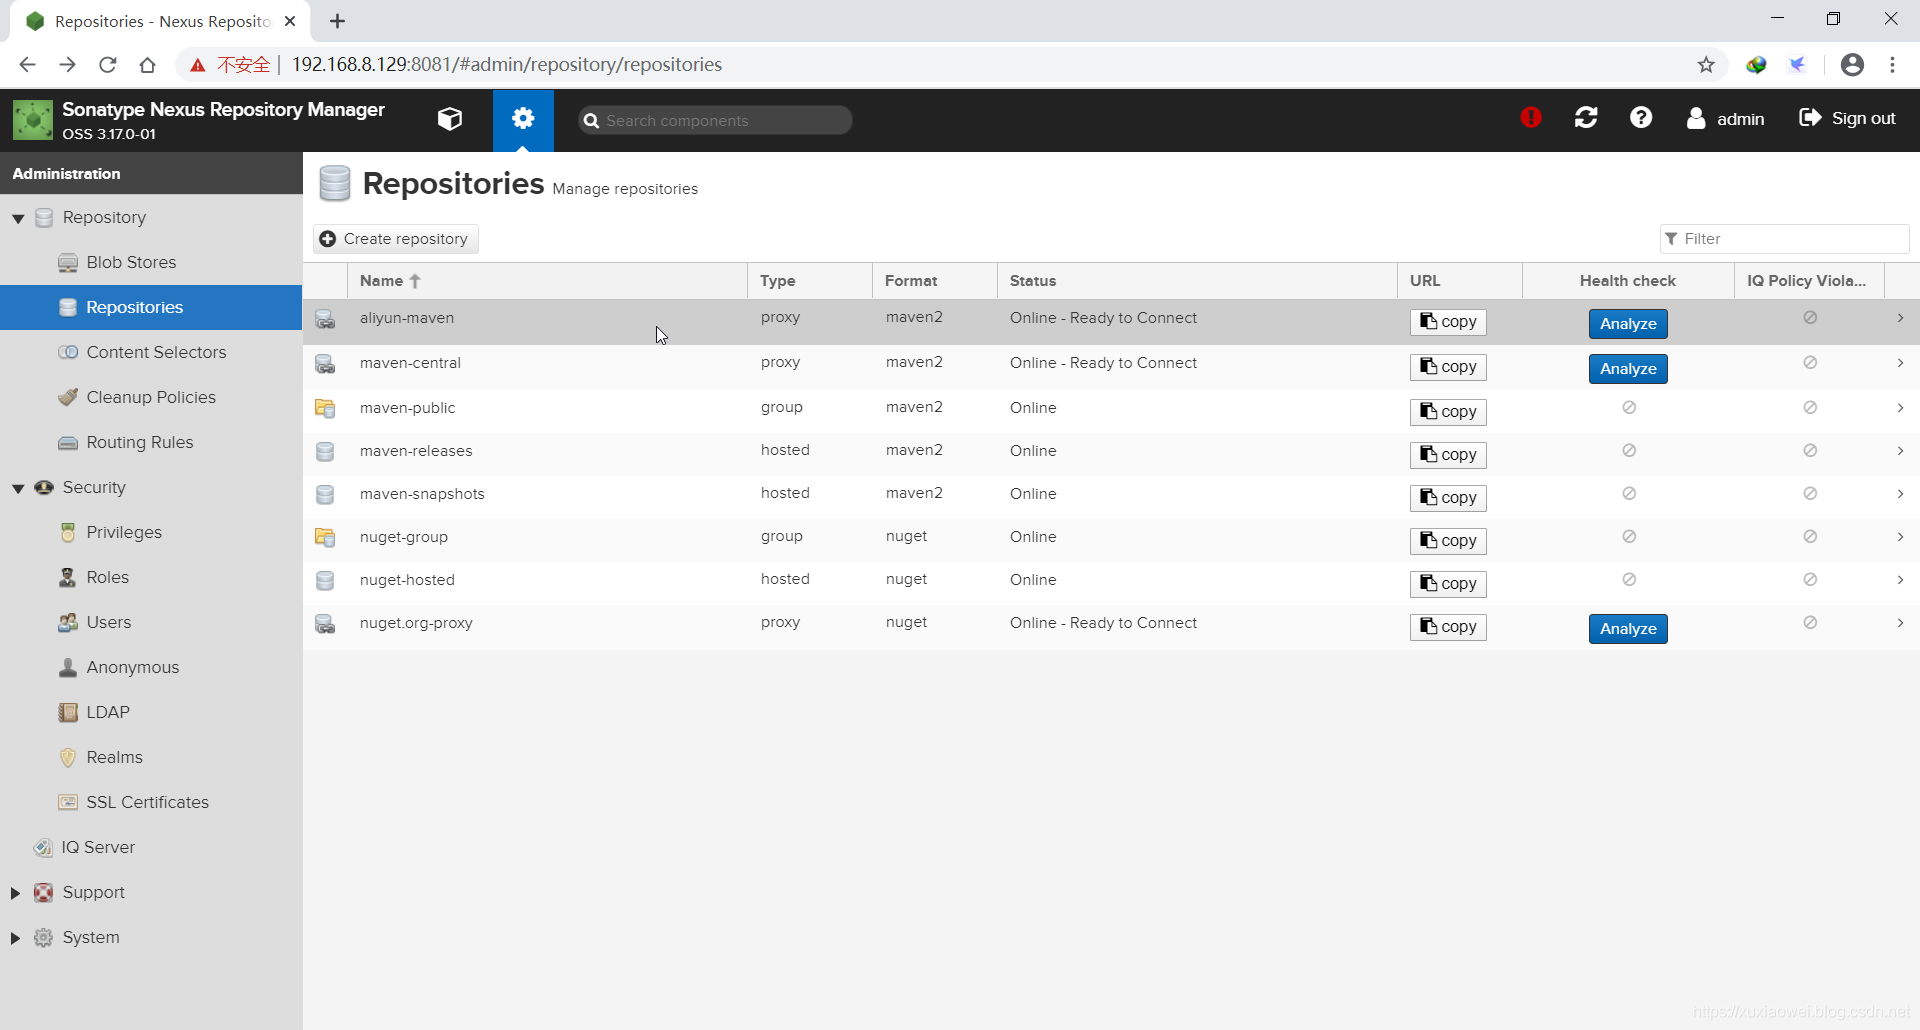
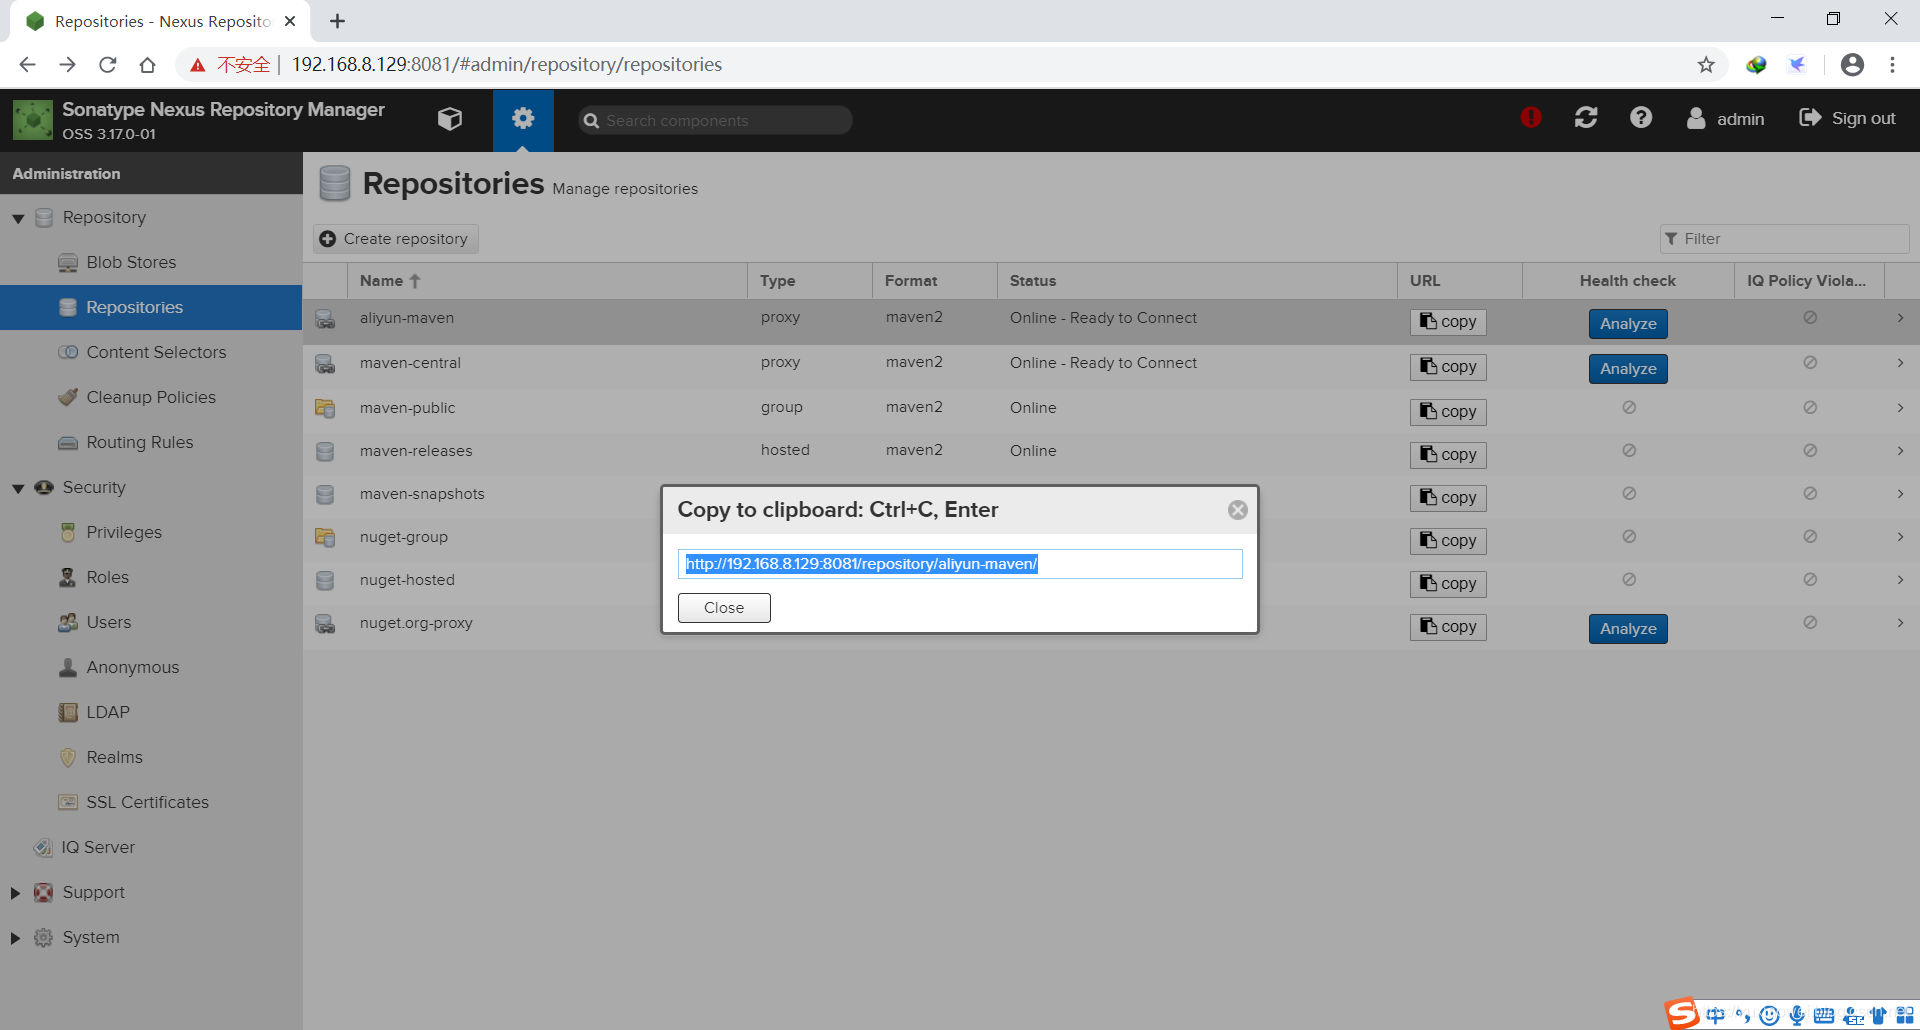
- 创建完成如图所示:
- 点击 aliyun-maven 的 Copy,即可复制其仓库地址:
- 按照如图所示点击:
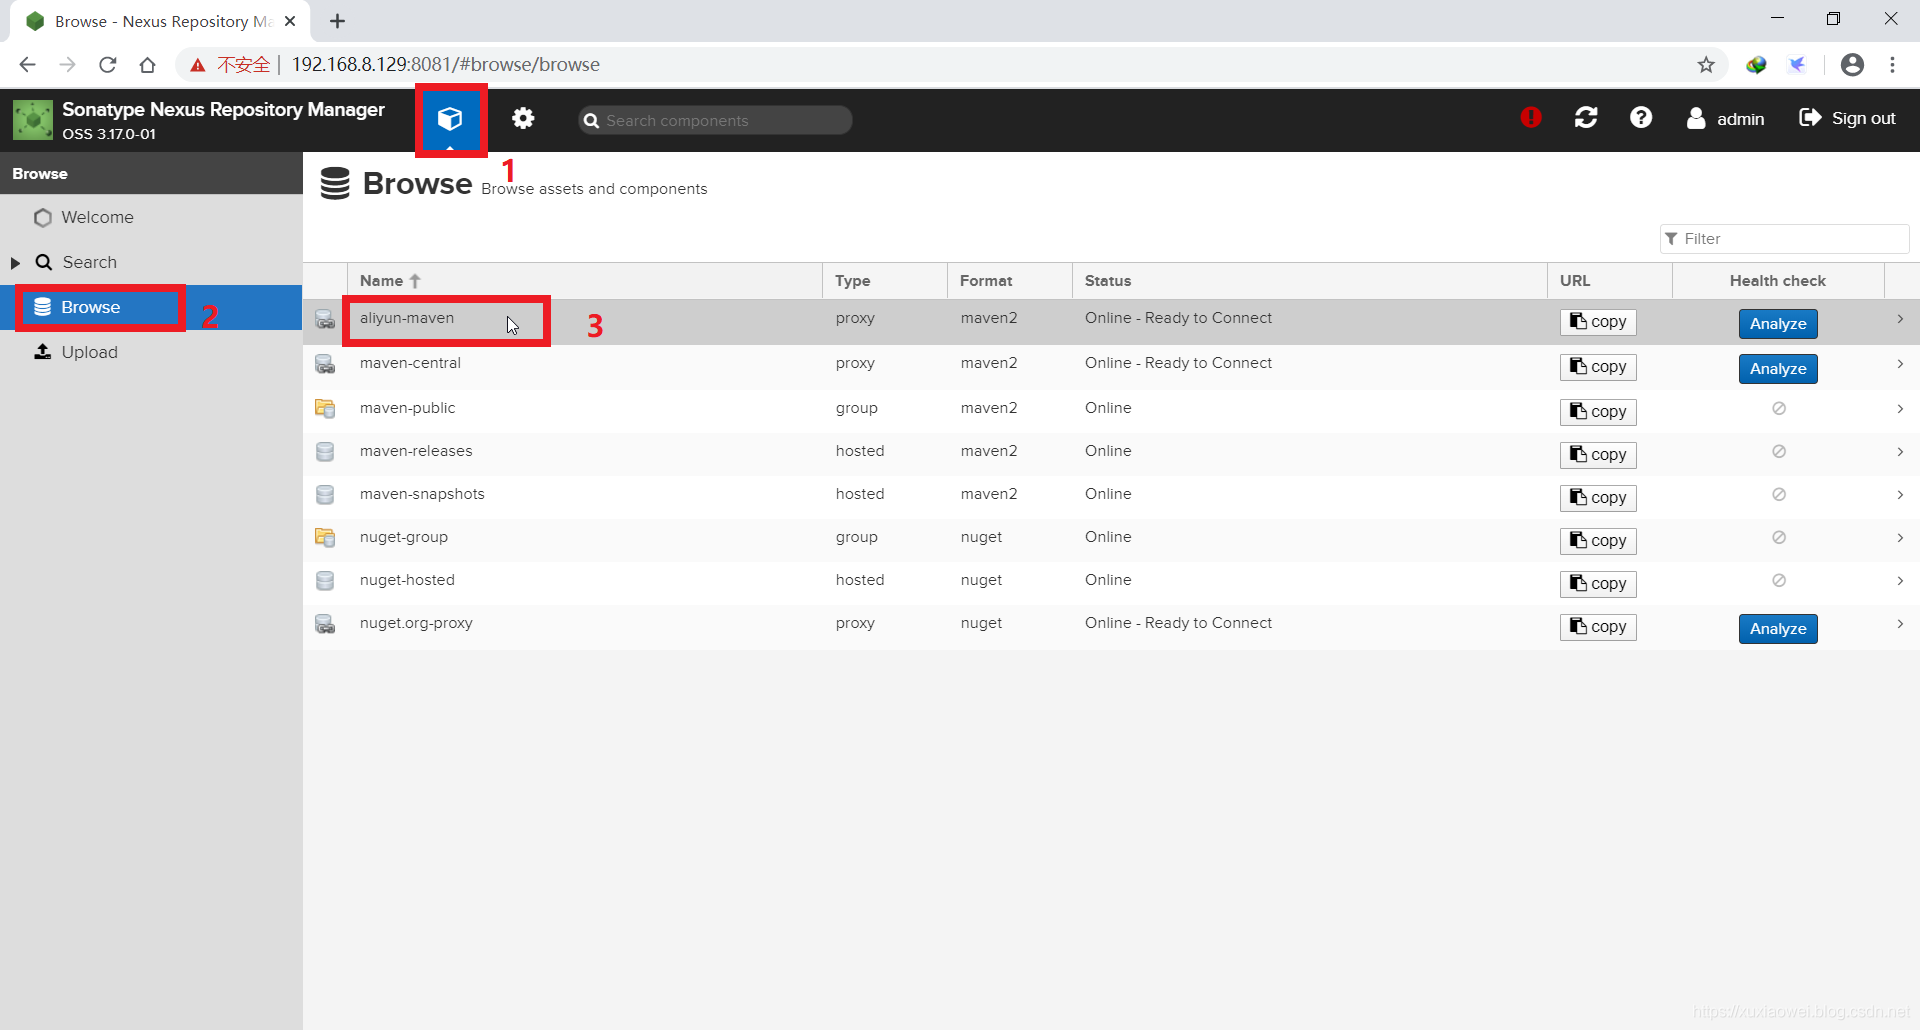
- 查看 aliyun-maven 中的依赖:
显示为空: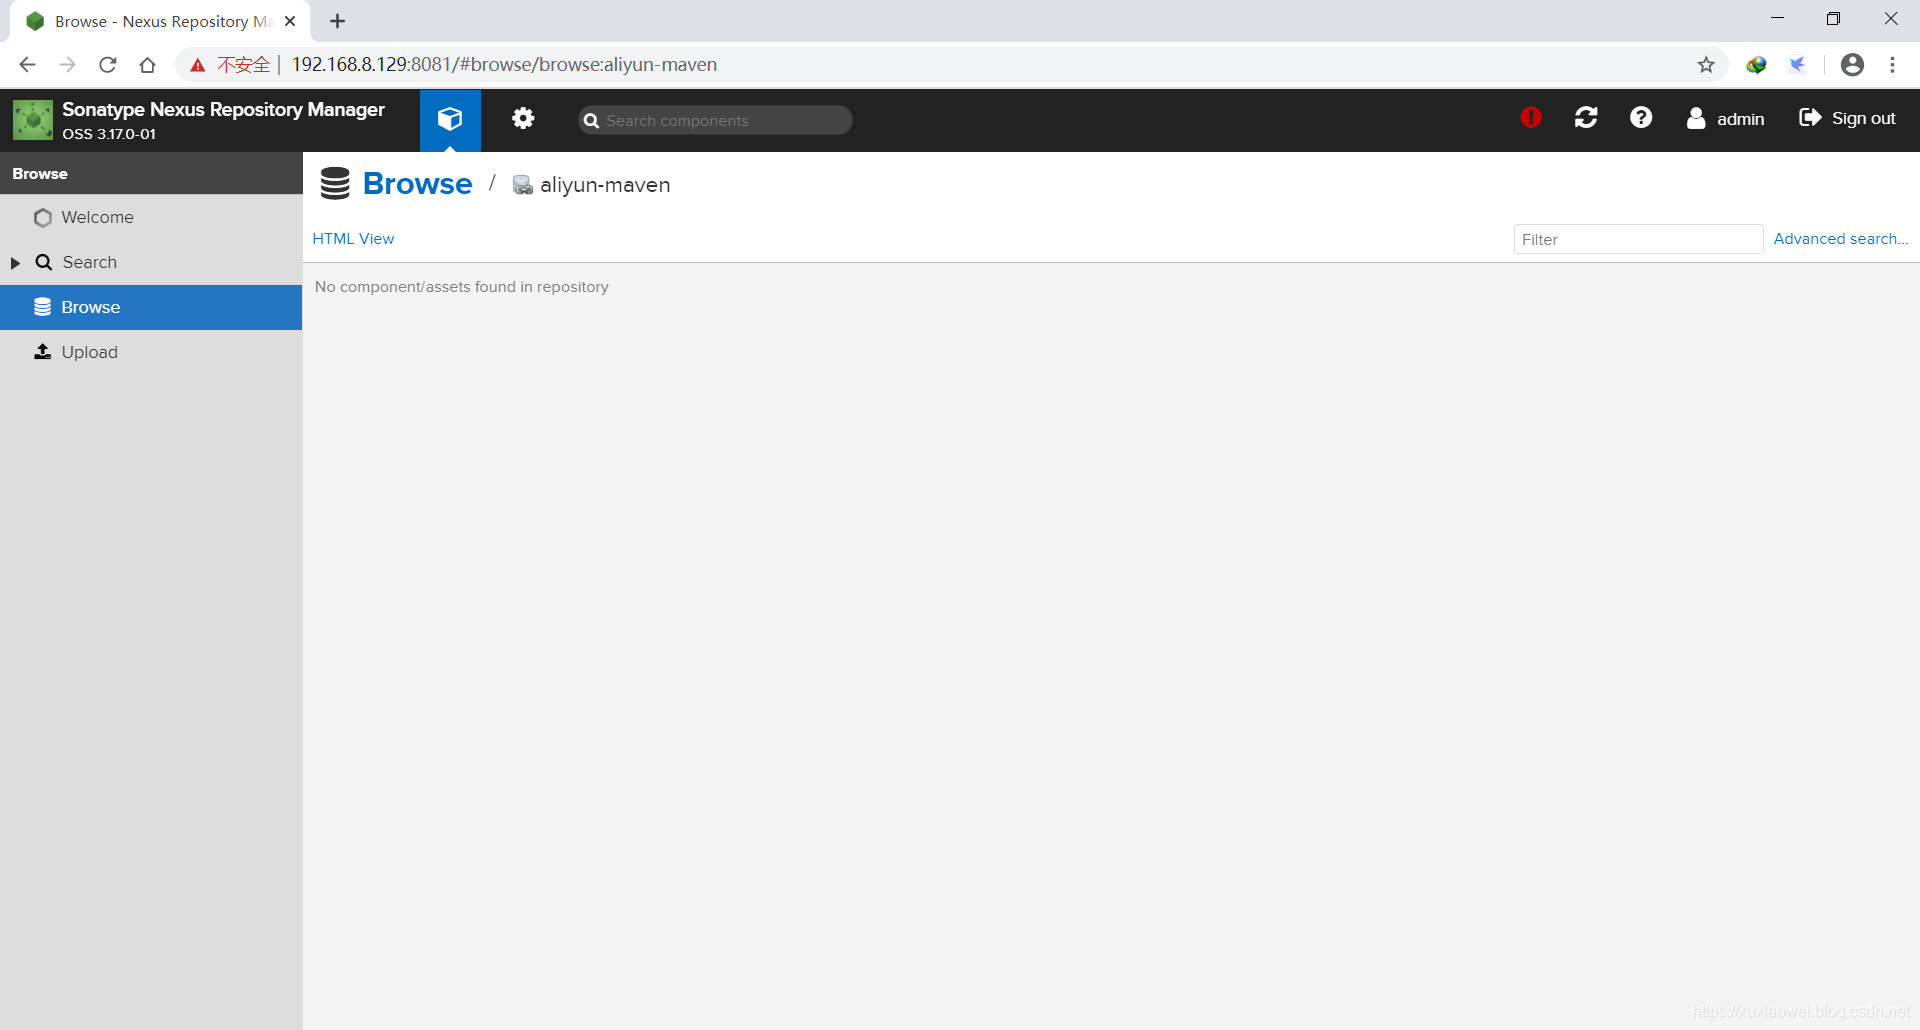
- 新建一个角色:
如图所示进行点击: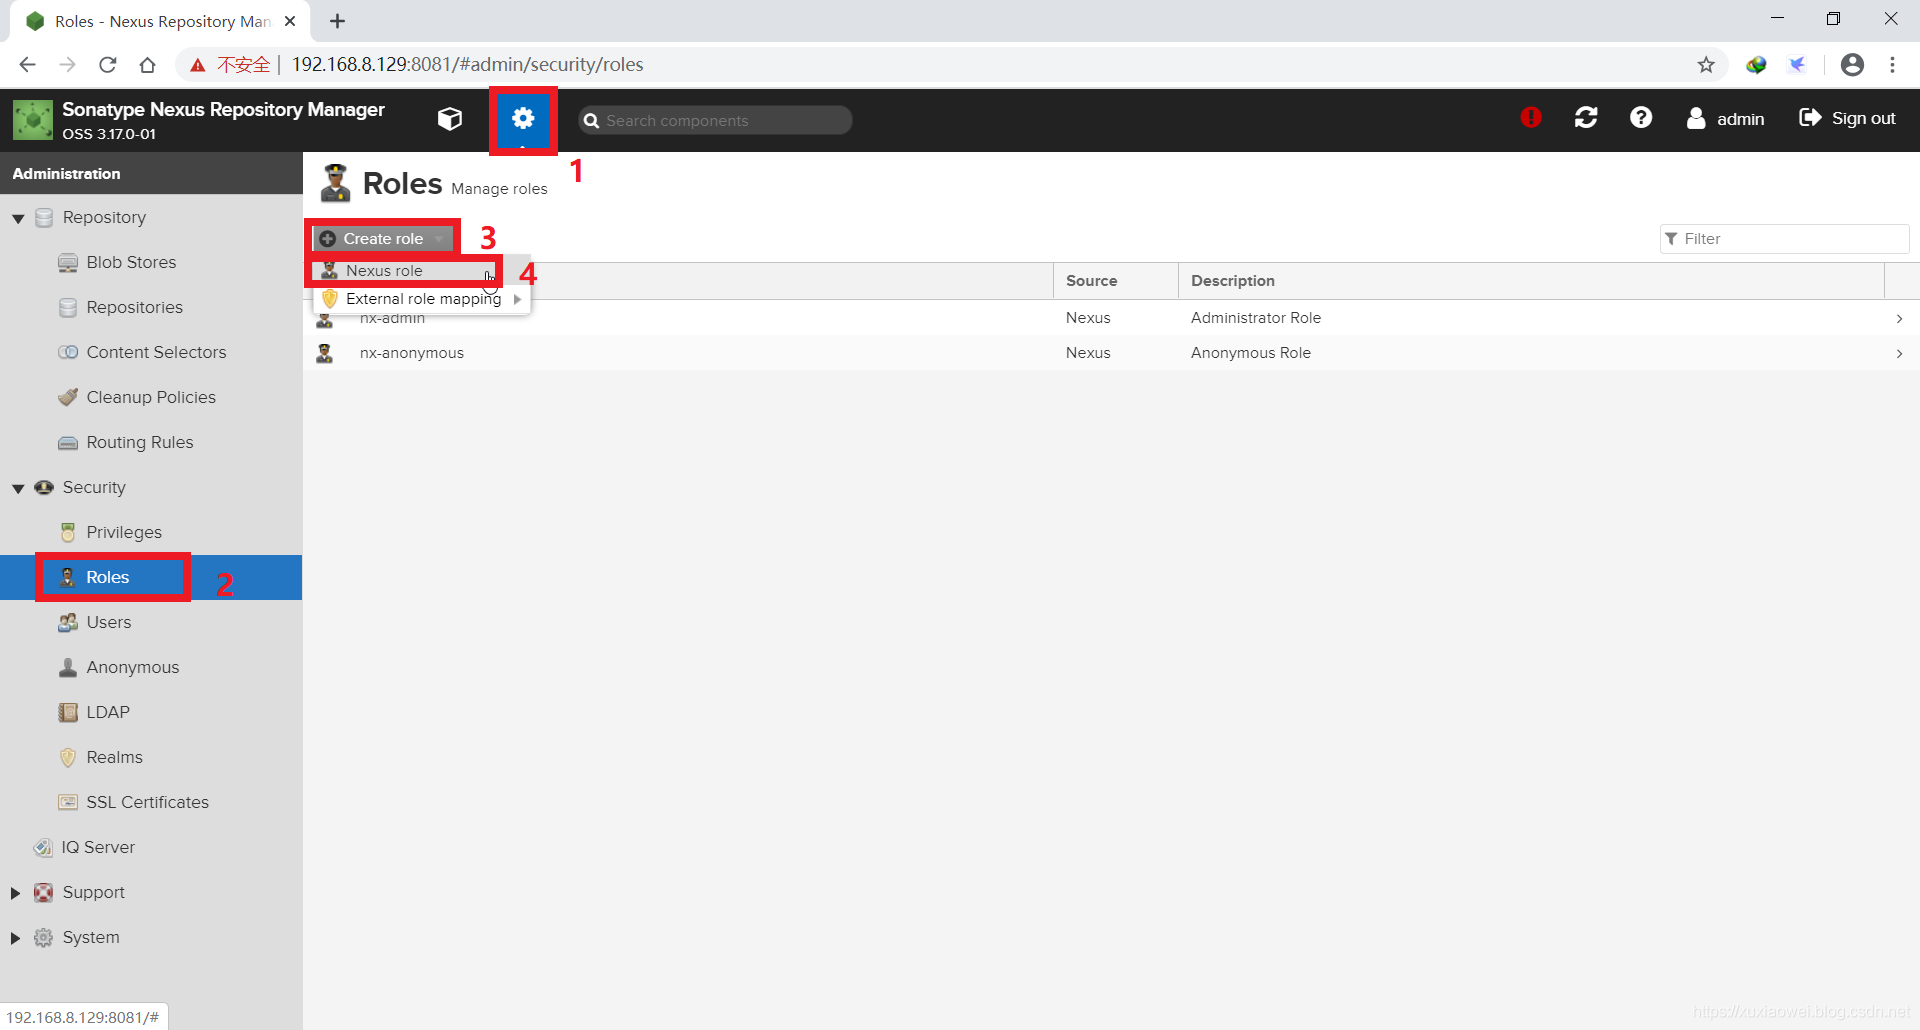
- 新建角色如图所示:
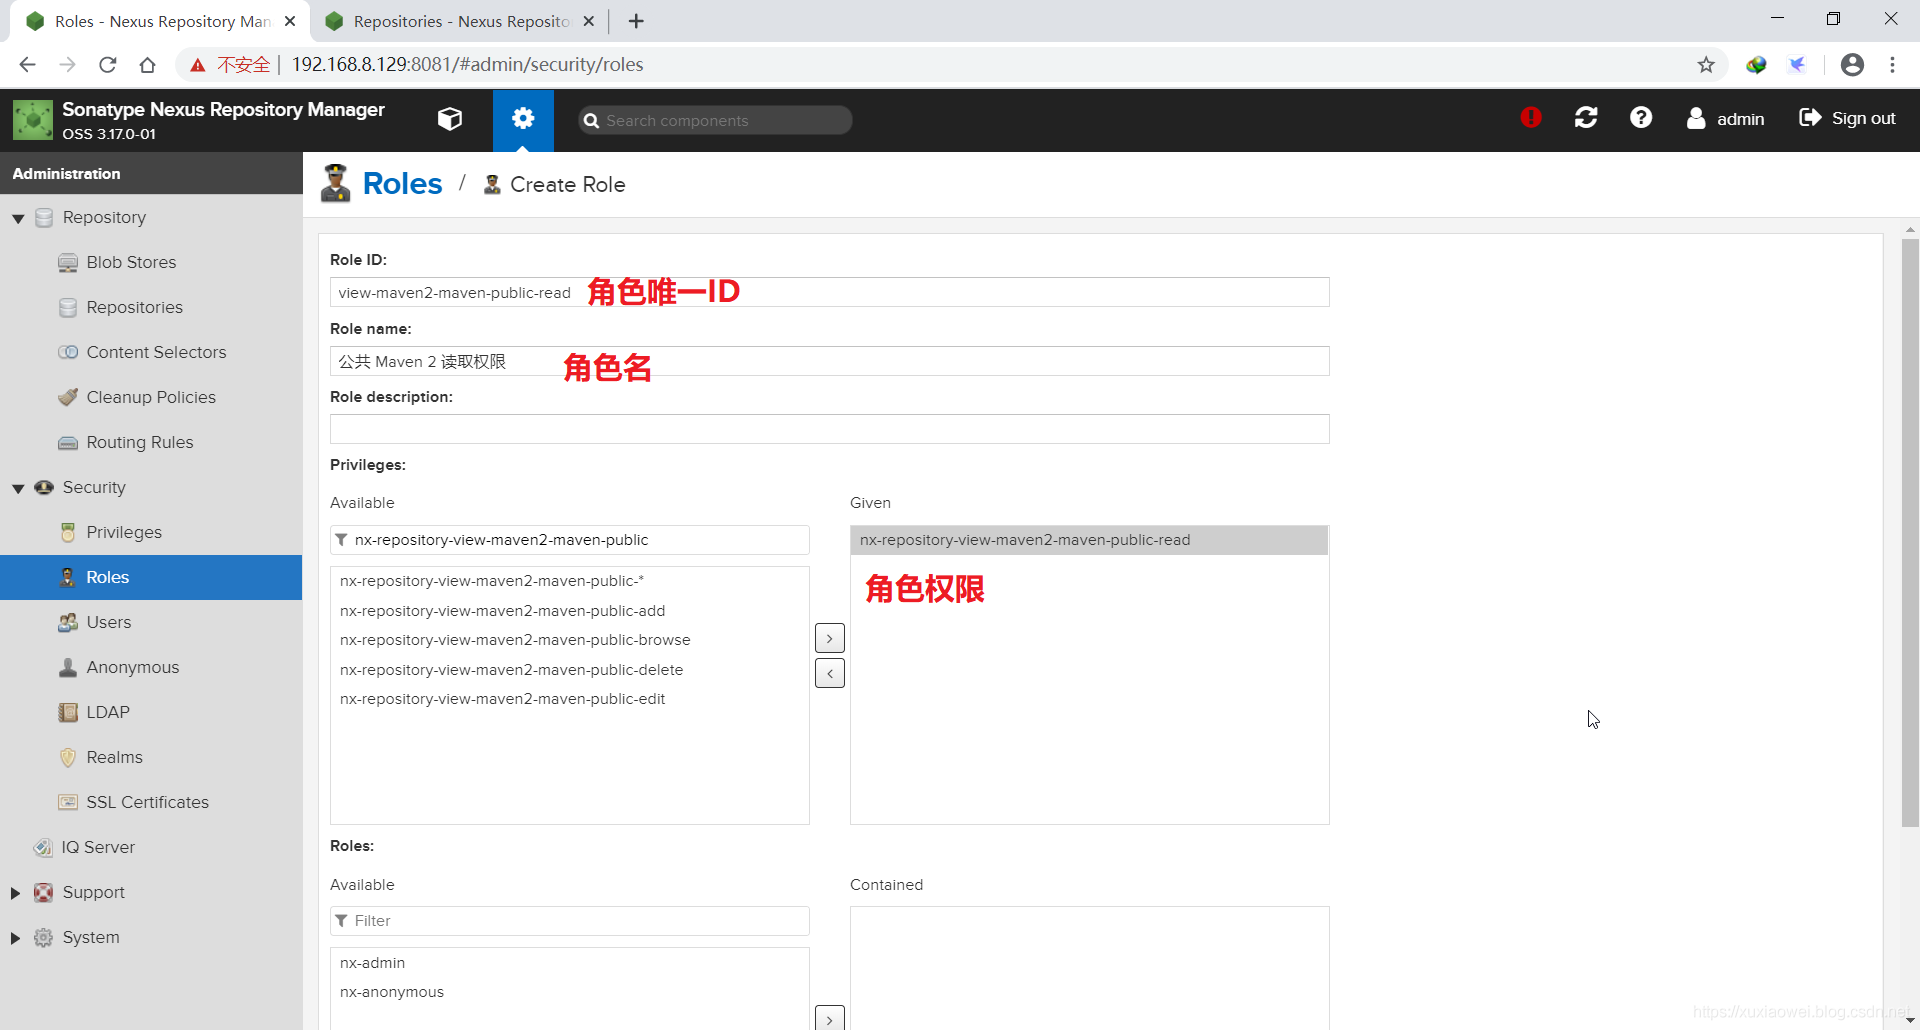
- 有关角色的权限请查看:

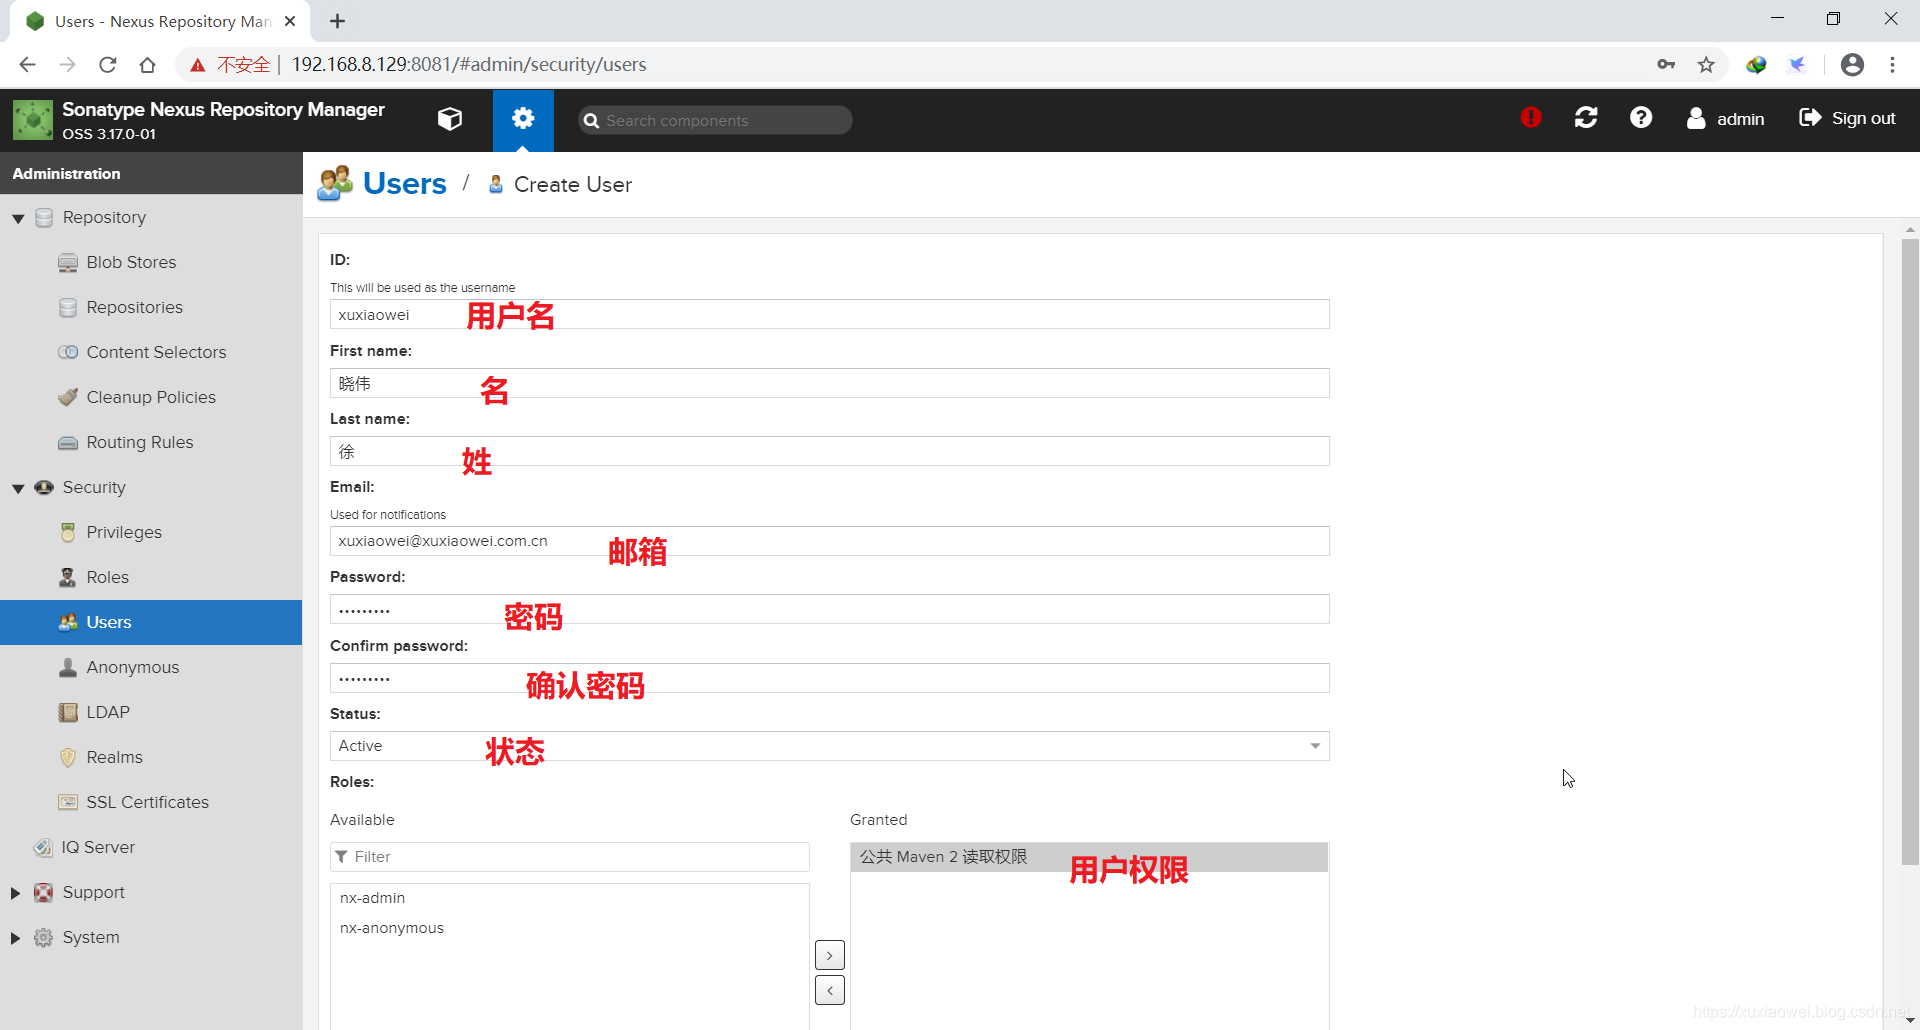
- 新建用户:
如图所示,进行点击: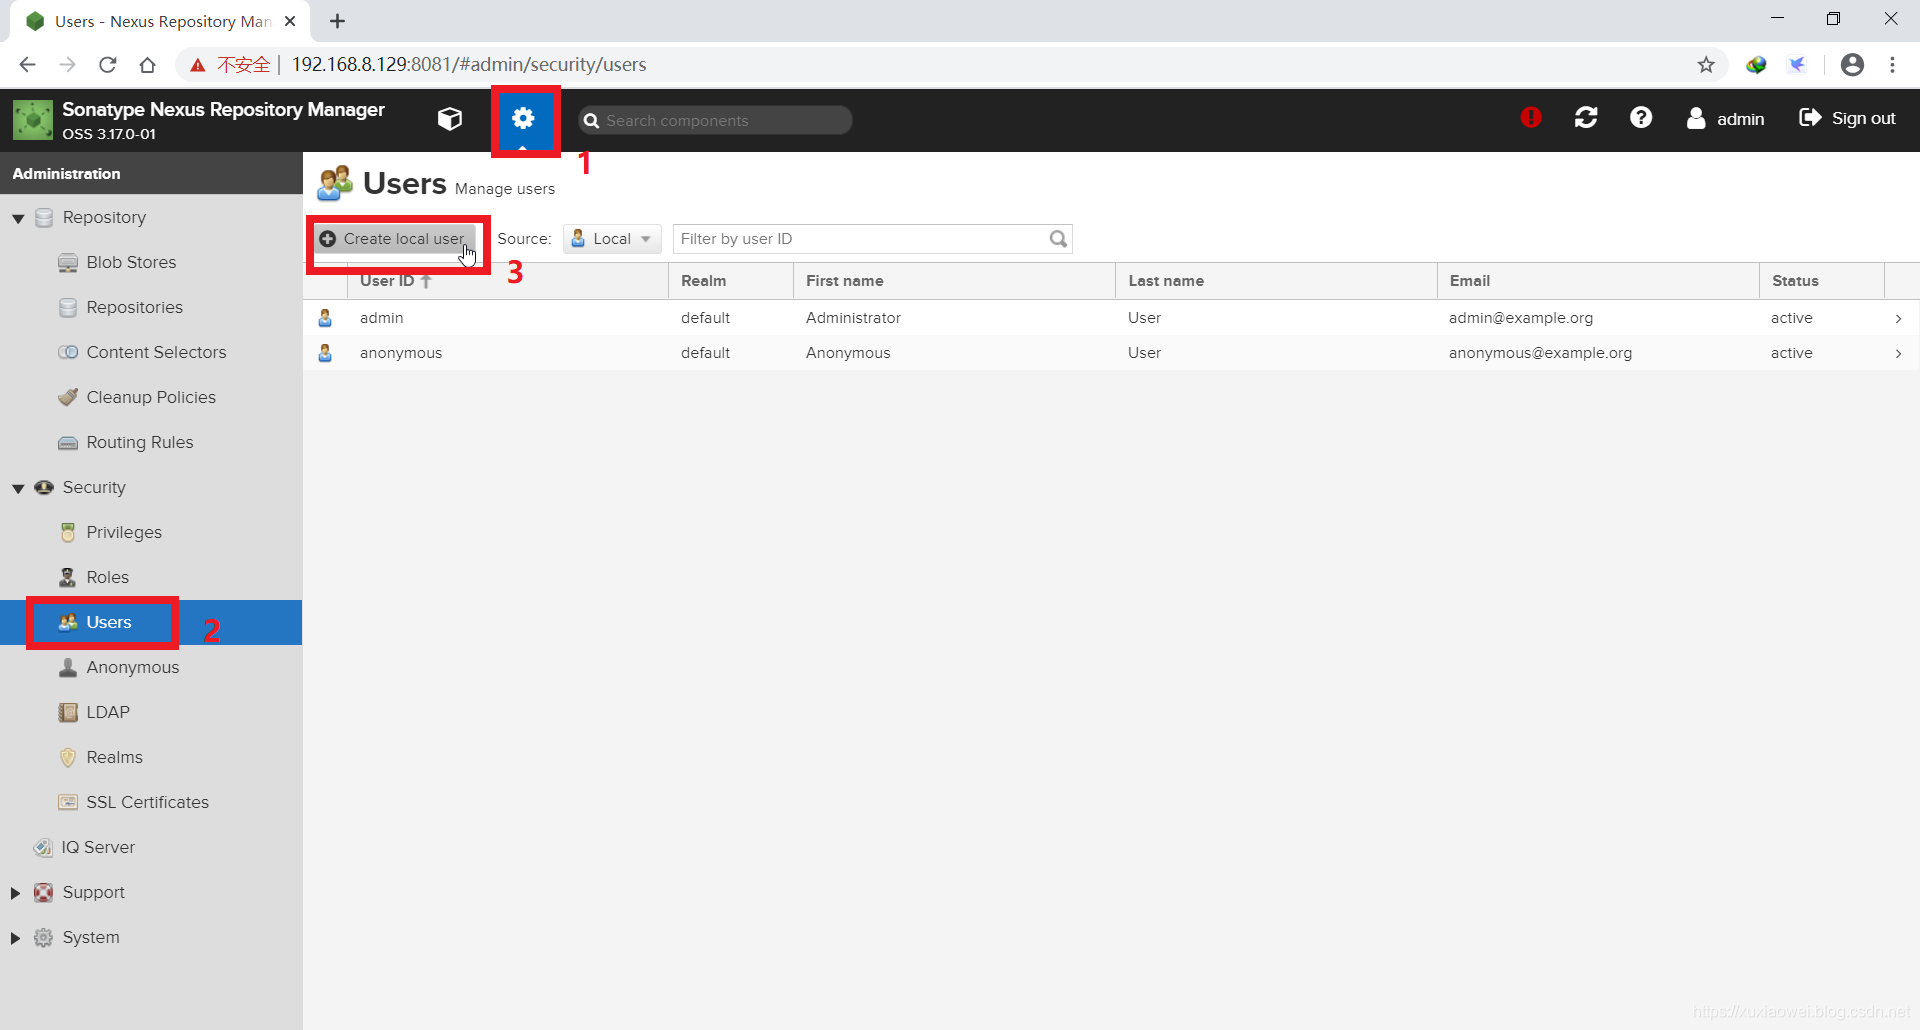
- 设置用户相关的权限:
- 测试用户权限:
使用 谷歌匿名浏览器 访问公共仓库: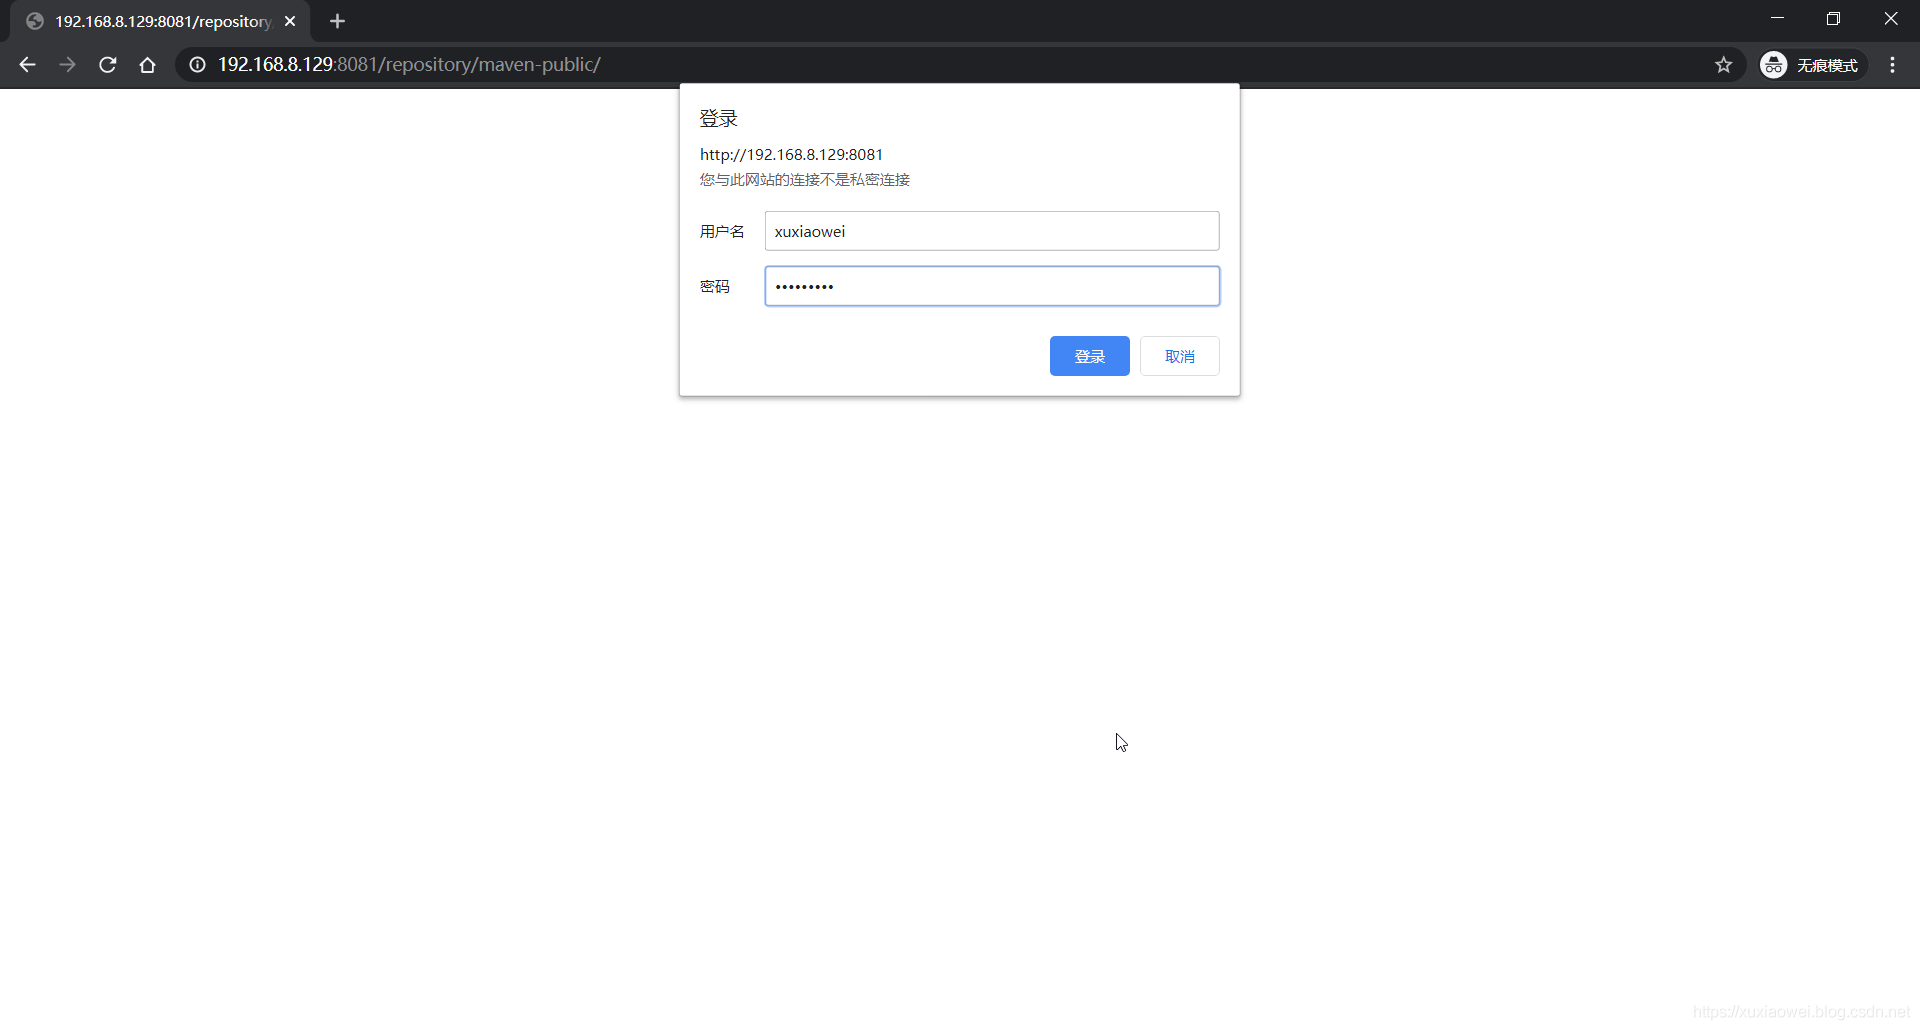
登录后显示:
说明新建用户授权成功: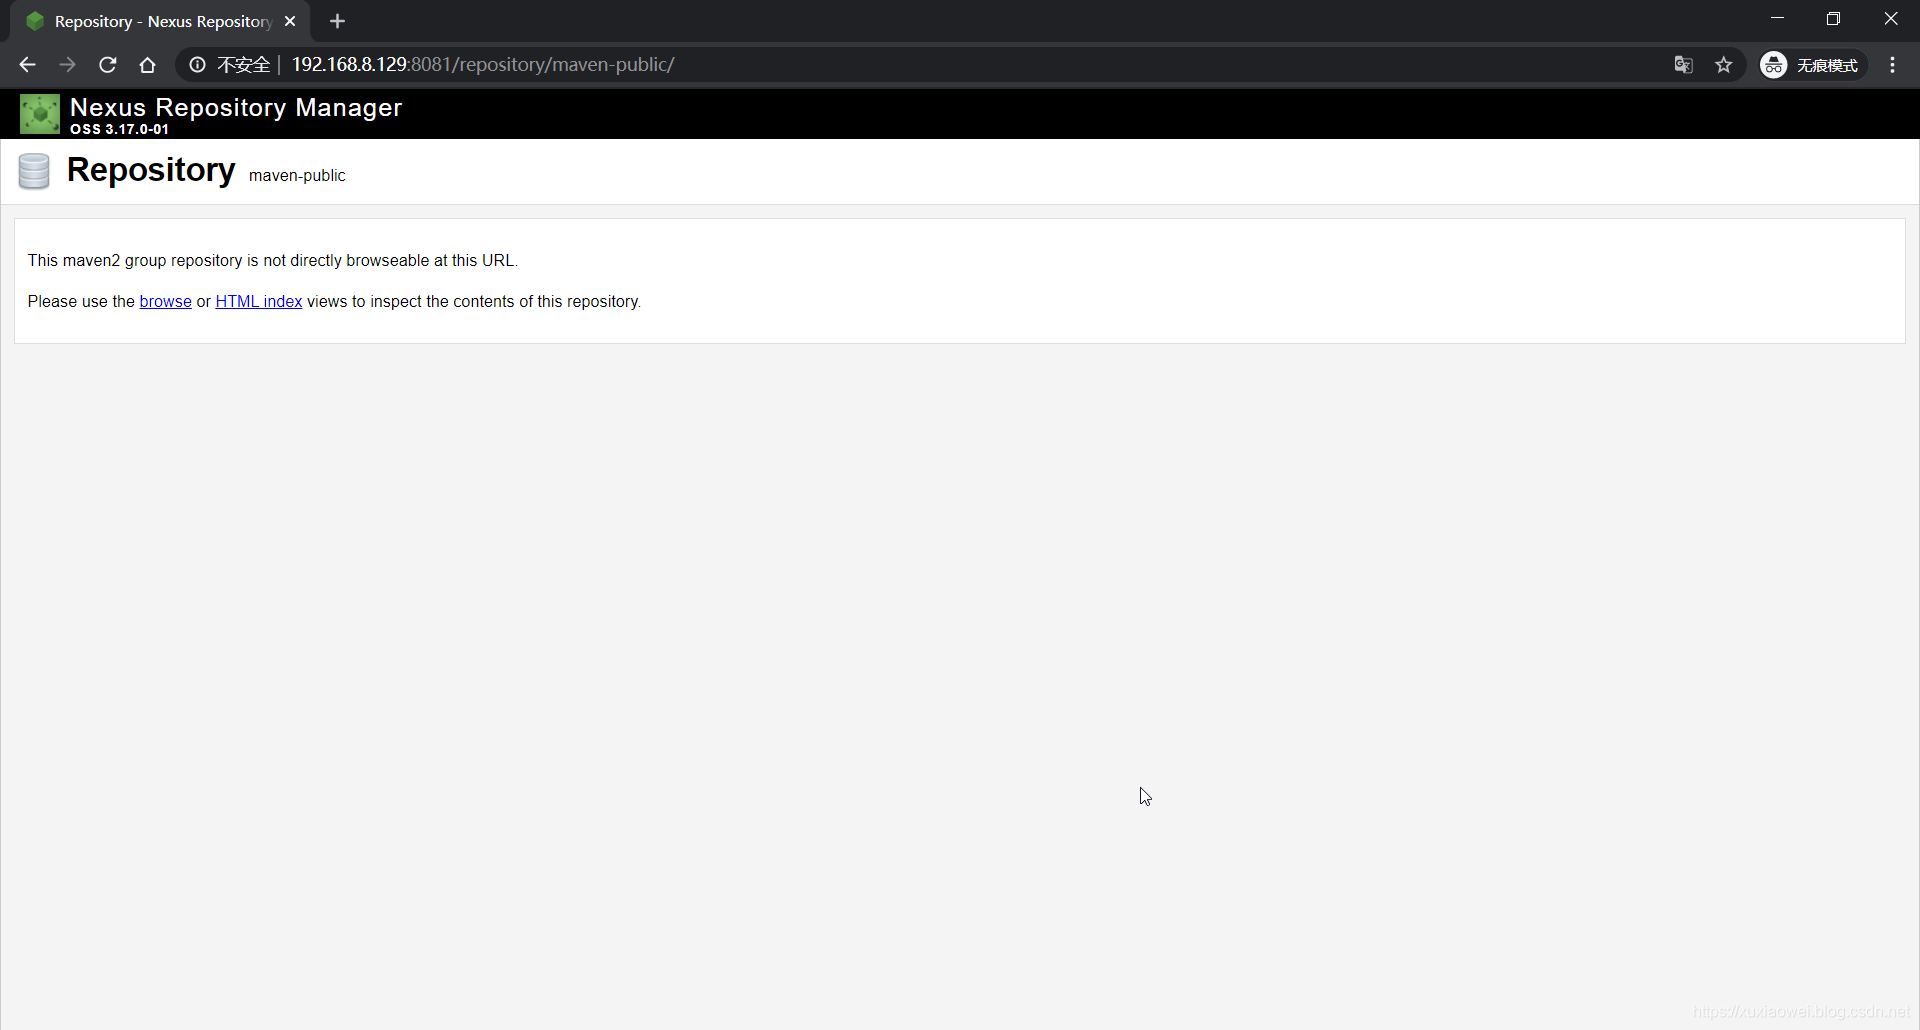
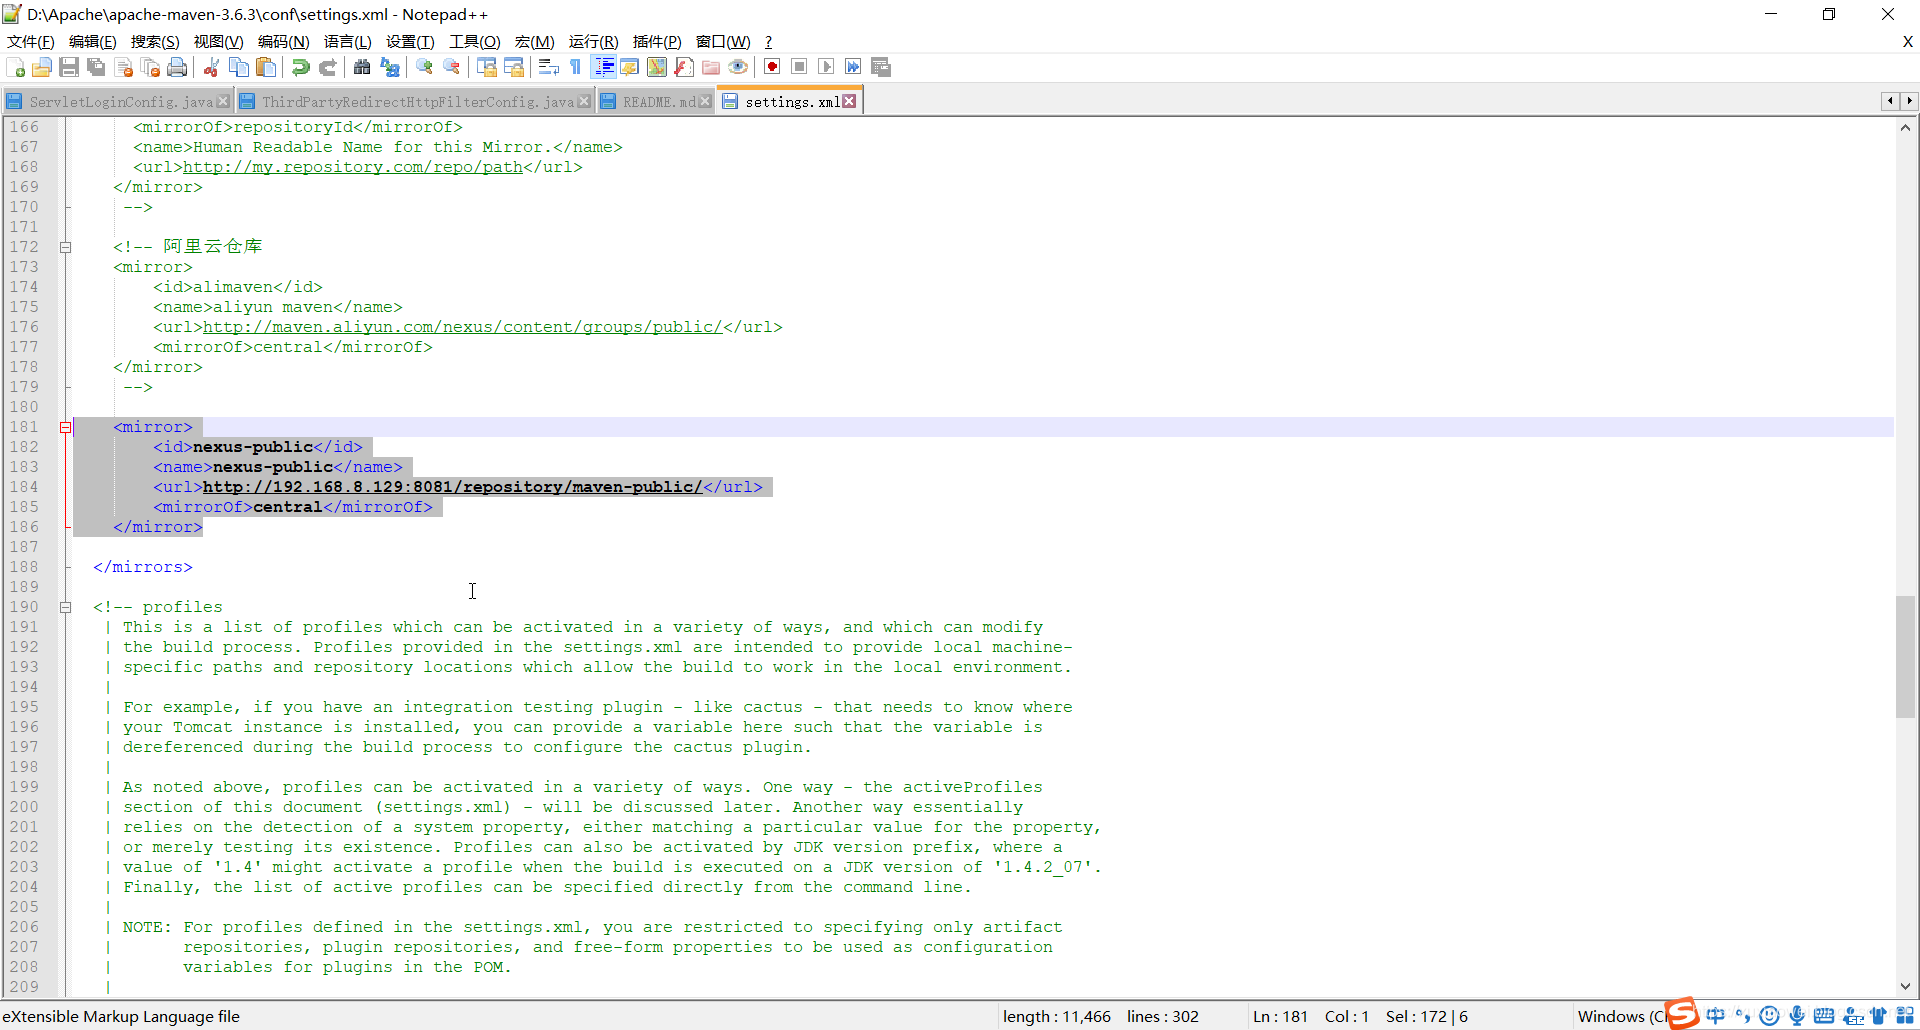
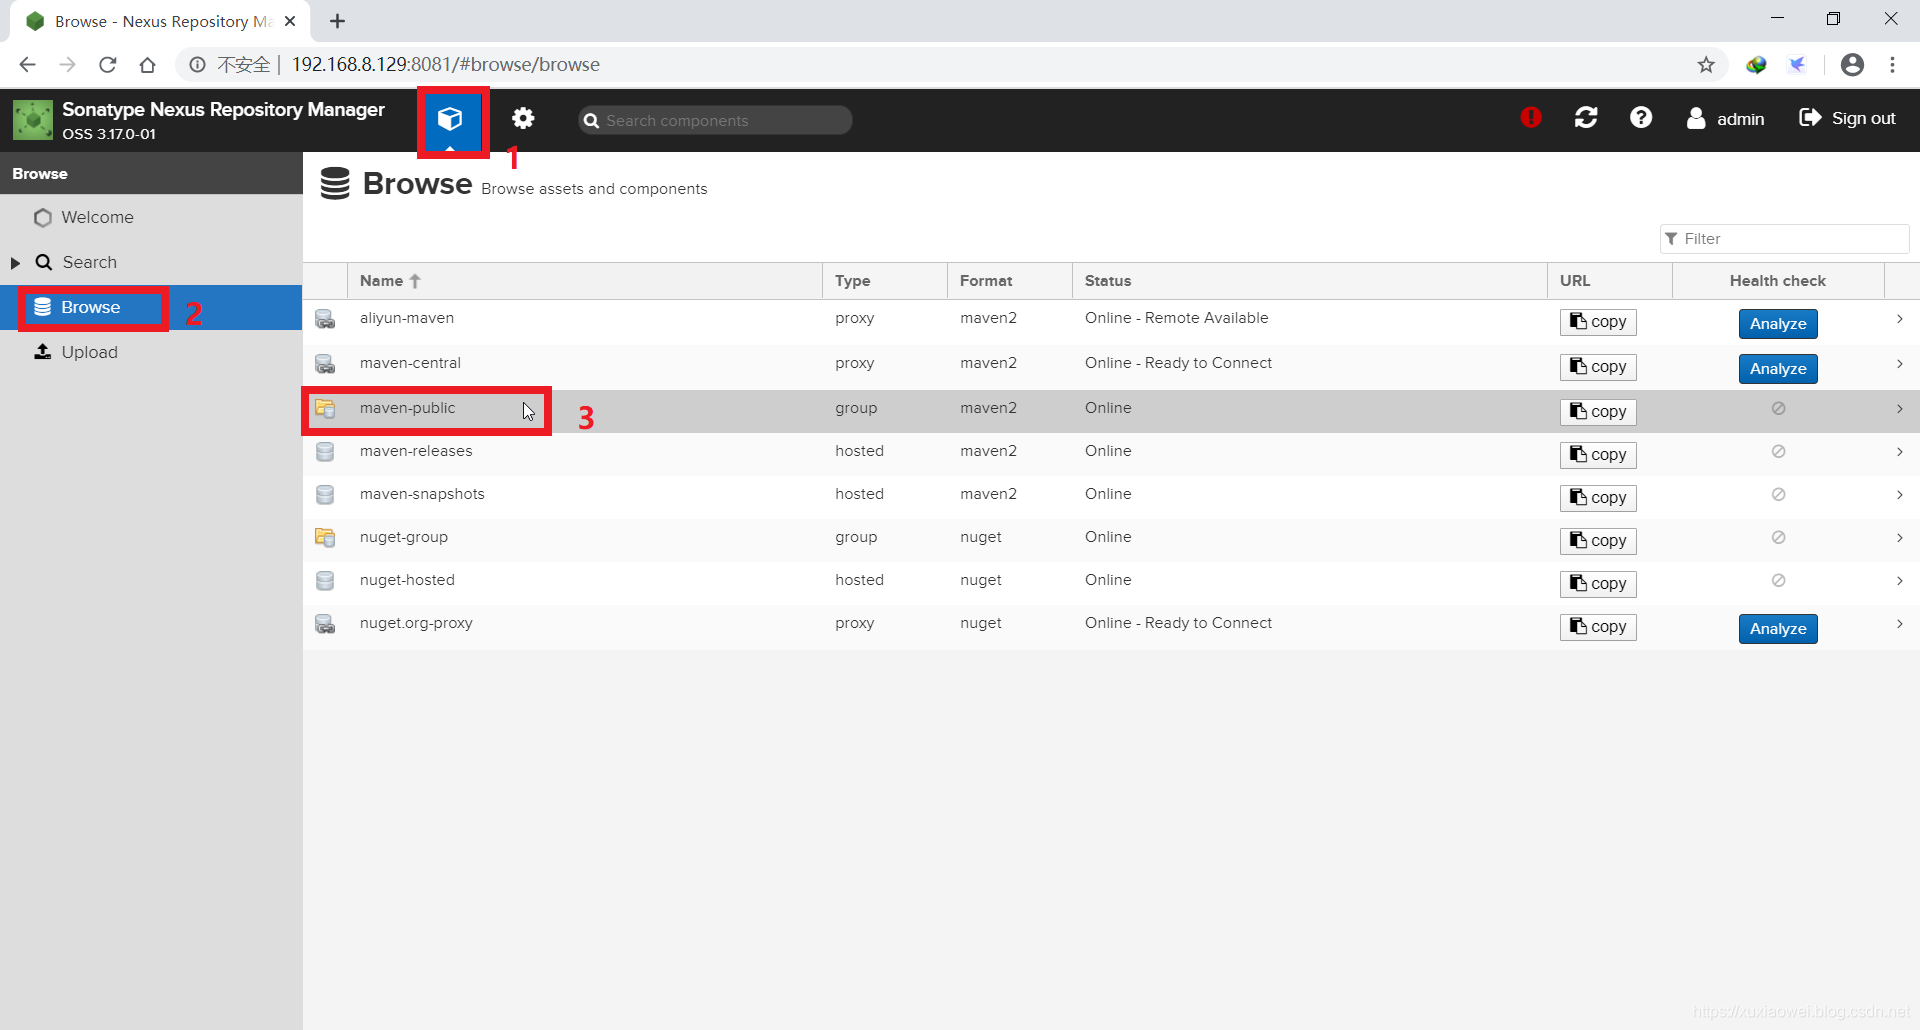
- 修改 公共仓库(maven-public,属于仓库组) 增加 阿里云 Maven 代理仓库为首选仓库:
按照如图方式点击: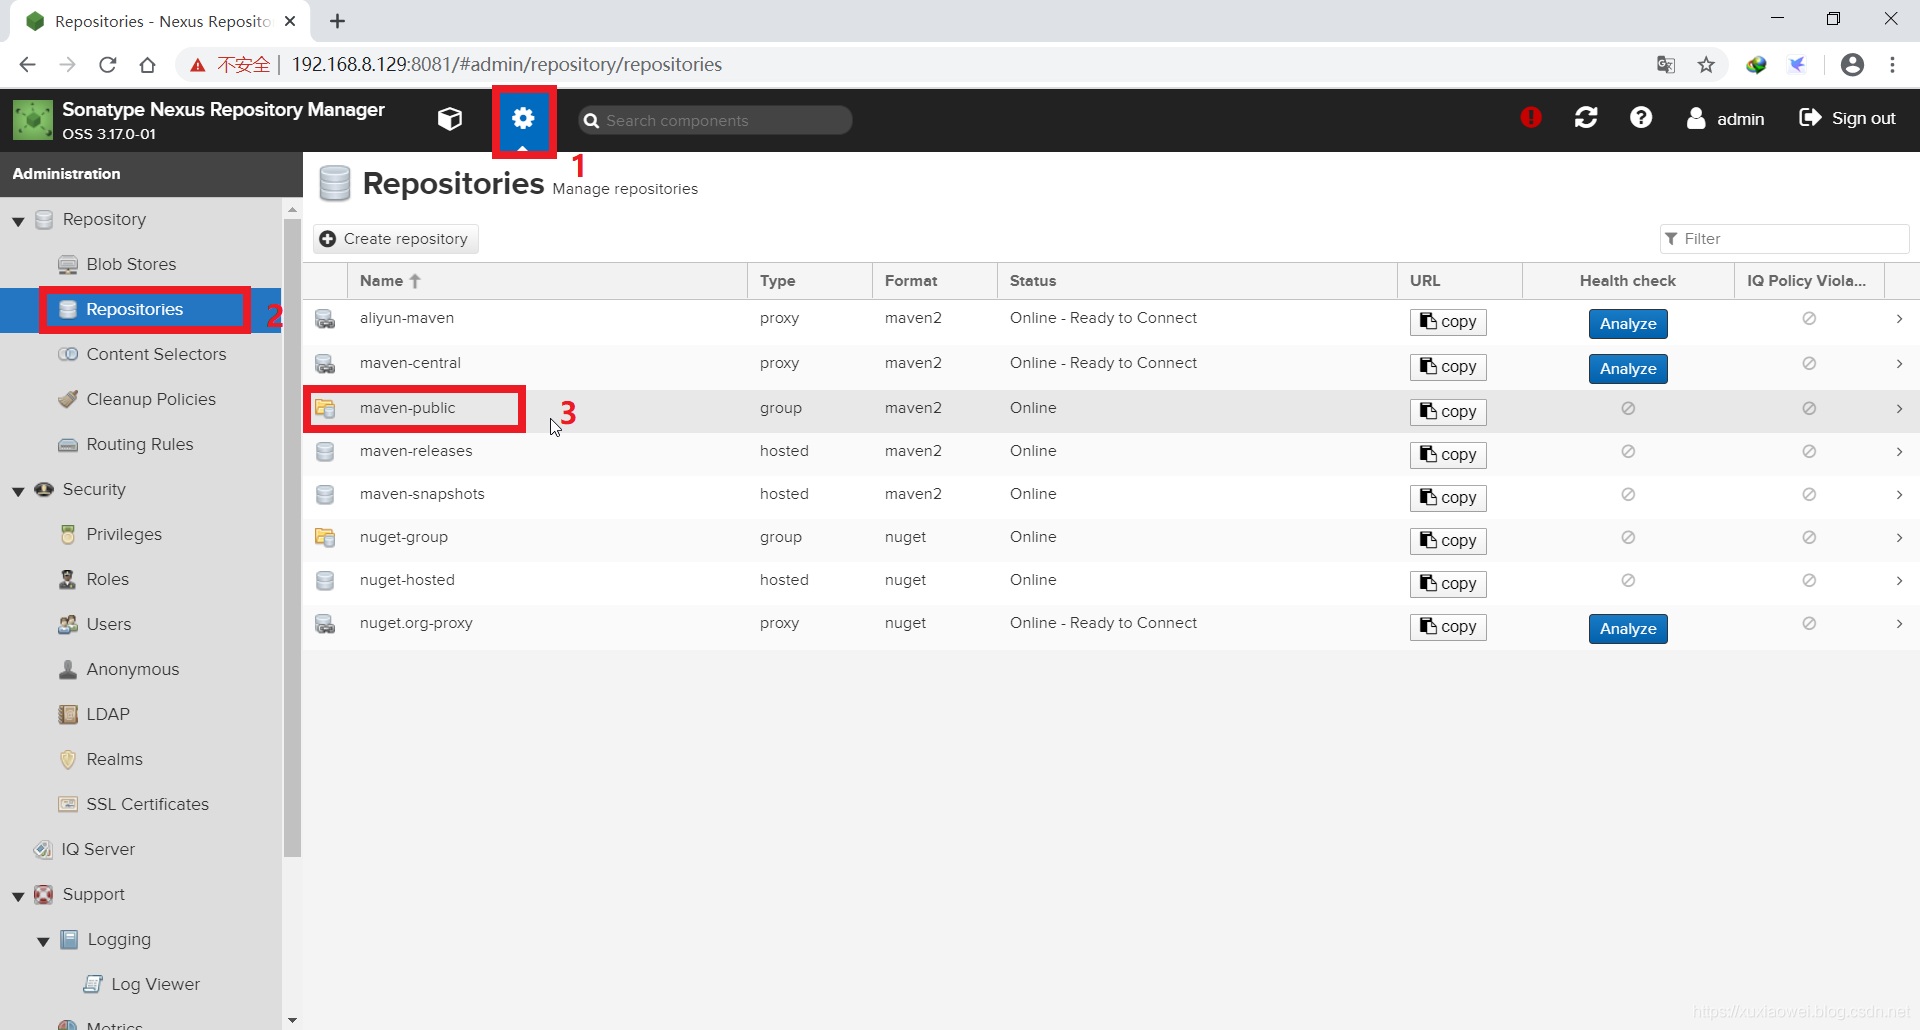
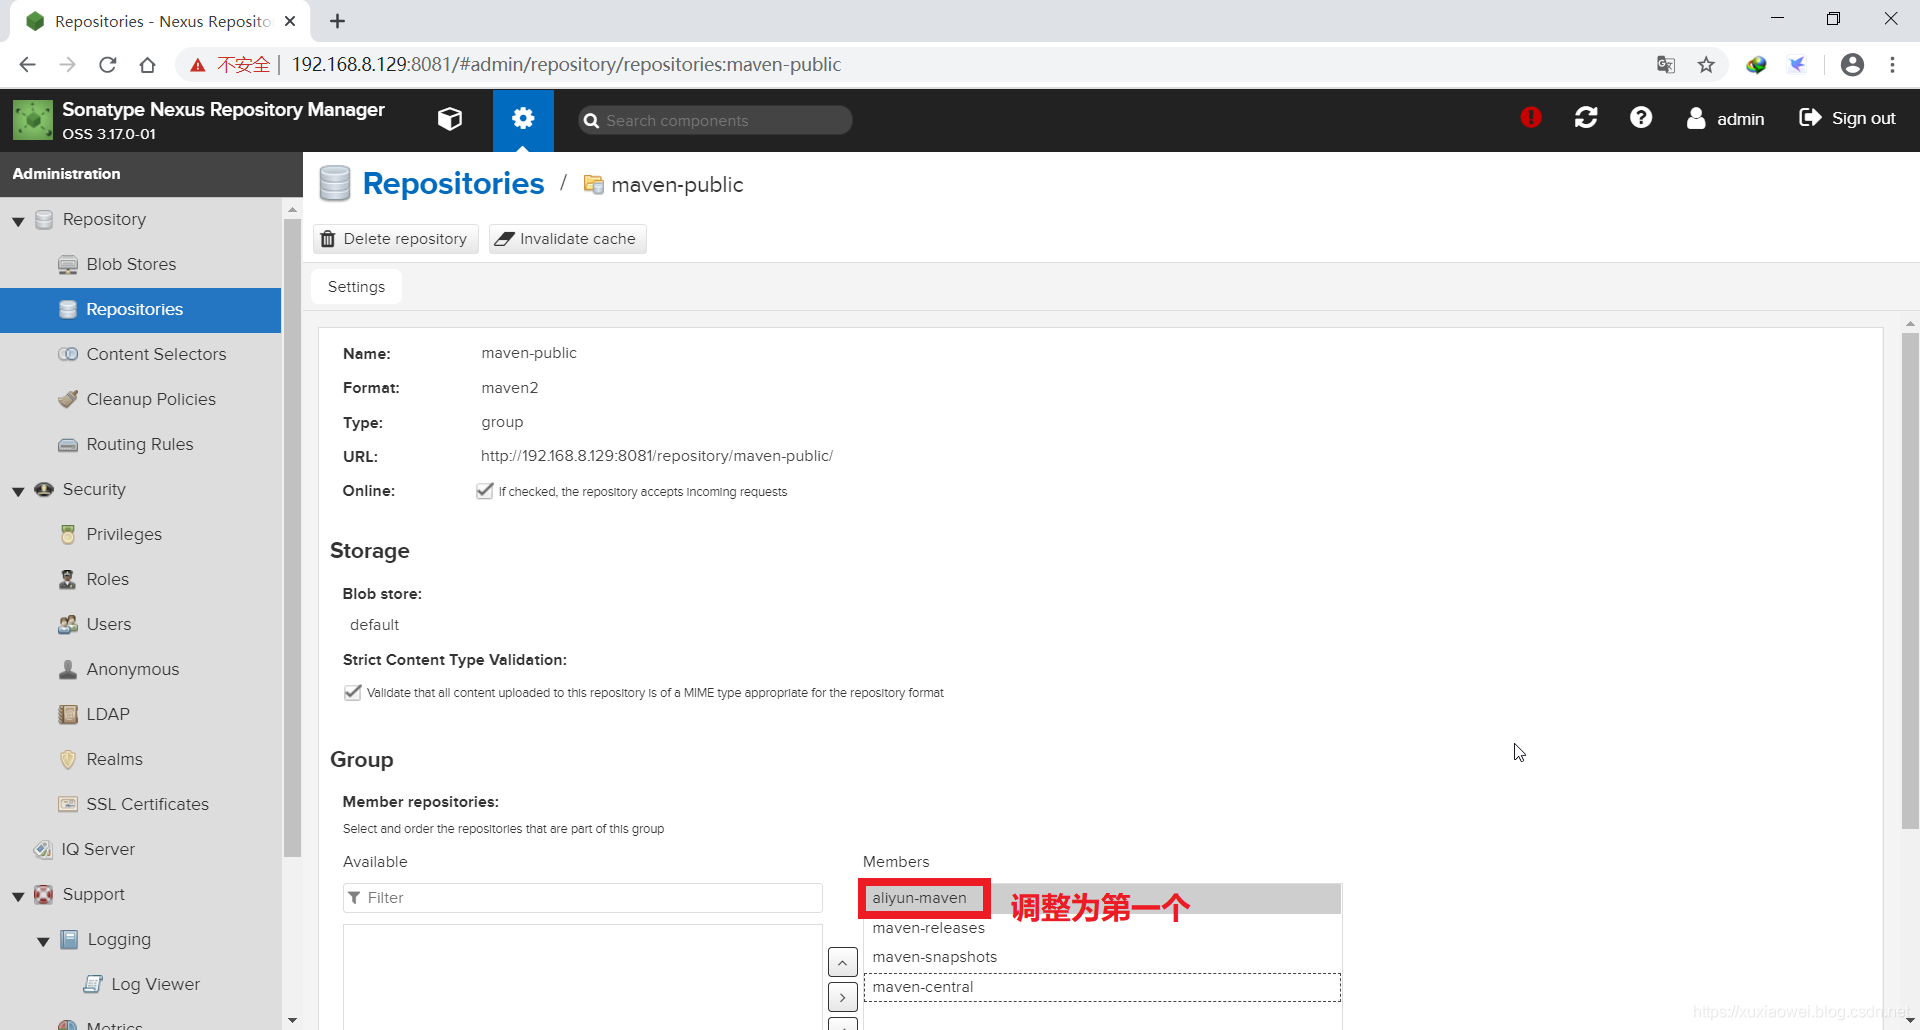
- 增加 阿里云 Maven 代理仓库,并设置为首选:
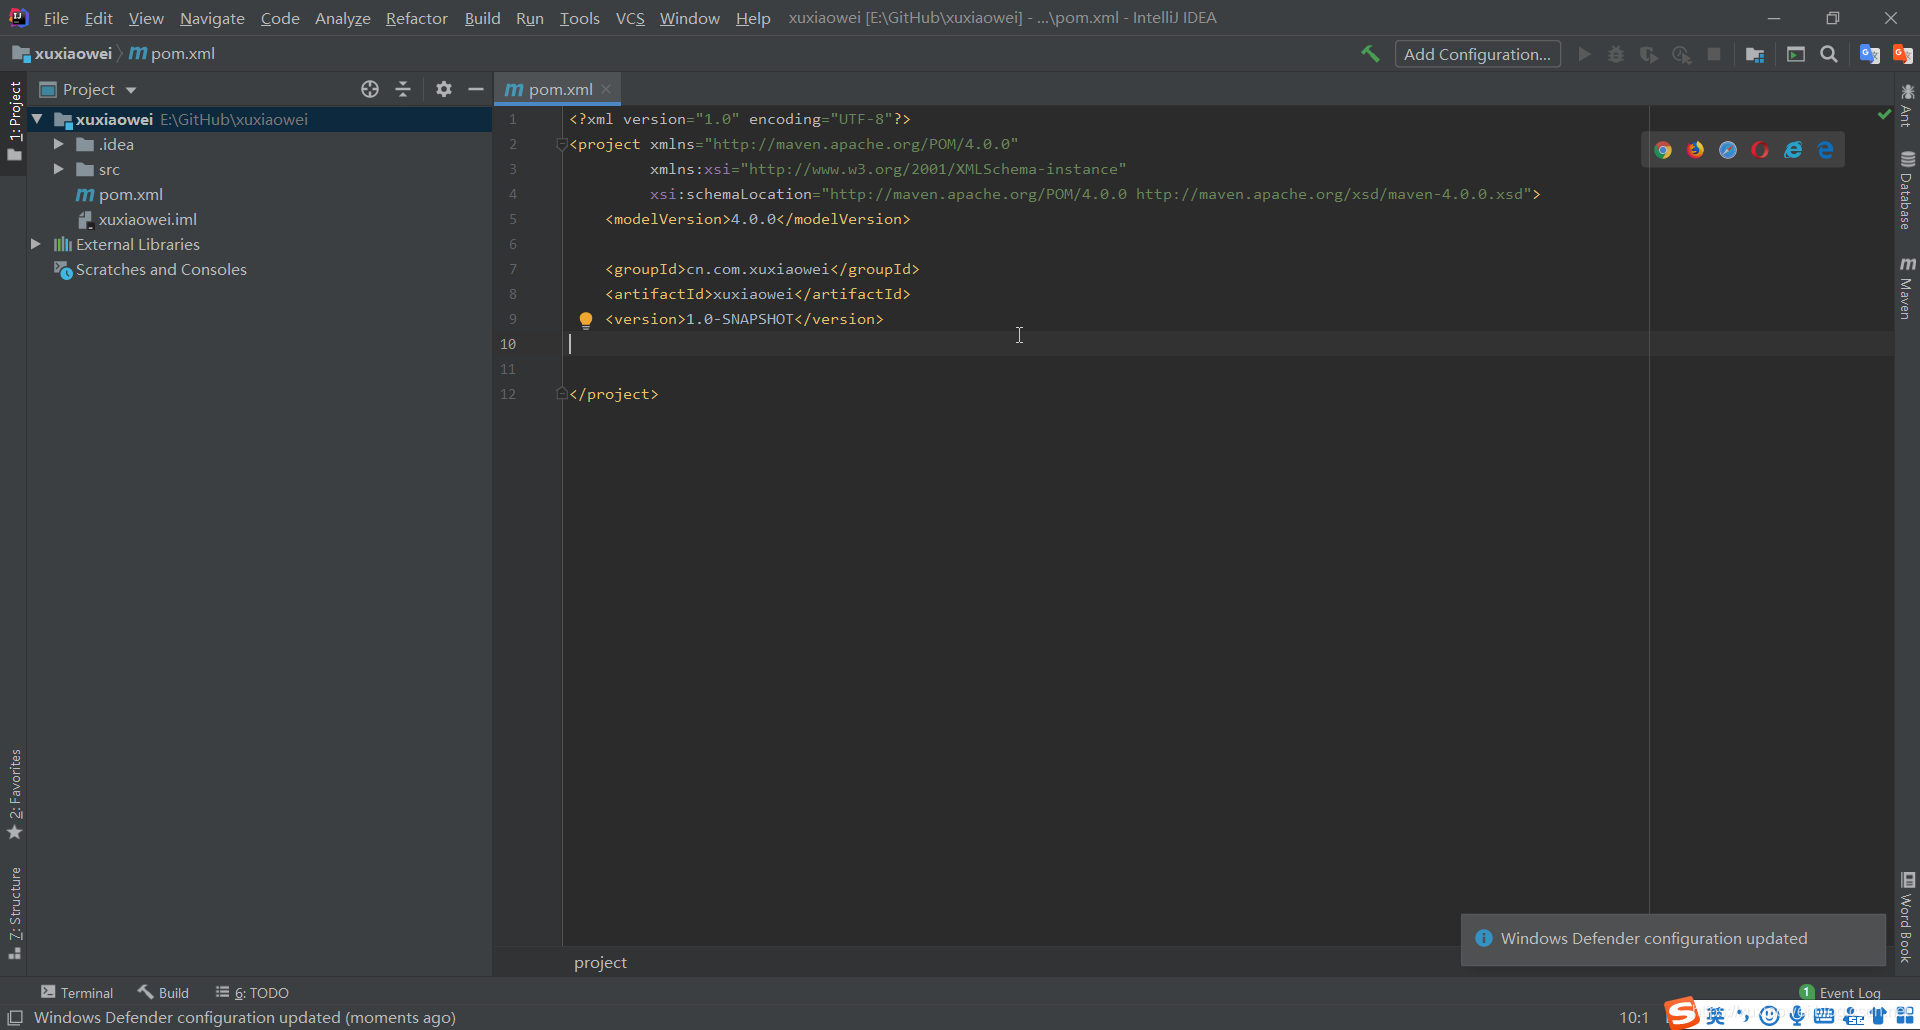
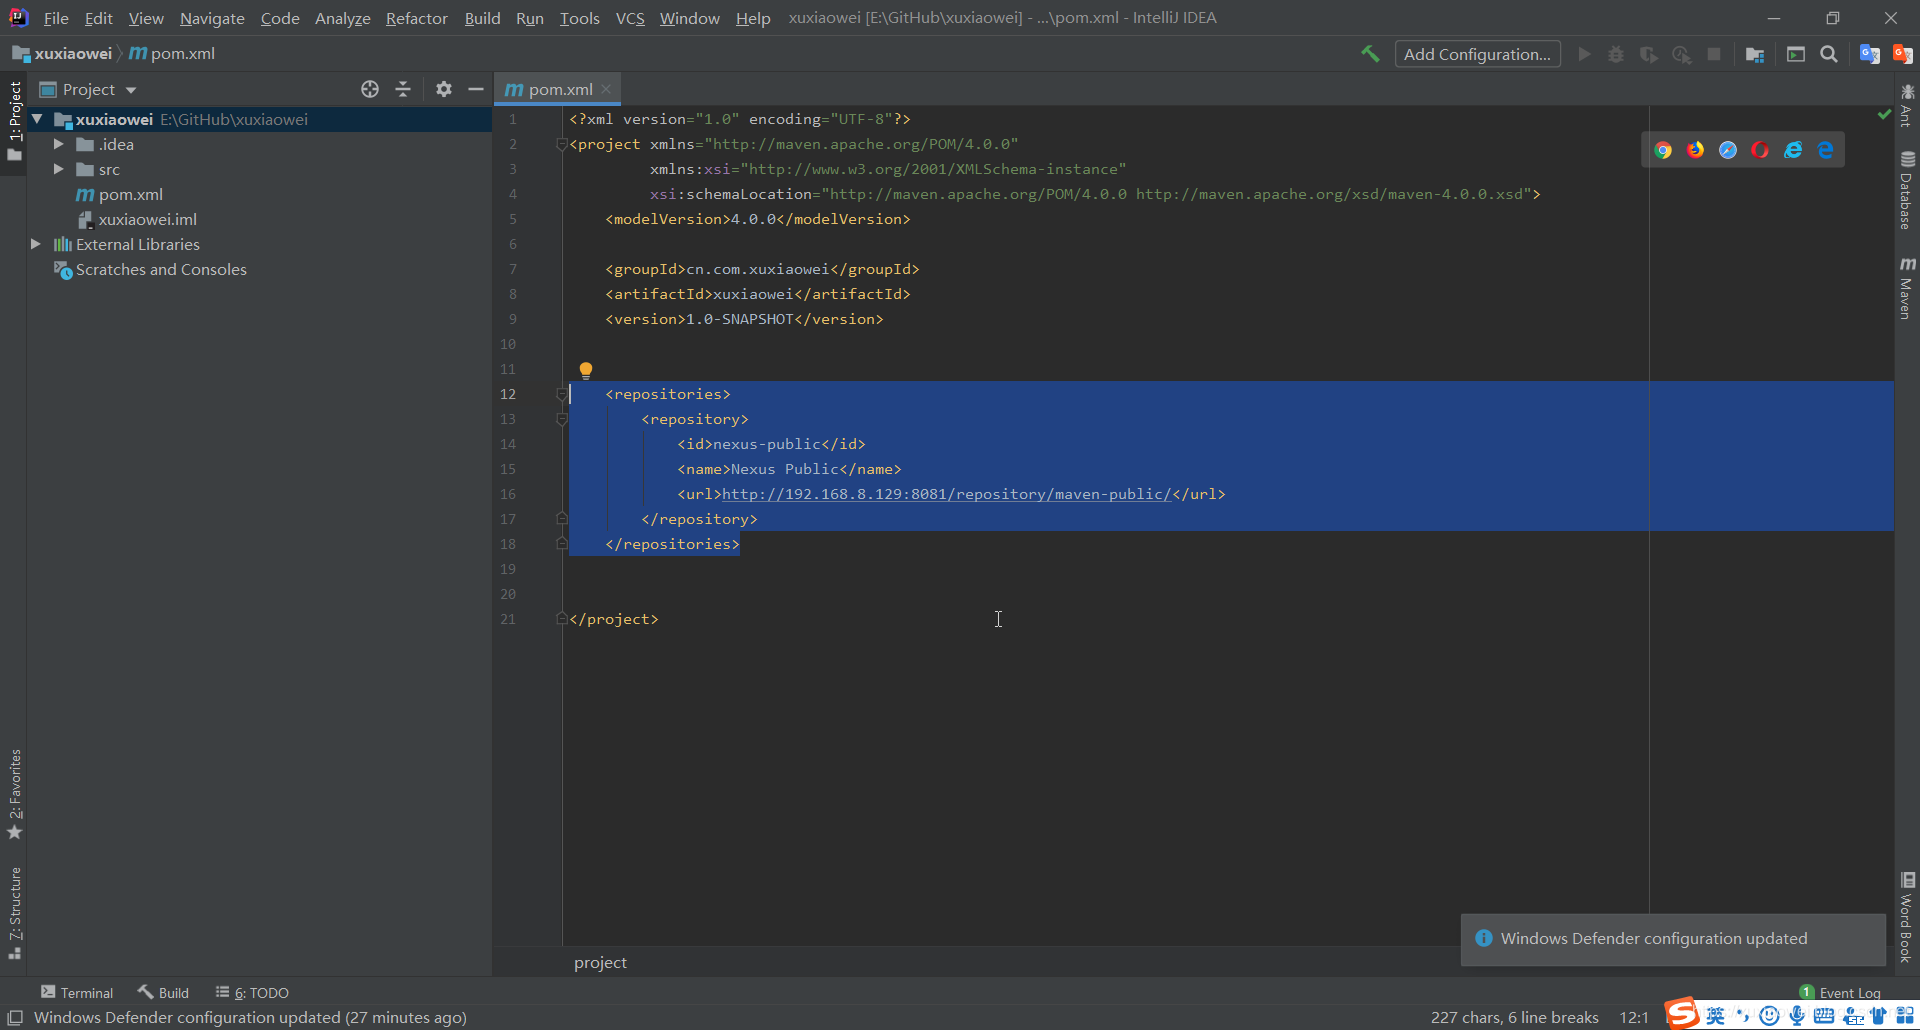
- 新建一个 Maven 项目:
- 在 Maven 项目中设置仓库:
- 可在 Maven 中的 setting.xml 中统一设置,如图:
- 增加用户名与密码:
Maven 中的 setting.xml 文件:
id 需要与 pom.xml 中设置的一样: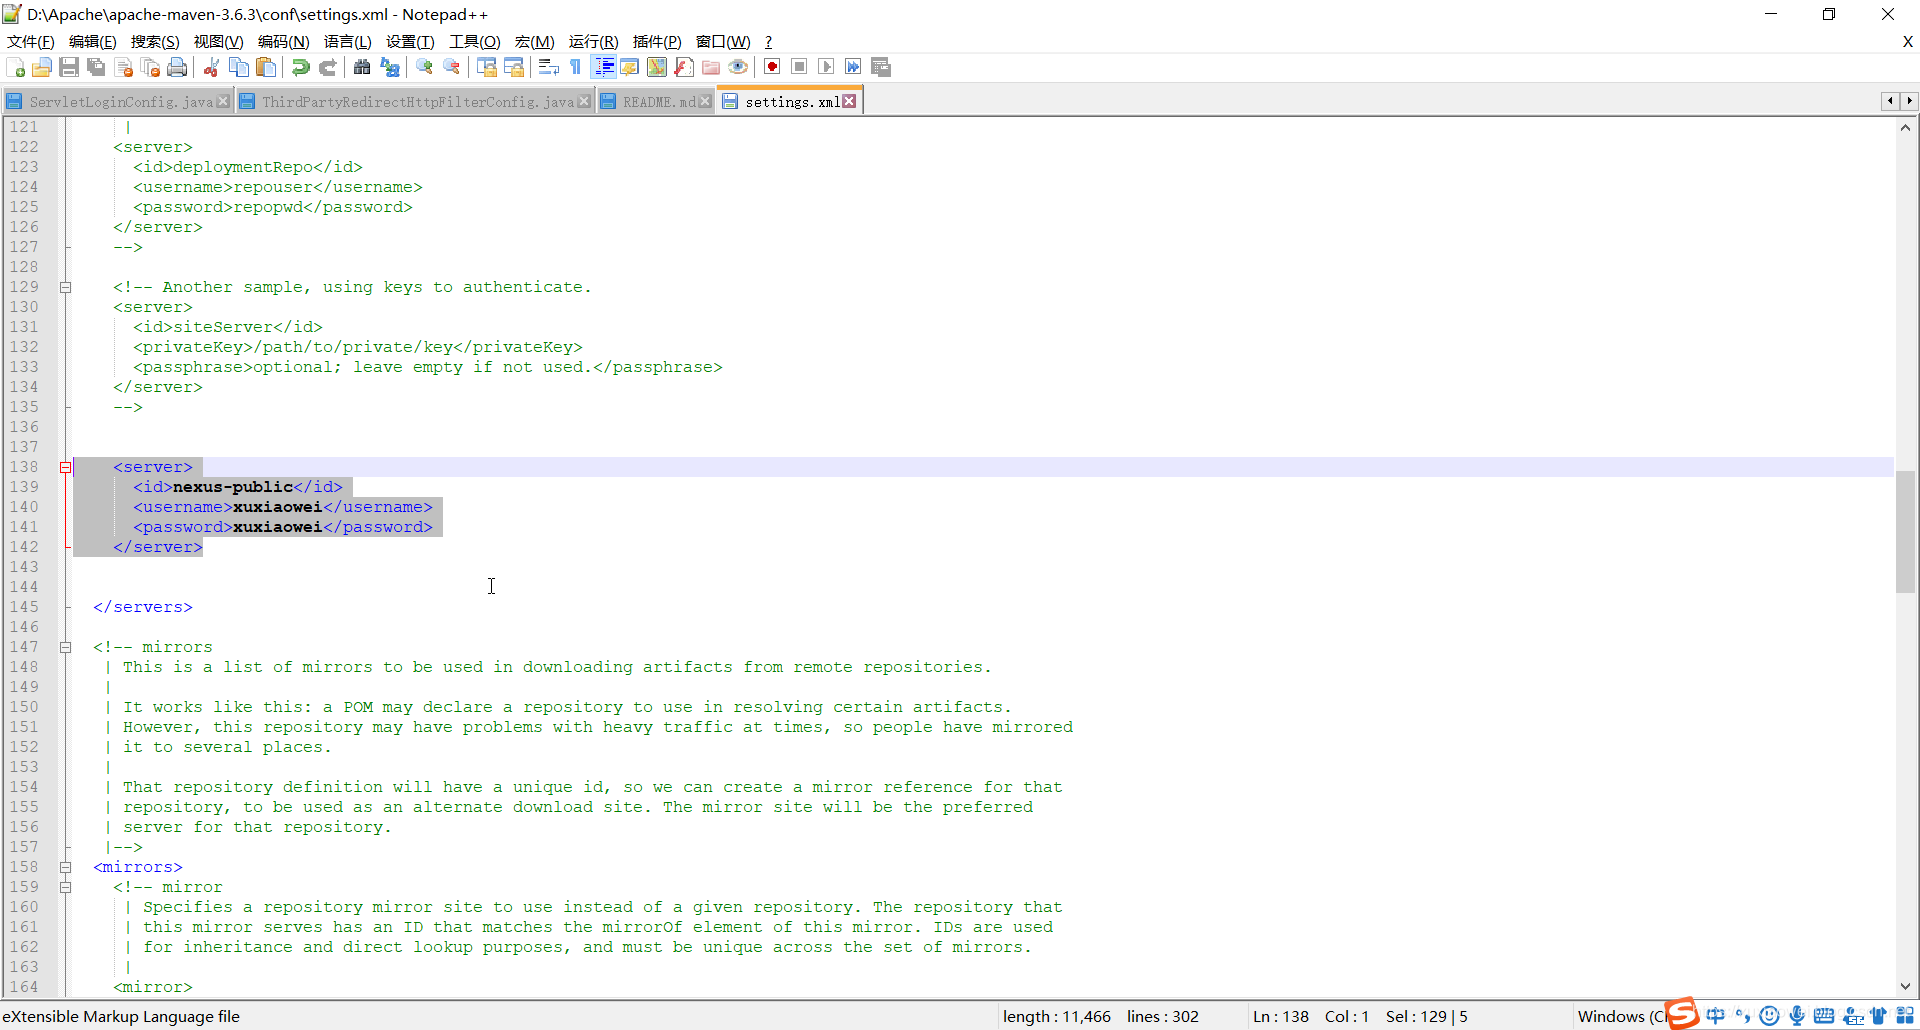
- 增加依赖:
确保此依赖是你本地 Maven 仓库中不存在的:
在此增加了两个较老版本的 Fastjson:
- 使用管理员登录,并按照如下操作点击:
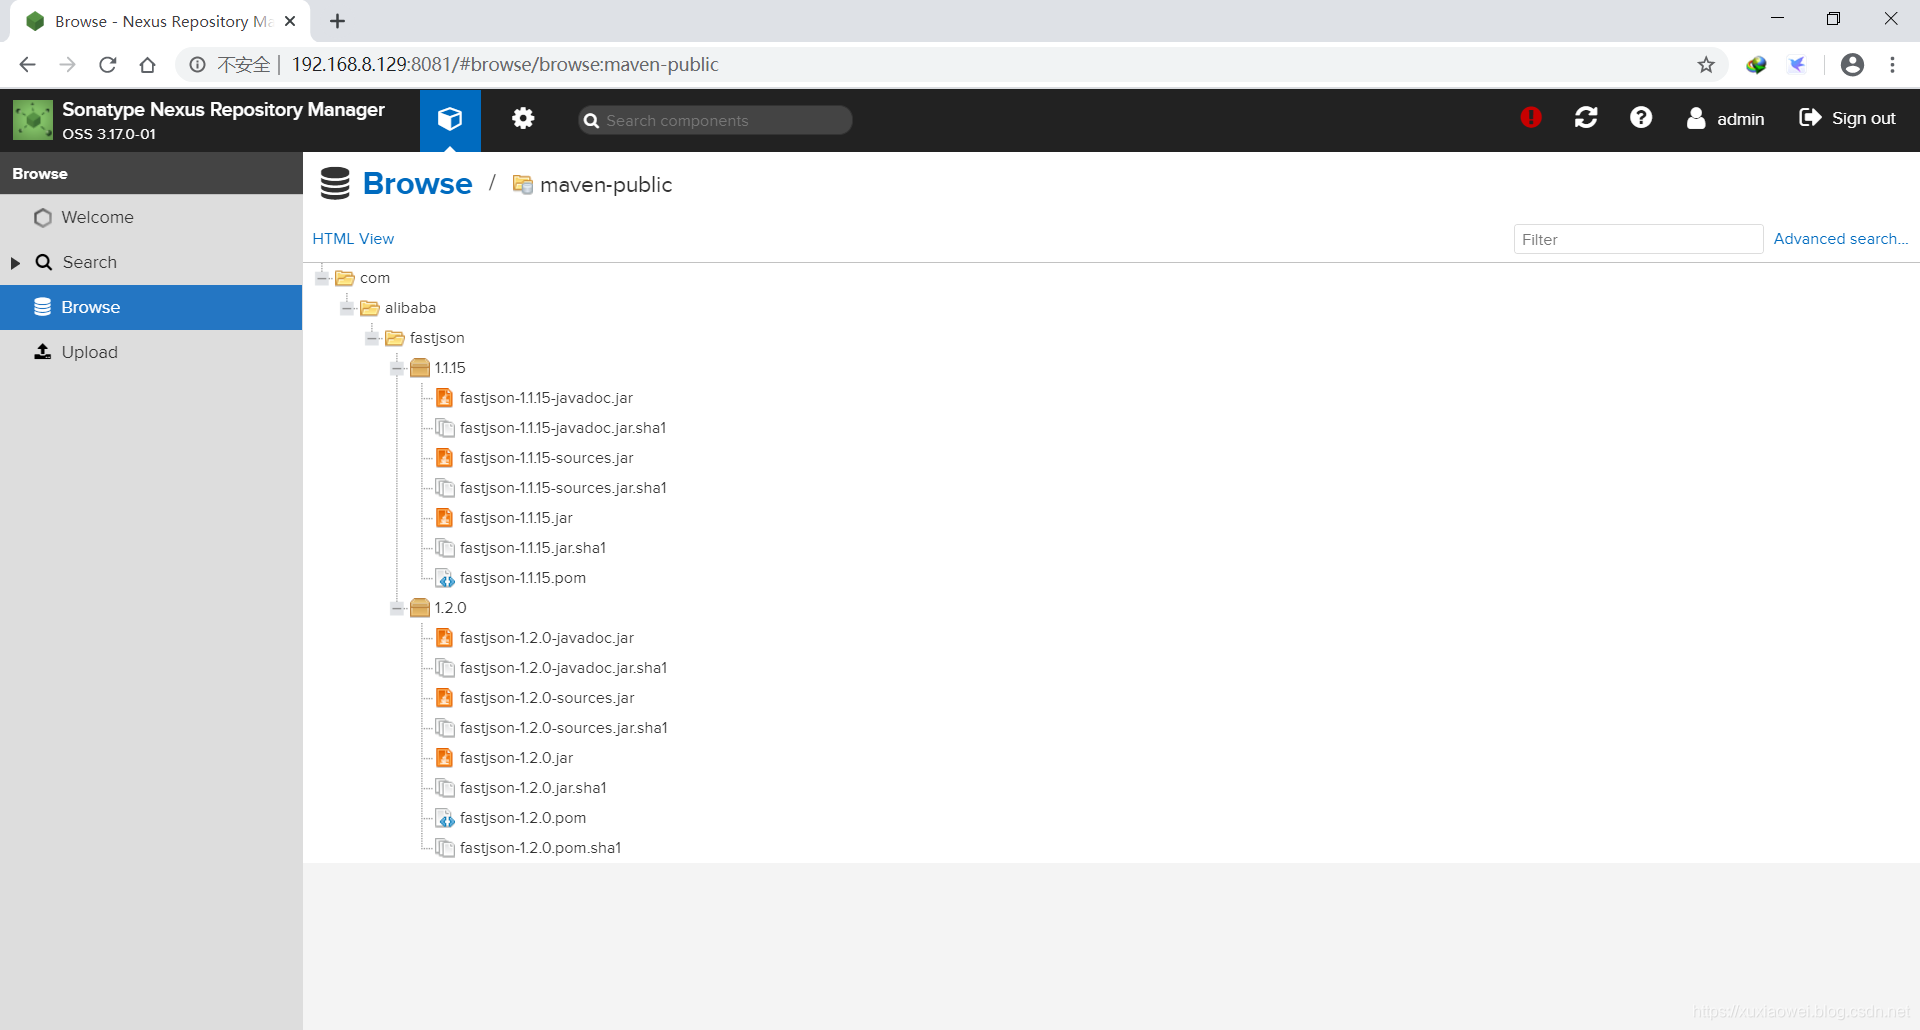
- 可查看到已下载的 Jar 包:

- 如果想下载源码与文档,请按照如图点击:
请注意,如果引用了相同 jar 包的不同版本,下载 jar 包时,旧版本的 jar 包的 源码与文档可能不会下载,需要将 新版 jar 包注释后,才能下载旧版的 源码与依赖:
- 再次查看:


 621
621


 被折叠的 条评论
为什么被折叠?
被折叠的 条评论
为什么被折叠?
 到【灌水乐园】发言


