


目录
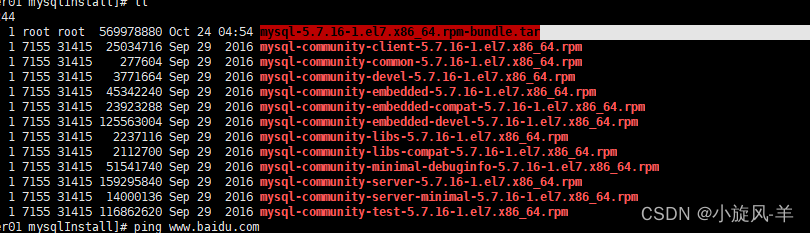
一、解压:mysql-5.7.16-1.el7.x86_64.rpm-bundle.tar
3.1: 初始化mysql,创建数据文件目录和mysql系统数据库产生随机root密码。
前言
提示:安装前执行删除mariadb-libs
yum remove mariadb-libs
一、解压:mysql-5.7.16-1.el7.x86_64.rpm-bundle.tar
示例:tar -xvf mysql-5.7.16-1.el7.x86_64.rpm-bundle.tar
二、安装mysql
1.执行rpm -ivh 安装rpm包
rpm -ivh mysql-community-common-5.7.16-1.el7.x86_64.rpm
rpm -ivh mysql-community-libs-5.7.16-1.el7.x86_64.rpm
rpm -ivh mysql-community-client-5.7.16-1.el7.x86_64.rpm
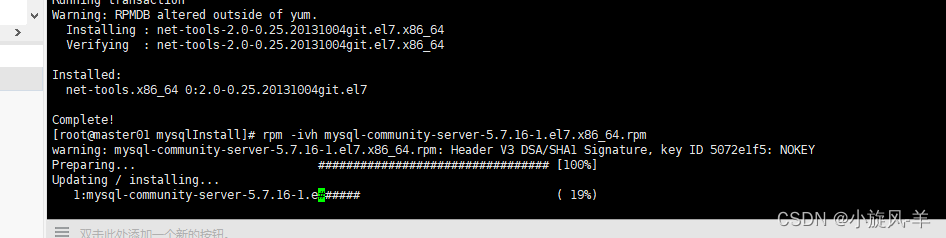
rpm -ivh mysql-community-server-5.7.16-1.el7.x86_64.rpm
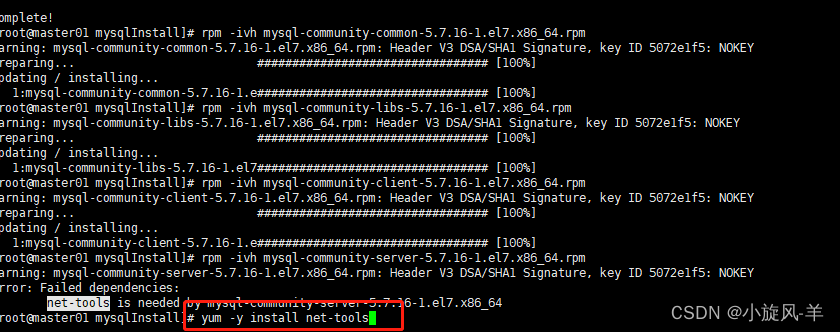
yum -y install net-tools
如果上述命令执行完,没有报错,则表示安装成功。
mysqladmin --version

2.配置文件在/etc/my.cnf
默认配置:
[mysqld]
#
# Remove leading # and set to the amount of RAM for the most important data
# cache in MySQL. Start at 70% of total RAM for dedicated server, else 10%.
# innodb_buffer_pool_size = 128M
#
# Remove leading # to turn on a very important data integrity option: logging
# changes to the binary log between backups.
# log_bin
#
# Remove leading # to set options mainly useful for reporting servers.
# The server defaults are faster for transactions and fast SELECTs.
# Adjust sizes as needed, experiment to find the optimal values.
# join_buffer_size = 128M
# sort_buffer_size = 2M
# read_rnd_buffer_size = 2M
datadir=/var/lib/mysql
socket=/var/lib/mysql/mysql.sock

# Disabling symbolic-links is recommended to prevent assorted security risks
symbolic-links=0

log-error=/var/log/mysqld.log
pid-file=/var/run/mysqld/mysqld.pid
修改后的配置: 存储的文件,不放入系统盘,方便后期扩容或者同版本数据迁移。
[mysqld]

port=33306
datadir=/datah/data/mysqldata/mysql
socket=/var/lib/mysql/mysql.sock

symbolic-links=0

log-error=/var/log/mysqld.log
pid-file=/var/run/mysqld/mysqld.pid

character-set-server=utf8
collation-server=utf8_general_ci
lower_case_table_names=1
init_connect='SET NAMES utf8'
sql_mode=STRICT_TRANS_TABLES,NO_ZERO_IN_DATE,NO_ZERO_DATE,ERROR_FOR_DIVISION_BY_ZERO,NO_AUTO_CREATE_USER,NO_ENGINE_SUBSTITUTION
max_connections=5000
wait_timeout=20000
max_user_connections=5000
max_allowed_packet=128M
thread_stack=262144

#skip-grant-tables
3.初始化并设置密码
3.1: 初始化mysql,创建数据文件目录和mysql系统数据库产生随机root密码。
mysqld --initialize
3.2: 对/datah/data/mysqldata目录进行权限授权
chown -R mysql:mysql /datah/data/mysqldata/
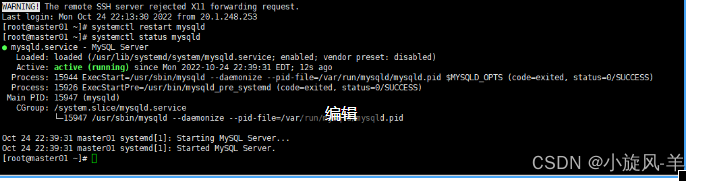
3.3: 启动mysql,看是否安装成功
systemctl start mysqld
3.4: 有报错error: 解决
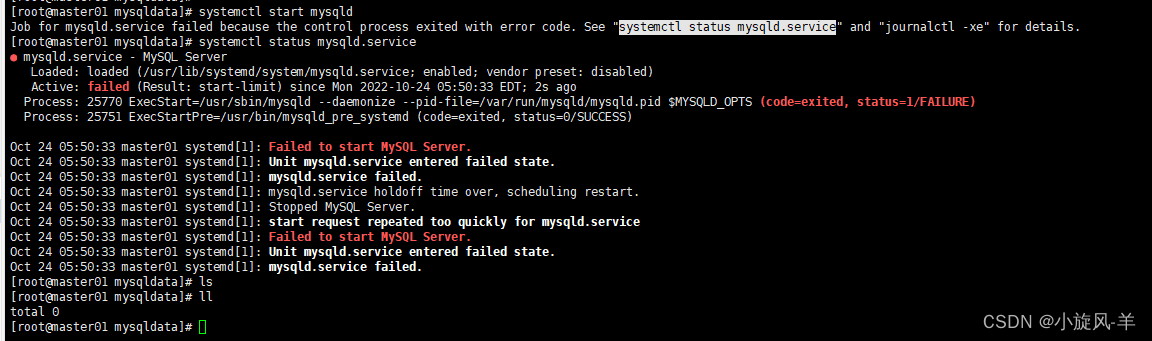
error:start request repeated too quickly for mysqld.service
systemctl -l status mysqld.service
解决方案:关闭防火墙
#关闭防火墙
firewall-cmd --state
systemctl stop firewalld.service
systemctl disable firewalld.service
setenforce 0
sed -i 's/SELINUX=enforcing/SELINUX=disabled/g' /etc/selinux/config
reboot
3.5: 获取默认随机生成的 root密码
cat /var/log/mysqld.log | grep password

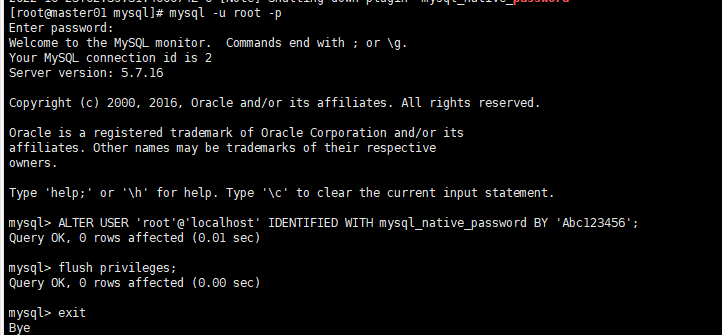
3.6: 用随机密码登录并修改密码
mysql -u root -p #回车后输入随机密码
ALTER USER 'root'@'localhost' IDENTIFIED WITH mysql_native_password BY '你的密码';
flush privileges;
提示:作为root账户一般是不对外提供的。
3.7: 创建mysql用户
use mysql;
create user 'user01'@'%' identified by 'Abc123456';
grant all privileges on *.* to 'user01'@'%';
flush privileges;
3.8: 查询有哪些用户
use mysql;
select a.User,a.authentication_string,a.password_expired,a.password_last_changed,a.password_lifetime,a.account_locked,a.max_connections,a.max_user_connections from user as a;
3.9: 创建用户只拥有一个数据库的访问权限
提示:记得用root 账户登录创建执行
use mysql;
create user 'user02'@'%' identified by 'Abc123456';
grant SELECT, INSERT, UPDATE, REFERENCES, DELETE, CREATE, DROP, ALTER, INDEX, CREATE VIEW, SHOW VIEW ON `databyone`.* to 'user02'@'%';
flush privileges;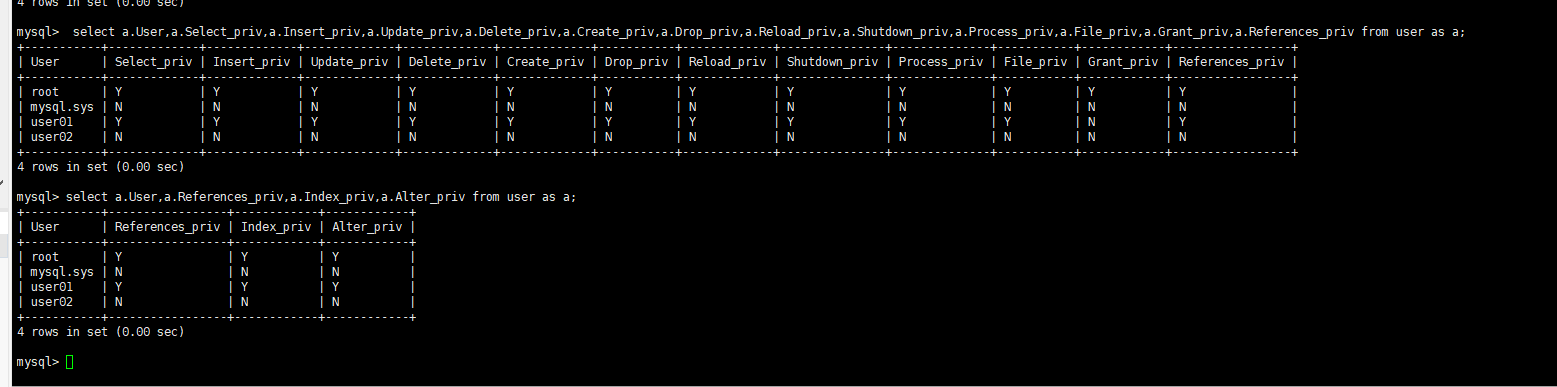
3.10:root账户是不对外提供的
select a.User,a.host from user as a;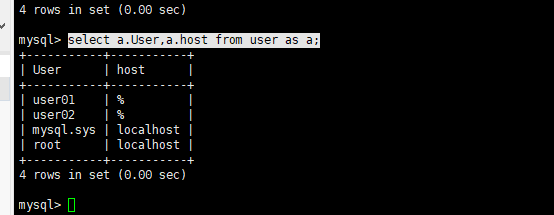
4.服务器安全暴露服务端口到外部使用
4.1:查看服务端口
netstat -anp|grep mysql
4.2:查看防火墙状态
systemctl status firewalld4.3:开启防火墙
systemctl restart firewalld4.4:查询linux放行的端口
firewall-cmd --zone=public --list-ports4.5:添加在liunx上面对应的放行端口
firewall-cmd --zone=public --add-port=33306/tcp --permanent4.6: 然后刷新命令,不刷新不生效,必须刷新
firewall-cmd --reload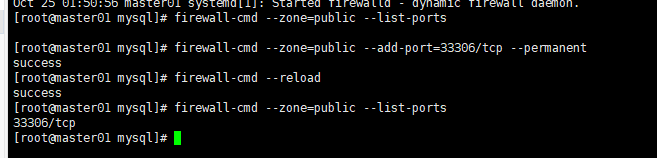
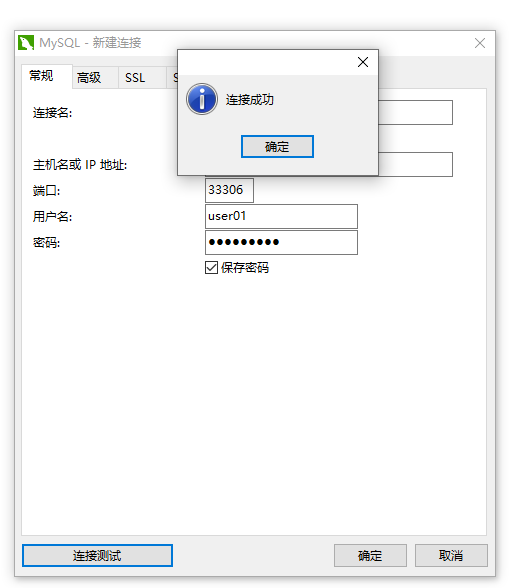
5. Navicat Premium 连接数据库
6.如果想移除防火墙端口的话
6.1:删除防火墙的端口
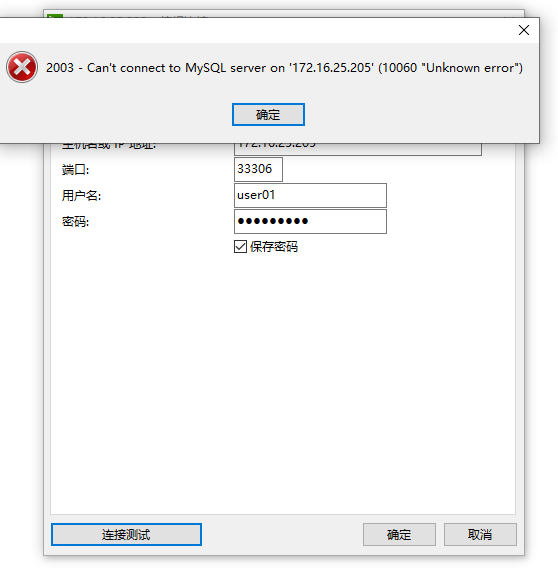
firewall-cmd --zone=public --remove-port=33306/tcp --permanent

firewall-cmd --reload

firewall-cmd --zone=public --list-ports
6.2:端口没有暴露,端口不通了
三、安装包下载
mysql-5.7.16-1.el7.x86-64.rpm-bundle.tar-Linux文档类资源-CSDN下载
温馨提示:如果小编分享的对你有所帮助的话,麻烦点个赞,鼓励一下,小编也不容易。


 1万+
1万+


 被折叠的 条评论
为什么被折叠?
被折叠的 条评论
为什么被折叠?
 到【灌水乐园】发言


