


Springboot作为Java服务端开发事实上的框架标准,每一个学习Java的同学都应该深入了解。
但是经常看到有朋友说不知道该如何上手学习Springboot,平时开发功能都是在网上找一些示例,拼拼凑凑就交差了,至于功能模块能不能成功的跑起来全靠运气。
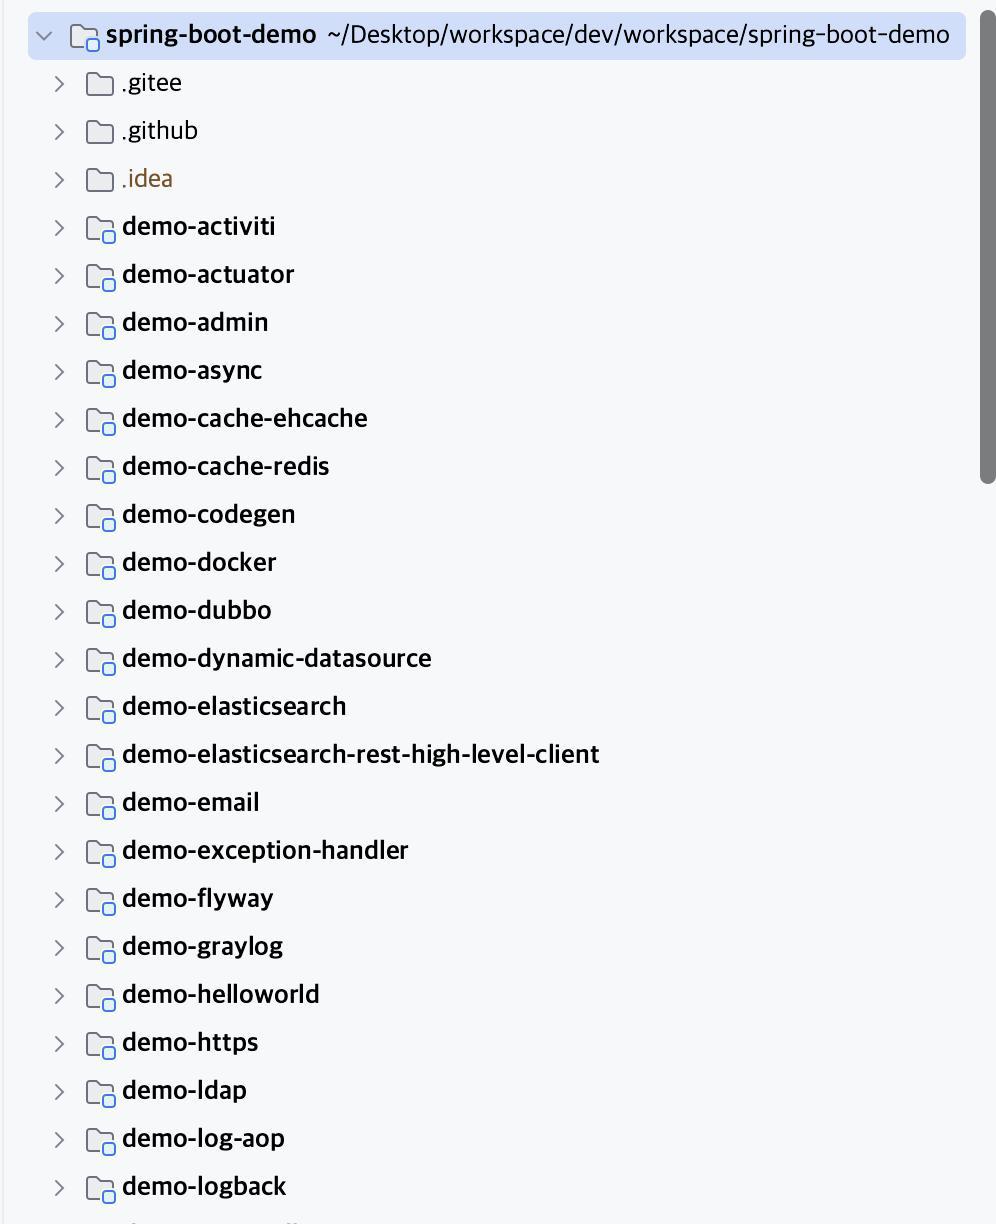
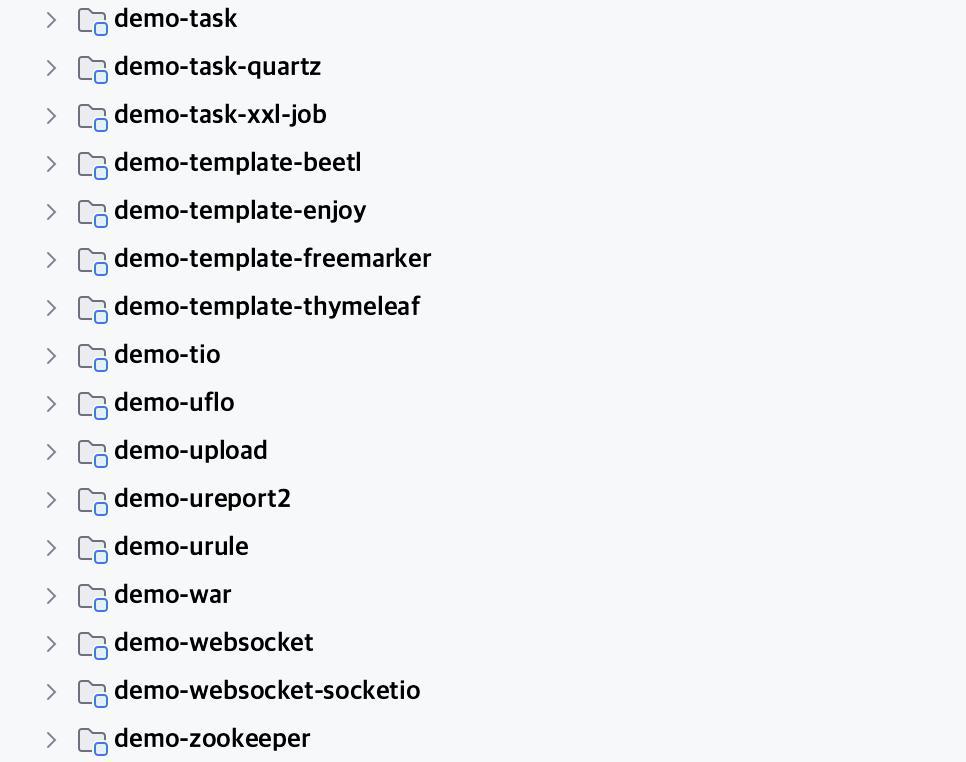
今天给大家推荐一个深度学习实战的Springboot项目,包含了服务端开发常见的55个功能示例,比如logback日志模块的配置、通过AOP切面记录日志、集成mybatisPlus、集成redis、集成RabbitMQ消息队列等等所有常见的功能。

项目作者将每一个功能都做成了一个模块,大家使用时只需要按照模块中的readme文档,一步一步的配置就可以完成一个功能的开发。

以集成mybatis-plus为例,打开demo-orm-mybatis-plus模块,
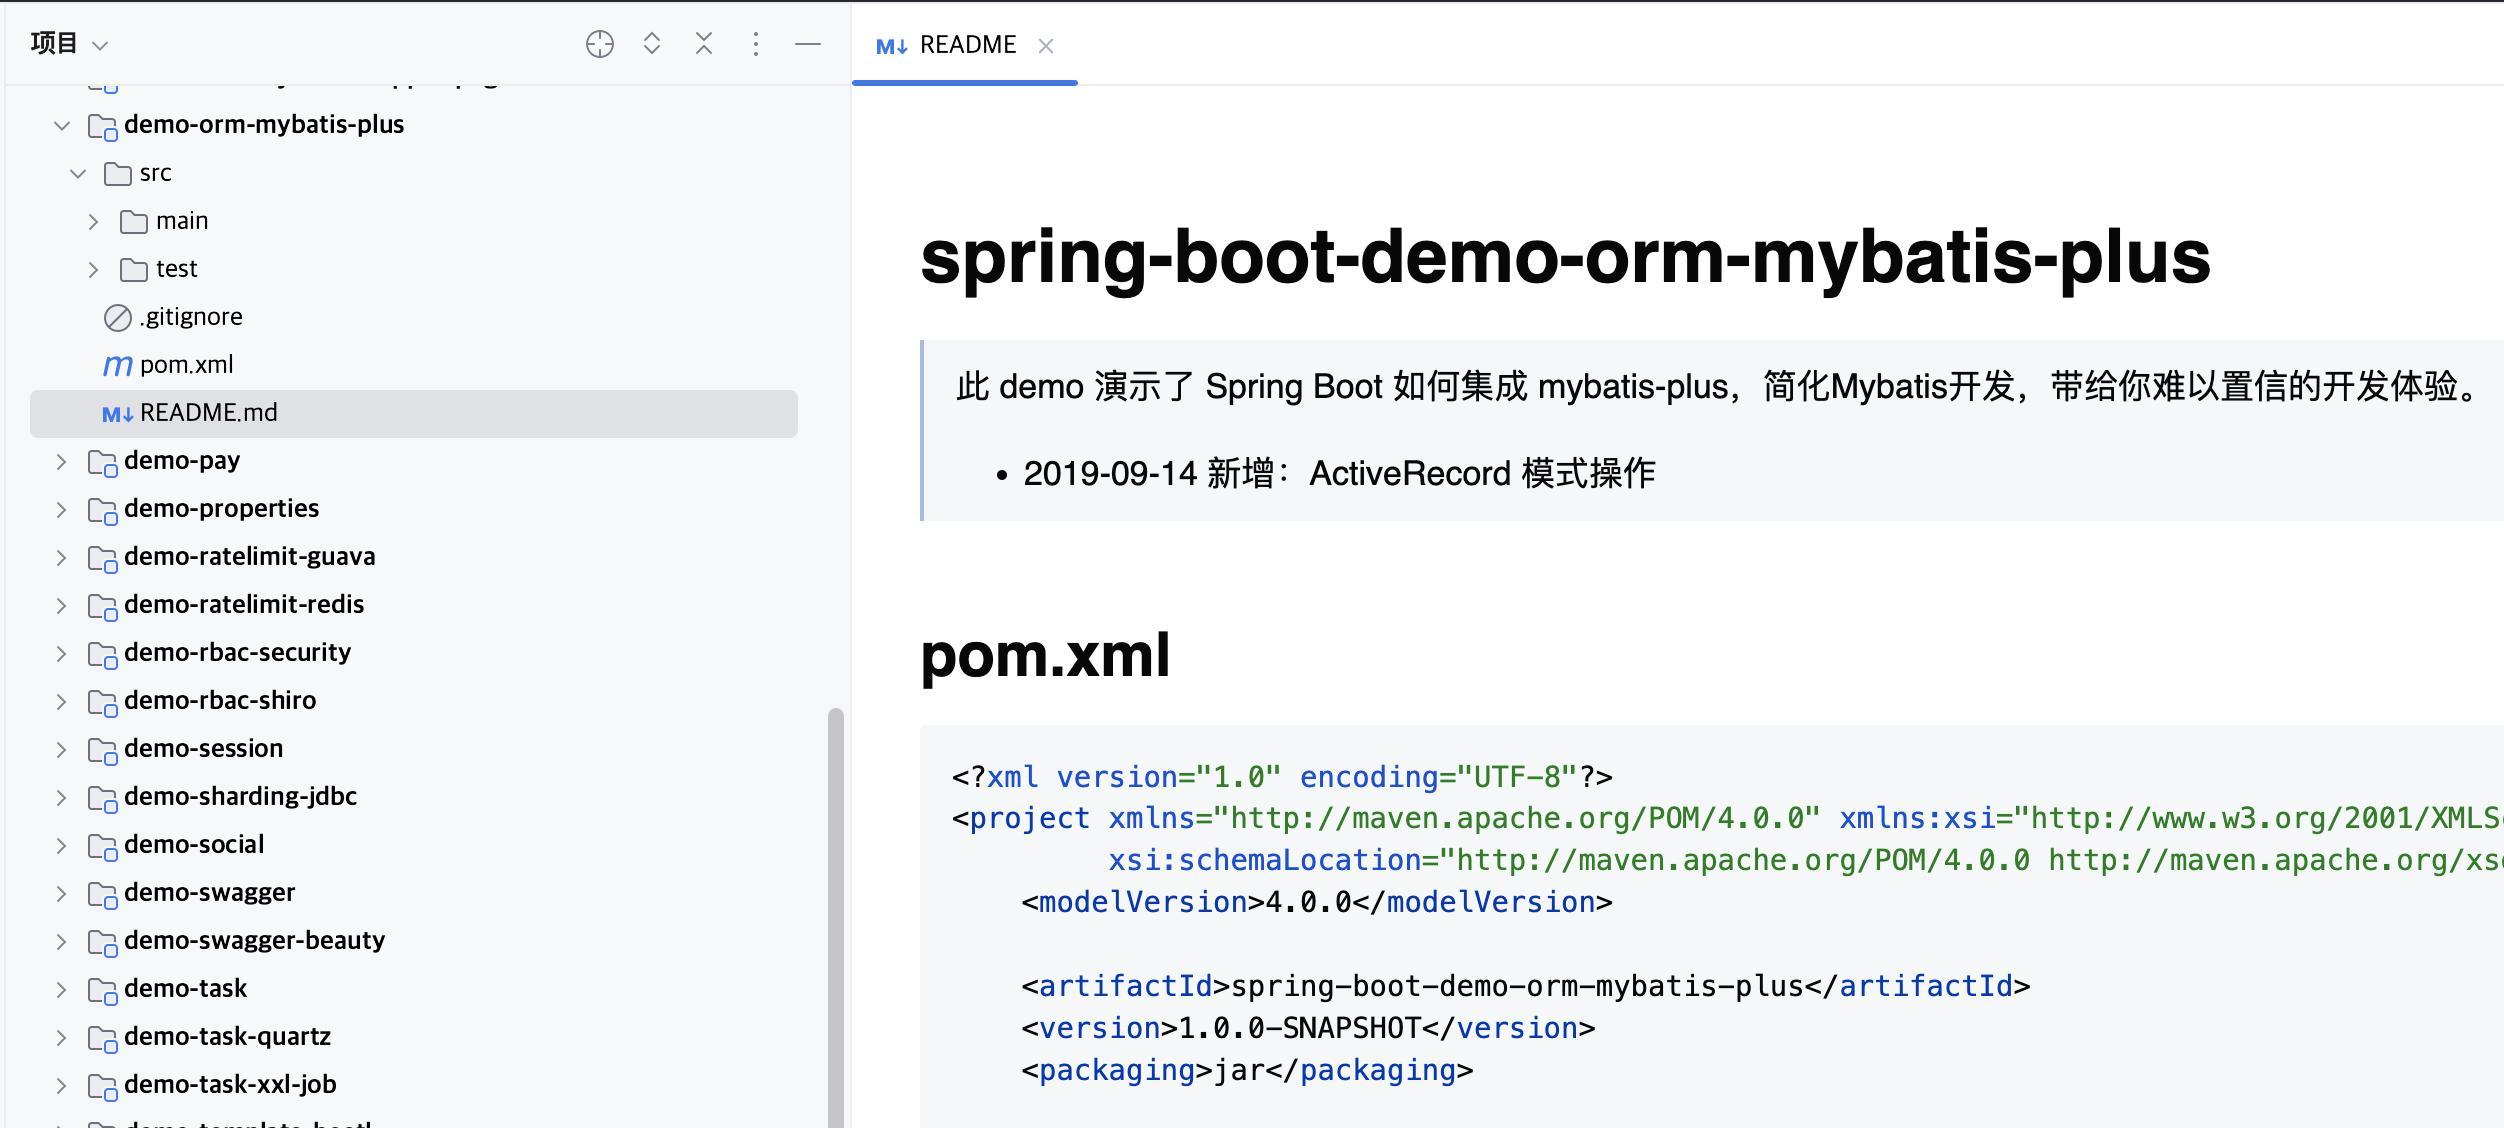
按照readme.md中步骤,即可快速完成mybatis-plus的集成。
1,引入mybatis-plus的包
<properties>
  <project.build.sourceEncoding>UTF-8</project.build.sourceEncoding>
  <project.reporting.outputEncoding>UTF-8</project.reporting.outputEncoding>
  <java.version>1.8</java.version>
  <mybatis.plus.version>3.0.5</mybatis.plus.version>
</properties>
<dependencies>
  <dependency>
    <groupId>com.baomidou</groupId>
    <artifactId>mybatis-plus-boot-starter</artifactId>
    <version>${mybatis.plus.version}</version>
  </dependency>
</dependencies>
2,配置mybatis-plus
@Configuration
@MapperScan(basePackages = {"要扫描的mapper包"})
@EnableTransactionManagement
public class MybatisPlusConfig {

    /**
     * 分页插件
     */
    @Bean
    public PaginationInterceptor paginationInterceptor() {
        return new PaginationInterceptor();
    }
}
3,字段填充(可选)
@Slf4j
@Component
public class CommonFieldHandler implements MetaObjectHandler {

    @Override
    public void insertFill(MetaObject metaObject) {
        log.info("start insert fill ....");
        this.setFieldValByName("createTime", new Date(), metaObject);
        this.setFieldValByName("lastUpdateTime", new Date(), metaObject);
    }

    @Override
    public void updateFill(MetaObject metaObject) {
        log.info("start update fill ....");
        this.setFieldValByName("lastUpdateTime", new Date(), metaObject);
    }
}
4,配置数据源
spring:
  datasource:
    url: jdbc:mysql://127.0.0.1:3306/spring-boot-demo
    username: root
    password: root
    driver-class-name: com.mysql.cj.jdbc.Driver
    type: com.zaxxer.hikari.HikariDataSource
    initialization-mode: always
    continue-on-error: true
    hikari:
      minimum-idle: 5
      connection-test-query: SELECT 1 FROM DUAL
      maximum-pool-size: 20
      auto-commit: true
      idle-timeout: 30000
      pool-name: SpringBootDemoHikariCP
      max-lifetime: 60000
      connection-timeout: 30000
logging:
  level:
    com.xkcoding: debug
    com.xkcoding.orm.mybatis.plus.mapper: trace
mybatis-plus:
  mapper-locations: classpath:mappers/*.xml
  global-config:
    # 数据库相关配置
    db-config:
      id-type: auto
     field-strategy: not_empty
      #驼峰下划线转换
      table-underline: true
      #是否开启大写命名,默认不开启
      #capital-mode: true
      #逻辑删除配置
      #logic-delete-value: 1
      #logic-not-delete-value: 0
      db-type: mysql
    refresh: true
  # 原生配置
  configuration:
    map-underscore-to-camel-case: true
    cache-enabled: true
经过以上4步,就可以轻松把mybatis-plus集成到我们的项目里面了。
这些项目的代码都是经过大家反复认证过的,只要引入的版本号没问题,就可以在我们的项目中正常的跑起来。
项目地址:
https://github.com/xkcoding/spring-boot-demo
大家clone项目以后注意看首页的readme,里面有开发环境、运行方式的说明。
我是@程序员拾山,全网同名,感谢您的点赞和关注。


 被折叠的 条评论
为什么被折叠?
被折叠的 条评论
为什么被折叠?
 到【灌水乐园】发言


