


 本文详细介绍了如何在Linux系统上搭建OpenLDAP服务器,包括关闭SELinux和firewalld,安装LDAP服务器和客户端,配置管理员密码,修改配置文件,以及如何安装和配置Apache和LDAPAccountManager以实现Web管理。
一、ldap服务搭建
1.关闭 selinux firewalld
setenforce 0
systemctl stop firewalld.service
systemctl disable firewalld.service
2. 安装LDAP服务器和客户端,migrationtools工具包
yum install -y openldap-servers openldap-clients migrationtools vim wget bzip23.设置openldap管理员密码
slappasswd

然后根据提示输入密码:
New password: 123456
Re-enter new password: 123456

会返回加密的密码字符串,保存好这个字符串
{SSHA}ySgApuXKV01RHCgMDFx4yQjNquUzyLlj
4.更改openldap配置
vim /etc/openldap/slapd.d/cn\=config\/olcDatabase\={2}hdb.ldif

找到olcSuffix,修改为你的dc,如:
dc=sol,dc=com

下一行olcRootDN, 修改为你的用户名,如:
cn=root,dc=sol,dc=com

在文件末尾添加一行,设置刚才的密码:
olcRootPW: {SSHA}U5wSSZtqOvup3HMLC+tkg32COeuBvpav
5.更改监控认证配置
vim /etc/openldap/slapd.d/cn\=config\/olcDatabase\={1}monitor.ldif

修改 olcAccess 中的dn.base=”cn=xxxxxxx”这行为刚才设置的用户名,如:
dn.base=”cn=root,dc=sol,dc=com
6.设置DB Cache
cp /usr/share/openldap-servers/DB_CONFIG.example /var/lib/ldap/DB_CONFIG
chown -R ldap:ldap /var/lib/ldap/
7.测试配置文件
slaptest -u


末尾出现configfile testing successed 说明成功了
8.启动OpenLDAP和开机启动
systemctl start slapd.service
systemctl enable slapd.service
9.导入模板
ls /etc/openldap/schema/*.ldif | xargs -I {} sudo ldapadd -Y EXTERNAL -H ldapi:/// -f {}10.创建基础目录
在/etc/openldap目录下添加base.ldif文件
cd /etc/openldap/
vim base.ldif
11.在文件中添加以下内容
dn: dc=sol,dc=com
o: ldap
objectclass: dcObject
objectclass: organization

dn: cn=root,dc=sol,dc=com
objectclass: organizationalRole
cn: root
(dc 修改为你自己的内容)
注意:每一行的结尾不要留空格
12.执行
ldapadd  -f base.ldif  -x -w 123456 -D  cn=root,dc=sol,dc=com

//-w 后面就是之前设置的密码,版主的密码是123456,根据自己的填写
二、ldap安装web管理服务
1.更新仓库源
yum -y install https://dl.fedoraproject.org/pub/epel/epel-release-latest-7.noarch.rpm
yum -y install http://rpms.remirepo.net/enterprise/remi-release-7.rpm
2.安装yum-utils包
yum -y install yum-utils3.移除php旧版本
yum remove php*4.安装php(php-fpm),指定安装版本
yum-config-manager --enable remi-php73
yum -y install php php-fpm php-mysqlnd php-zip php-devel php-gd php-redis php-mcrypt php-mbstring php-curl php-xml php-pear php-bcmath php-json php-pdo php-pecl-apcu php-pecl-apcu-devel php-ldap php-gmp
5.启动,查看版本
service php-fpm start
php -v
三、安装 Apache
1.安装httpd
yum install httpd -y2.启动httpd
systemctl start httpd
systemctl enable httpd
systemctl status httpd
四、安装LDAP Account Manager
LDAP Account Manager官方地址:LDAP Account Manager
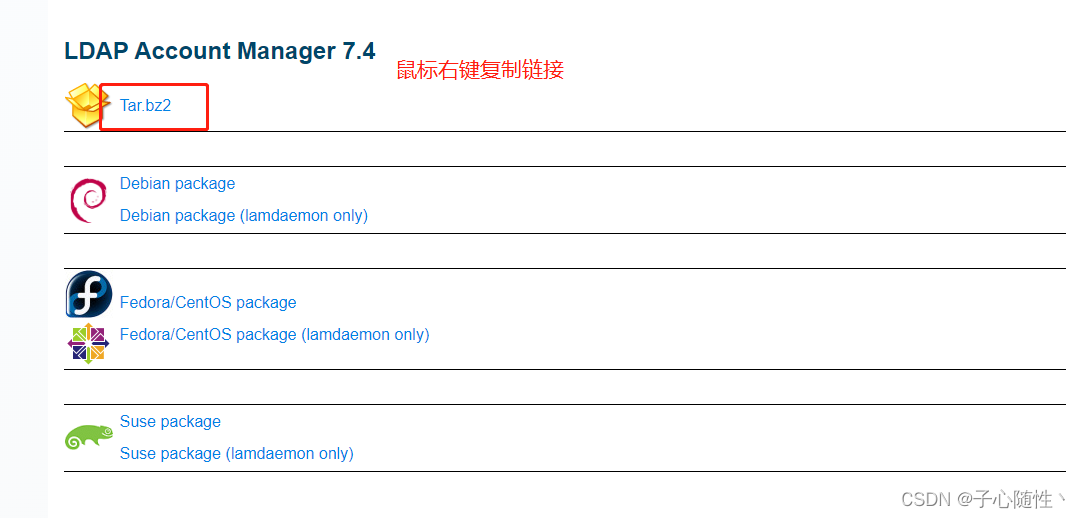
Download ldap-account-manager-7.4.tar.bz2 (LDAP Account Manager)
将 ?download 删除
1.wget下载ldap-account-manager-7.4
wget http://prdownloads.sourceforge.net/lam/ldap-account-manager-7.4.tar.bz22.解压,移动
tar jxf ldap-account-manager-7.4.tar.bz2
mv ldap-account-manager-7.4 /var/www/html/ldap
3.修改配置文件
cd /var/www/html/ldap/config
cp config.cfg.sample config.cfg
cp unix.sample.conf lam.conf
sed -i "s/dc=my-domain,dc=com/dc=sol,dc=com/g" lam.conf
sed -i "s/cn=Manager/cn=root/g" lam.conf
sed -i "s/dc=yourdomain,dc=org/dc=sol,dc=com/g" lam.conf
sed -i "s#ServerURL: ldap://localhost:389#ServerURL: ldap://自己服务器的ip:389#g" lam.conf
4.授权
chown -R apache.apache /var/www/html/ldap/5.重启httpd,php
systemctl restart httpd
systemctl restart php-fpm
6.访问:IP/ldap
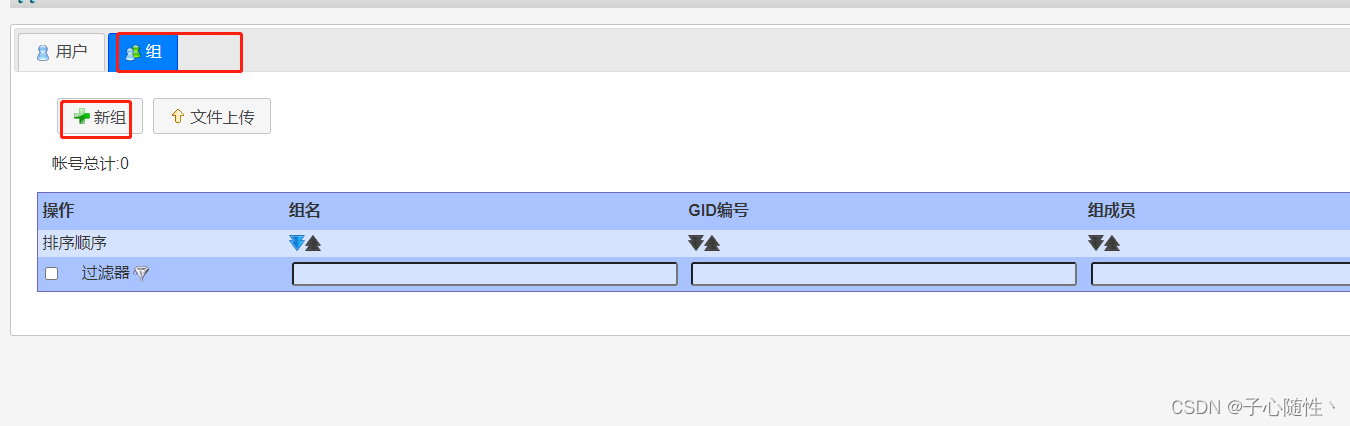
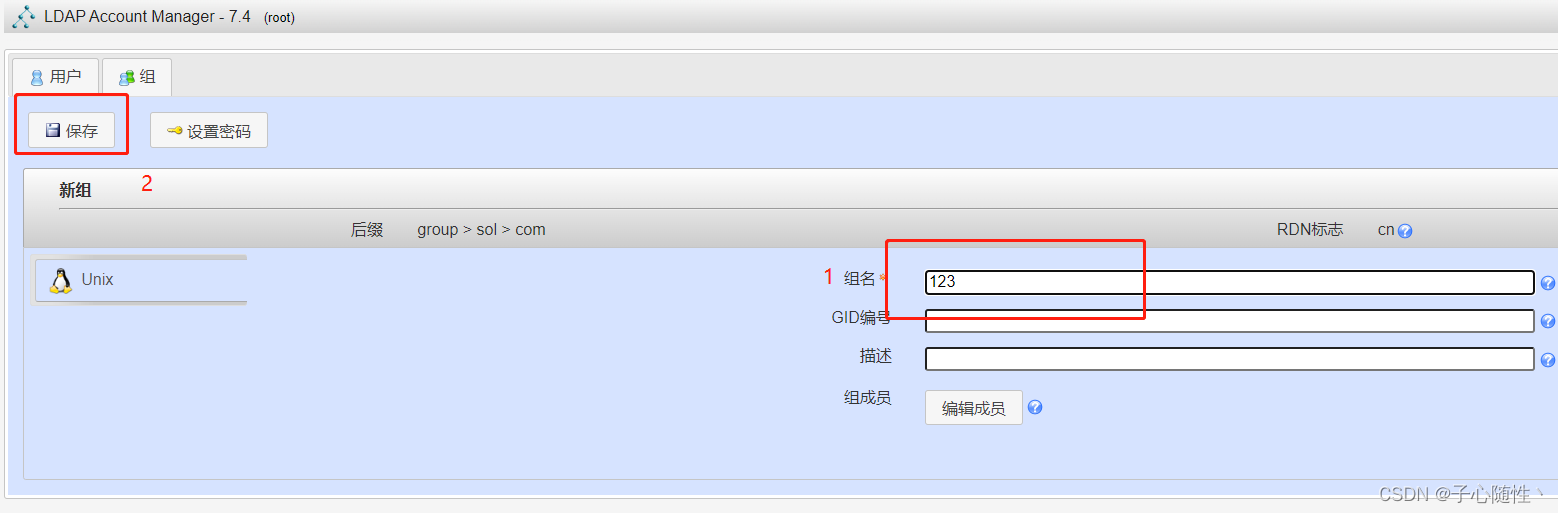
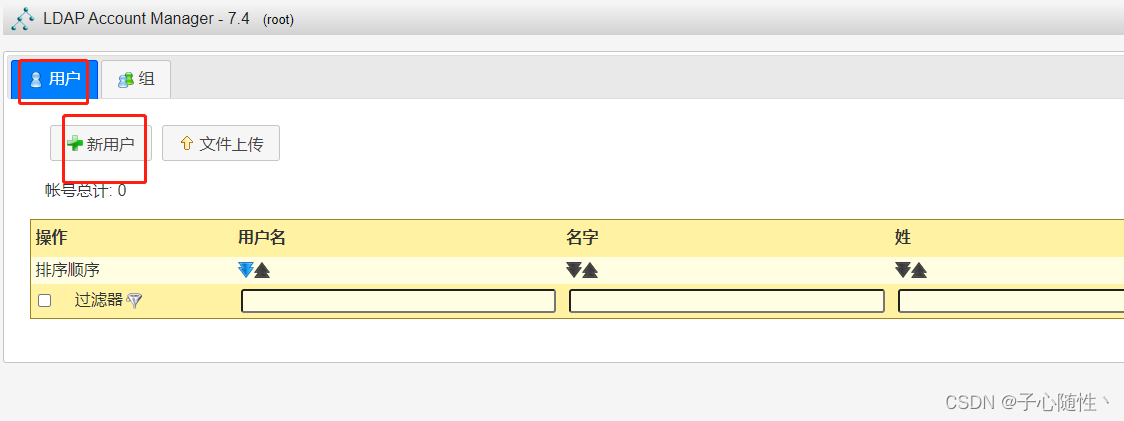
http://ip/ldap五、LDAP Account Manager使用
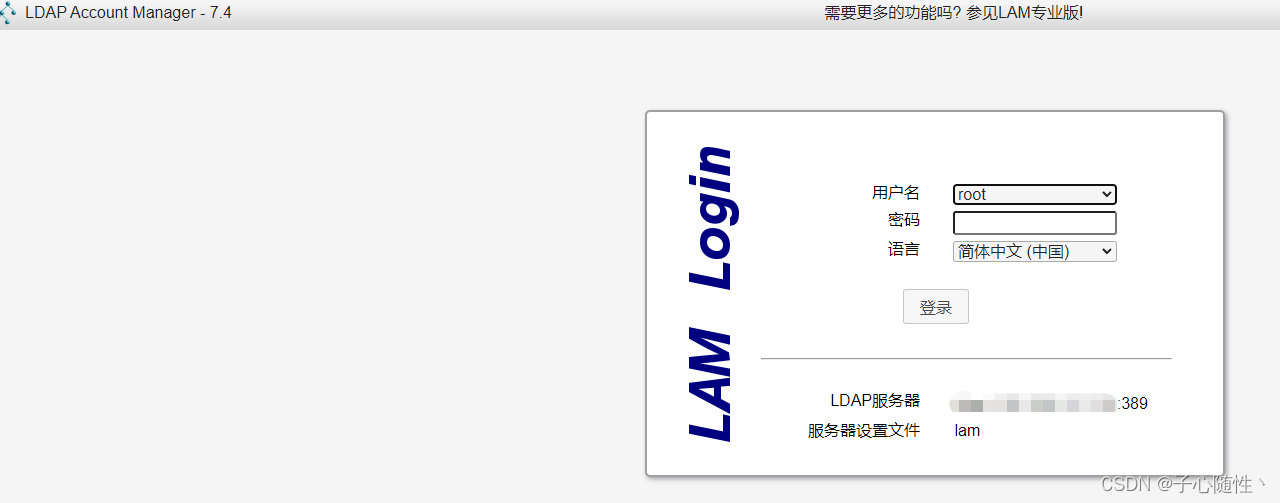
输入创建的密码:123456


 1284
1284


 被折叠的 条评论
为什么被折叠?
被折叠的 条评论
为什么被折叠?
 到【灌水乐园】发言


