


继续接着上次写,刚配置好依赖,yaml,以及AliOssService,这次就可以写控制器了。
1. AliOssController
在修改头像操作中用到阿里云的功能有上传头像以及上传头像成功之后删除原来的头像,以免占用过多阿里云的资源。
@Api
@RestController
@CrossOrigin
public class AliOssController {
    @Autowired
    private AliOssService aliOssService;

    @ApiOperation(value="上传图片文件")
    @PostMapping("/uploadImgFile")
    public Map<String,Object> uploadImgFile(MultipartFile file){
        Map<String,Object> map = new HashMap<>();
        String s = aliOssService.upload(file);
        map.put("url", s);
        map.put("state",true);
        return map;
    }

    @ApiOperation(value = "删除上传替换之后的头像")
    @PostMapping("/deleteImgFile")
    public Map<String,Object> deleteImgFile(String file){
        Map<String,Object> map = new HashMap<>();
        try{
            String[] splitFile = file.split(".com/");
            aliOssService.deleteFile(splitFile[1]);
            map.put("state",true);
        }catch (Exception e){
            map.put("state",false);
        }
        return map;
    }
}
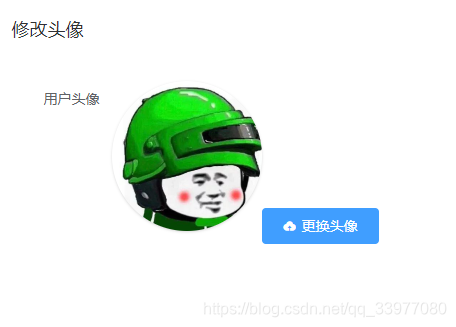
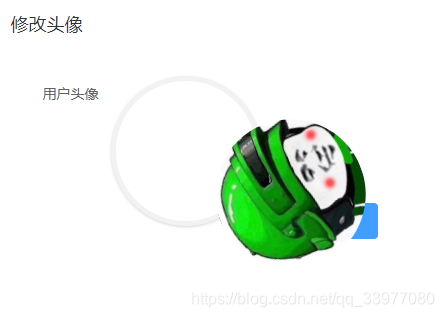
2.前端页面
这里我用到了两个插件,分别是PanThumb和ImageCropper,非常有趣,修改头像时当鼠标移动到头像上就会出现特效,如下:
插件下载网址:vue-element-admin
下载后找src/component/文件夹下的上述插件移动到项目对应的目录底下,在使用时需要现在中注册该组件。看我上传头像的前端:
<el-dialog v-bind="$attrs" :visible.sync="avatarDialogVisible" v-on="$listeners" @open="onOpen" @close="onClose" title=
    <el-row :gutter="15">
        <el-form size="medium" label-width="100px">
            <el-col :span="24">
                <!--用户头像-->
                <el-form-item label="用户头像">
                    <!--头像缩略图-->
                    <pan-thumb :image="image"/>
                    <!--文件上传按钮-->
                    <el-button type="primary" icon="el-icon-upload" @click="imagecropperShow=true">更换头像</el-button>
                    <!--
                    v-show: 是否显示上传组件
                    :key :类似于id,如果一个页面多个图片上传控件可以做区分
                    :url: 后台上传的url地址
                    @close: 关闭上传组件
                    @crop-upload-success: 上传成功后的回调-->
                    <image-cropper
                            v-show="imagecropperShow"
                            :width="300"
                            :height="300"
                            :key="imagecropperKey"
                            :url="'/uploadImgFile'"
                            field="file"
                            @close="closeImage"
                            @crop-upload-success="cropSuccess"/>
                </el-form-item>
            </el-col>
        </el-form>
    </el-row>
    <div slot="footer">
        <el-button @click="close">取消</el-button>
        <el-button type="primary" @click="handelConfirm">确定</el-button>
    </div>
</el-dialog>
3. 功能函数的实现
同时里面还有好多组件需要在data里面声明以及方法未实现。
<script>
    import ImageCropper from '../components/ImageCropper'
    import PanThumb from '../components/PanThumb'
    export default {
        name: "Main",
        data(){
            return{
                isCollapse: false,
                activePath: '',
                loading: false,
                user: [],
                avatarDialogVisible: false,
                id: '',
                image: '',
                imagecropperShow: false,
                imagecropperKey: 0,
            }
        },
        components:{
          ImageCropper,
          PanThumb
        },
        mounted:function () {
            this.id = this.$route.query.id;
            this.$axios.get("http://localhost:8087/user/findById?id="+this.id).then( res=> {
                console.log(res);
                this.image = res.data.user.avatar;
            });
        },
        methods:{
            toggleCollapse(){
                this.isCollapse = !this.isCollapse;
            },
            handleOpen(key, keyPath) {
                console.log(key, keyPath);
            },
            handleClose(key, keyPath) {
                console.log(key, keyPath);
            },
            changeAvatar(){
                this.$axios.get("http://localhost:8087/user/findById?id="+this.id).then( res=> {
                    console.log(res);
                    this.image = res.data.user.avatar;
                    this.avatarDialogVisible = true;
                })

            },
            goToMain(){
                this.$router.push("/system/welcome?id="+this.id);
            },
            onOpen(){},
            onClose(){
            },
            close(){
                this.$emit('update:visible', false)
            },
            closeImage(){
                this.imagecropperShow = false;
                //上传失败后,重新打开上传组件时初始化组件,否则显示上一次的上传结果
                this.imagecropperKey = this.imagecropperKey + 1;
            },
            cropSuccess(data){
                console.log(data);
                let oldImg = this.image; //成功回调之后获取后台返回的url
                this.imagecropperShow = false;
                this.image = data.url;
                //上传成功后,重新打开上传组件时初始化组件,否则显示上一次的上传结果
                this.imagecropperKey = this.imagecropperKey + 1;
                //上传成功之后删除原来的图像,以免占用过多的空间
                this.deleteAvatar(oldImg);
            },
            async deleteAvatar(oldImage){
                this.$axios.post("http://localhost:8087/deleteImgFile",oldImage).then(res=>{
                    console.log(res);
                    console.log("删除照片操作!");
                });
            },
            async handelConfirm(){
                this.$axios.post("http://localhost:8087/user/saveAvatar?id="+this.id+"&avatar="+this.image).then(res=>{
                    console.log(res);
                    this.avatarDialogVisible = false;
                })

            },
        }
    }
</script>
4. 修改头像存到数据库
后端UserController的功能是,在对话框打开时需要在数据库中查找到用户的头像信息返回到前端,然后当用户修改成功之后将用户的头像信息保存到数据库中。
@GetMapping("/findById")
@ApiOperation(value="查找用户",notes="根据id查找用户信息")
public Map<String,Object> findById(@RequestParam(required = true)Long id){
    Map<String,Object> map = new HashMap<>();
    try {
        User user = userService.findById(id);
        map.put("state",true);
        map.put("user",user);
        map.put("msg","用户查找成功");
    }catch(Exception e){
        map.put("state",false);
        map.put("msg",e.getMessage());
    }
    return map;
}
@PostMapping("/saveAvatar")
public Map<String,Object> saveAvatar(@RequestParam(required = true)Long id,
                                     @RequestParam(required = true)String avatar){
    log.info("id:{},avatar:{}",id,avatar);
    Map<String,Object> map = new HashMap<>();
    userService.updateAvatar(id,avatar);
    map.put("state",true);
    map.put("msg","修改头像成功");
    return map;
}
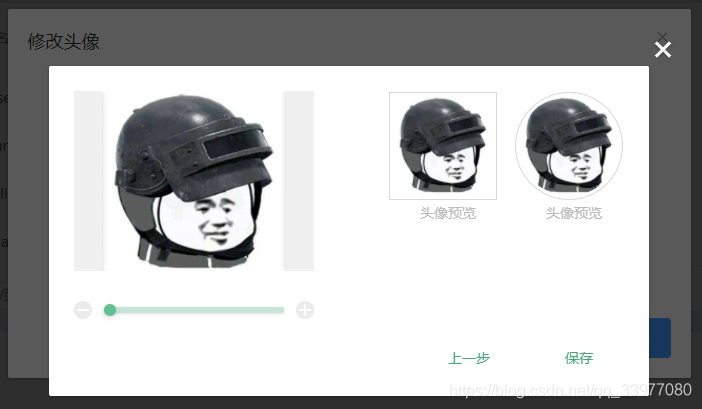
至此大功告成,就这花了我一天的时间,菜鸡的摸鱼历程,实属不易放上几张成果图:

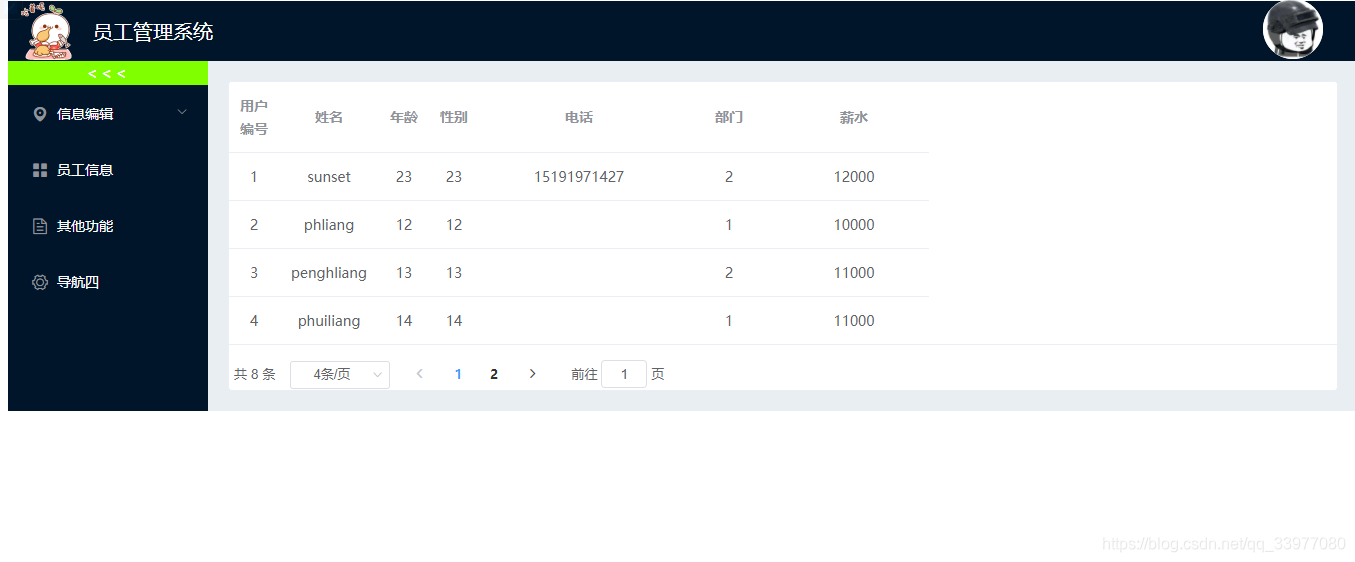
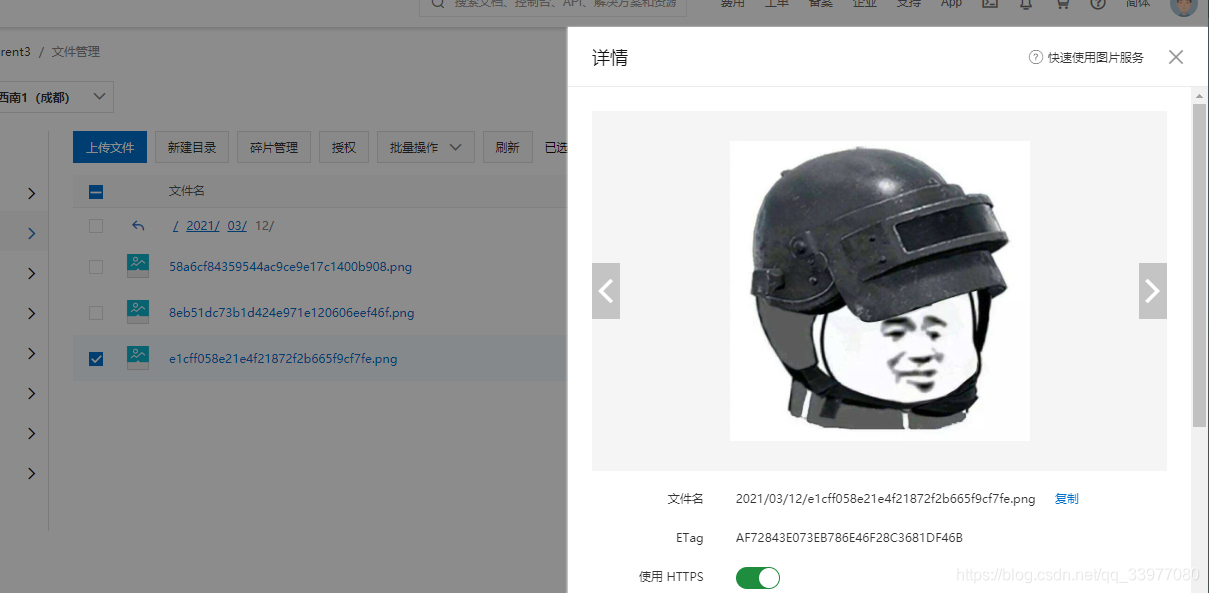
bingo,感谢观看!


 2520
2520


 被折叠的 条评论
为什么被折叠?
被折叠的 条评论
为什么被折叠?
 到【灌水乐园】发言


