


原文地址,转载请注明出处:https://blog.csdn.net/qq_34021712/article/details/79329919 ©王赛超
有两种运行和安装elasticsearch-head的方法
1.作为ElasticSearch插件运行(6.2版本貌似不支持作为es插件运行)
elasticsearch/bin/plugin install mobz/elasticsearch-head然后浏览器访问http://localhost:9200/进行查看
2.作为独立的webapp运行(推荐)
先安装必要插件,否则报-bash: npm: 未找到命令
安装node.js
①先安装,nvm,即是Node Version Manager(Node版本管理器)
wget -qO- https://raw.githubusercontent.com/creationix/nvm/v0.33.2/install.sh | bash②之后需要激活nvm:
source ~/.nvm/nvm.sh③激活完成后,安装node
nvm install node④安装完成后,切换到该版本
nvm use node安装grunt
grunt是基于Node.js的项目构建工具,可以进行打包压缩、测试、执行等等的工作,head插件就是通过grunt启动cd /usr/local/elk/elasticsearch/elasticsearch-head
npm install -g grunt-cli执行后会生成node_modules文件夹,grunt -version检查是否安装成功。
安装Head插件cd /usr/local/elk/elasticsearch/
git clone git://github.com/mobz/elasticsearch-head.git
cd elasticsearch-head/
npm install目录:elasticsearch-head/Gruntfile.js,增加hostname属性,设置为*
connect: {
    server: {
        options: {
            port: 9100,
            hostname: '*',
            base: '.',
            keepalive: true
        }
    }
}目录:elasticsearch-head/_site/app.js,把localhost修改成你es的服务器地址,如:
this.base_uri = this.config.base_uri || this.prefs.get("app-base_uri") || "http://192.168.8.101:9200";使用 grunt server 或 npm run start 启动插件。
访问http://192.168.8.101:9100/ 出现以下画面,代表启动成功
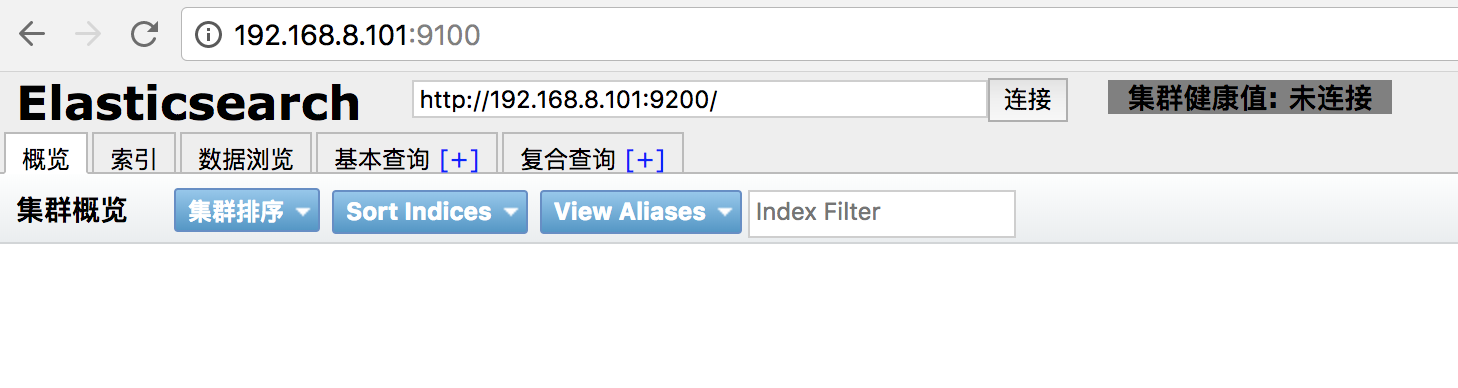
异常:点解 连接 按钮连接集群,发现无论如何点击都没有反应,还需要在es上进行以下设置,开启跨域访问支持
vim /usr/local/elk/elasticsearch/config/elasticsearch.yml 在最后添加以下三条属性:
http.cors.enabled: true
http.cors.allow-origin: "*"
http.cors.allow-credentials: true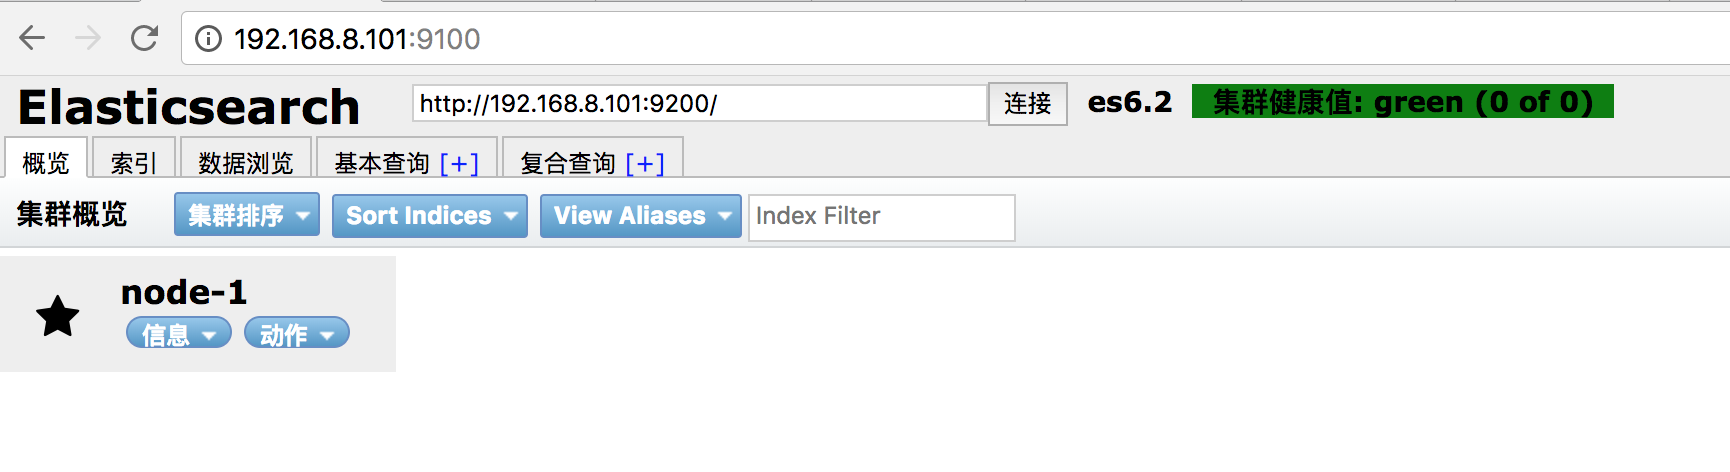
elasticsearch安装x-pack插件之后,head插件就无法使用了,因为x-pack中加入了安全模块(security机制),这个时候需要在elasticseach.yml中再增加下面一行配置即可解决。
http.cors.allow-headers: Authorization,X-Requested-With,Content-Length,Content-Typehttp://172.20.1.187:9100/?auth_user=elastic&auth_password=123456
Head插件官网
插件官网地址https://github.com/mobz/elasticsearch-head官方安装文档http://mobz.github.io/elasticsearch-head/


 8291
8291

 被折叠的 条评论
为什么被折叠?
被折叠的 条评论
为什么被折叠?
 到【灌水乐园】发言


