


属性传值:一般用于正向传值,即第一个界面传值给第二个界面
在这么多的界面传值里面属性传值属于最简单的,我们只需要记住以下两点:
1.要在接收值的界面(SecondViewController)中声明属性即文中: labelString
2.要在跳转界面的同时将要传的赋值给下个控制器对象的属性即文中的这个操作: secondVc.labelString =textF.text;
那么我们废话不多说,马上上代码
1.首先我们新建一个SecondViewController,新建工程那个ViewController作为FirstViewController.
2.在SecondViewController.h文件 里面声明一个属性labelString;
#import <UIKit/UIKit.h>

@interface SecondViewController : UIViewController

//声明属性:用来接收上个页面传过来的值
@property (nonatomic,strong)NSString *labelString;
@end
3.在SecondViewController.m文件里面 的viewDidLoad方法里面创建一个UIlabel
#import "SecondViewController.h"
@interface SecondViewController ()
@end
@implementation SecondViewController
- (void)viewDidLoad {
[super viewDidLoad];
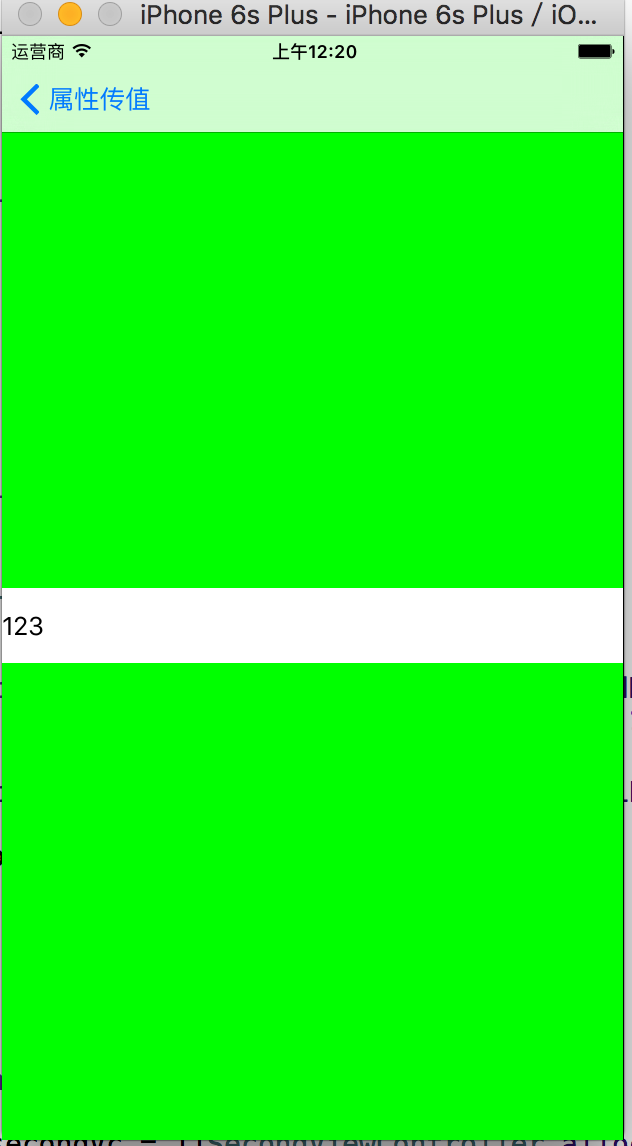
self.view.backgroundColor = [UIColor greenColor];
UILabel *label = [[UILabel alloc]initWithFrame:CGRectMake(0, self.view.bounds.size.height/2, self.view.bounds.size.width, 50)];
// 在标签上展示上个界面传过来的值
label.text = _labelString;
label.backgroundColor = [UIColor whiteColor];
[self.view addSubview:label];
}4.现在我们回到ViewController里面,先导入一下SecondViewController头文件.
然后新建一个方法,用来创建一个UITextField 和 UIButton
-(void)creatTextField{
// 创建textField
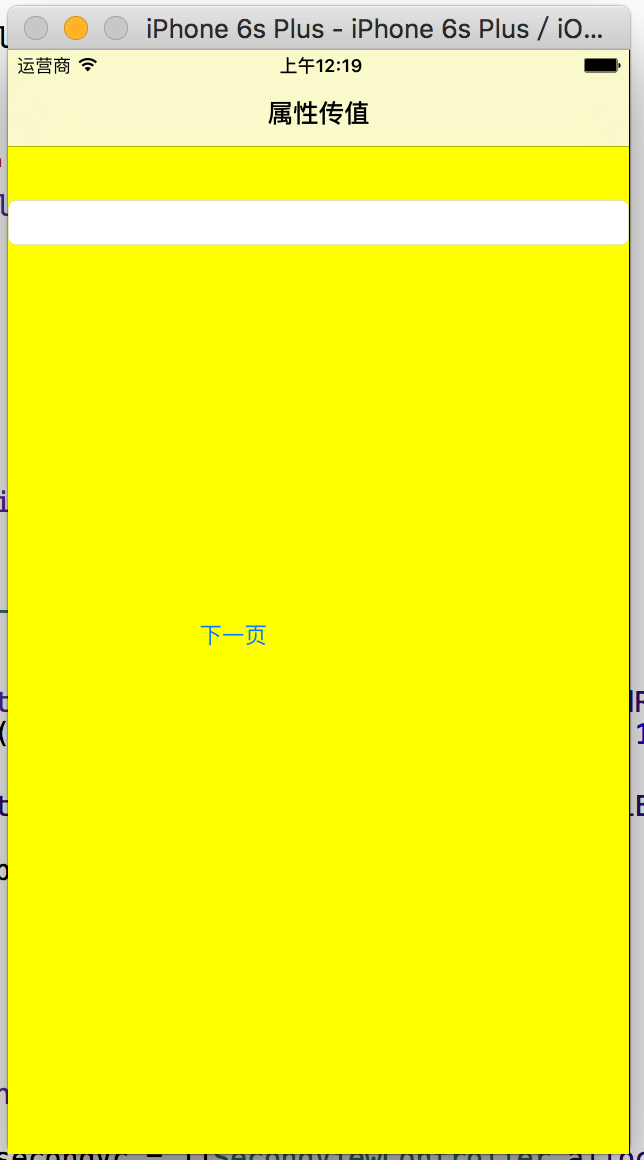
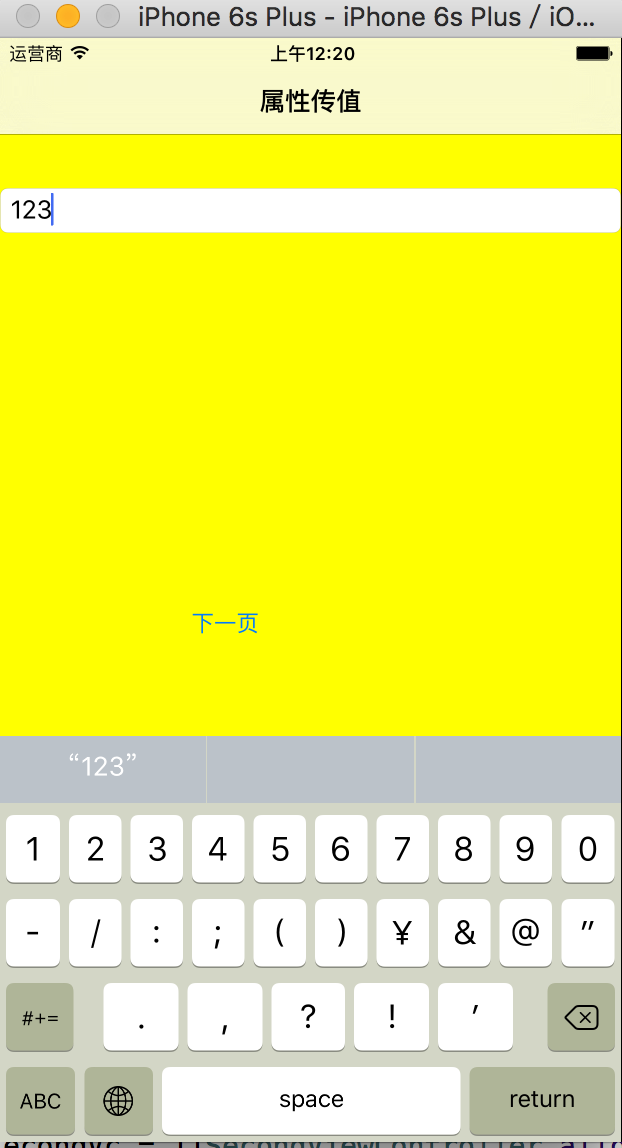
_textField = [[UITextField alloc]initWithFrame:CGRectMake(0, 100, self.view.bounds.size.width, 30)];
_textField.borderStyle = UITextBorderStyleRoundedRect;
[self.view addSubview:_textField];
// 创建一个Btn
UIButton *btn = [UIButton buttonWithType:UIButtonTypeRoundedRect];
btn.frame = CGRectMake(100, self.view.bounds.size.height/2, 100, 44);
[btn setTitle:@"下一页" forState:UIControlStateNormal];
[btn addTarget:self action:@selector(nextAction:) forControlEvents:UIControlEventTouchUpInside];
[self.view addSubview:btn];
}
5.实现一下button里面的点击事件方法,并且实现跳转到SecondViewController的方法的同时为下个控制器的属性赋值
-(void)nextAction:(UIButton *)sender{

    SecondViewController *secondVc = [[SecondViewController alloc]init];

//    赋值给下个控制器的属性
    secondVc.labelString = _textField.text;
    [self.navigationController pushViewController:secondVc animated:YES];


}
这里是通过navigationController实现跳转的,所以稍后我们需要在AppDelegate里面创建一个UINavigationController
6.回到我们的viewDidLoad里面调用一下我们刚刚写的创建UITextField 和 UIButton的方法
#import "ViewController.h"
#import "SecondViewController.h"
@interface ViewController ()
@property (nonatomic,strong) UITextField *textField;


@end

@implementation ViewController

- (void)viewDidLoad {
    [super viewDidLoad];
    self.title = @"属性传值";
    self.view.backgroundColor = [UIColor yellowColor];
    [self creatTextField];

}
7.要实现跳转的功能,我们需要在AppDelegate里面创建一个UINavigationController
#import "AppDelegate.h"
#import "ViewController.h"
@interface AppDelegate ()

@end

@implementation AppDelegate


- (BOOL)application:(UIApplication *)application didFinishLaunchingWithOptions:(NSDictionary *)launchOptions {

//    创建导航栏
    self.window.rootViewController = [[UINavigationController alloc]initWithRootViewController:[[ViewController alloc]init]];
    [self.window makeKeyAndVisible];

    return YES;
}
8.模拟器效果如下


 2219
2219


 被折叠的 条评论
为什么被折叠?
被折叠的 条评论
为什么被折叠?
 到【灌水乐园】发言


