


集成步骤:
一、注册极光账号后创建应用
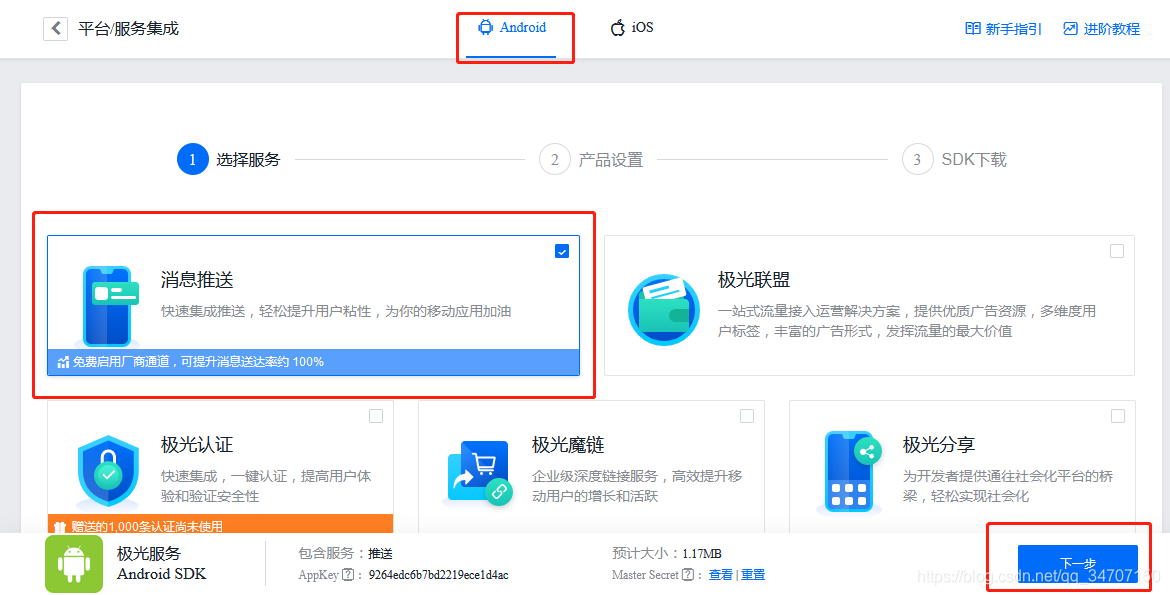
1、创建应用

2、选择消息推送
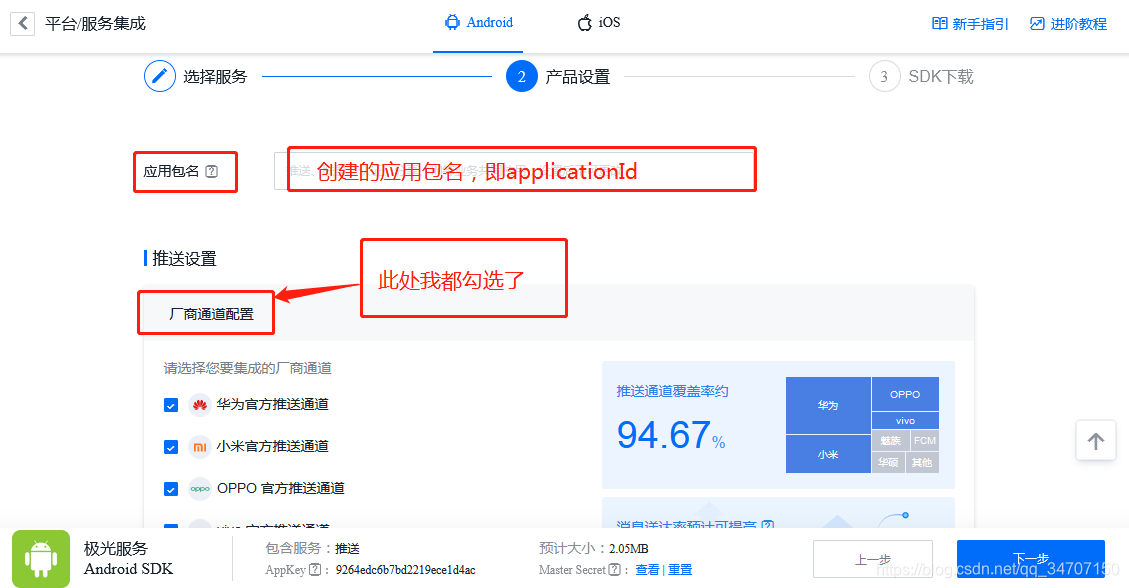
3、输入AndroidStudio中新建的项目的应用包名和选择厂家通道
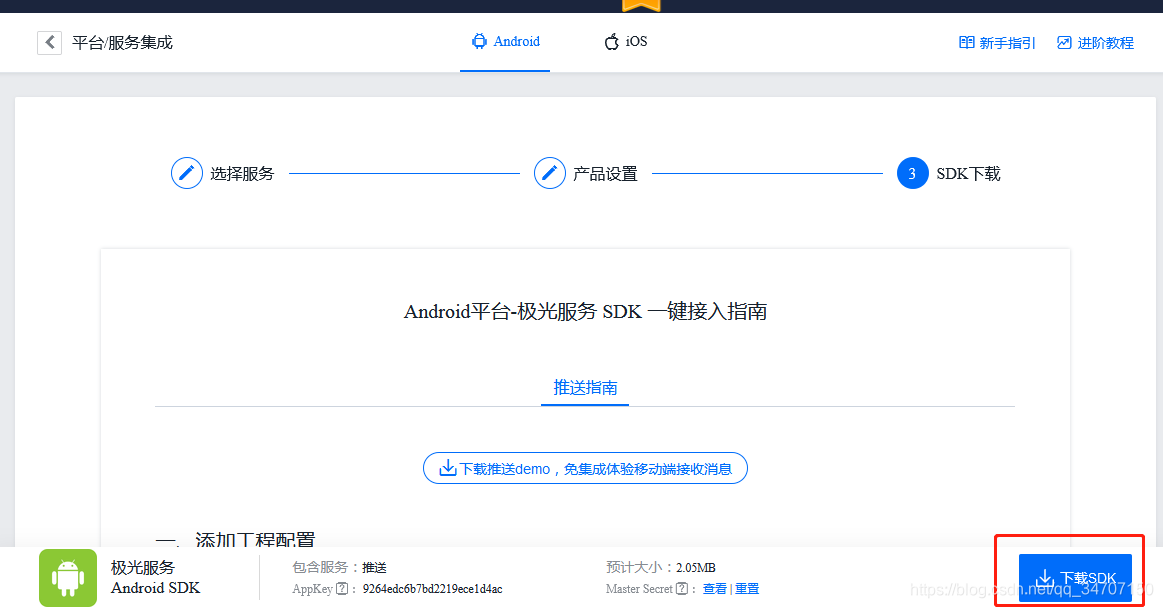
5、下载推送sdk或下载推送demo完成集成
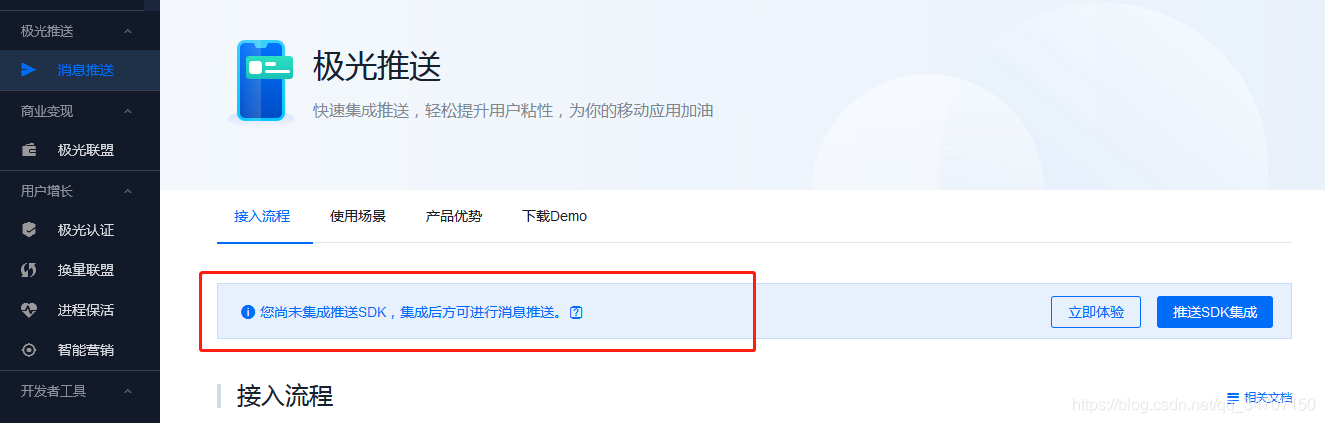
注意:这一步一定要完成,否则通过不了。会提示如下信息,无法完成推送的集成。
二、项目中的配置
即可根据上方下载的SDK中配置,也可使用下方简单的jcenter配置方式,我更喜欢下方的jcenter方式,原因就是比较简单,容易上手。
一、添加工程配置
1、Project 根目录的主 gradle
确认 android studio 的 Project 根目录的主 gradle 中配置了 jcenter 支持(新建 project 默认配置就支持),配置华为和 FCM Maven 代码库,,可根据华为和 FCM 发布的版本更新选择最新版本:
    buildscript {
            repositories {
                google()
                center()
                // hms
                maven { url 'http://developer.huawei.com/repo/'}
                // fcm
                maven { url "https://maven.google.com" }
              }

             dependencies {
                // fcm
                classpath 'com.google.gms:google-services:4.3.4'
                // hms
                classpath 'com.huawei.agconnect:agcp:1.4.1.300'
             }
         }

        allprojects {
              repositories {
                google()
                jcenter()
                //hms
                maven {url 'http://developer.huawei.com/repo/'}
                //fcm
                maven { url "https://maven.google.com" }
              }
          }
2、module 的 gradle配置
在 module 的 gradle 中添加依赖和 AndroidManifest 的替换变量,集成极光推送SDK和厂商通道SDK,其中厂商组合选择所需的通道即可。
        android {
                ......
                defaultConfig {
                    applicationId "com.xxx.xxx" //JPush 上注册的包名.
                    ......

                    ndk {
                        //选择要添加的对应 cpu 类型的 .so 库。
                        abiFilters 'armeabi', 'armeabi-v7a', 'arm64-v8a'
                        // 还可以添加 'x86', 'x86_64', 'mips', 'mips64'
                    }

                    manifestPlaceholders = [
                        JPUSH_PKGNAME : applicationId,
                        JPUSH_APPKEY : "你的 Appkey ", //JPush 上注册的包名对应的 Appkey.
                        JPUSH_CHANNEL : "developer-default", //暂时填写默认值即可.
                        MEIZU_APPKEY : "MZ-魅族的APPKEY",
                        MEIZU_APPID : "MZ-魅族的APPID",
                        XIAOMI_APPID : "MI-小米的APPID",
                        XIAOMI_APPKEY : "MI-小米的APPKEY",
                        OPPO_APPKEY : "OP-oppo的APPKEY",
                        OPPO_APPID : "OP-oppo的APPID",
                        OPPO_APPSECRET : "OP-oppo的APPSECRET",
                        VIVO_APPKEY : "vivo的APPKEY",
                        VIVO_APPID : "vivo的APPID"
                    ]
                    ......
                }
                ......
            }


            dependencies {
                ......

                implementation 'cn.jiguang.sdk:jcore:2.7.2'  // 此处以JCore 2.7.2 版本为例。
                implementation 'cn.jiguang.sdk:jpush:4.0.0'  // 此处以JPush 4.0.0 版本为例
                // 接入华为厂商
                implementation 'com.huawei.hms:push:4.0.2.300'
                implementation 'cn.jiguang.sdk.plugin:huawei:4.0.0'// 极光厂商插件版本与接入 JPush 版本保持一致,下同
                // 接入 FCM 厂商
                implementation 'com.google.firebase:firebase-messaging:21.0.1'
                implementation 'cn.jiguang.sdk.plugin:fcm:4.0.0'
                // 接入魅族厂商
                implementation 'cn.jiguang.sdk.plugin:meizu:4.0.0'
                // 接入 VIVO 厂商
                implementation 'cn.jiguang.sdk.plugin:vivo:4.0.0'
                // 接入 OPPO 厂商
                implementation 'cn.jiguang.sdk.plugin:oppo:4.0.0'
                // 接入小米厂商
                implementation 'cn.jiguang.sdk.plugin:xiaomi:4.0.0'
                ......
            }

            apply plugin: 'com.google.gms.google-services'
            apply plugin: 'com.huawei.agconnect'
3、应用 Module 配置
如果选择的厂商通道包含了HUAWEI厂商通道和FCM厂商通道,则需要额外执行以下操作,若未选择可忽略本步骤。
FCM:在 Firebase 上创建和 JPush 上同包名的待发布应用,创建完成后下载该应用的 google-services.json 配置文件并添加到应用的 module 目录下。
HUAWEI:在 Huawei 上创建和 JPush 上同包名的待发布应用,创建完成后下载该应用的 agconnect-services.json 配置文件并添加到应用的 module 目录下。
二 、配置推送必须组件
在 AndroidManifest 中配置一个Service,以在更多手机平台上获得更稳定的支持,示例如下:
     <!-- Since JCore2.0.0 Required SDK核心功能-->
        <!-- 可配置android:process参数将Service放在其他进程中;android:enabled属性不能是false -->
        <!-- 这个是自定义Service,要继承极光JCommonService,可以在更多手机平台上使得推送通道保持的更稳定 -->
        <service android:name="xx.xx.XService"
                android:enabled="true"
                android:exported="false"
                android:process=":pushcore">
                <intent-filter>
                    <action android:name="cn.jiguang.user.service.action" />
                </intent-filter>
        </service>
从JPush3.0.7开始,需要配置继承JPushMessageReceiver的广播,原来如果配了MyReceiver现在可以弃用。示例如下。
     <!-- Required since 3.0.7 -->
        <!-- 新的 tag/alias 接口结果返回需要开发者配置一个自定的广播 -->
        <!-- 3.3.0开始所有事件将通过该类回调 -->
        <!-- 该广播需要继承 JPush 提供的 JPushMessageReceiver 类, 并如下新增一个 Intent-Filter -->
        <receiver
            android:name="自定义 Receiver"
            android:enabled="true"
            android:exported="false" >
            <intent-filter>
                    <action android:name="cn.jpush.android.intent.RECEIVE_MESSAGE" />
                    <category android:name="您应用的包名" />
            </intent-filter>
        </receiver>
四 、初始化推送服务
JPush SDK 提供的 API 接口,都主要集中在 cn.jpush.android.api.JPushInterface 类里。
public class ExampleApplication extends Application {
    @Override
        public void onCreate() {
            super.onCreate();
            JPushInterface.setDebugMode(true);
            JPushInterface.init(this);
       }
   }
三、推送测试
上述完成后推送消息显示预估人数为0,开始以为是延迟,后来发现消息根本推送不出去,消息错误如下:

最后发现是项目的AndroidManifest中配置出错,添加如下配置推送成功。
<!-- 此处的权限一定要记得添加,否则会出现推送 -->
<permission
    android:name="${JPUSH_PKGNAME}.permission.JPUSH_MESSAGE"
    android:protectionLevel="signature" />
<!-- Required  一些系统要求的权限,如访问网络等 -->
<uses-permission android:name="${JPUSH_PKGNAME}.permission.JPUSH_MESSAGE" />
最后分享一个消息自定义和跳转的连接 https://www.jianshu.com/p/28a0517f5656


 489
489

 被折叠的 条评论
为什么被折叠?
被折叠的 条评论
为什么被折叠?
 到【灌水乐园】发言


