


下载安装sentinel
需要的环境 java 1.8
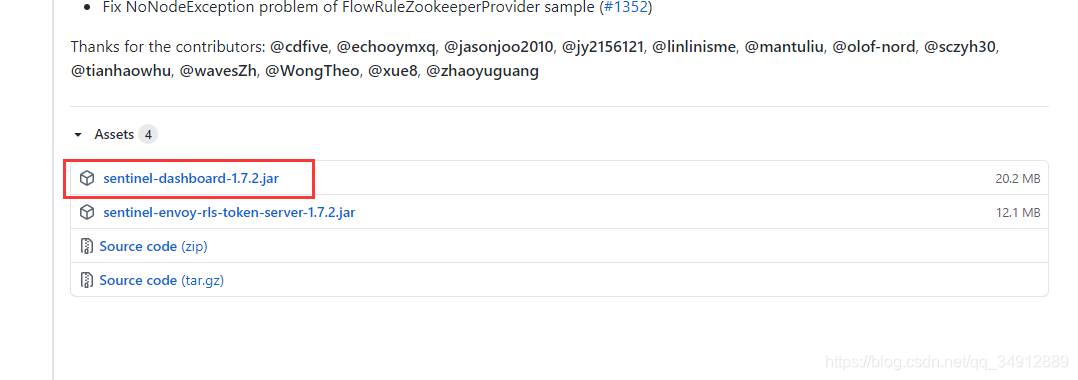
下载
github下载地址:
https://github.com/alibaba/Sentinel/releases
我这里下载的是1.7.2版本的
运行
下载好了之后就可以使用java命令运行
java -jar sentinel-dashboard-1.7.2.jar
sentinel默认的启动端口是8080,如果端口被占用使用-Dserver.port=xxxx指定其他端口
比如使用8081:java -Dserver.port=8081 -jar sentinel-dashboard-1.7.2.jar
我没有开启tomcat就默认使用8080了
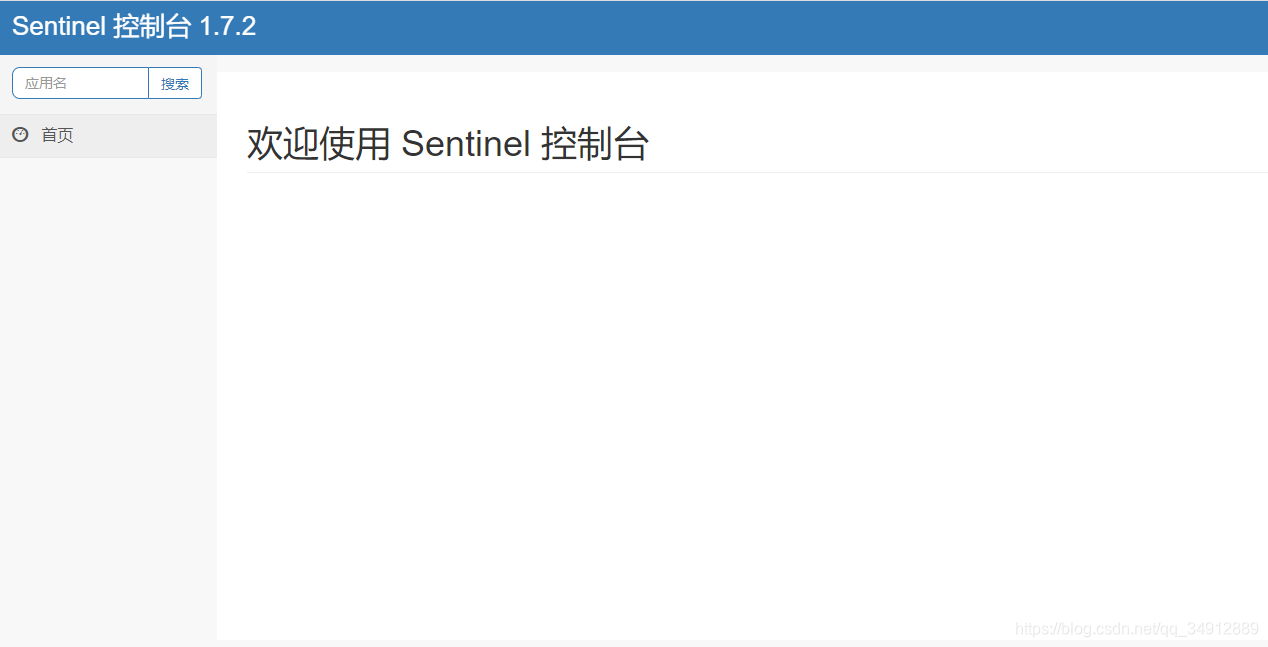
启动成功后就访问 localhost:8080 就可以了,
需要先登陆,默认的账号密码都是 sentinel
登陆后就是下面这个界面,因为是sentinel是懒加载的,现在没有任何被监控的实例所以界面上现在什么都没有
写个项目来测试下
创建项目
因为我在学习过程中有很多的微服务要建,所以建了一个聚合工程
父pom依赖
<dependencyManagement>
  <dependencies>
	<dependency>
        <groupId>org.springframework.boot</groupId>
        <artifactId>spring-boot-dependencies</artifactId>
        <version>2.2.2.RELEASE</version>
        <type>pom</type>
        <scope>import</scope>
      </dependency>

      <dependency>
        <groupId>org.springframework.cloud</groupId>
        <artifactId>spring-cloud-dependencies</artifactId>
        <version>Hoxton.SR1</version>
        <type>pom</type>
        <scope>import</scope>
      </dependency>

      <dependency>
        <groupId>com.alibaba.cloud</groupId>
        <artifactId>spring-cloud-alibaba-dependencies</artifactId>
        <version>2.1.0.RELEASE</version>
        <type>pom</type>
        <scope>import</scope>
      </dependency>

  </dependencies>
</dependencyManagement>
新建一个module
名称:cloud-alibaba-sentinel-service8401
maven依赖
<dependency>
 	<groupId>com.alibaba.cloud</groupId>
    <artifactId>spring-cloud-starter-alibaba-sentinel</artifactId>
</dependency>
<!-- sentinel后续做持久化用到-->
<dependency>
    <groupId>com.alibaba.csp</groupId>
    <artifactId>sentinel-datasource-nacos</artifactId>
</dependency>
<dependency>
    <groupId>com.alibaba.cloud</groupId>
    <artifactId>spring-cloud-starter-alibaba-nacos-discovery</artifactId>
</dependency>
<dependency>
    <groupId>org.springframework.boot</groupId>
    <artifactId>spring-boot-starter-web</artifactId>
</dependency>
<dependency>
    <groupId>org.springframework.boot</groupId>
    <artifactId>spring-boot-starter-actuator</artifactId>
</dependency>
application.yml
server:
  port: 8401
spring:
  application:
    name: cloud-alibaba-sentinel-service
  cloud:
    nacos:
      discovery:
        server-addr: 192.168.0.201:80
    sentinel:
      transport:
        # sentinel 的 dashboard 地址
        dashboard: 192.168.0.201:8080
        # 默认8719端口,假如被占用会从8719开始依次扫描,每次端口号+1,直到找到未被占用的端口号
        port: 8719
        client-ip: 192.168.0.109 #本机的IP地址,客户端给sentinel监控使用,不配置可能会识别成其他网卡的ip导致错误
management:
  endpoints:
    web:
      exposure:
        include: '*'
因为我的sentinel是装在虚拟机里面的,所以配置里面需要配置
spring.cloud.sentinel.transport.client-ip
这个属性表示sentinel监控的ip地址,是虚拟机内部能访问到我本机的ip地址,如果不添加的话,装在虚拟机里的sentinel会默认识别我虚拟机的虚拟网卡的ip地址,导致没法监控
主启动类
@SpringBootApplication
@EnableDiscoveryClient
public class MainApp8401 {
    public static void main(String[] args) {
        SpringApplication.run(MainApp8401.class, args);
    }
}
写个controller来做测试用,之前配置里面 client-ip 属性没配置导致没法监控,查了问题刚开始以为是@SentinelResource注解的问题,然后添加的,后来配置好 client-ip 属性后就好了,我这里把@SentinelResource注解注释掉仍然能监控,证明不需要这个注解也能监控
@RestController
public class FlowLimitController {

    @GetMapping("/test/a")
    //@SentinelResource
    public String TestA(){
        return "======Test A========";
    }

    @GetMapping("/test/b")
	//@SentinelResource
    public String TestB(){
        return "======Test B========";
    }
}
然后启动项目就可以测试了
简单测试
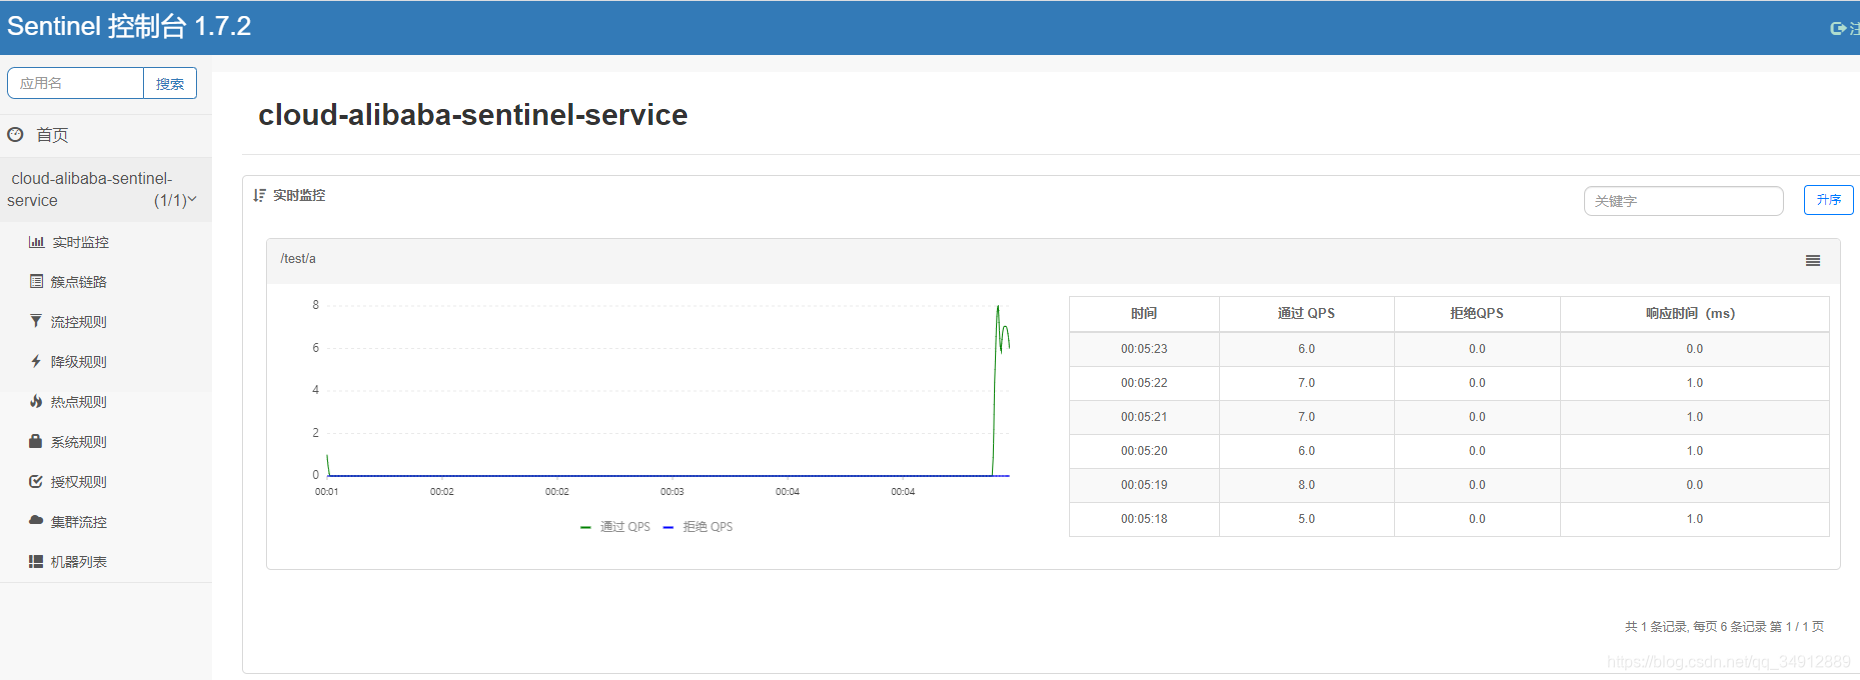
localhost:8401/test/a 访问一次等一会就 sentinel 控制台上就会有这个实例了
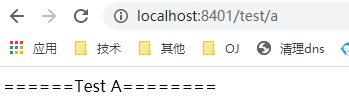
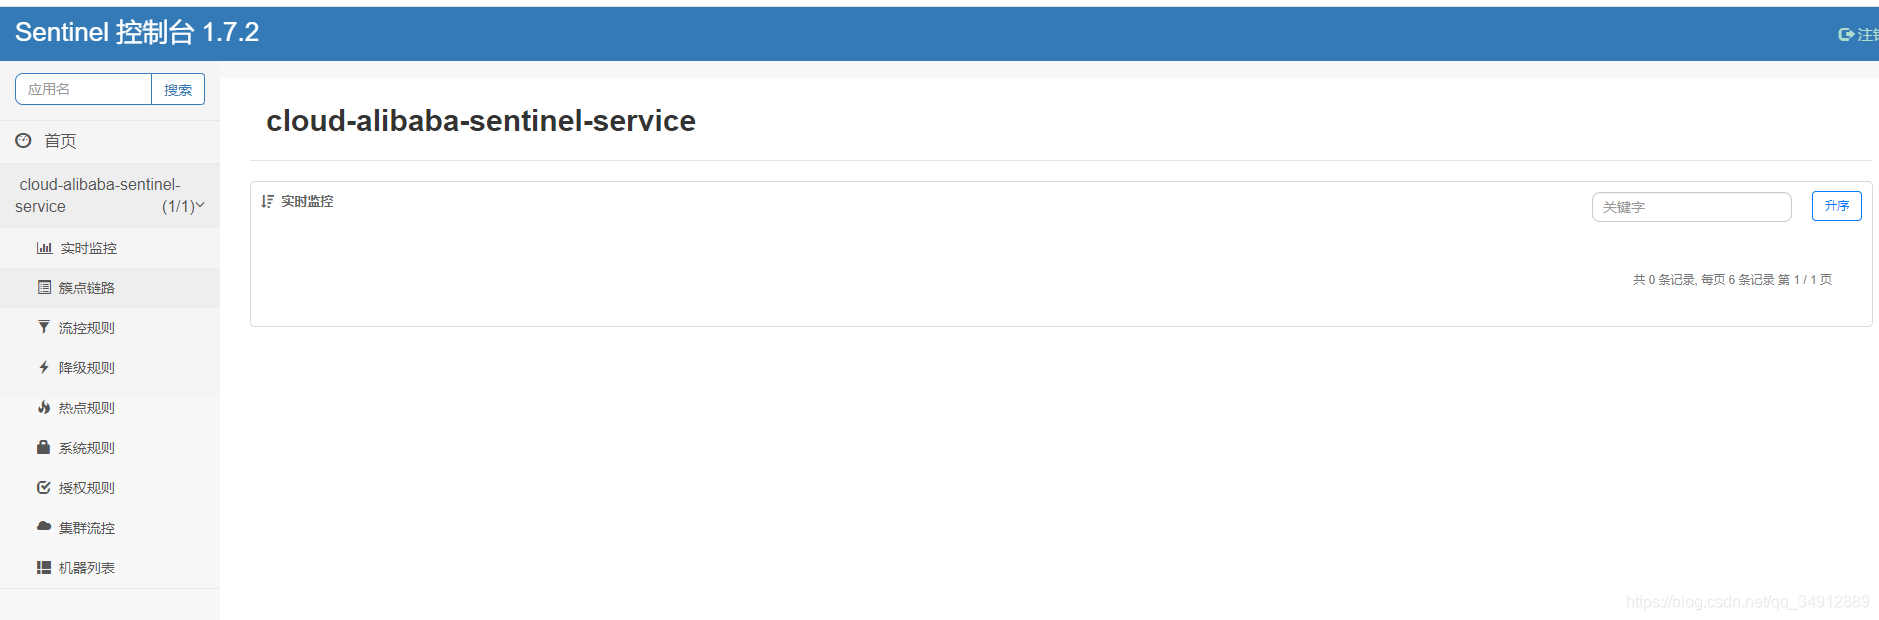
然后疯狂刷新访问 localhost:8401/test/a ,再等几秒就可以看到实例的监控了
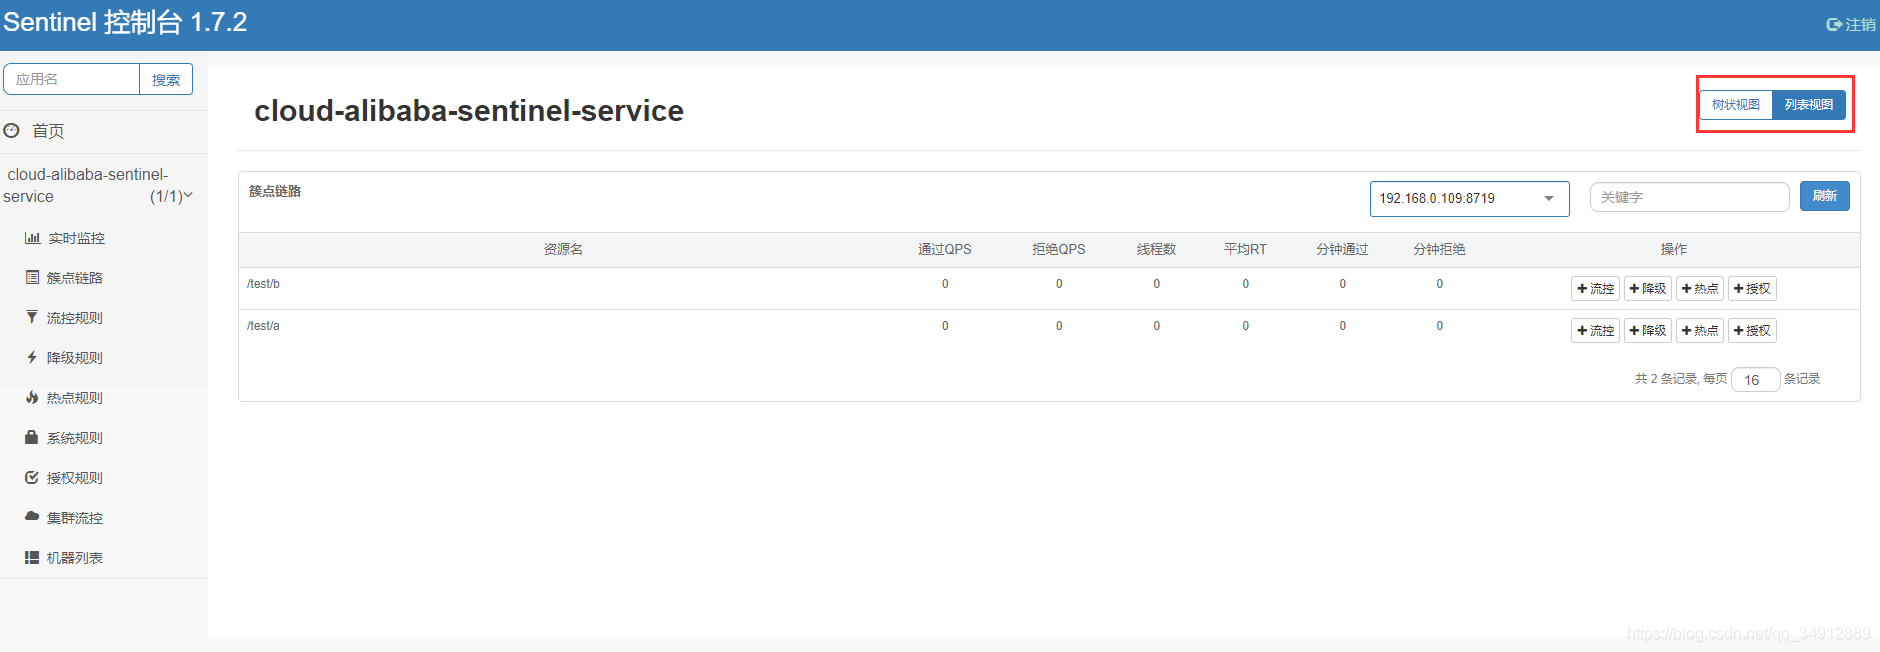
把testA和testB都访问过后,在簇点链路里面就能看到这两个方法了,右上角可以切换树状视图和列表视图
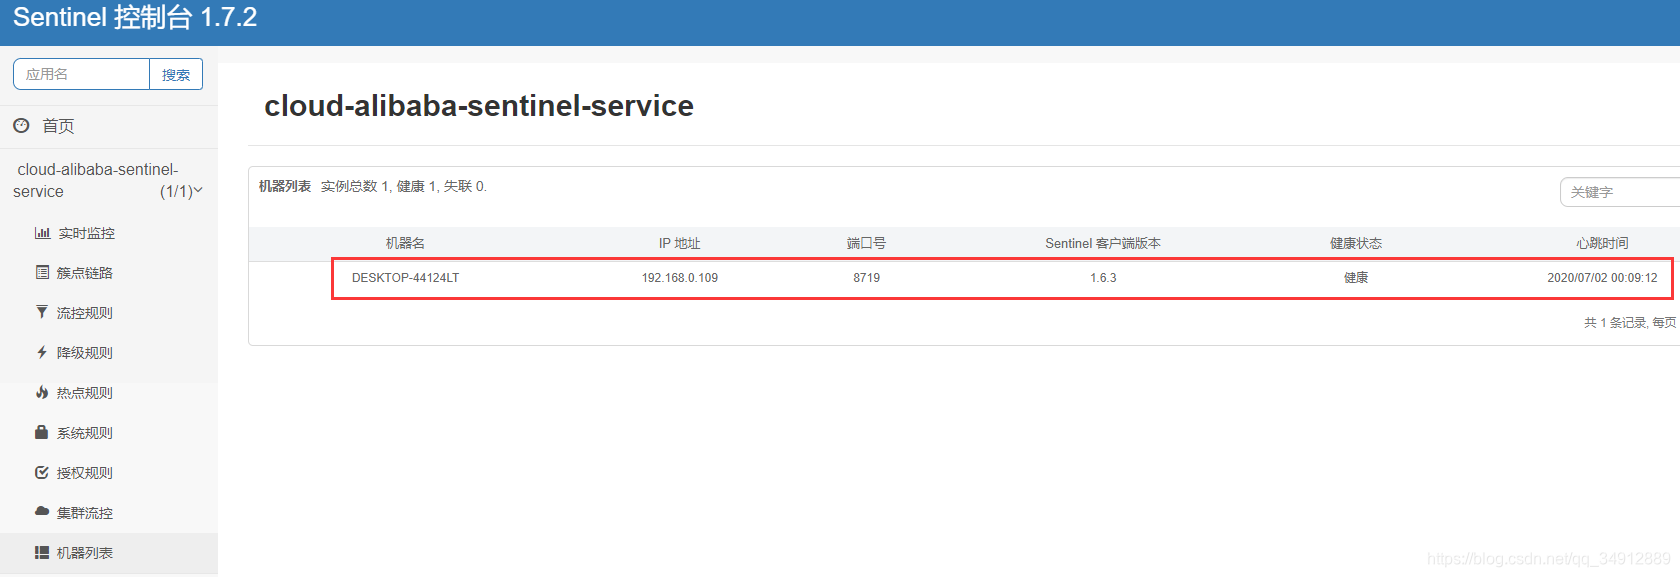
在机器列表里面可以看到运行这个实例的机器
至此,安装和简单的测试就完成了


 299
299


 被折叠的 条评论
为什么被折叠?
被折叠的 条评论
为什么被折叠?
 到【灌水乐园】发言


