


1.下载es的安装包并解压(默认安装在/home/文件夹下)
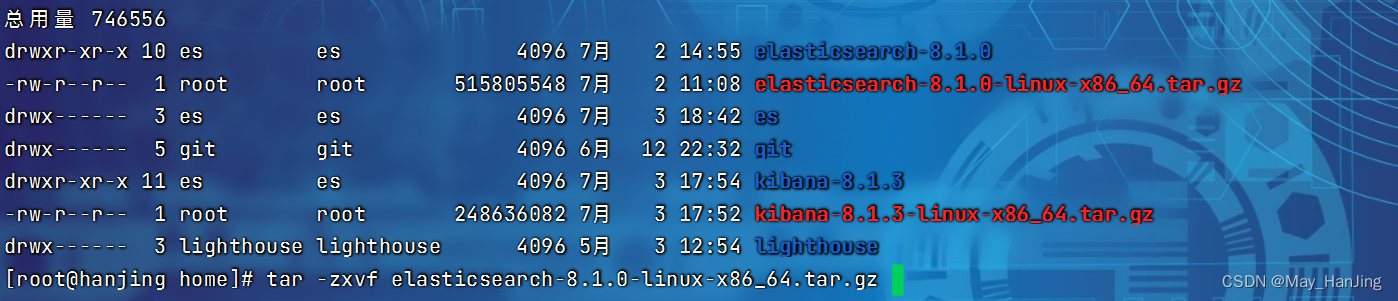
解压命令: tar -zxvf elasticsearch-8.1.0-linux-x86_64.tar.gz
2.新建一个用户
// 创建用户
useradd es
// 给用户增加密码
passwd es
// 给用户授权
chown -R es:es elasticsearch-8.1.0
// 切换用户
su  es
3.修改jvm配置(根据自己服务器内存大小,我是4G)
//切换到配置文件目录
cd elasticsearch-8.1.0/config/
//打开配置文件
vim jvm.options

4.配置elasticsearch.yml文件
如果在文件中没有相关配置项的话,先尝试启动es ./bin/elasticseaech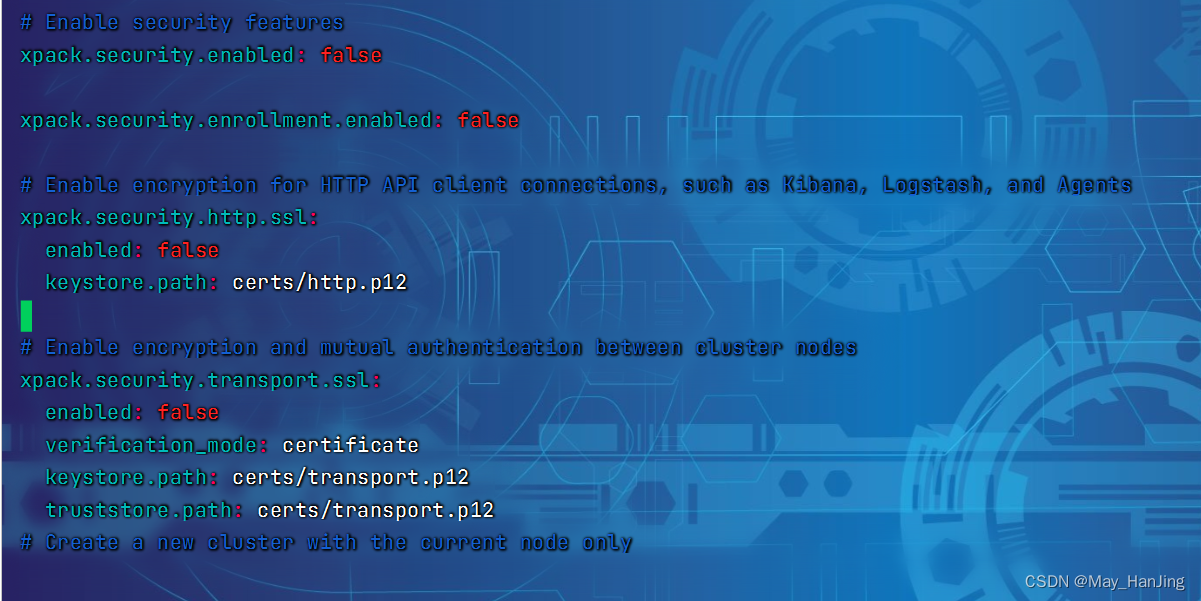
xpack.security.enabled: false

xpack.security.enrollment.enabled: false

# Enable encryption for HTTP API client connections, such as Kibana, Logstash, and Agents
xpack.security.http.ssl:
  enabled: false
  keystore.path: certs/http.p12

# Enable encryption and mutual authentication between cluster nodes
xpack.security.transport.ssl:
  enabled: false
  verification_mode: certificate
  keystore.path: certs/transport.p12
  truststore.path: certs/transport.p12
# Create a new cluster with the current node only
# Additional nodes can still join the cluster later
cluster.initial_master_nodes: ["hanjing"]

# Allow HTTP API connections from localhost and local networks
# Connections are encrypted and require user authentication
http.host: [_local_, _site_]

# Allow other nodes to join the cluster from localhost and local networks
# Connections are encrypted and mutually authenticated
#transport.host: [_local_, _site_]

#----------------------- END SECURITY AUTO CONFIGURATION -------------------------
http.cors.enabled: true
http.cors.allow-origin: "*"
#http.cors.allow-headers: Authorization
http.cors.allow-methods: OPTIONS, HEAD, GET, POST, PUT, DELETE
http.cors.allow-headers: "X-Requested-With, Content-Type, Content-Length, X-User"
5.开启服务器的安全组和防火墙,开启9200端口
6.启动es服务
./bin/elasticsearch
./bin/elasticsearch &


 882
882


 被折叠的 条评论
为什么被折叠?
被折叠的 条评论
为什么被折叠?
 到【灌水乐园】发言


