


实验环境:VMware Workstation Pro
CentOS版本:CentOS Linux release 7.6.1810 (Core)
Kickstart服务器的地址为10.1.1.100
部署Kickstart所需要的服务:HTTPD、TFTP、DHCP
使用YUM安装以上服务:
yum -y install httpd httpd-devel dhcp* tftp-server xinetd
1、安装完成后配置tftp服务
service tftp
{
        socket_type             = dgram
        protocol                = udp
        wait                    = yes
        user                    = root
        server                  = /usr/sbin/in.tftpd  #tftp服务器路径
        server_args             = -u nobody -s /var/lib/tftpboot #tftp服务器的目录
        disable                 = no #是否开机启动
        per_source              = 11
        cps                     = 100 2
        flags                   = IPv4
}
2、安装syslinux
yum -y install syslinux syslinux-devel
把所需文件复制到tftp目录
mkdir -p /var/lib/tftpboot/pxelinux.cfg/
cp /mnt/cdrom/isolinux/isolinux.cfg   /var/lib/tftpboot/pxelinux.cfg/default
cp /mnt/cdrom/isolinux/vesamenu.c32   /var/lib/tftpboot/
cp /mnt/cdrom/images/pxeboot/vmlinuz   var/lib/tftpboot/
cp /mnt/cdrom/images/pxeboot/initrd.img   /var/lib/tftpboot/
cp /usr/share/syslinux/pxelinux.0    /var/lib/tftpboot/
3、配置TFTPBOOT引导文件
vim /var/lib/tftpboot/pxelinux.cfg/default
default vesamenu.c32 #默认会加载一个菜单
timeout 10 超时时间为10S
display boot.msg
menu clear
menu background splash.png
menu title CentOS Linux 7
label linux
menu label ^Install CentOS Linux 7
menu default
kernel vmlinuz  指定要启动的内核
append initrd=initrd.img inst.repo=http://10.1.1.100/centos7 # 镜像的目录 quiet ks=http://10.1.1.100/ks.cfg #ks.cfg是kickstart主配置文件
label check
menu label Test this ^media & install CentOS Linux 7
kernel vmlinuz
append initrd=initrd.img inst.stage2=hd:LABEL=CentOS\x207\x20x86_64 rd.live.check quiet
4、挂载镜像到http目录下、配置ks.cfg配置文件
mount /dev/cdrom /var/www/html/centos7
vim /var/www/html/ks.cfg
 install
 text
 keyboard 'us'
 rootpw  root
 timezone  Asia/Shanghai
 url --url=http://10.1.1.100/centos7
 lang zh_CN
 firewall  --disabled
 network  --bootproto=dhcp --device=ens33
 auth      --useshadow  --passalgo=sha512
 firstboot   --disable
 selinux   --disabled
 bootloader --location=mbr
 clearpart --all --initlabel
 part /boot --fstype="xfs" --size=2048
  part / --fstype="xfs"   --grow
 part swap --fstype="swap" --size=2048
 reboot
 %packages
 @base
  @core
  %end
5、配置DHCP服务
ddns-update-style interim;
ignore client-updates;
next-server 10.1.1.100; #tftpd服务器的地址
filename "pxelinux.0";#TFTP根目录下的pxelinux.0
allow booting;
allow bootp;
#IP网段及掩码
subnet 10.1.1.0 netmask 255.255.255.0 {

option routers          10.1.1.2;
option subnet-mask      255.255.255.0;
range dynamic-bootp 10.1.1.200 10.1.1.254;#分配的IP地址范围
}
6、开启服务
systemctl start httpd
systemctl start dhcpd
systemctl start xinetd
systemctl start tftp
7、新建一个虚拟机
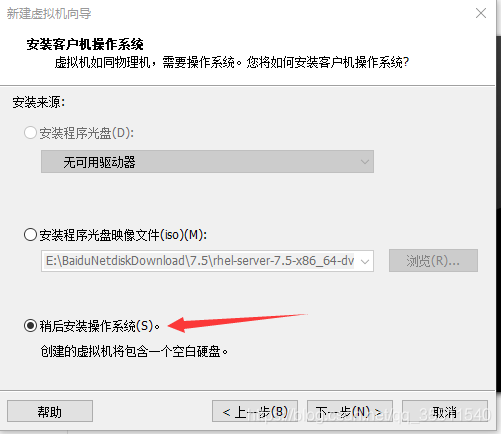

创建完成把虚拟机开机,它就自动发送请求获取IP,然后完成系统安装。新建的虚拟机的网卡模式要和服务器的网卡模式一样,在这里用的NAT的模式。


 288
288


 被折叠的 条评论
为什么被折叠?
被折叠的 条评论
为什么被折叠?
 到【灌水乐园】发言


