


 这篇博客介绍了如何在Android中创建圆角Button和ImageView。通过在drawable-mdpi目录下创建shape.xml,设置圆角属性,并在main.xml中应用为背景,可以实现圆角效果。然而,直接使用src属性会导致边角出现灰色阴影,解决办法是改用background属性引用shape资源。最终展示了实现圆角效果的示例图像。
Android圆角Button/ImageView
Shape
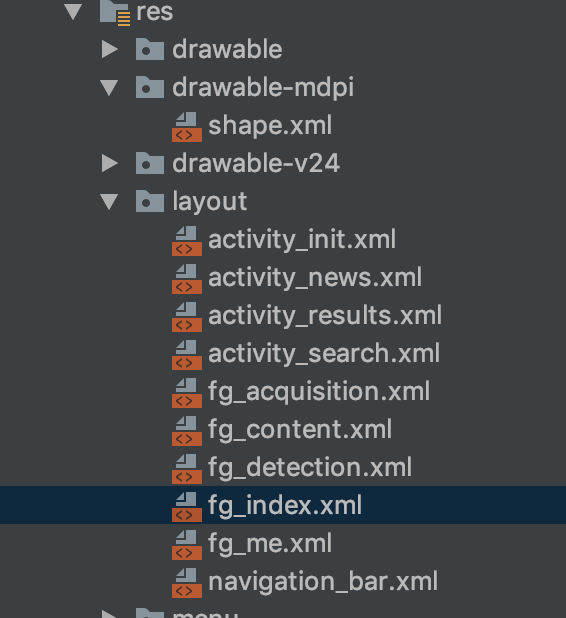
在res目录下的drawable-mdpi建立xml文件shape.xml,如下图所示:
shape.xml
<?xml version="1.0" encoding="UTF-8"?>
<shape
    xmlns:android="http://schemas.android.com/apk/res/android"
    android:shape="rectangle">
    <!-- 填充的颜色 -->
    <solid android:color="#FFFFFF" />
    <!-- 设置按钮的四个角为弧形 -->
    <!-- android:radius 弧形的半径 -->
    <corners android:radius="20dip" />

    <!-- padding:Button里面的文字与Button边界的间隔 -->
    <padding
        android:left="10dp"
        android:top="10dp"
        android:right="10dp"
        android:bottom="10dp"
        />
</shape>
main.xml
<?xml version="1.0" encoding="utf-8"?>
<android.support.constraint.ConstraintLayout
    xmlns:android="http://schemas.android.com/apk/res/android"
    xmlns:app="http://schemas.android.com/apk/res-auto"
    xmlns:tools="http://schemas.android.com/tools"
    android:layout_width="match_parent"
    android:layout_height="match_parent"
    android:background="@color/bg_white">

    <LinearLayout
        android:layout_width="0dp"
        android:layout_height="0dp"
        android:orientation="vertical"
        app:layout_constraintBottom_toBottomOf="parent"
        app:layout_constraintEnd_toEndOf="parent"
        app:layout_constraintStart_toStartOf="parent"
        app:layout_constraintTop_toTopOf="parent&
最低0.47元/天 解锁文章


 5465
5465

 被折叠的 条评论
为什么被折叠?
被折叠的 条评论
为什么被折叠?
 到【灌水乐园】发言


