


使用IDEA搭建SpringCloud项目
简单的小demo , 仅供参考。
SpringCloud简单搭建
要求:
jdk:1.8
开发工具:IDEA
注:需要了解springcloud
1.创建基于web的Maven项目(springcloud)
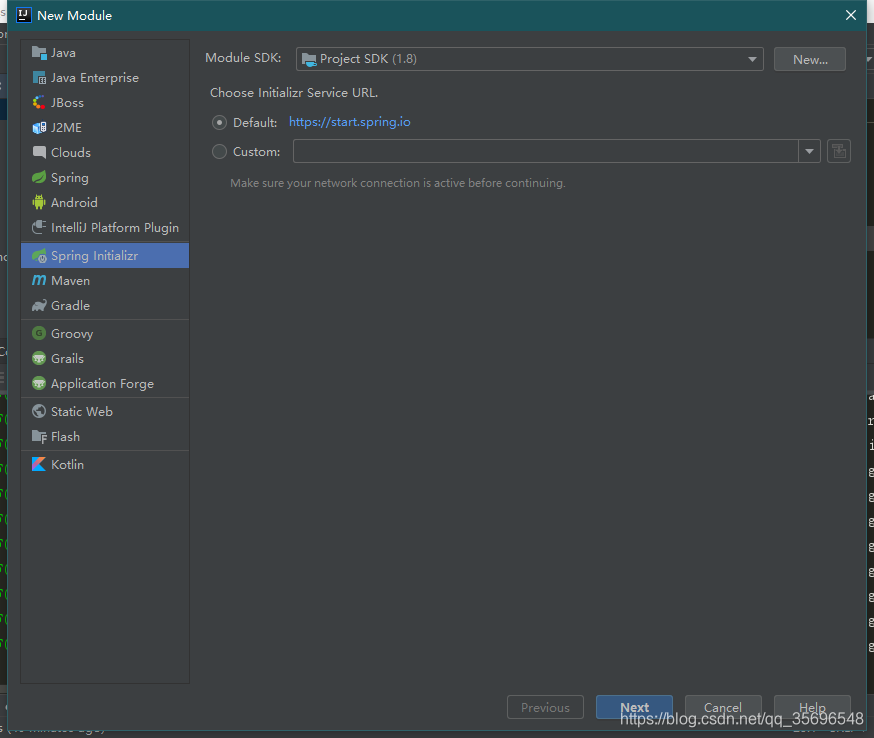
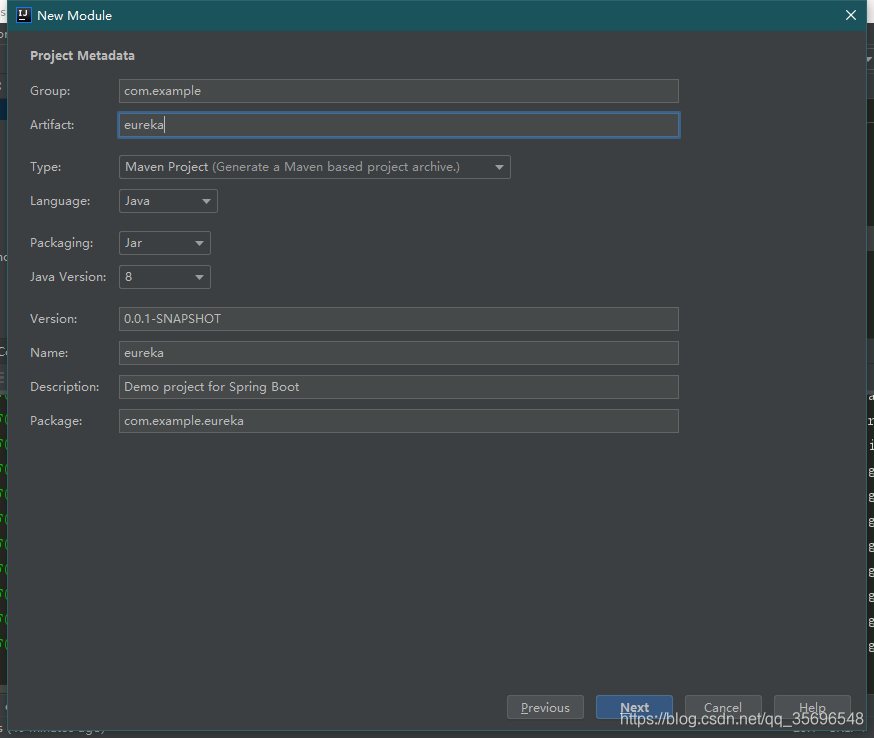
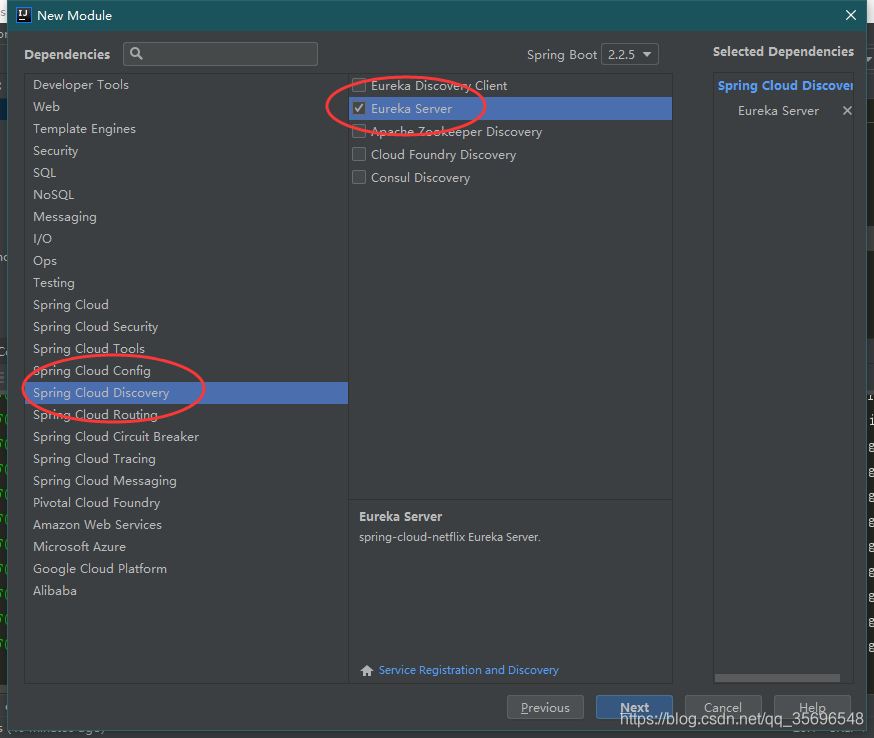
2.创建服务注册中心Eureka。
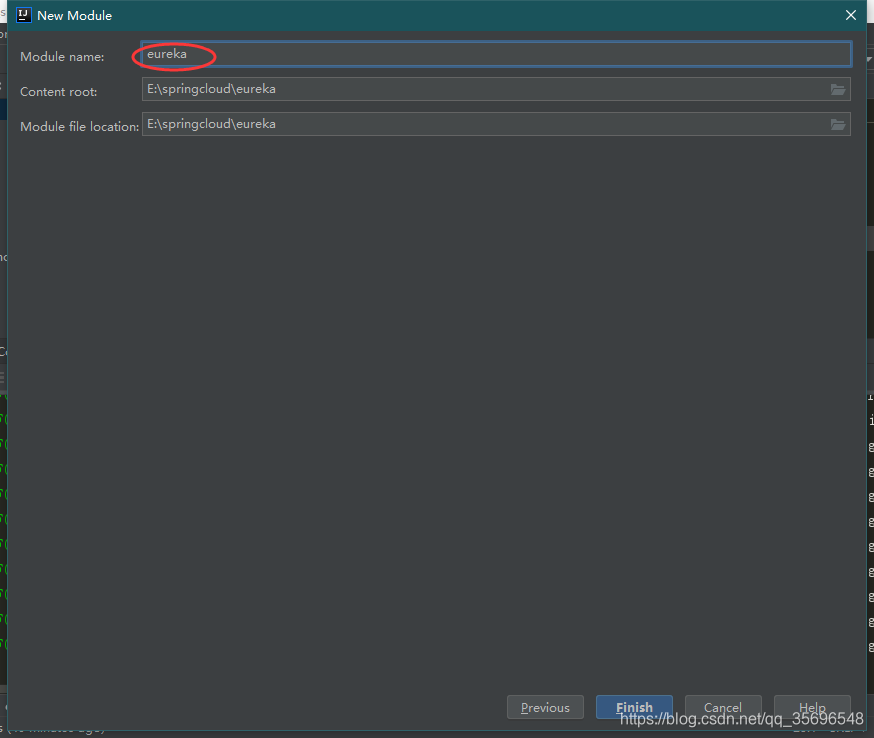
2.1 新建Eureka服务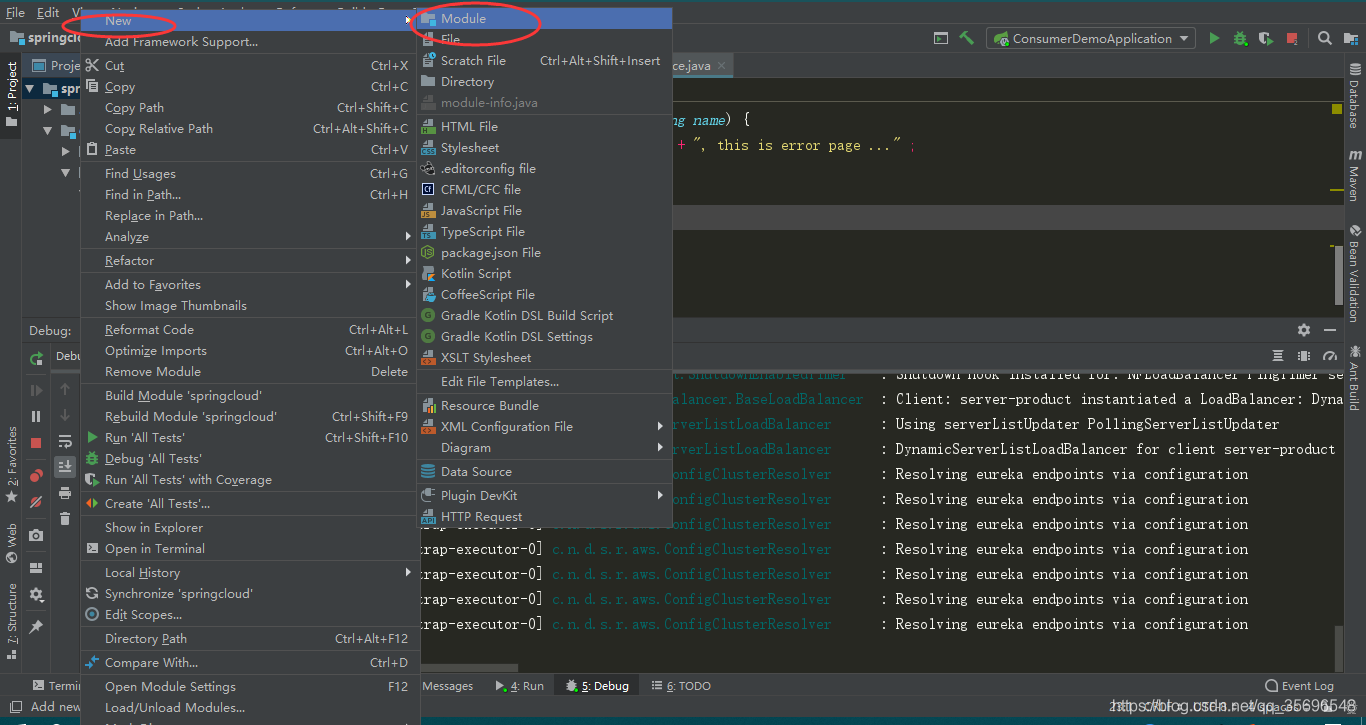
2.2 修改配置项
EurekaApplication启动类修改
添加@EnableEurekaServer,该注解表明标注类是一个Eureka Server
@SpringBootApplication
// 申明此处为服务注册中心
@EnableEurekaServer
public class EurekaApplication {
public static void main(String[] args) {
    SpringApplication.run(EurekaApplication.class, args);
}
}
pom.xml文件修改
检测pom文件,不做修改
application.properties配置
也可用yml文件
// 定义端口号
server.port=8761
eureka.instance.hostname=localhost
eureka.client.register-with-eureka=false
eureka.client.fetchRegistry=false
eureka.client.serviceUrl.defaultZone=http://localhost:8761/eureka/
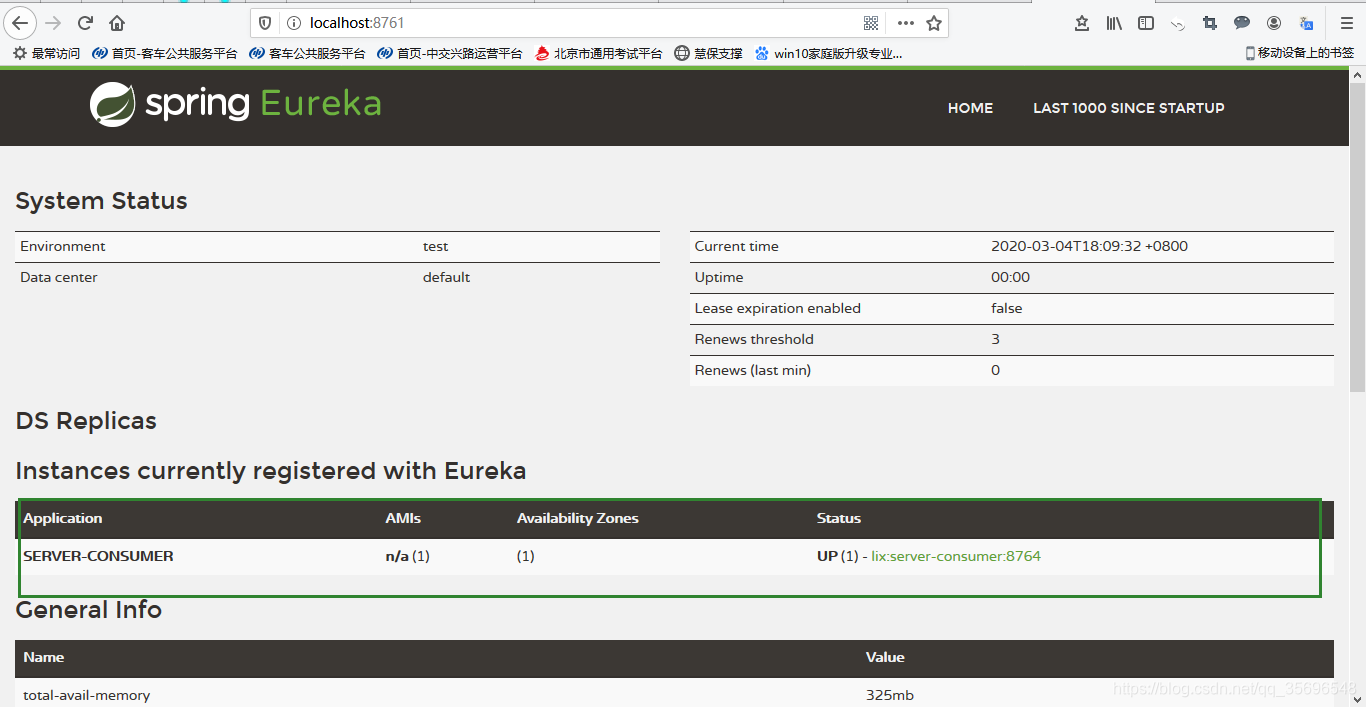
2.3 启动项目
在浏览器中输入http://localhost:8761/ ,启动成功 Application显示已注册成功的服务
3. 搭建子工程product
参考上一步步骤 ,需要注意下图所示,否则无法注册的eureka中
3.1 配置项修改
ProductDemoApplication启动类修改
在启动类上面添加@EnableEurekaClient 这二个注解作用,都可以让该服务注册到注册中心上去。
@SpringBootApplication
@EnableEurekaClient
@RestController
public class ProductDemoApplication {
public static void main(String[] args) {
    SpringApplication.run(ProductDemoApplication.class, args);
}
@Value("${server.port}")
String port ;

@RequestMapping("/hi")
public String home(@RequestParam String name){
    return "hi ... " + name + ",i am from port:" + port;
}
}
pom.xml修改
检查spring-boot-starter-web包是否引入,需引入
org.springframework.boot
spring-boot-starter-web
application配置修改
// 注册中心地址
eureka.client.serviceUrl.defaultZone=http://localhost:8761/eureka/
server.port=8763
// 服务名称,刻字机填写 ,显示在注册中心application下
spring.application.name=server-product
3.2 启动服务
浏览器访问 http://localhost:8763/hi?name=xxx
访问成功

eureka显示注册成
- 搭建子工程consumer
服务搭建同上 , 通过RestTemplate访问product服务.
spring框架提供的RestTemplate类可用于在应用中调用rest服务,它简化了与http服务的通信方式,统一了RESTful的标准,封装了http链接, 我们只需要传入url及返回值类型即可。相较于之前常用的HttpClient,RestTemplate是一种更优雅的调用RESTful服务的方式。
4.1 配置项修改
ConsumerDemoApplication启动类修改
@SpringBootApplication
// 申明此处为服务注册中心 ,不限于只能被eureka发现
@EnableDiscoveryClient
public class ConsumerDemoApplication {
public static void main(String[] args) {
    SpringApplication.run(ConsumerDemoApplication.class, args);
}
// Spring的@Bean注解用于告诉方法,产生一个Bean对象,然后这个Bean对象交给Spring管理。产生这个Bean对象的方法Spring只会调用一次,随后这个Spring将会将这个Bean对象放在自己的IOC容器中。
@Bean
@LoadBalanced // 标注此注解后,RestTemplate就具有了客户端负载均衡能力
RestTemplate template (){
return new RestTemplate();
}
}
pom.xml文件修改
引入以下包, 如果启动报错的话根据问题再引入其它包
application配置修改
eureka.client.serviceUrl.defaultZone=http://localhost:8761/eureka/
server.port=8764
spring.application.name=server-consumer
4.2 创建service和controller
部分包可根据需要自行引入。
**HelloService **
@Service
public class HelloService {
@Autowired
RestTemplate restTemplate;

@HystrixCommand(fallbackMethod = "hiError")
public String hiService(String name) {
    return restTemplate.getForObject("http://server-product/hi?name=" + name, String.class);
}

public String hiError(String name) {
    return "key-->" + name + ", this is error page ..." ;
}
}
HelloControler
@RestController
public class HelloControler {
@Autowired
HelloService helloService;
@RequestMapping(value = "/hi")
public String hi(@RequestParam String name)
{
    return helloService.hiService(name);
}
}
4.3 启动服务
浏览器访问 http://localhost:8764/hi?name=ooo

eureka注册成功
5.增加熔断器
在集群环境下,单个服务出现故障时,若有大量的请求涌入,会导致服务瘫痪,造成故障传播,这里需要使用熔断器。当对特定的服务的调用的不可用达到一个阀值(Hystric 是5秒20次) 断路器将会被打开。
5.1 配置项修改
在上一consumer服务基础上修改
ConsumerDemoApplication启动类修改
@SpringBootApplication
@EnableDiscoveryClient
// @EnableHystrix注解表示开启断路器
@EnableHystrix
public class ConsumerDemoApplication {
public static void main(String[] args) {
    SpringApplication.run(ConsumerDemoApplication.class, args);
}

@Bean
@LoadBalanced
RestTemplate template (){
    return new RestTemplate();
}
}
pom.xml修改
引入 spring-cloud-starter-hystrix 包
5.2 HelloService 修改
@Service
public class HelloService {
@Autowired
RestTemplate restTemplate;

// 增加熔断器所需的fallback方法
@HystrixCommand(fallbackMethod = "hiError")
public String hiService(String name) {
    return restTemplate.getForObject("http://server-product/hi?name=" + name, String.class);
}
// fallbackMethod 方法
public String hiError(String name) {
    return "key-->" + name + ", this is error page ..." ;
}
}
5.3 启动服务
先停止之前的product服务
浏览器访问 http://localhost:8764/hi?name=ooo
熔断生效
6. zuul网关配置
6.1 新建zuul子工程
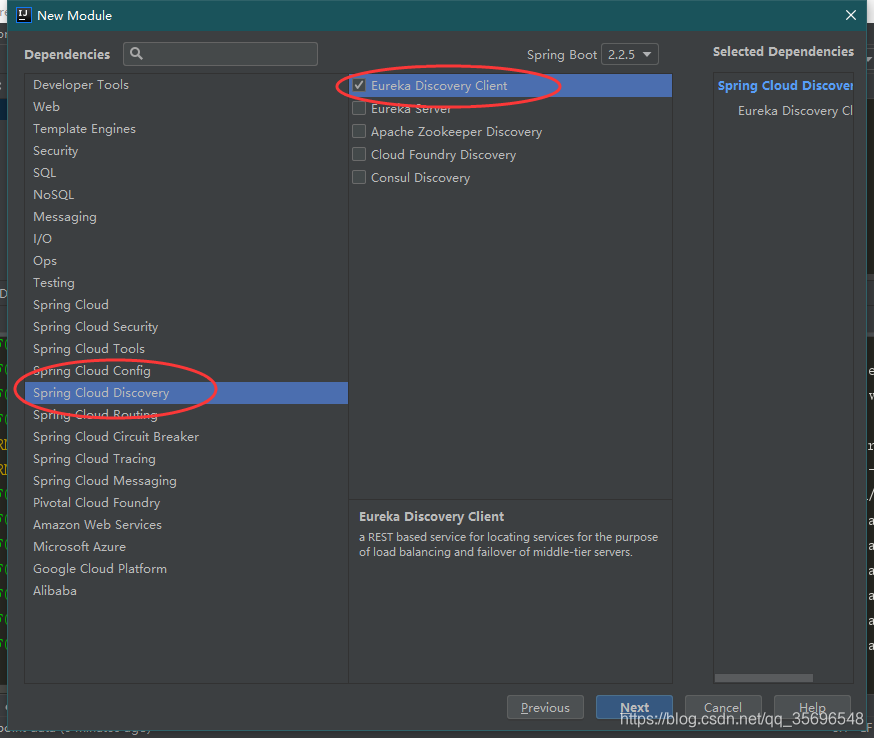
New Model -> Spring Initializer -> Next -> Next -> Web(Web)、Cloud Discovery(Eureka Discovery)、Cloud Routing(Zuul)-> Next ->Finish
6.2 在ZuulApplication.class中新增@EnableZuulProx、@EnableEurekaClient 这两个注解
@SpringBootApplication
@EnableZuulProxy
@EnableEurekaClient
public class ZuulApplication {
public static void main(String[] args) {
SpringApplication.run(ZuulApplication.class, args);
}
}
6.3 application.properties配置
#端口号
server.port=6666
#配置应用名称
spring.application.name=zuul-server
#eureka
eureka.client.service-url.defaultZone=http://localhost:8761/eureka
#zuul
#前缀
#zuul.prefix=/tour
zuul.routes.account.path=/account/**
zuul.routes.account.service-id=server-consumer
zuul.routes.online.path=/online/**
// 需要代理的服务
zuul.routes.online.service-id=server-consumer
6.4 pom文件修改
引入需要的包。
org.springframework.cloud
spring-cloud-starter-netflix-eureka-client
org.springframework.cloud
spring-cloud-starter-netflix-zuul
org.springframework.cloud
spring-cloud-starter-zuul
org.springframework.cloud
spring-cloud-starter-eureka
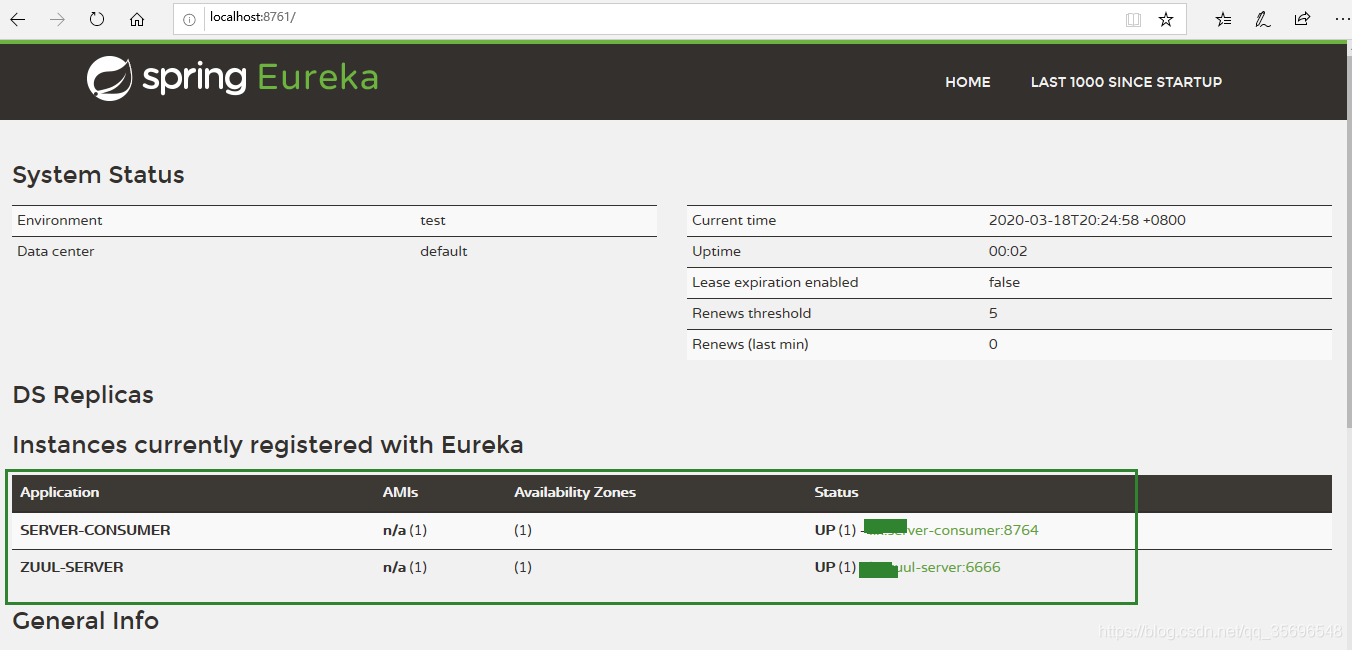
6.5 启动服务
启动成功!
6.6 通过Zuul来进行路由
通过浏览器访问:
http://localhost:6666/online/hi?name=000
访问成功,通过zuul访问server-consumer接口成功!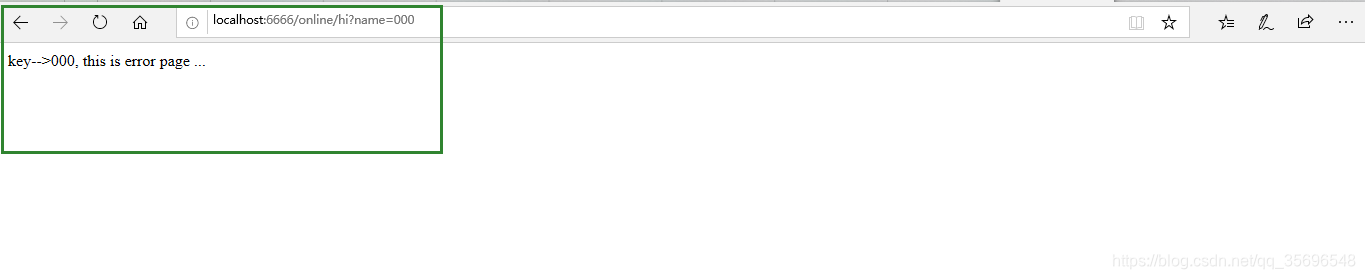
- 参考连接
https://www.jianshu.com/p/fef10fa358eb


 7385
7385


 被折叠的 条评论
为什么被折叠?
被折叠的 条评论
为什么被折叠?
 到【灌水乐园】发言


