


6.Hive安装
6.1 下载Hive安装包
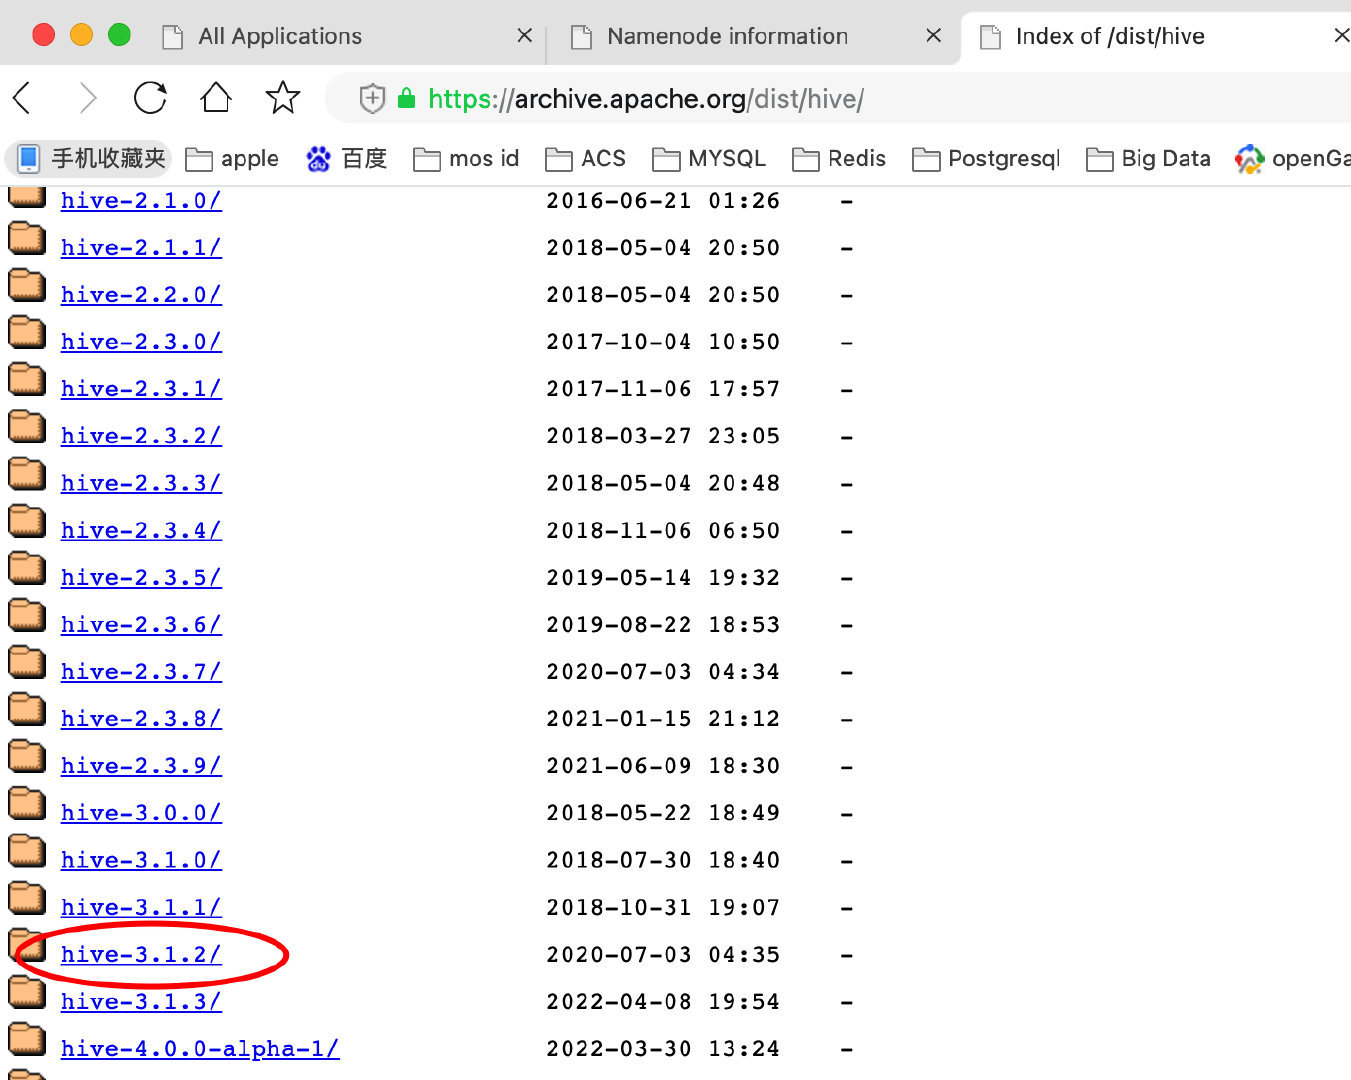
访问网址:https://archive.apache.org/dist/hive/
点击hive-3.1.2/ 进入

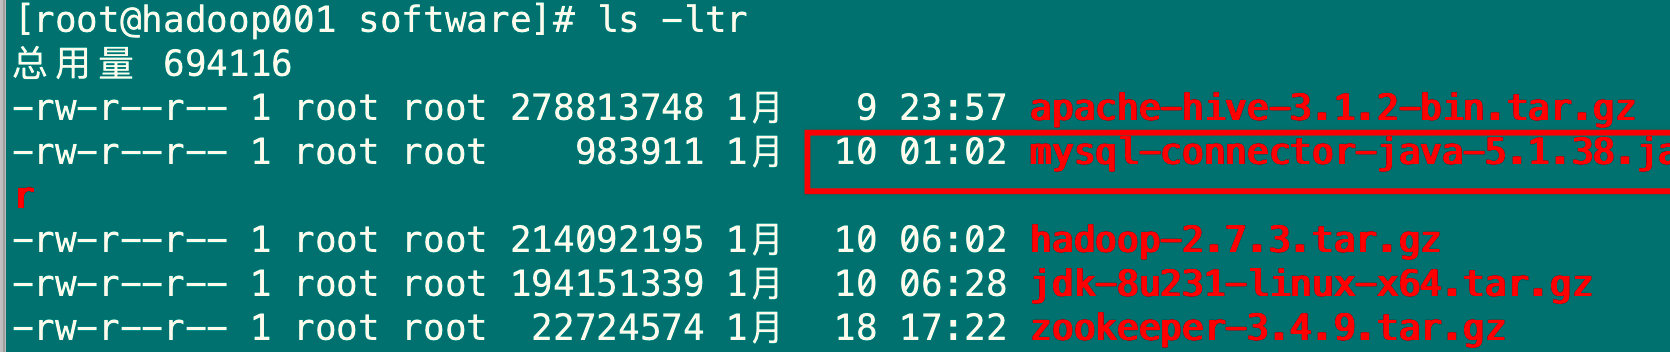
#拷贝下载链接后,登录Hadoop001服务器,进入/opt/module/software 目录。
[root@hadoop001 ~]# cd /opt/module/software
[root@hadoop001 ~]# wget https://archive.apache.org/dist/hive/hive-3.1.2/apache-hive-3.1.2-
bin.tar.gz

#把安装包解压到/opt/module目录下
[root@hadoop001 ~]# tar -zxvf  apache-hive-3.1.2-bin.tar.gz -C /opt/module/
6.2 配置环境变量
[root@hadoop001 software]# vim /etc/profile
#在文件末尾添加以下内容
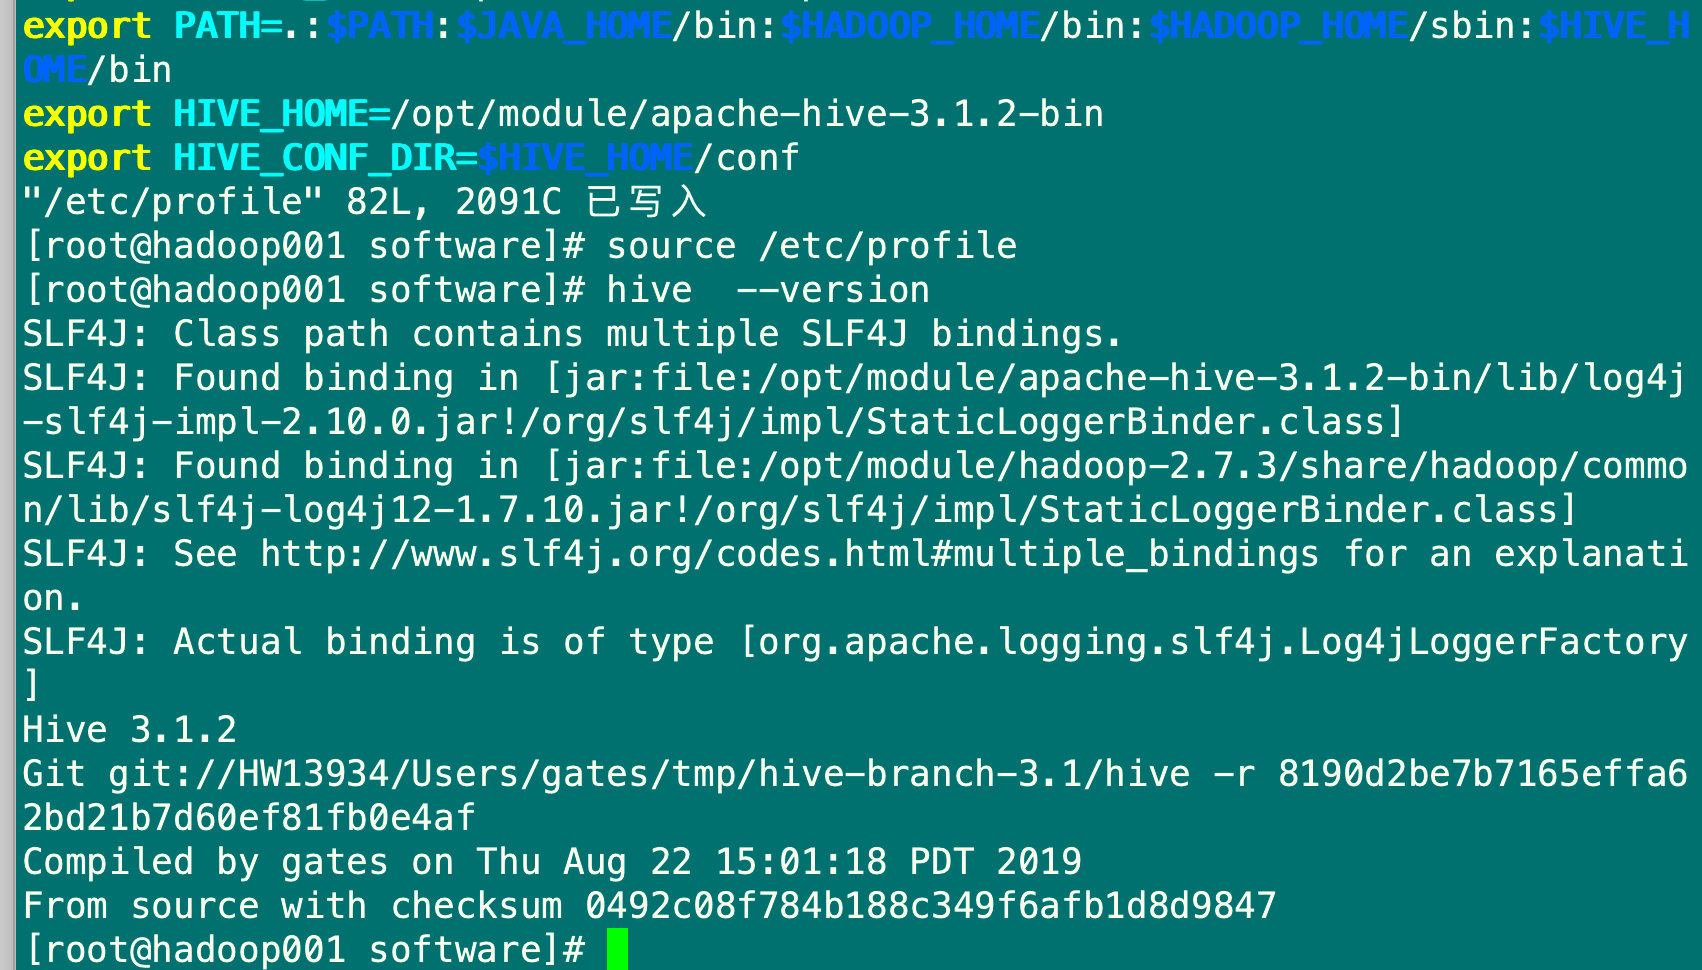
export HIVE_HOME=/opt/module/apache-hive-3.1.2-bin
export HIVE_CONF_DIR=$HIVE_HOME/conf
export PATH=$PATH:$HADOOP_HOME/bin:$HADOOP_HOME/sbin:$HIVE_HOME/bin
#保存退出
#使环境变量生效
[root@hadoop001 software]# source /etc/profile
#查询版本
hive --version
6.3 配置Hive
6.3.1 在HDFS创建目录,并授权
[root@hadoop001 software]# hdfs dfs -mkdir  -p /user/hive/warehouse
[root@hadoop001 software]# hdfs dfs -chmod -R  777 /user/hive/warehouse
[root@hadoop001 software]# hdfs dfs -mkdir  -p /tmp/hive
[root@hadoop001 software]# hdfs dfs -chmod -R  777 /tmp/hive
6.3.2 在操作系统上Hive文件夹建立tmp文件夹
cd /opt/module/apache-hive-3.1.2-bin
[root@hadoop001 apache-hive-3.1.2-bin]# mkdir tmp
[root@hadoop001 apache-hive-3.1.2-bin]# chmod -R 777 tmp/
6.3.3 修改配置文件hive-env.sh
[root@hadoop001 apache-hive-3.1.2-bin]# pwd
/opt/module/apache-hive-3.1.2-bin
[root@hadoop001 apache-hive-3.1.2-bin]# cd conf/
[root@hadoop001 conf]# cp hive-default.xml.template hive-site.xml
[root@hadoop001 conf]# cp hive-env.sh.template hive-env.sh
[root@hadoop001 conf]# vim hive-env.sh
#在末尾添加如下内容
export JAVA_HOME=/opt/module/jdk1.8.0_231
export HADOOP_HOME=/opt/module/hadoop-2.7.3
export HIVE_HOME=/opt/module/apache-hive-3.1.2-bin
export HIVE_CONF_DIR=$HIVE_HOME/conf
export HIVE_AUX_JARS_PATH=$HIVE_HOME/lib

保存退出
[root@hadoop001 conf]#  sed -i 's#\${system:user.name}#root#g; s#\${system:java.io.tmpdir}#/opt/module/apache-hive-3.1.2-bin/tmp#g' /opt/module/apache-hive-3.1.2-bin/conf/hive-site.xml
1.修改用户名,将文件中所有${system:user.name}替换为root
2.修改临时目录,将文件中所有${system:java.io.tmpdir}替换为/opt/modeule/apache-hive-
3.1.2-bin/tmp
[root@hadoop001 conf]# grep '${system:user.name}' /opt/module/apache-hive-3.1.2-bin/conf/hive-site.xml
#如果无输出,则替换成功

6.3.4 修改配置文件 hive-site.xml
[root@hadoop001 apache-hive-3.1.2-bin]# cd  /opt/module/apache-hive-3.1.2-bin/conf/
[root@hadoop001 conf]# vim  hive-site.xml
1.在下面添加如下内容
<property>
<name>hive.metastore.uris</name>
<value>thrift://hadoop001:9083</value>
</property>

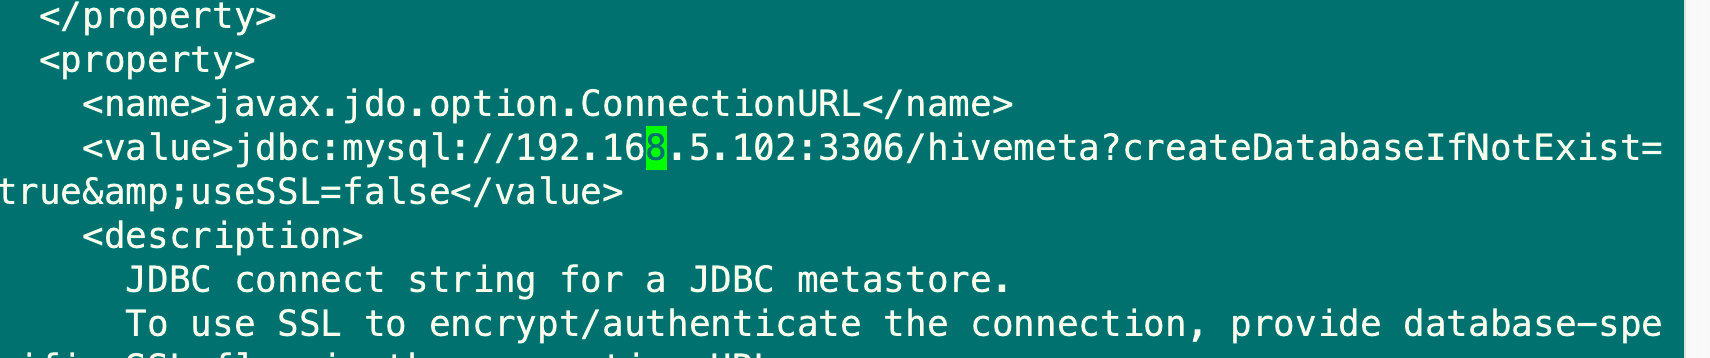
2.修改与数据库连接的URL,IP地址改为数据库所在机器IP,/后跟数据库名,如果不存在则会在初始化HIVE时创建
按/键,复制javax.jdo.option.ConnectionURL内容,然后回车,会搜索到该内容
#修改value内容
<value>jdbc:mysql://192.168.5.102:3306/hivemeta?createDatabaseIfNotExist=true&useSSL=false</value>
3.修改jdbc驱动
按/键,复制javax.jdo.option.ConnectionDriverName内容,然后回车,会搜索到该内容
#修改value内容
<value>com.mysql.jdbc.Driver</value>

4.修改登录数据库的用户
<name>javax.jdo.option.ConnectionUserName</name>
<value>root</value>

5.修改对应用户的密码
<name>javax.jdo.option.ConnectionPassword</name>
<value>mysql</value>

6.在HA集群上还需要配置如下参数
<property>
<name>hive.metastore.warehouse.dir</name>
<value>/user/hive/warehouse</value>
</property>
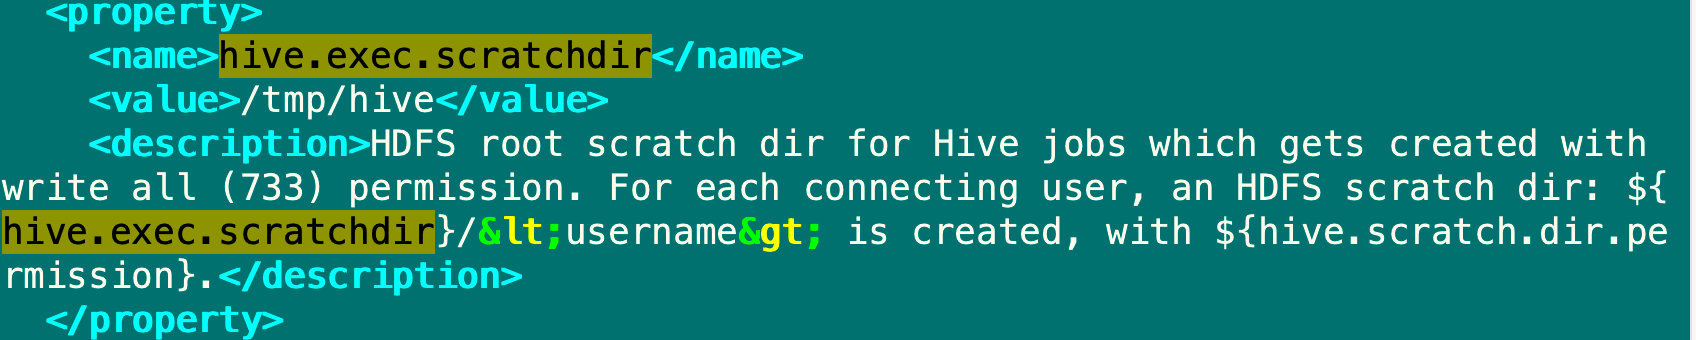
<property>
<name>hive.exec.scratchdir</name>
<value>/tmp/hive</value>
</property>
<property>
<name>hive.querylog.location</name>
<value>/opt/module/apache-hive-3.1.2-bin/tmp/root</value>
</property>
删除3216行的
#保存退出


6.3.5 配置JDBC驱动
1.上传JDBC包
上传 JDBC 驱动包到hadoop001节点的/opt/module/software 目录下
2.复制JDBC 驱动包到Hive的lib包下
[root@hadoop001 software]# cp mysql-connector-java-5.1.38.jar /opt/module/apache-hive-3.1.2-bin/lib/
6.4 启动Hive
6.4.1 初始化Hive
cd  /opt/module/apache-hive-3.1.2-bin/bin
[root@hadoop001 bin]# schematool -dbType mysql -initSchema
提示hive初始化成功

6.4.2 打开Hive客户端
[root@hadoop001 bin]# hive --service metastore &
[1] 22421
[root@hadoop001 bin]# 2022-04-29 15:18:30: Starting Hive Metastore Server
SLF4J: Class path contains multiple SLF4J bindings.
SLF4J: Found binding in [jar:file:/opt/module/apache-hive-3.1.2-bin/lib/log4j-slf4j-impl-2.10.0.jar!/org/slf4j/impl/StaticLoggerBinder.class]
SLF4J: Found binding in [jar:file:/opt/module/hadoop-2.7.3/share/hadoop/common/lib/slf4j-log4j12-1.7.10.jar!/org/slf4j/impl/StaticLoggerBinder.class]
SLF4J: See http://www.slf4j.org/codes.html#multiple_bindings for an explanation.
SLF4J: Actual binding is of type [org.apache.logging.slf4j.Log4jLoggerFactory]
#敲回车
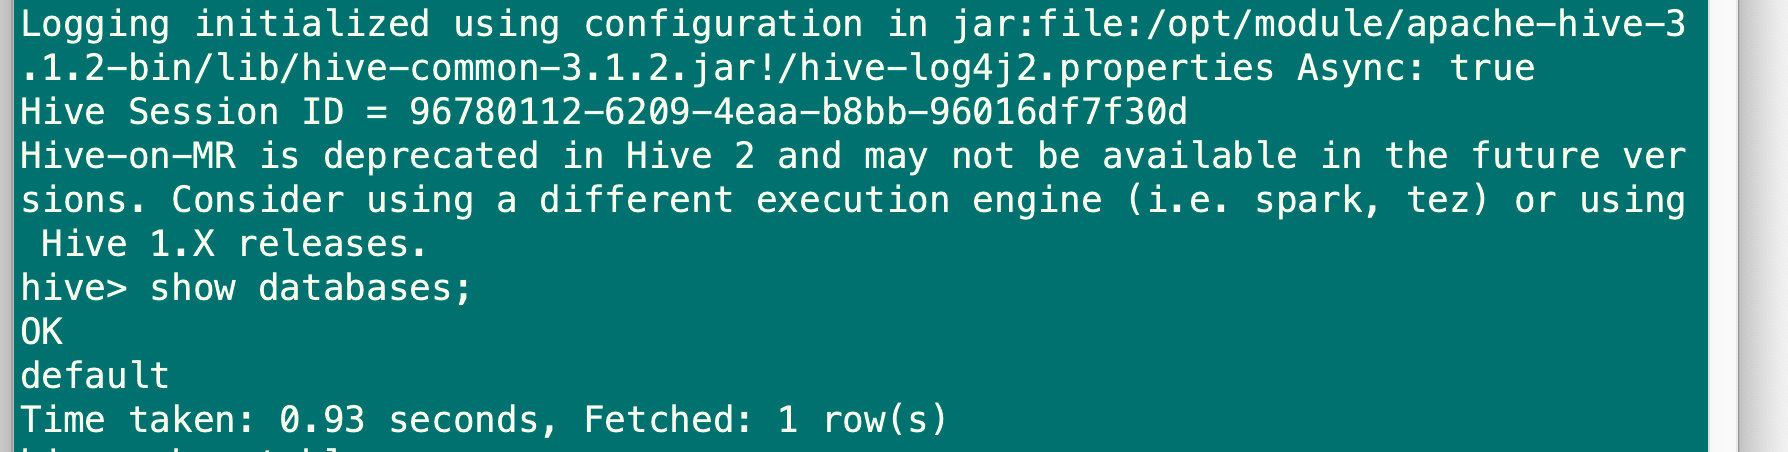
[root@hadoop001 bin]# hive
which: no hbase in (.:.:.:.:.:.:/usr/local/sbin:/usr/local/bin:/usr/sbin:/usr/bin:/opt/module/jdk1.8.0_231/bin:/opt/module/jdk1.8.0_231/bin:/opt/module/hadoop-2.7.3/bin:/opt/module/hadoop-2.7.3/sbin:/root/bin:/opt/module/jdk1.8.0_231/bin:/opt/module/jdk1.8.0_231/bin:/opt/module/hadoop-2.7.3/bin:/opt/module/hadoop-2.7.3/sbin:/opt/module/apache-hive-3.1.2-bin/bin:/opt/module/jdk1.8.0_231/bin:/opt/module/jdk1.8.0_231/bin:/opt/module/hadoop-2.7.3/bin:/opt/module/hadoop-2.7.3/sbin:/opt/module/apache-hive-3.1.2-bin/bin)
SLF4J: Class path contains multiple SLF4J bindings.
SLF4J: Found binding in [jar:file:/opt/module/apache-hive-3.1.2-bin/lib/log4j-slf4j-impl-2.10.0.jar!/org/slf4j/impl/StaticLoggerBinder.class]
SLF4J: Found binding in [jar:file:/opt/module/hadoop-2.7.3/share/hadoop/common/lib/slf4j-log4j12-1.7.10.jar!/org/slf4j/impl/StaticLoggerBinder.class]
SLF4J: See http://www.slf4j.org/codes.html#multiple_bindings for an explanation.
SLF4J: Actual binding is of type [org.apache.logging.slf4j.Log4jLoggerFactory]
Hive Session ID = 8f7d86d6-da2c-4f02-b7af-2877d51eb41b
Logging initialized using configuration in jar:file:/opt/module/apache-hive-3.1.2-bin/lib/hive-common-3.1.2.jar!/hive-log4j2.properties Async: true
Hive-on-MR is deprecated in Hive 2 and may not be available in the future versions. Consider using a different execution engine (i.e. spark, tez) or using Hive 1.X releases.
Hive Session ID = a91eb2dc-b2de-498d-a0dc-d84b63ec7a9c
hive> show databases;
OK
default
Time taken: 0.81 seconds, Fetched: 1 row(s)
hive> quit;

6.5 为Hadoop002分发Hive程序
#向Hadoop分发hive
[root@hadoop001 module]# scp -r apache-hive-3.1.2-bin/ hadoop002:`pwd`

[root@hadoop002 module]# vim /etc/profile
#在文件末尾添加以下内容
export HIVE_HOME=/opt/module/apache-hive-3.1.2-bin
export HIVE_CONF_DIR=$HIVE_HOME/conf
export PATH=$PATH:$HADOOP_HOME/bin:$HADOOP_HOME/sbin:$HIVE_HOME/bin
#保存退出

#使环境变量生效
[root@hadoop002 module]# source /etc/profile

#修改hive-site.xml
[root@hadoop002 apache-hive-3.1.2-bin]# cd  /opt/module/apache-hive-3.1.2-bin/conf/
[root@hadoop002 conf]# vim  hive-site.xml
#修改如下内容
<property>
<name>hive.metastore.uris</name>
<value>thrift://hadoop002:9083</value>
</property>
</configuration>

#保存退出
#查询版本
hive --version

Hive 3.1.2
Git git://HW13934/Users/gates/tmp/hive-branch-3.1/hive -r 8190d2be7b7165effa62bd21b7d60ef81fb0e4af
Compiled by gates on Thu Aug 22 15:01:18 PDT 2019
From source with checksum 0492c08f784b188c349f6afb1d8d984

#登录hive命令行
[root@hadoop002 software]#  hive  --service metastore &
#敲回车
[root@hadoop002 software]# hive
hive> show databases;
OK
default
Time taken: 1.686 seconds, Fetched: 1 row(s)
hive> exit;
7.Sqoop安装
7.1 Sqoop安装包下载
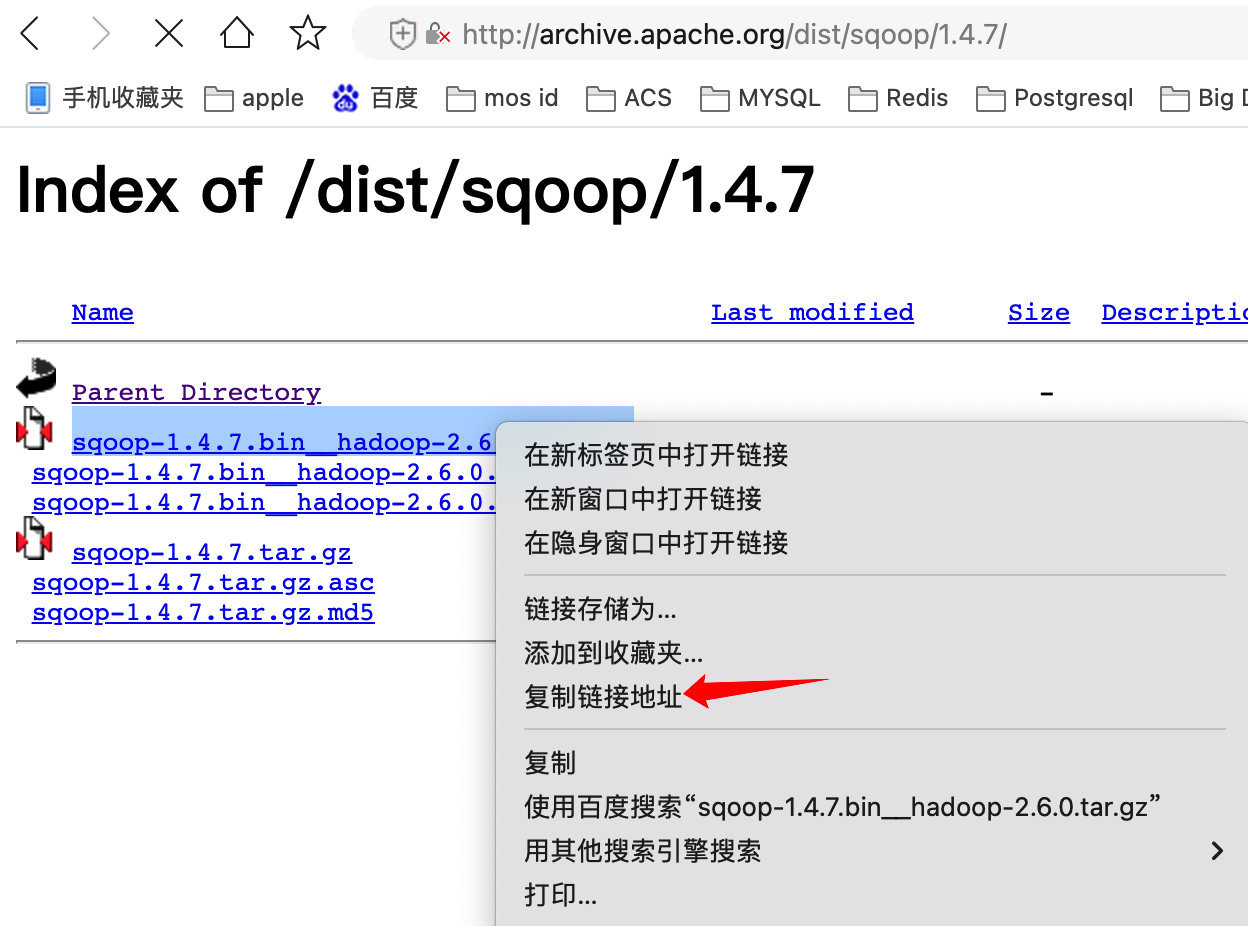
官⽹下载地址,http://archive.apache.org/dist/sqoop/ 选择版本1.4.7
7.1.1 Hadoop002机器下载并解压缩Sqoop安装包
[root@hadoop002 ~]# mkdir -p /opt/module/software
[root@hadoop002 software]# wget
http://archive.apache.org/dist/sqoop/1.4.7/sqoop-1.4.7.bin__hadoop-2.6.0.tar.gz
[root@hadoop002 software]# tar -zxvf sqoop-1.4.7.bin__hadoop-2.6.0.tar.gz -C
/opt/module/
7.1.2 修改sqoop-env.sh配置文件
cd /opt/module/sqoop-1.4.7.bin__hadoop-2.6.0/conf
[root@hadoop002 conf]# cp sqoop-env-template.sh sqoop-env.sh
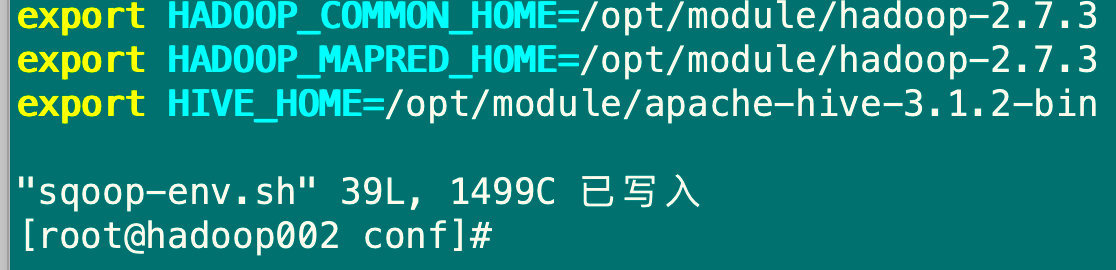
[root@hadoop002 conf]# vim sqoop-env.sh
#添加如下内容
export HADOOP_COMMON_HOME=/opt/module/hadoop-2.7.3
export HADOOP_MAPRED_HOME=/opt/module/hadoop-2.7.3
export HIVE_HOME=/opt/module/apache-hive-3.1.2-bin
#保存退出
7.1.3 将MySQL的驱动包上传到/opt/module/software目录下,然后复制到Sqoop文件夹的lib目录下
[root@hadoop002 software]# pwd
/opt/module/software
[root@hadoop002 software]# cp mysql-connector-java-5.1.38.jar /opt/module/sqoop-1.4.7.bin__hadoop-2.6.0/lib/
7.1.4 将sqoop的环境变量添加到profile中
[root@hadoop002 software]# vim /etc/profile
#添加如下内容
export PATH=.:$PATH:$JAVA_HOME/bin:$HADOOP_HOME/bin:$HADOOP_HOME/sbin:$SQOOP_HOME/bin:$HIVE_HOME/bin
export SQOOP_HOME=/opt/module/sqoop-1.4.7.bin__hadoop-2.6.0

#保存退出
[root@hadoop002 software]# source /etc/profile

7.1.5 验证sqoop安装结果
[root@hadoop002 bin]# sqoop version

7.2 基本操作命令
7.2.1 列出MySQL数据库
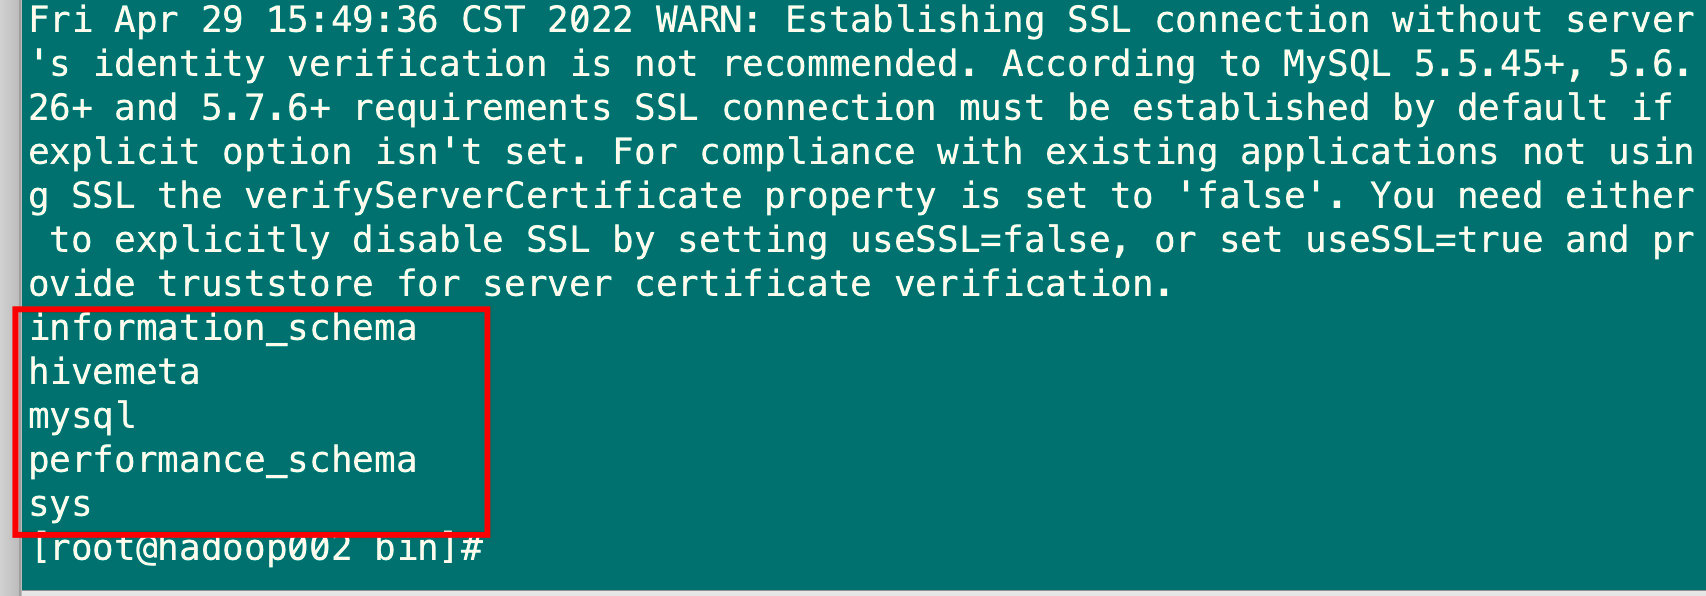
[root@hadoop002 bin]# sqoop list-databases --connect jdbc:mysql://192.168.5.102:3306/ --username root --password mysql
7.2.2 将MySQL表导入到Hive数据库中
[root@hadoop002 bin]# mysql -uroot -pmysql
mysql: [Warning] Using a password on the command line interface can be insecure.
Welcome to the MySQL monitor. Commands end with ; or \g.
Your MySQL connection id is 87
Server version: 5.7.36 MySQL Community Server (GPL)
Copyright (c) 2000, 2021, Oracle and/or its affiliates.
Oracle is a registered trademark of Oracle Corporation and/or its
affiliates. Other names may be trademarks of their respective
owners.
Type 'help;' or '\h' for help. Type '\c' to clear the current input statement.
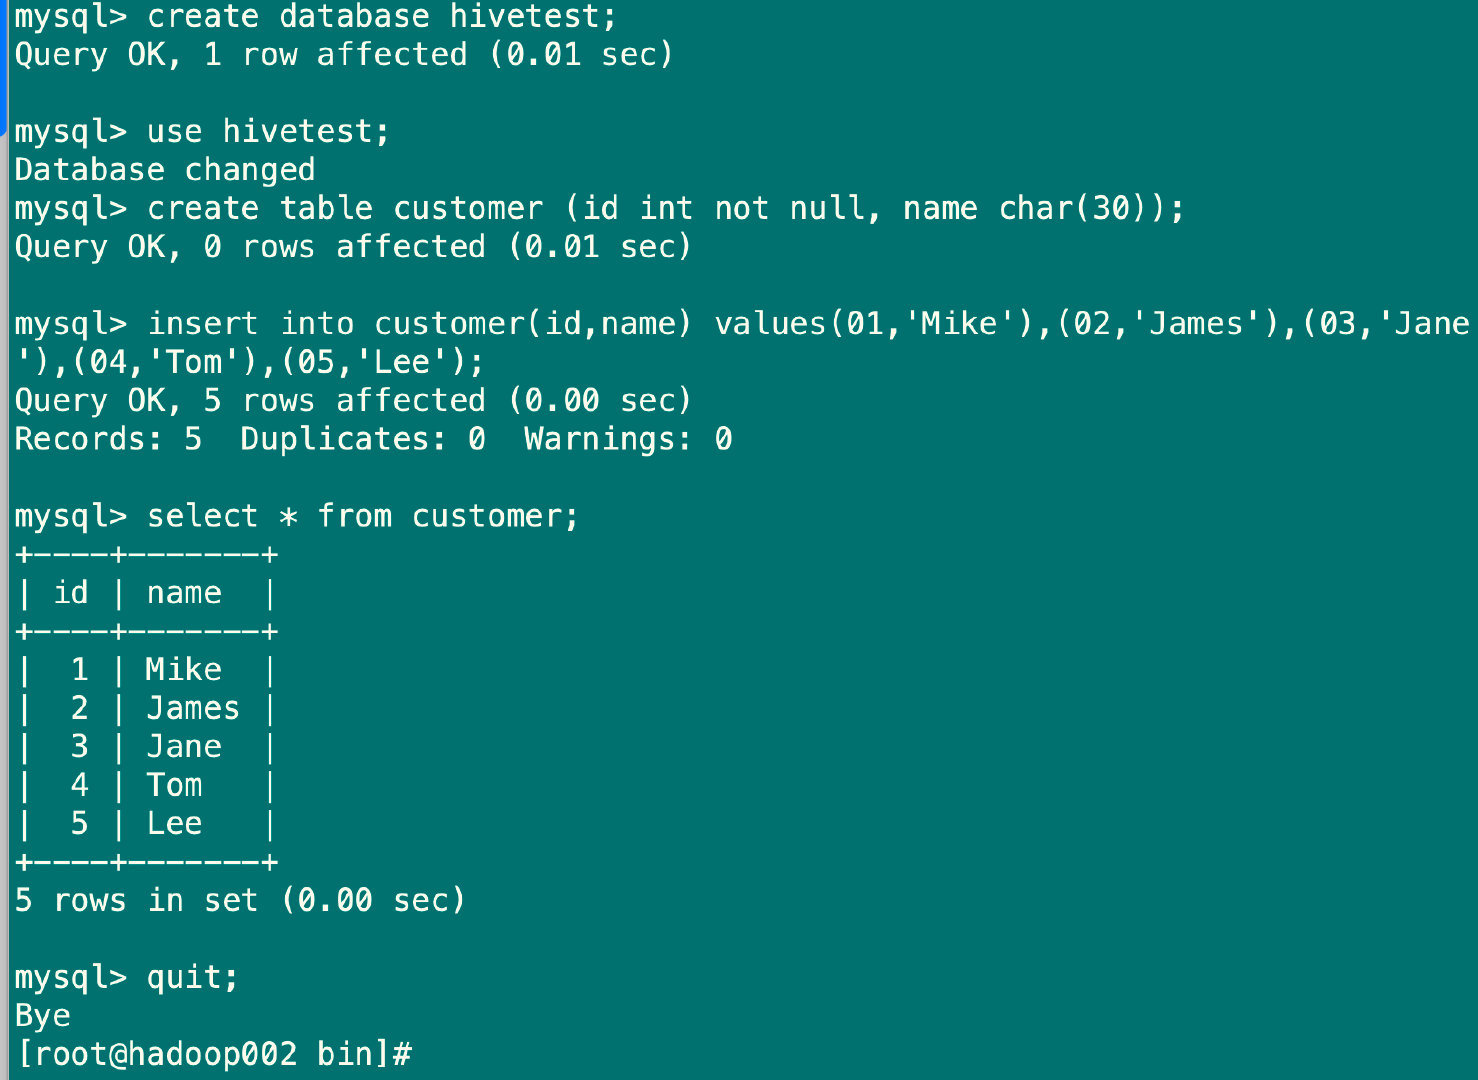
#创建MySQL测试数据库
mysql> create database hivetest;
Query OK, 1 row affected (0.01 sec)
#切换数据库
mysql> use hivetest;
Database changed
#创建customer表
mysql> create table customer (id int not null, name char(30));
Query OK, 0 rows affected (0.01 sec)
#插入数据
mysql> insert into customer(id,name) values(01,'Mike'),(02,'James'),(03,'Jane'),(04,'Tom'),(05,'Lee');
Query OK, 5 rows affected (0.00 sec)
Records: 5 Duplicates: 0 Warnings: 0
#退出
mysql> quit;
Bye
#将MySQL库表中的数据导⼊到Hive数据库中
[root@hadoop002 bin]# sqoop import --connect jdbc:mysql://192.168.5.102:3306/hivetest --username root --password mysql --table customer --hive-import --hive-overwrite --create-hive-table --delete-target-dir --hive-database default --hive-table ods_hivetest_customer -m 1
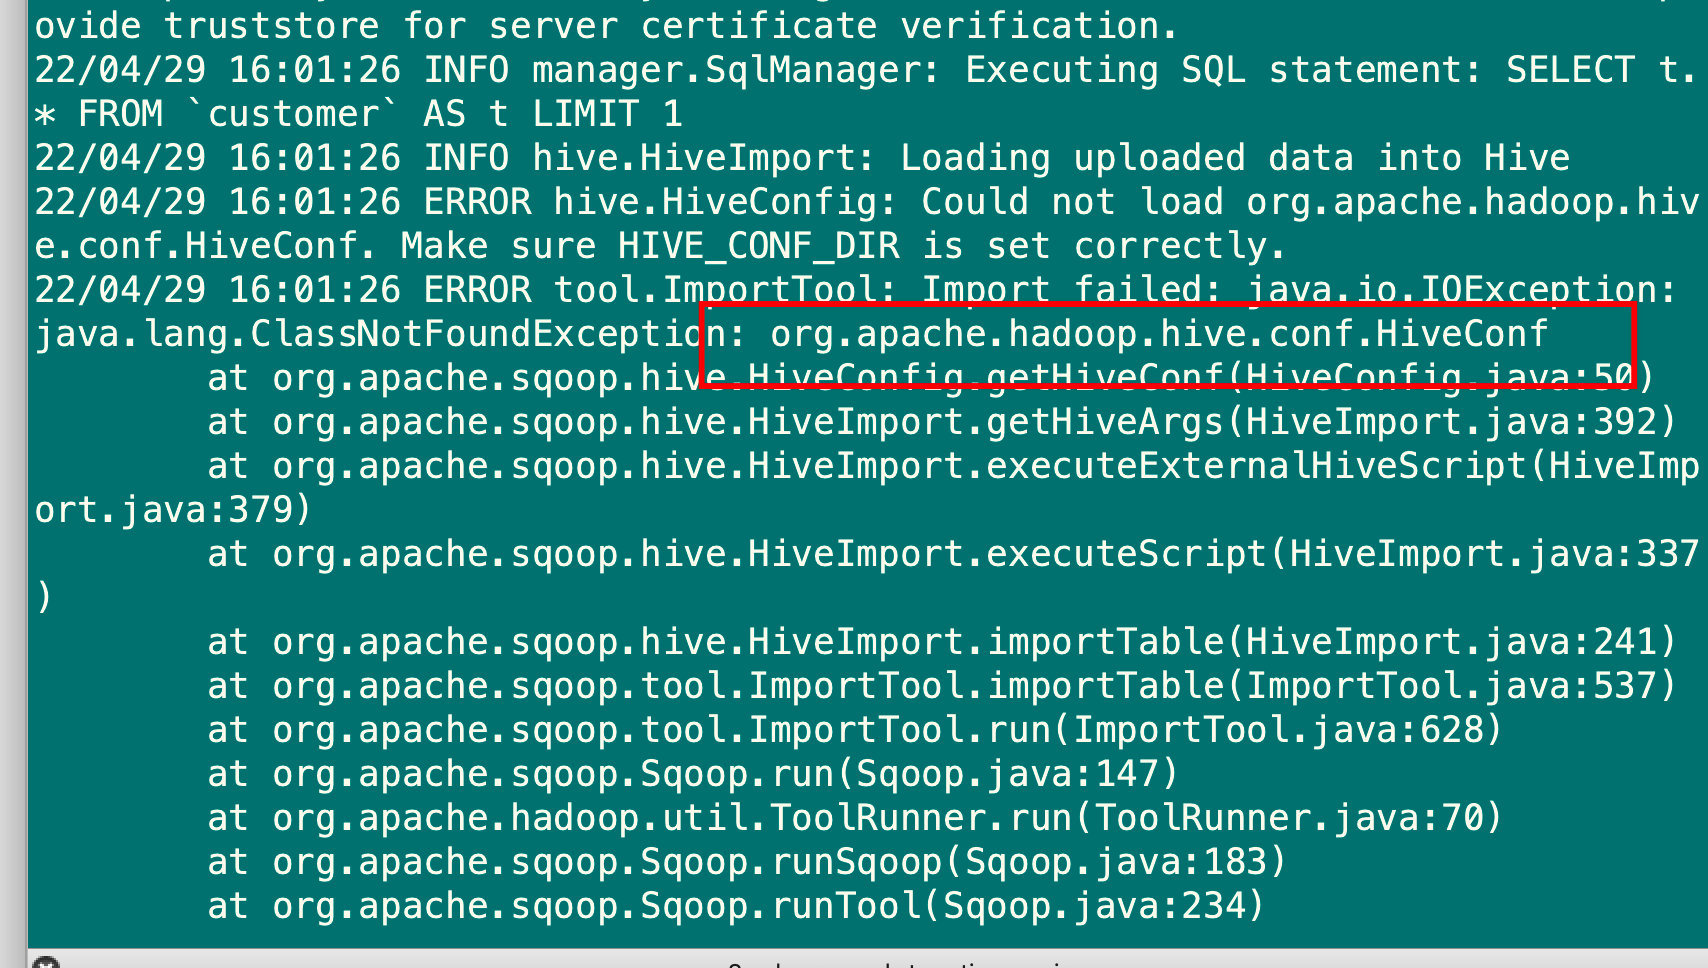
#出现报错,是由于Sqoop缺少了hive-common-3.1.1.jar包,在Hive的lib⽬录下,拷⻉到Sqoop的lib⽬录下即可,具体操作如下:
cd /opt/module/sqoop-1.4.7.bin__hadoop-2.6.0
[root@hadoop002 sqoop-1.4.7.bin__hadoop-2.6.0]# cp ../apache-hive-3.1.2-bin/lib/hive-common-3.1.2.jar lib/
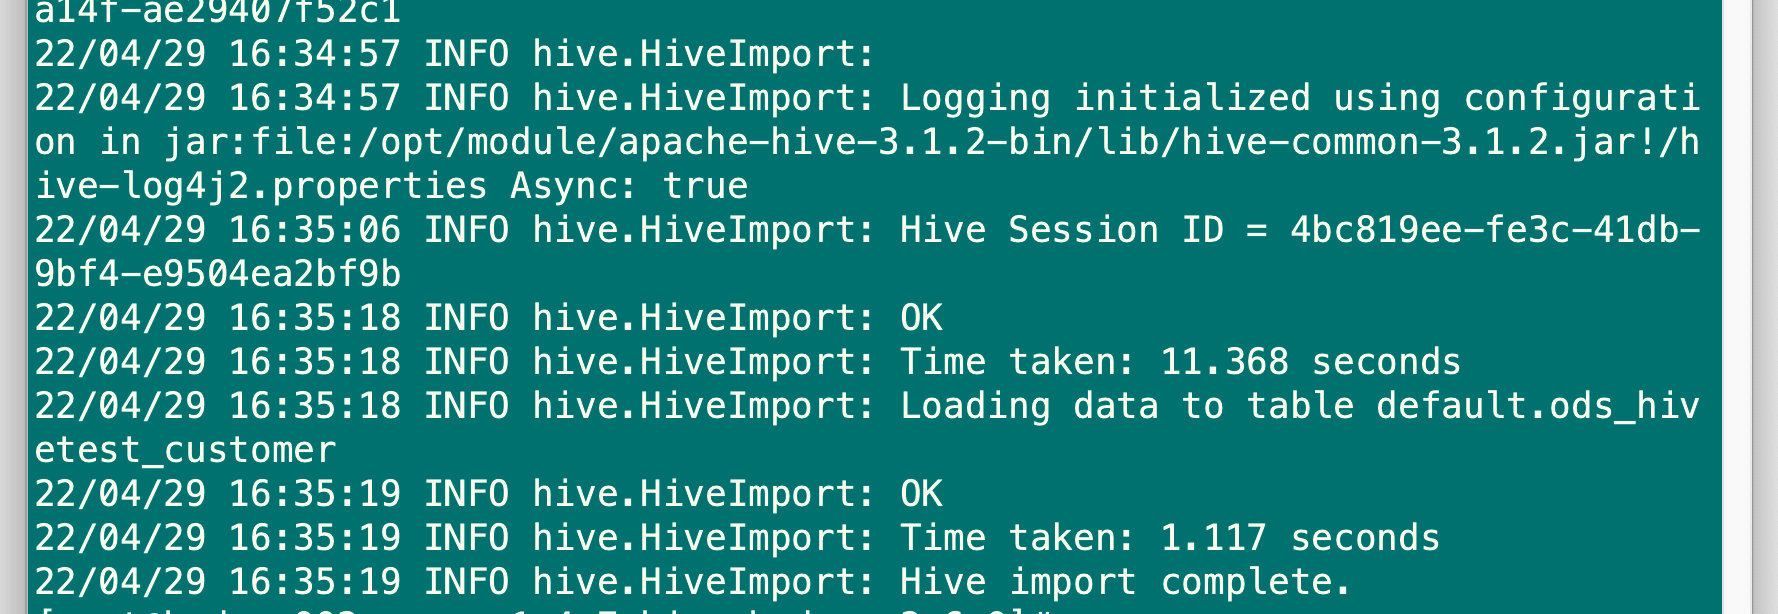
#然后再次导入
[root@hadoop002 bin]# sqoop import --connect jdbc:mysql://192.168.5.102:3306/hivetest --username root --password mysql --table customer --hive-import --hive-overwrite --create-hive-table --delete-target-dir --hive-database default --hive-table ods_hivetest_customer -m 1
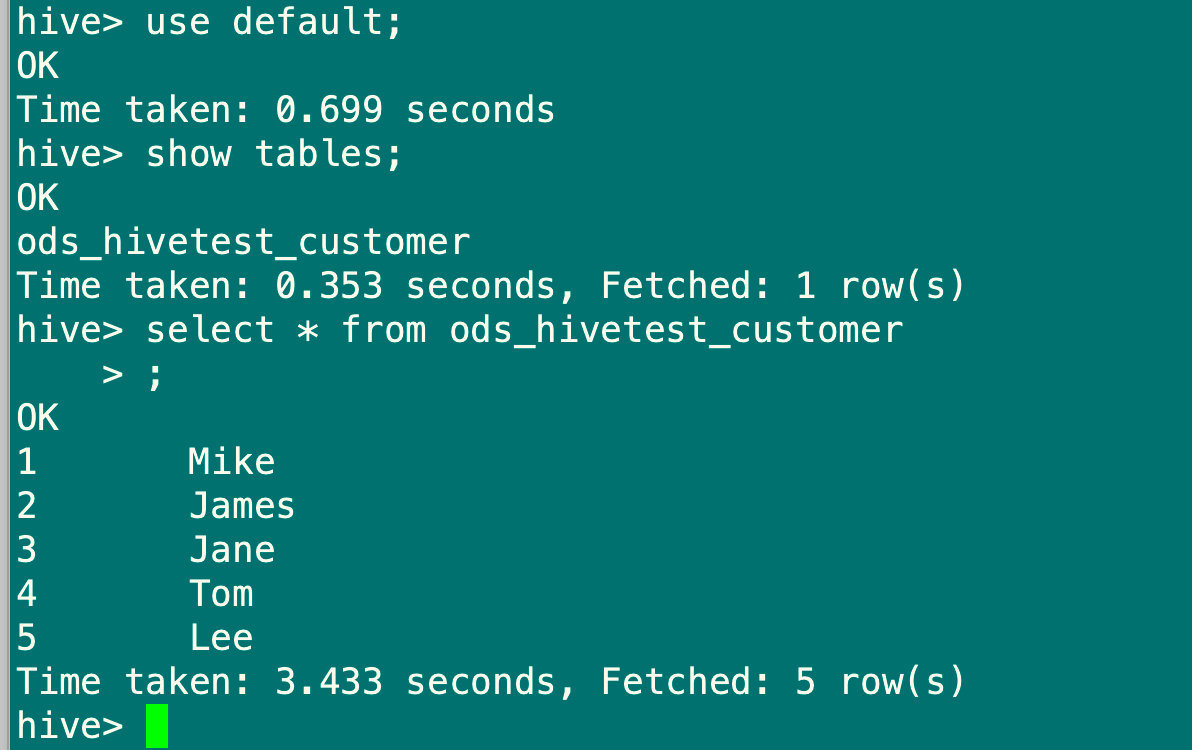
#在hadoop001节点登录Hive客⼾端进⾏查询
[root@hadoop001 module]# hive
hive> use default;
OK
Time taken: 0.699 seconds
hive> show tables;
OK
ods_hivetest_customer
Time taken: 0.353 seconds, Fetched: 1 row(s)
hive> select * from ods_hivetest_customer
> ;
OK
1 Mike
2 James
3 Jane
4 Tom
5 Lee
Time taken: 3.433 seconds, Fetched: 5 row(s)
#以上即为从MySQL同步到Hive成功
7.2.3 将Hive表导出到MySQL数据库中
#⾸先从MySQL上创建⼀张和Hive要同步的数据表字段及类型⼀样的数据表,可以直接创建和customer表结构⼀致的数据表
[root@hadoop002 sqoop-1.4.7.bin__hadoop-2.6.0]# mysql -uroot -pmysql
mysql> show databases;
+--------------------+
| Database           |
+--------------------+
| information_schema |
| hivemeta           |
| hivetest           |
| mysql              |
| performance_schema |
| sys                |
+--------------------+
6 rows in set (0.00 sec)

mysql> use hivetest;

mysql> create table ods_hivetest_customer like customer;
Query OK, 0 rows affected (0.02 sec)

mysql> exit;
#执行导出命令

[root@hadoop002 sqoop-1.4.7.bin__hadoop-2.6.0]# sqoop export --connect jdbc:mysql://192.168.5.102:3306/hivetest --username root --password mysql --table ods_hivetest_customer --export-dir /user/hive/warehouse/ods_hivetest_customer --fields-terminated-by '\001'
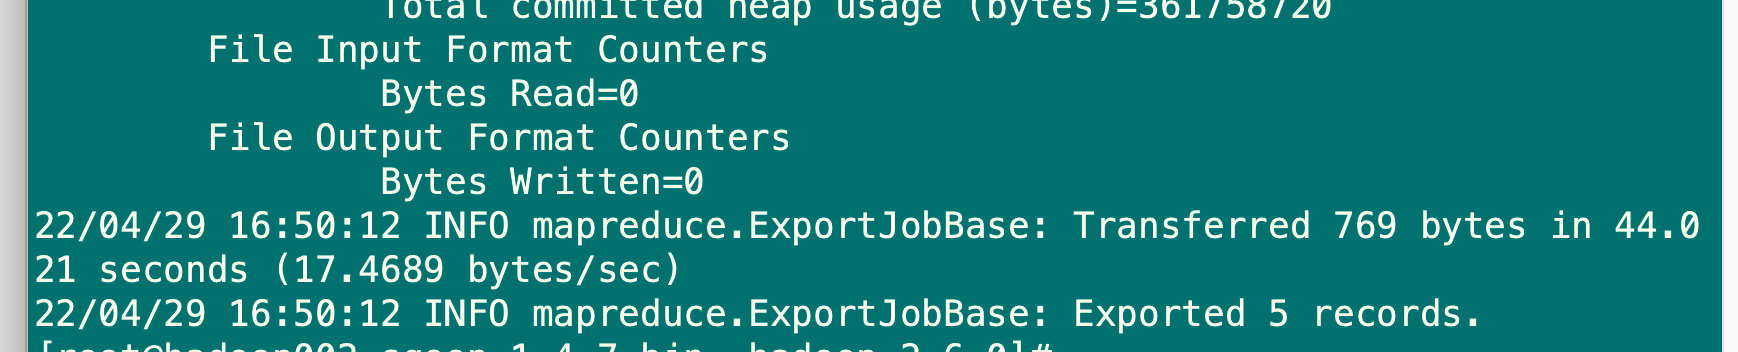
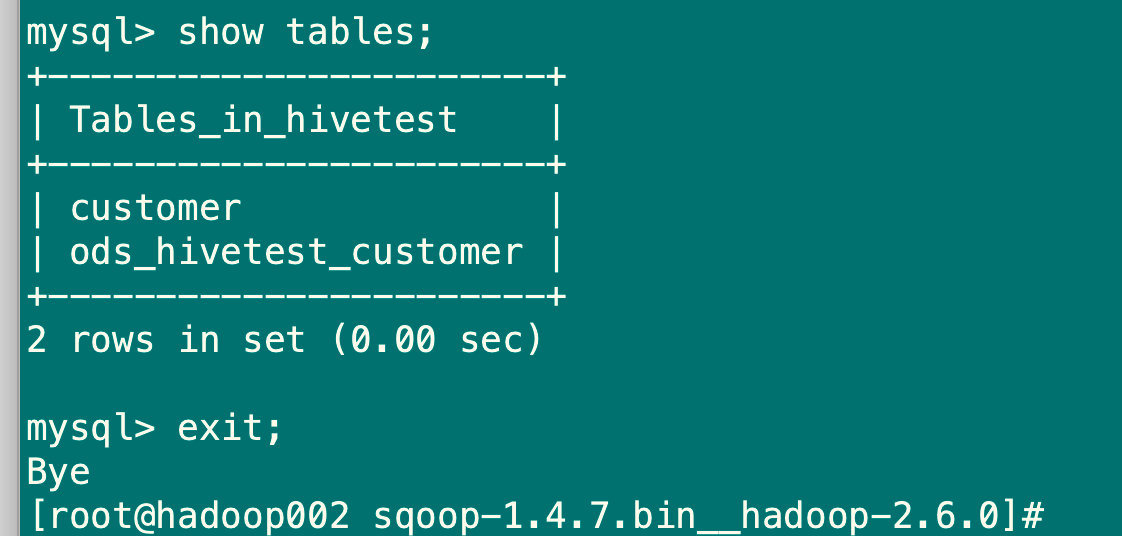
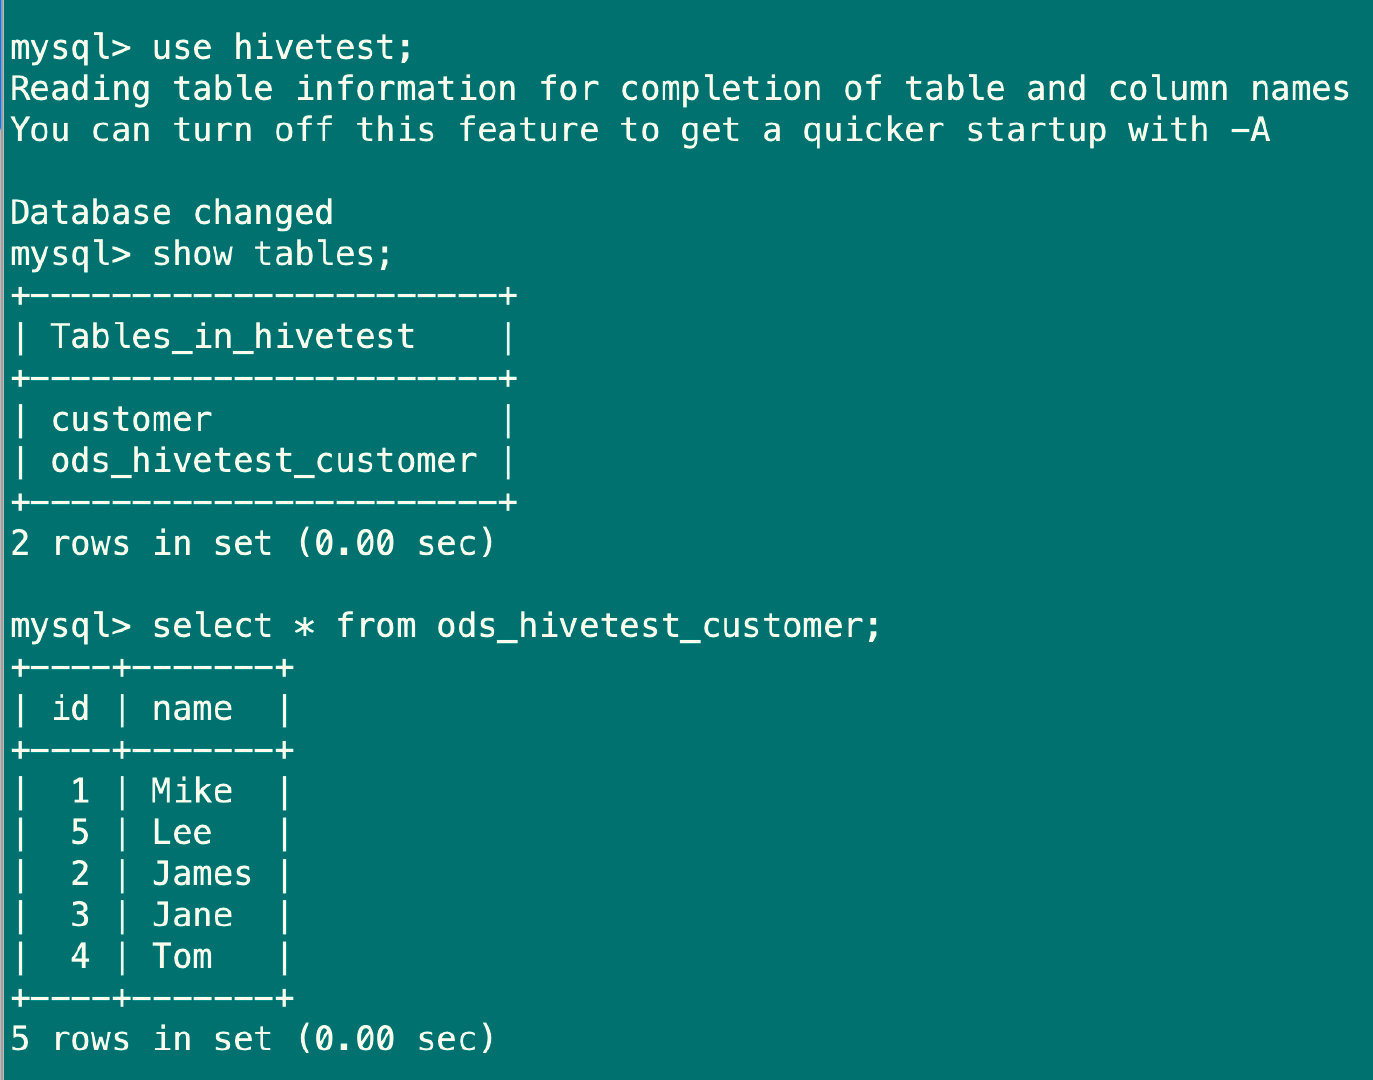
#验证数据
[root@hadoop002 sqoop-1.4.7.bin__hadoop-2.6.0]# mysql -uroot -pmysql
mysql> use hivetest;
Reading table information for completion of table and column names
You can turn off this feature to get a quicker startup with -A

Database changed
mysql> show tables;
+-----------------------+
| Tables_in_hivetest    |
+-----------------------+
| customer              |
| ods_hivetest_customer |
+-----------------------+
2 rows in set (0.00 sec)

mysql> select * from ods_hivetest_customer;
+----+-------+
| id | name  |
+----+-------+
|  1 | Mike  |
|  5 | Lee   |
|  2 | James |
|  3 | Jane  |
|  4 | Tom   |
+----+-------+
5 rows in set (0.00 sec)

mysql>exit;
#以上表⽰从Hive同步到MySQL数据成功
8.Flume安装
8.1 Flume安装包下载
#在hadoop003机器上
[root@hadoop003 software]# wget https://archive.apache.org/dist/flume/1.8.0/apac
he-flume-1.8.0-bin.tar.gz

#解压安装包到 /opt/module/⽬录下
 [root@hadoop003 software]# tar -zxvf apache-flume-1.8.0-bin.tar.gz -C /opt/module/
8.2 编辑flume-env.sh配置文件
cd /opt/module/apache-flume-1.8.0-bin/conf
[root@hadoop003 conf]# cp flume-env.sh.template flume-env.sh
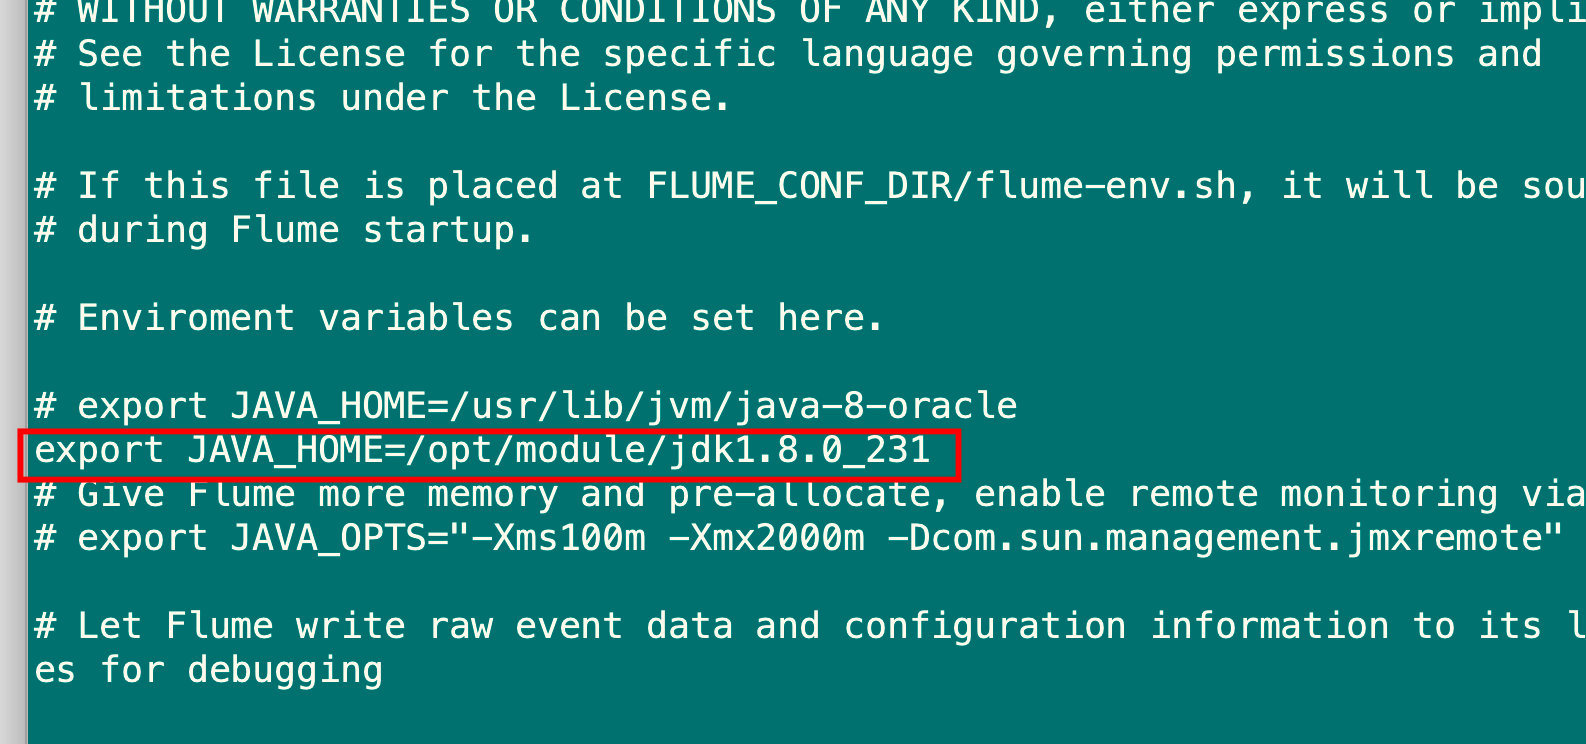
[root@hadoop003 conf]# vim flume-env.sh
#添加如下内容
export JAVA_HOME=/opt/module/jdk1.8.0_231
#保存退出
#验证版本
cd /opt/module/apache-flume-1.8.0-bin
[root@hadoop003 apache-flume-1.8.0-bin]# bin/flume-ng version
Flume 1.8.0
Source code repository: https://git-wip-us.apache.org/repos/asf/flume.git
Revision: 99f591994468633fc6f8701c5fc53e0214b6da4f
Compiled by denes on Fri Sep 15 14:58:00 CEST 2017
From source with checksum fbb44c8c8fb63a49be0a59e27316833d
#信息展现如图所⽰即为成功

8.3 Flume练习
8.3.1 采集本地⽂件到HDFS上
采集需求:采集 /opt/module/datas/flume_tmp.log 中的数据实时采集到HDFS上
1.创建HDFS路径
[root@hadoop003 module]#  hdfs dfs -mkdir -p /flume/tailout/
[root@hadoop003 module]# hdfs dfs -chmod -R 777 /flume/tailout
[root@hadoop003 module]#  hdfs dfs -mkdir /flume/events
[root@hadoop003 module]# hdfs dfs -chmod -R 777 /flume/events
2.创建本地采集Log⽂件
[root@hadoop003 module]# mkdir /opt/module/datas
[root@hadoop003 module]# touch /opt/module/datas/flume_tmp.log
3.新建Flume配置文件
cd /opt/module/apache-flume-1.8.0-bin/conf
[root@hadoop003 conf]# vim hdfs-flume.conf
#添加如下内容

# Name the components on this agent
a1.sources = r1
a1.sinks = k1
a1.channels = c1
# Describe/configure the source
a1.sources.r1.type = exec
a1.sources.r1.command = tail -F /opt/module/datas/flume_tmp.log
a1.sources.r1.channels = c1
# Describe the sink
a1.sinks.k1.type = hdfs
a1.sinks.k1.hdfs.path = /flume/tailout/%y-%m-%d/%H%M/
a1.sinks.k1.hdfs.filePrefix = events
a1.sinks.k1.hdfs.round = true
a1.sinks.k1.hdfs.roundValue = 1
a1.sinks.k1.hdfs.roundUnit = minute
a1.sinks.k1.hdfs.rollInterval = 3
a1.sinks.k1.hdfs.rollSize = 20
a1.sinks.k1.hdfs.rollCount = 5
a1.sinks.k1.hdfs.batchSize = 1
a1.sinks.k1.hdfs.useLocalTimeStamp = true
#生成的文件类型,默认是Sequencefile,可用DataStream,则为普通文本
a1.sinks.k1.hdfs.fileType = DataStream
# Use a channel which buffers events in memory
a1.channels.c1.type = memory
a1.channels.c1.capacity = 1000
a1.channels.c1.transactionCapacity = 100
# Bind the source and sink to the channel
a1.sources.r1.channels = c1
a1.sinks.k1.channel = c1
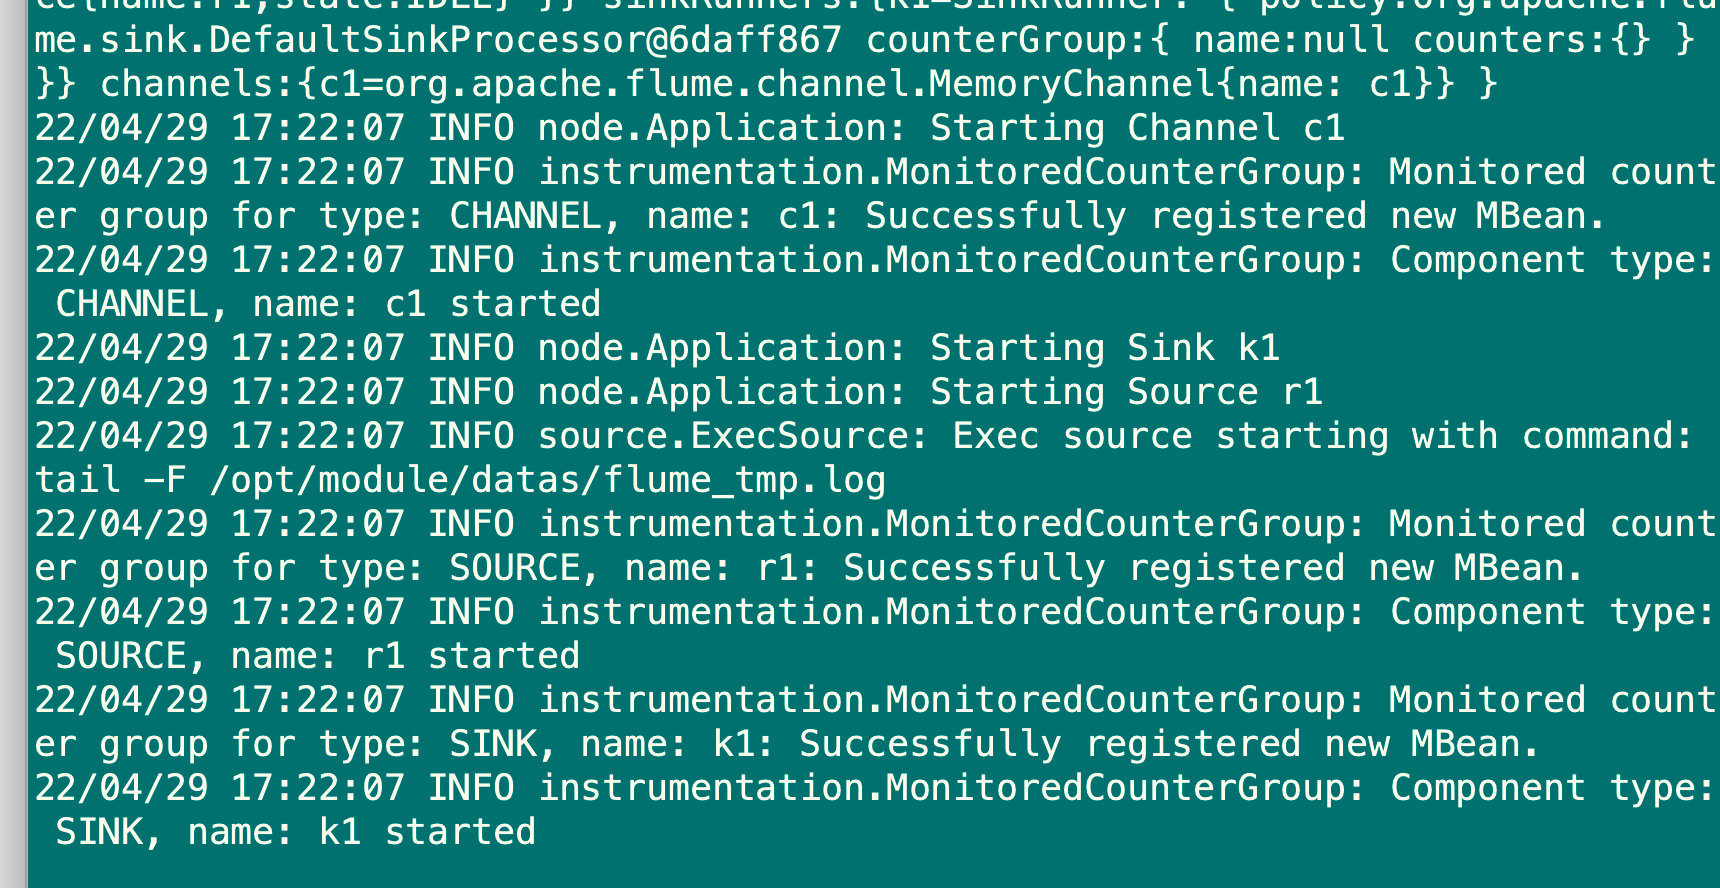
4.执行语句
cd /opt/module/apache-flume-1.8.0-bin
[root@hadoop003 apache-flume-1.8.0-bin]# bin/flume-ng agent -c jobs/ -f conf/hdfs-flume.conf -n a1 Dflume.root.logger=INFO,console
5.克隆一个hadoop003会话,向flume_tmp.log中写入数据
[root@hadoop003 ~]# cd /opt/module/datas/
[root@hadoop003 datas]# echo 'flume666' >> flume_tmp.log
[root@hadoop003 datas]# echo 'flume666' >> flume_tmp.log
[root@hadoop003 datas]# echo 'flume666' >> flume_tmp.log
[root@hadoop003 datas]# echo 'flume666' >> flume_tmp.log

6.在HDFS中检查数据是否已上传
[root@hadoop003 datas]# hadoop fs -ls /flume/tailout
Found 1 items
drwxrwxrwx   - root supergroup          0 2022-04-29 17:24 /flume/tailout/22-04-29
[root@hadoop003 datas]# hadoop fs -ls /flume/tailout/22-04-29
[root@hadoop003 datas]#  hadoop fs -ls  /flume/tailout/22-04-29/1724
[root@hadoop003 datas]# hadoop fs -cat /flume/tailout/22-04-29/1724/events.1651224293443
flume666
[root@hadoop003 datas]# hadoop fs -cat  /flume/tailout/22-04-29/1724/events.1651224293442
flume666
flume666
flume666


 3万+
3万+


 被折叠的 条评论
为什么被折叠?
被折叠的 条评论
为什么被折叠?
 到【灌水乐园】发言


