


并非是那种传授并分享知识的,只想在个人博客上把自己学的东西记录下来。
上一篇写的是如何创建项目的,这一篇是将IDEA的HTML内容显示在浏览器上。因为一步步学过来,pom.xml中添加的依赖越来越多,已经分不清显示HTML只需要精简到哪些依赖,这里我随便找两个比较简短的pom.xml依赖,就不回去仔细测试哪些是多余的了。另外我后期博客中,包的形式大致是这样的
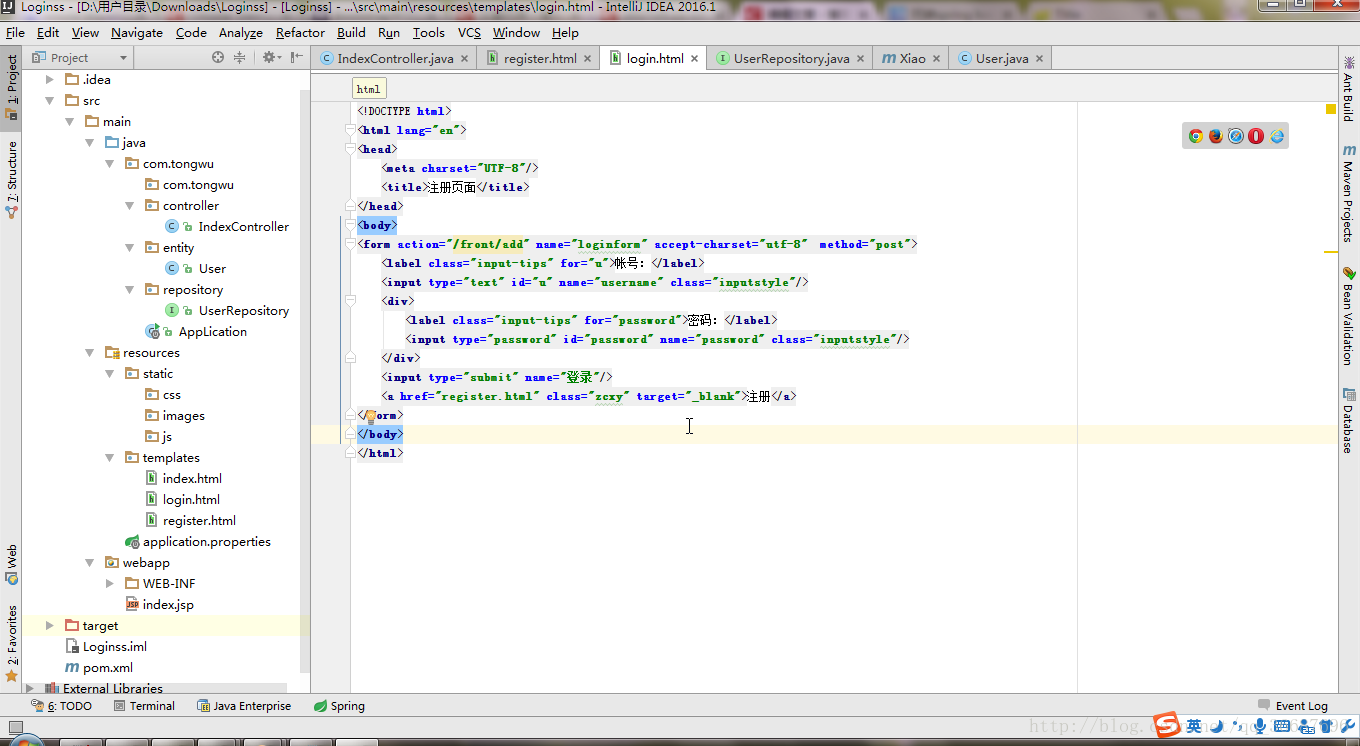
另外我想说明一下,其实src下的webapp和web.xml是完全没用到的,只是以前习惯把webapp目录创建出来,众看官可以忽略或者不创建webapp
以前用的SSM框架比较多,现在使用Springboot这种轻便的框架还真有点不习惯。
以前是各种插件,各种pom.xml,web.xml依赖

现在基本就只pom.xml,resources下的application.properties为主,甚至dao跟service都简化很多(目前也只是刚学不久,纯属个人愚见)
聊完这些多余的,我们接着进入正题
首先添加pom.xml依赖,上面说了,我只是随意找了个简短的,反正后面都会用到,也不分只要哪些依赖就能实现了
<!--spring boot 父节点依赖,引入这个之后相关的引入就不需要添加version配置,spring boot会自动选择最合适的版本进行添加。-->
  <parent>
    <groupId>org.springframework.boot</groupId>
    <artifactId>spring-boot-starter-parent</artifactId>
    <version>1.4.0.RELEASE</version>
  </parent>

  <properties>
    <project.build.sourceEncoding>UTF-8</project.build.sourceEncoding>
    <!-- 指定一下jdk的版本 ,这里我们使用jdk 1.8 ,默认是1.6 -->
    <java.version>1.8</java.version>
  </properties>

  <dependencies>

    <!--spring-boot-starter-web: MVC,AOP的依赖包....-->
    <dependency>
      <groupId>org.springframework.boot</groupId>
      <artifactId>spring-boot-starter-web</artifactId>
      <!--<version></version>由于我们在上面指定了 parent(spring boot)-->
    </dependency>

    <!-- 添加fastjson 依赖包. -->
    <dependency>
      <groupId>com.alibaba</groupId>
      <artifactId>fastjson</artifactId>
      <version>1.2.15</version>
    </dependency>

    <!-- 添加MySQL数据库驱动依赖包. -->
    <dependency>
      <groupId>mysql</groupId>
      <artifactId>mysql-connector-java</artifactId>
    </dependency>

    <!-- 添加Spring-data-jpa依赖. -->
    <dependency>
      <groupId>org.springframework.boot</groupId>
      <artifactId>spring-boot-starter-data-jpa</artifactId>
    </dependency>

    <!-- 添加thymeleaf的依赖. -->
    <dependency>
      <groupId>org.springframework.boot</groupId>
      <artifactId>spring-boot-starter-thymeleaf</artifactId>
    </dependency>

</dependencies>#开发过程建议关闭缓存
spring.thymeleaf.cache=false
########################################################
###datasource -- 指定mysql数据库连接信息
########################################################
spring.datasource.url = jdbc:mysql://localhost:3306/test
spring.datasource.username = root
spring.datasource.password = 123
spring.datasource.driverClassName = com.mysql.jdbc.Driver
spring.datasource.max-active=20
spring.datasource.max-idle=8
spring.datasource.min-idle=8
spring.datasource.initial-size=10
########################################################
### Java Persistence Api -- Spring jpa 的配置信息
########################################################
# Specify the DBMS
spring.jpa.database = MYSQL
# Show or not log for each sql query
spring.jpa.show-sql = true
# Hibernate ddl auto (create, create-drop, update)
spring.jpa.hibernate.ddl-auto = update
# Naming strategy
#[org.hibernate.cfg.ImprovedNamingStrategy #org.hibernate.cfg.DefaultNamingStrategy]
spring.jpa.hibernate.naming-strategy = org.hibernate.cfg.ImprovedNamingStrategy
# stripped before adding them to the entity manager)
spring.jpa.properties.hibernate.dialect = org.hibernate.dialect.MySQL5Dialect
启动类:AppLication
package com.zking;

import org.springframework.boot.SpringApplication;
import org.springframework.boot.autoconfigure.SpringBootApplication;

/**
 * Created by Administrator on 2017/5/5.
 */

@SpringBootApplication
public class AppLication {
    public static void main(String[] args) {
        SpringApplication.run(AppLication.class, args);
    }

}
以及controller跟index页面
package com.zking.controller;

import org.springframework.stereotype.Controller;
import org.springframework.web.bind.annotation.RequestMapping;

/**
 * Created by Administrator on 2017/5/11.
 */


@Controller
public class IndexController {

    @RequestMapping("/index")
    public String index() {
        return "index";
    }

}
<!DOCTYPE html>
<html lang="en">
<head>
    <meta charset="UTF-8" />
    <title>Title</title>
</head>
<body>
这是能运行在TomCat的一个HTML
</body>
</html>
不用在tomcat选择项目启动,直接选择启动类直接启动项目


输入localhost:8080/index,就能显示在浏览器上了

有源码才能更好的理解
目前源码放置在百度云盘,后期源码应该会转GItHub保存


 被折叠的 条评论
为什么被折叠?
被折叠的 条评论
为什么被折叠?
 到【灌水乐园】发言


