


文章目录
安装Hexo
什么是 Hexo?
Hexo是一款基于Node.js的静态博客框架。
Hexo 使用 Markdown(或其他渲染引擎)解析文章,在几秒内,即可利用靓丽的主题生成静态网页1。
在安装Hexo前,我们需要检查电脑中是否已安装下列应用程序:
安装Git
Windows 用户 直接在 官网下
Git很慢,可以通过这个页面下载。
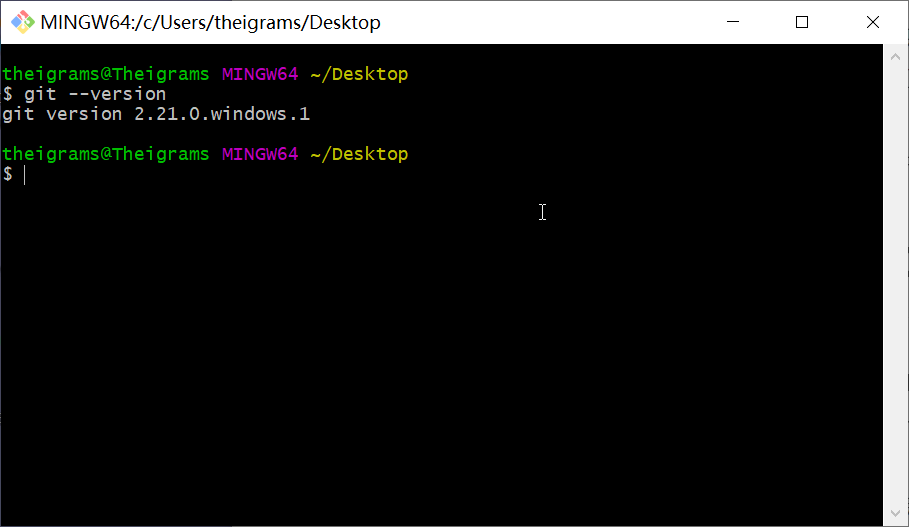
安装完Git后,右键打开Git Bush Here,输入git --version,出现版本信息就说明安装成功了。
安装node
接下来安装node.js,在官网下载安装即可。
在命令行输入node -v和npm -v,出现以下信息说明安装成功了。
Microsoft Windows [版本 10.0.17763.379]
(c) 2018 Microsoft Corporation。保留所有权利。

C:\Users\theigrams>node -v
v10.16.0

C:\Users\theigrams>npm -v
6.9.0
安装Hexo
建立一个文件夹用来下载并验证Hexo,比如我的存在C:\D\Hexo。
进入该文件夹右键打开Git运行以下指令
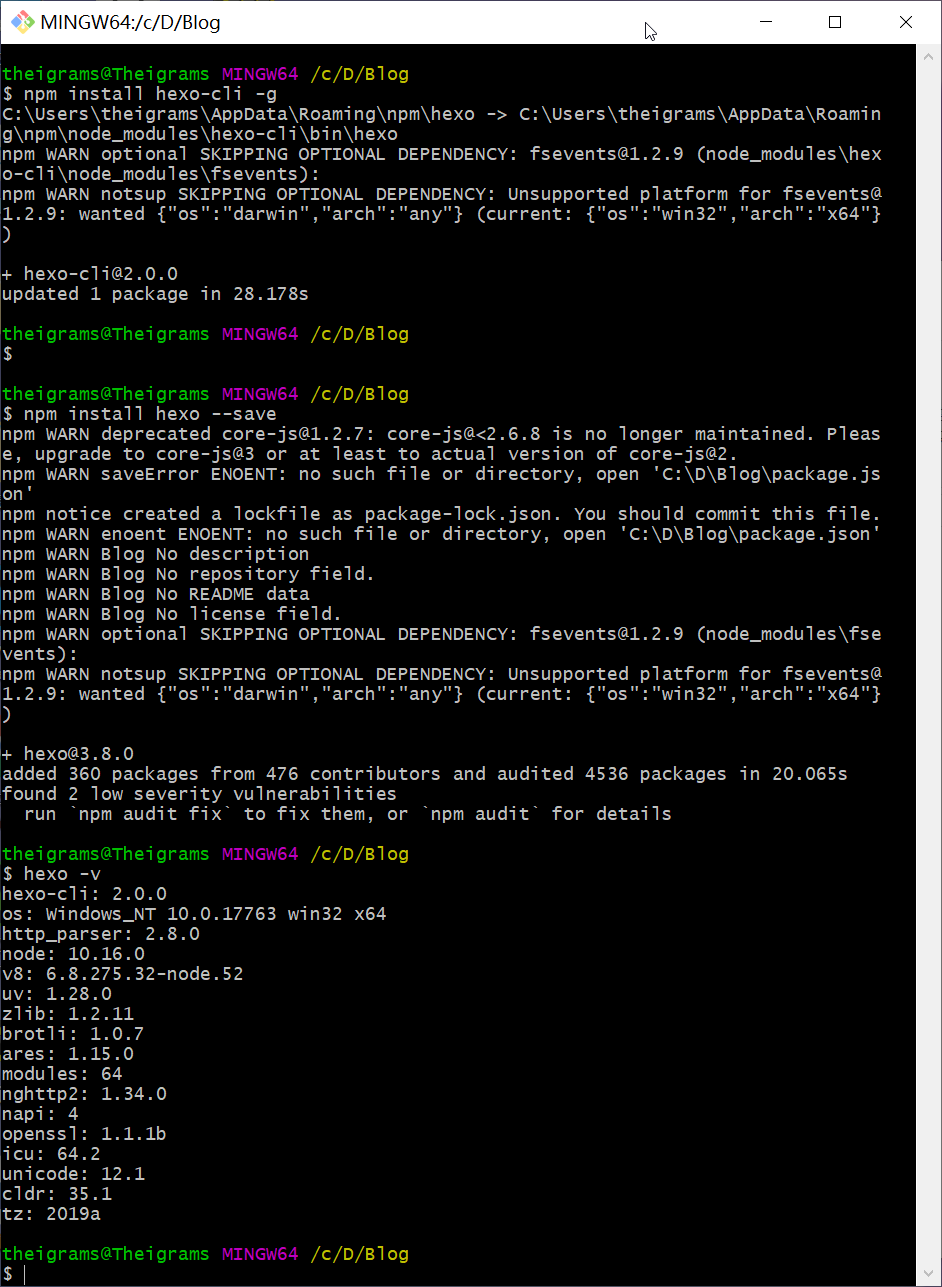
npm install hexo-cli -g
Git输出信息如下,应该是安装成功了。
theigrams@Theigrams MINGW64 /c/D/Hexo
$ npm install hexo-cli -g
C:\Users\theigrams\AppData\Roaming\npm\hexo -> C:\Users\theigrams\AppData\Roaming\npm\node_modules\hexo-cli\bin\hexo
npm WARN optional SKIPPING OPTIONAL DEPENDENCY: fsevents@1.2.9 (node_modules\hexo-cli\node_modules\fsevents):
npm WARN notsup SKIPPING OPTIONAL DEPENDENCY: Unsupported platform for fsevents@1.2.9: wanted {"os":"darwin","arch":"any"} (current: {"os":"win32","arch":"x64"})

+ hexo-cli@2.0.0
updated 1 package in 25.401s
然后输入npm install hexo --save继续安装。
最后输入hexo -v 看Hexo是不是已经安装好了。
初始化Hexo
继续输入:
hexo init Blog
它就会在当前目录下生成一个Blog的文件夹,并在里面生成相关配置信息2。
输入cd Blog进入该文件夹,接着输入npm install安装必备的组件。
但是在安装时居然报错了:
npm WARN deprecated core-js@1.2.7: core-js@<2.6.8 is no longer maintained. Please, upgrade to core-js@3 or at least to actual version of core-js@2.
npm ERR! Unexpected end of JSON input while parsing near '...":{"accepts":"~1.0.7"'

npm ERR! A complete log of this run can be found in:
npm ERR!     C:\Users\theigrams\AppData\Roaming\npm-cache\_logs\2019-06-08T12_56_37_486Z-debug.log
在查阅时发现有人也遇到了这个问题:https://github.com/maximegris/angular-electron/issues/298
解决方案是输入以下指令清除缓存:
npm cache clean --force
再输入npm install,得到结果,虽然依旧有warn但最终还是安装成功了。
npm WARN deprecated core-js@1.2.7: core-js@<2.6.8 is no longer maintained. Please, upgrade to core-js@3 or at least to actual version of core-js@2.
npm notice created a lockfile as package-lock.json. You should commit this file.
npm WARN optional SKIPPING OPTIONAL DEPENDENCY: fsevents@1.2.9 (node_modules\fsevents):
npm WARN notsup SKIPPING OPTIONAL DEPENDENCY: Unsupported platform for fsevents@1.2.9: wanted {"os":"darwin","arch":"any"} (current: {"os":"win32","arch":"x64"})

added 420 packages from 506 contributors and audited 4697 packages in 58.891s
found 2 low severity vulnerabilities
  run `npm audit fix` to fix them, or `npm audit` for details
新建完成后,Hexo文件夹的目录结构大致如下:
.
├── _config.yml
├── package.json
├── scaffolds
├── source
|   ├── _drafts
|   └── _posts
└── themes
再输入hexo g
INFO  Start processing
INFO  Files loaded in 356 ms
INFO  Generated: index.html
INFO  Generated: archives/index.html
INFO  Generated: fancybox/fancybox_loading@2x.gif
INFO  Generated: fancybox/jquery.fancybox.css
INFO  Generated: fancybox/fancybox_loading.gif
INFO  Generated: fancybox/blank.gif
INFO  Generated: fancybox/helpers/fancybox_buttons.png
INFO  Generated: js/script.js
INFO  Generated: fancybox/fancybox_overlay.png
INFO  Generated: fancybox/fancybox_sprite.png
INFO  Generated: fancybox/fancybox_sprite@2x.png
INFO  Generated: archives/2019/06/index.html
INFO  Generated: fancybox/helpers/jquery.fancybox-buttons.js
INFO  Generated: fancybox/jquery.fancybox.pack.js
INFO  Generated: fancybox/helpers/jquery.fancybox-buttons.css
INFO  Generated: fancybox/helpers/jquery.fancybox-thumbs.css
INFO  Generated: css/style.css
INFO  Generated: fancybox/helpers/jquery.fancybox-thumbs.js
INFO  Generated: archives/2019/index.html
INFO  Generated: fancybox/helpers/jquery.fancybox-media.js
INFO  Generated: css/fonts/fontawesome-webfont.eot
INFO  Generated: css/fonts/fontawesome-webfont.woff
INFO  Generated: css/fonts/fontawesome-webfont.svg
INFO  Generated: css/fonts/FontAwesome.otf
INFO  Generated: css/fonts/fontawesome-webfont.ttf
INFO  Generated: 2019/06/08/hello-world/index.html
INFO  Generated: fancybox/jquery.fancybox.js
INFO  Generated: css/images/banner.jpg
INFO  28 files generated in 715 ms
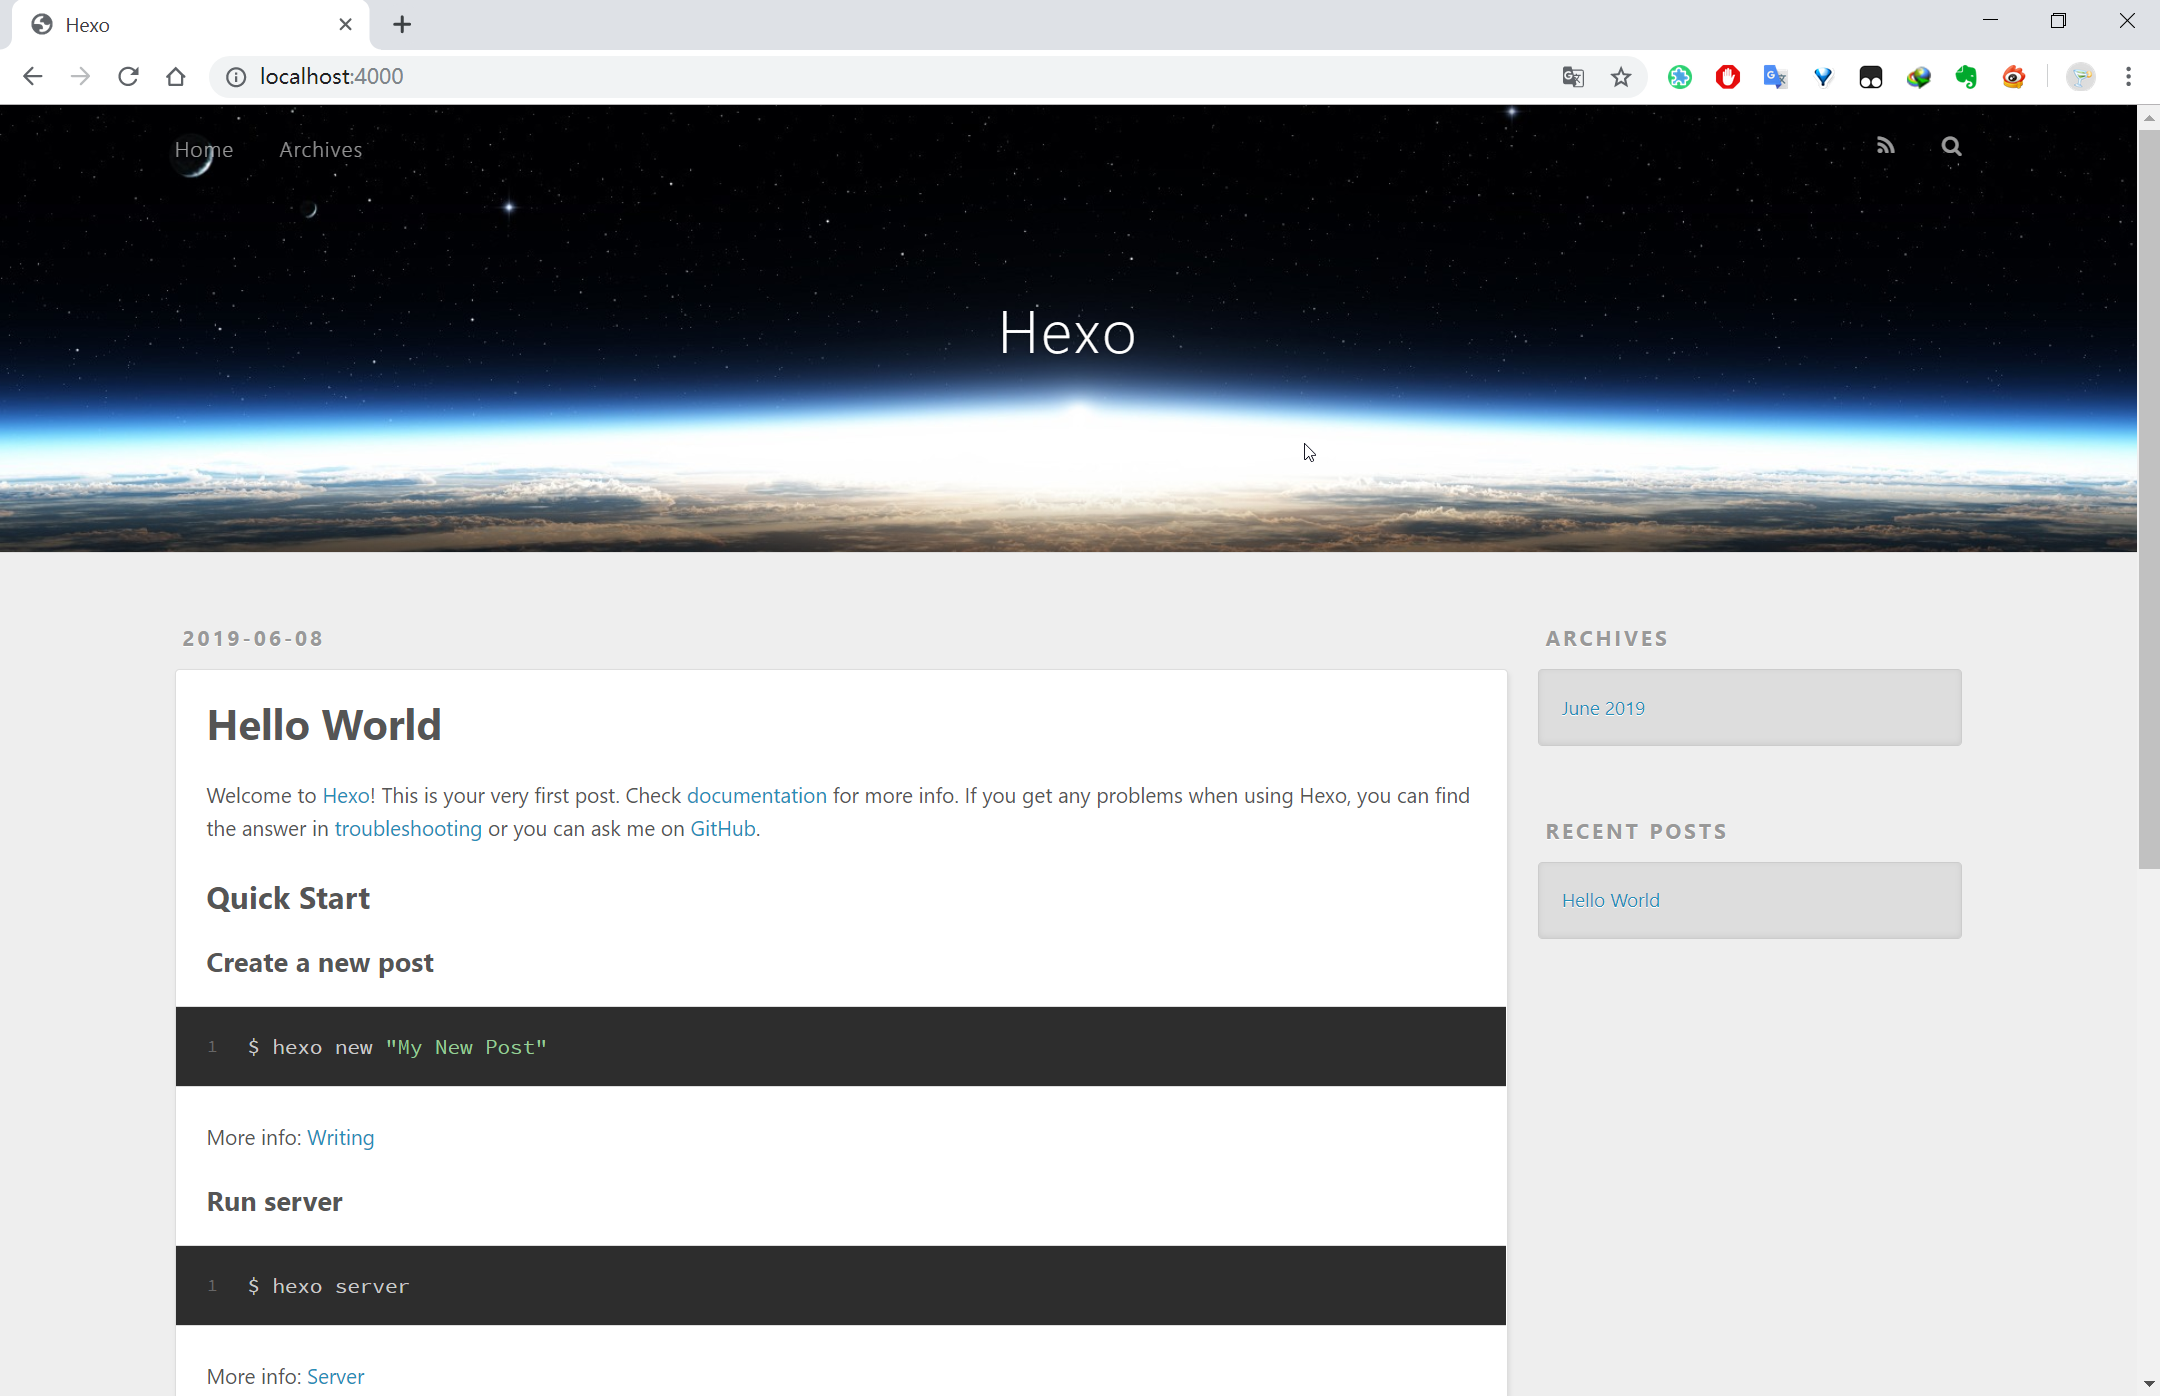
再输入hexo s
INFO  Start processing
INFO  Hexo is running at http://localhost:4000 . Press Ctrl+C to stop.
打开链接http://localhost:4000,看到这样的网页就成功啦。
如果你输入
hexo g或hexo s得到的结果是这样的:Usage: hexo <command> Commands: help Get help on a command. init Create a new Hexo folder. version Display version information. Global Options: --config Specify config file instead of using _config.yml --cwd Specify the CWD --debug Display all verbose messages in the terminal --draft Display draft posts --safe Disable all plugins and scripts --silent Hide output on console For more help, you can use 'hexo help [command]' for the detailed information or you can check the docs: http://hexo.io/docs/这说明你没有在储存博客的目录下运行,
cd到路径C:\D\Hexo\Blog后再输入指令即可。
Github设置
我们需要在Github上创建一个仓库来托管我们的博客。
创建私人仓库
打开https://github.com/,创建New repository,这里要注意repo的名字一定要满足your Account Name/github.io,因为只有这样的仓库名称最后才能以静态页面展示3。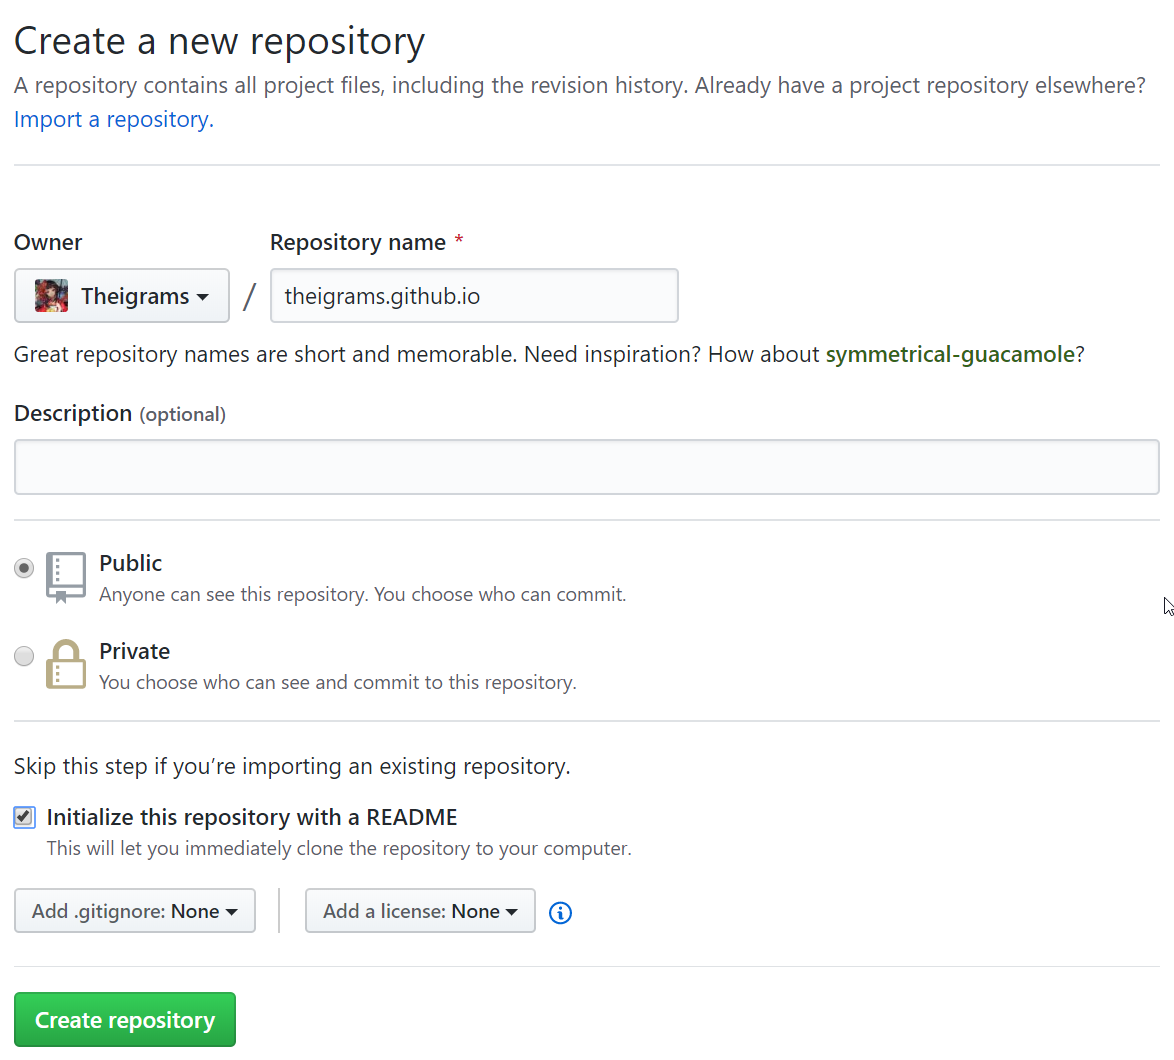
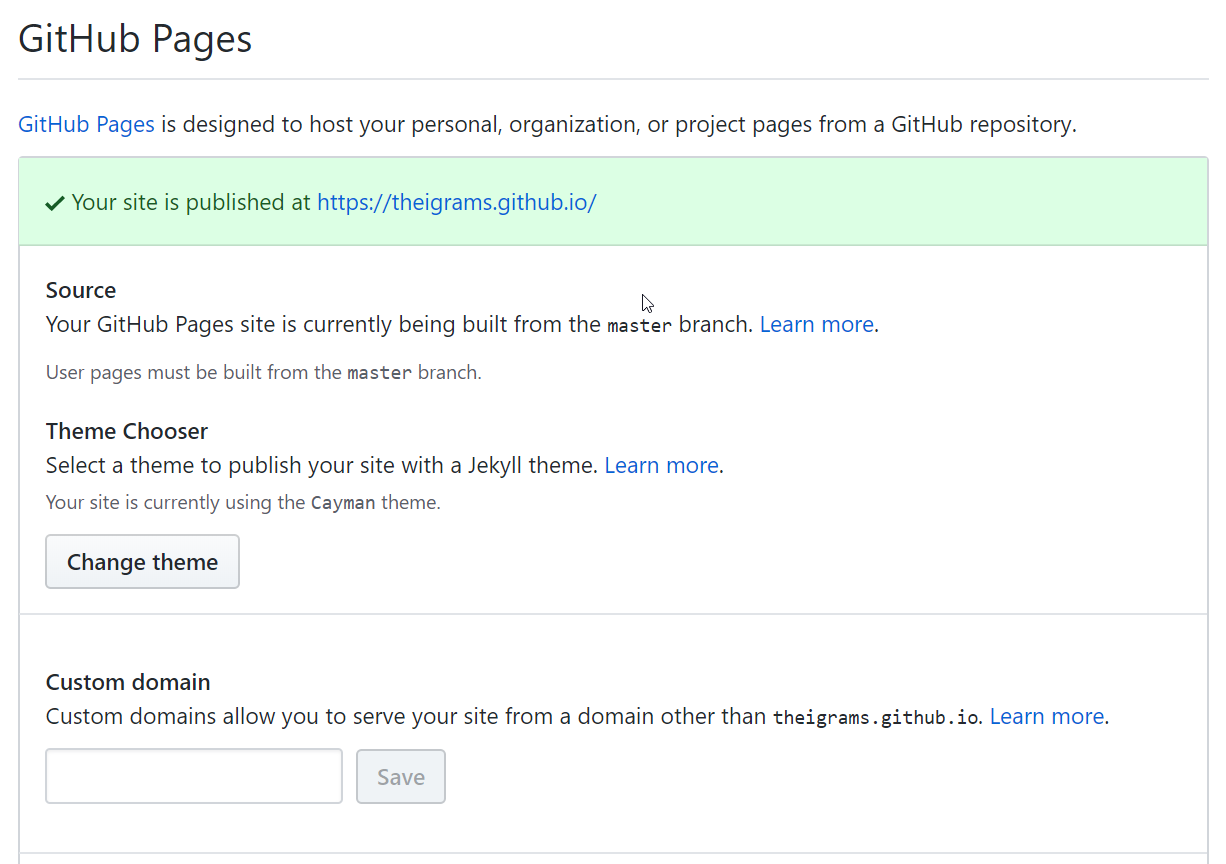
然后在在Settings中。

向下拉到最后有个GitHub Pages,点击Choose a theme选择一个主题,我选的是Cayman,最后图中这个
https://theigrams.github.io/就是创建博客的网址了。
连接Github与本地
打开Git Bash,设置user.name和user.email配置信息:
git config --global user.name "你的GitHub用户名"
git config --global user.email "你的GitHub注册邮箱"
例如我的输入配置信息如下:
git config --global user.name "Theigrams"
git config --global user.email "15091060@buaa.edu.cn"
然后生成密钥SSH key:
ssh-keygen -t rsa -C "15091060@buaa.edu.cn"
然后直接三个回车即可,默认不需要设置密码
然后找到生成的.ssh的文件夹中的id_rsa.pub密钥,将内容全部复制
打开GitHub_Settings_keys 页面,新建 new SSH Key
Title为标题,任意填即可,将刚刚复制的``id_rsa.pub内容粘贴进去,最后点击Add SSH key`。
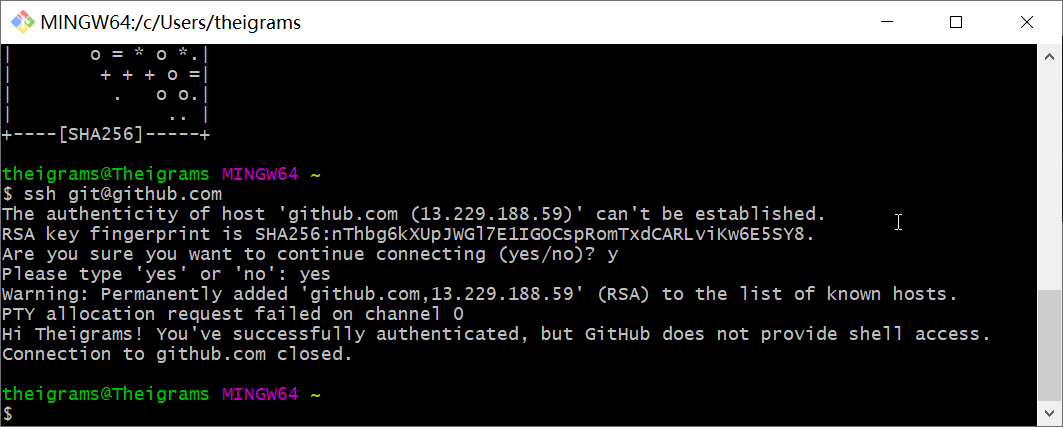
在Git Bash中检测GitHub公钥设置是否成功,输入
ssh git@github.com
若看到以下结果,则说明成功了。
博客初始配置
配置Deployment
我们打开 站点配置文件 _config.yml,这是网站的配置信息,我们可以在此配置大部分的参数。具体参数对应内容可参看 配置 。
在 Hexo 中有两份主要的配置文件,其名称都是
_config.yml。 其中,一份位于站点根目录Hexo\Blog下,主要包含 Hexo 本身的配置;另一份位于主题目录Hexo\Blog\themes\landscape下,这份配置由主题作者提供,主要用于配置主题相关的选项。为了描述方便,在以下说明中,将前者称为 站点配置文件, 后者称为 主题配置文件。
翻到最后几行,找到Deployment,然后按照如下修改:
deploy:
  type: git
  repo: 你的仓库地址
  branch: master

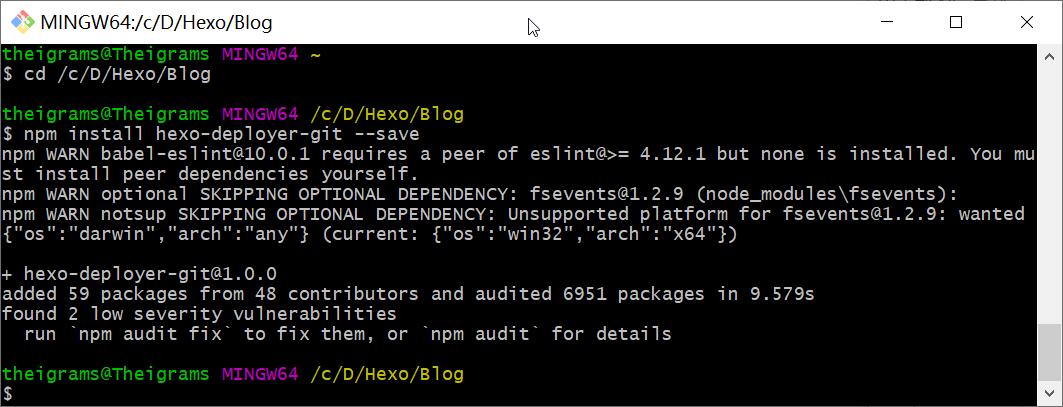
完成以上配置后保存,然后在Hexo\Blog目录下右键打开Git Bush,执行以下指令来安装所需的插件:
npm install hexo-deployer-git --save
继续输入hexo d,会冒出一个Github窗口让你登陆。
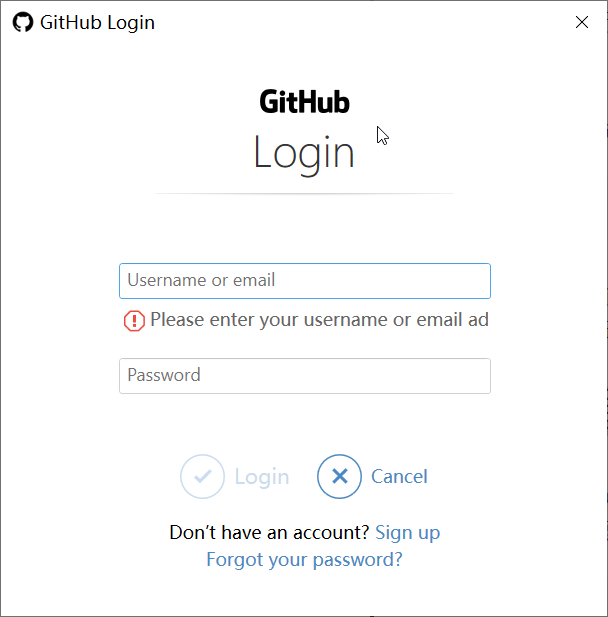
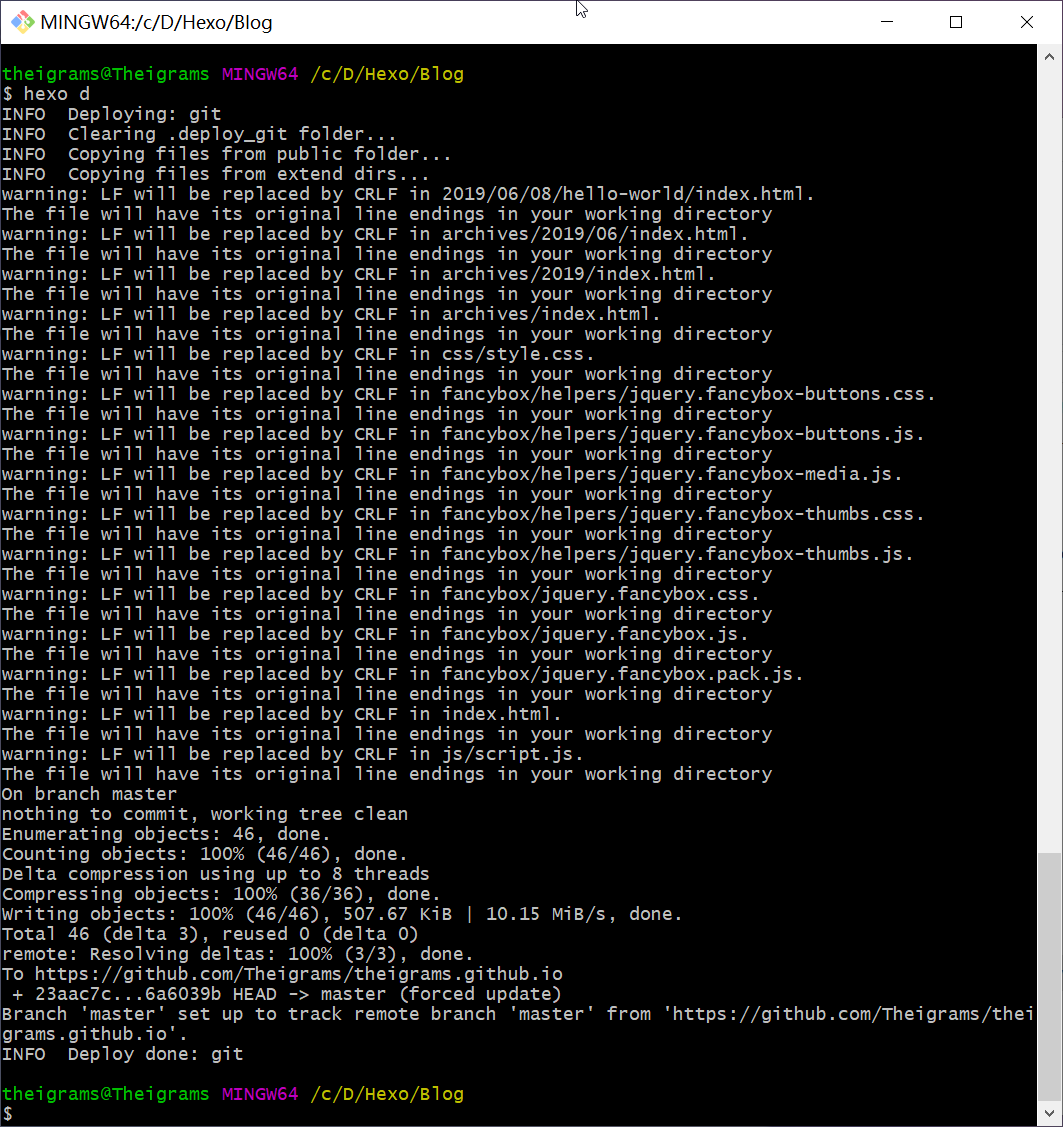
完成之后,打开之前的个人博客网址https://theigrams.github.io/就能看到本地网页了。
写新文章
我们写文章有两种方式4:
命令行执行
在Hexo\Blog目录下右键打开Git Bush,输入hexo new post "article title",
新建一篇标题为article title的文章。
theigrams@Theigrams MINGW64 /c/D/Hexo/Blog
$ hexo new post "article title"
INFO  Created: C:\D\Hexo\Blog\source\_posts\article-title.md
反馈信息显示在你的source/_posts下生成了一个article-title.md文件,在这个文件中即可编写自己的博客了。
直接新建md文件
直接的方式就是直接在source/_posts新建一个 Markdown 文件,其实和命令形式是一个道理,就看哪个自己用起来方便些。
网站的渲染和发布
修改完站点配置文件_config.yml或增添新文章后,在终端中依次执行如下代码5:
-
hexo clean清理缓存 -
hexo generate进行渲染 简写hexo g -
hexo server部署到本地(调试使用) 简写hexo s。然后浏览器输入http://localhost:4000就可以看到你博客的效果啦,不过这是本地调试用,其他人是看不到的。(调试完毕后记得control + C关闭本地端口,不然下次就进不去啦) -
调试完毕后使用
hexo deploy简写为hexo d来部署到git服务器。
个性化修改
修改个人信息
这部分是在站点配置文件_config.yml中修改,比如我的简单配置:
# Site
title: 时光星雨
subtitle: 时光流逝如星雨倾盆
description: Master record
keywords: Python, Manjaro, Machine Learning
author: Theigrams
language: zh-CN
timezone: Asia/Shanghai
如果你执行
hexo g时报错:TypeError: Cannot read property 'offset' of null这说明你的时区设置错了,有哪些可输出的时区可见网站Moment Timezone。
language的选项看\Hexo\Blog\themes\landscape\languages下的诸多yml文件,例如
zh-CN、zh-TW、default等,每个文件对应一种不同的语言。
修改主题
默认的主题是这样的:
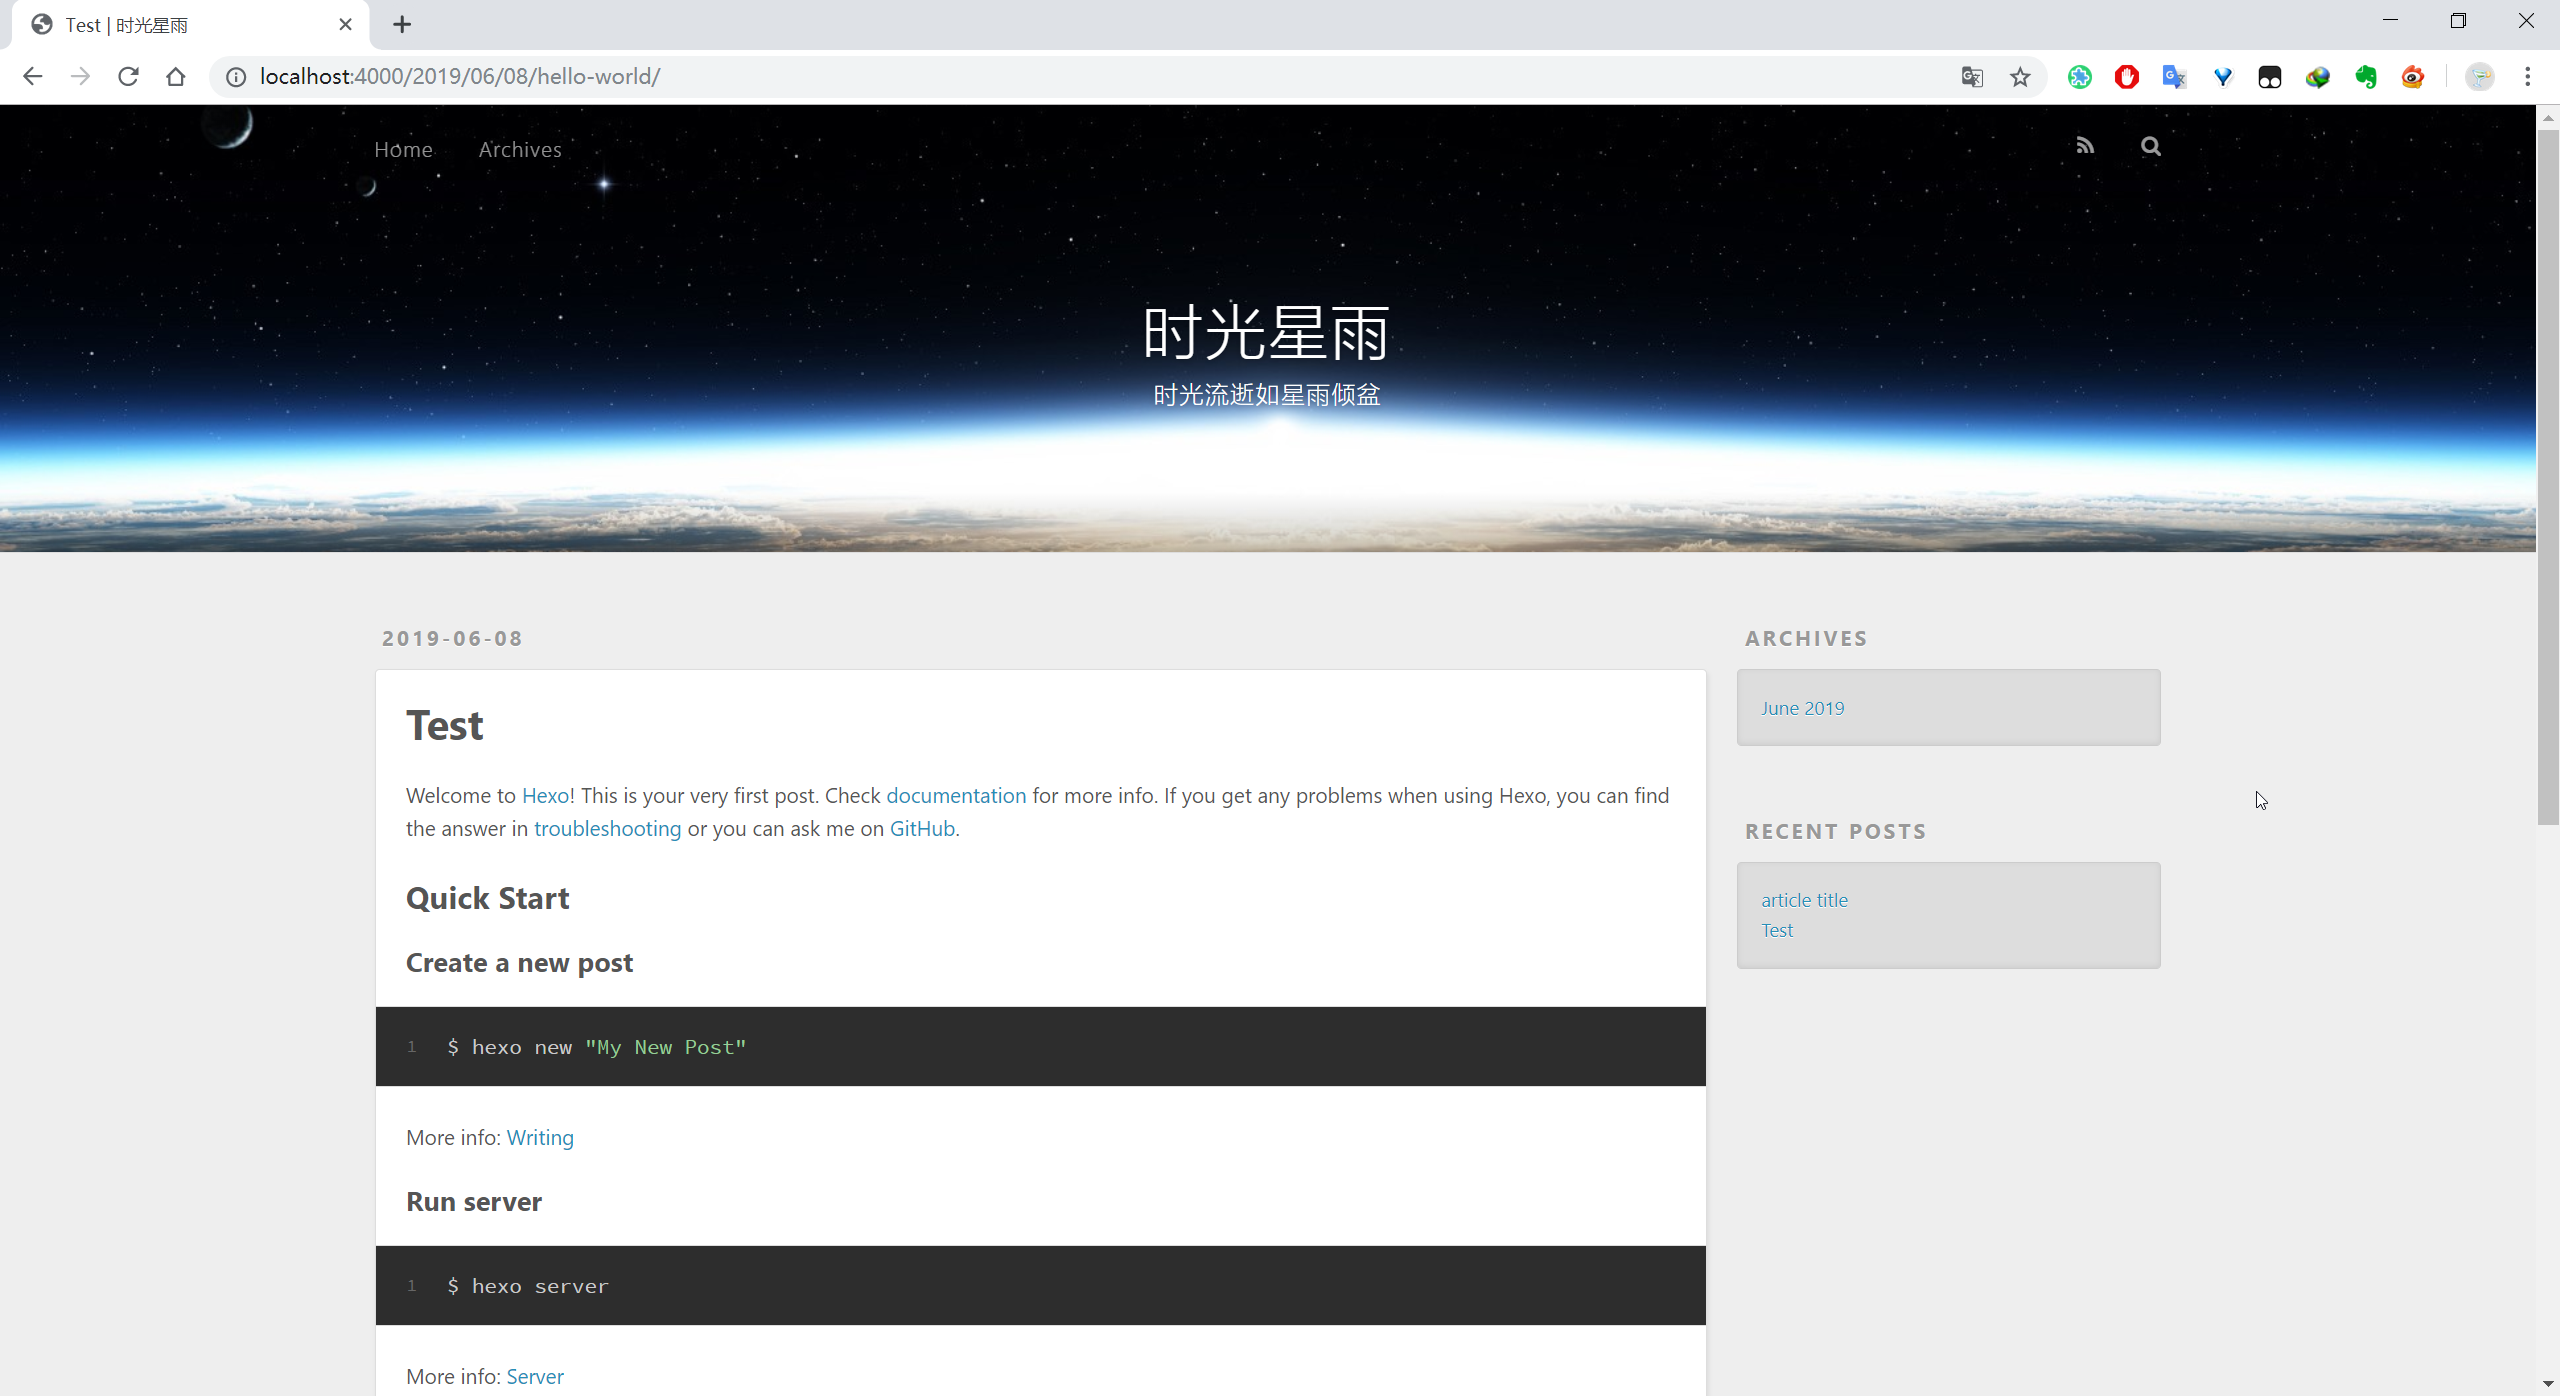
感觉不是很美观,我们可以在hexo主题中选择自己喜欢的主题。
纵观各种主题,感觉以下几种是我比较喜欢的:
当然,最终还是选择了人气最高的next,毕竟用的人多,出问题了搜起来也方便。
在安装主题时,Installation.md给出了两种方法,一个是通过 curl & tar & wget安装,
当然也可以选择手动从Github中下载然后解压的方式。
对于新手更推荐通过 curl & tar & wget安装。
方法如下:
先在Hexo\Blog下打开Git Bash,然后创建next文件夹:
mkdir themes/next
然后通过curl & wget下载,tar解压文件:
curl -s https://api.github.com/repos/theme-next/hexo-theme-next/releases/latest | grep tarball_url | cut -d '"' -f 4 | wget -i - -O- | tar -zx -C themes/next --strip-components=1
wget是一个强力方便的命令行下的下载工具,可以通过HTTP和FTP协议(两种最广泛的互联网协议)从因特网中检索并获取文件。如果之前没安装wget的话可以在这里下载,然后添加到环境变量,具体流程可参看Wget for windows——优雅地实现批量下载。
然后将站点配置文件_config.yml中的theme: landscape修改为theme: next。
再运行以下指令:
hexo clean
hexo g
hexo s
打开http://localhost:4000即可看到博客换了新的主题。


 1725
1725


 被折叠的 条评论
为什么被折叠?
被折叠的 条评论
为什么被折叠?
 到【灌水乐园】发言


