


 本文详细介绍了如何使用腾讯云的人脸核身服务实现在Vue PC端的应用。从创建业务流程、配置参数、购买资源包到后台接口开发和前端调用,全程解析了微信扫描二维码进行人脸识别的完整流程,并探讨了回调页面的配置和动态更新策略。
目录
业务场景
业务场景,VUE做PC端,然后要用户输入姓名和身份证号点击生成二维码,微信扫描进行人脸识别,最后识别后,页面显示认真成功失败。
腾讯云
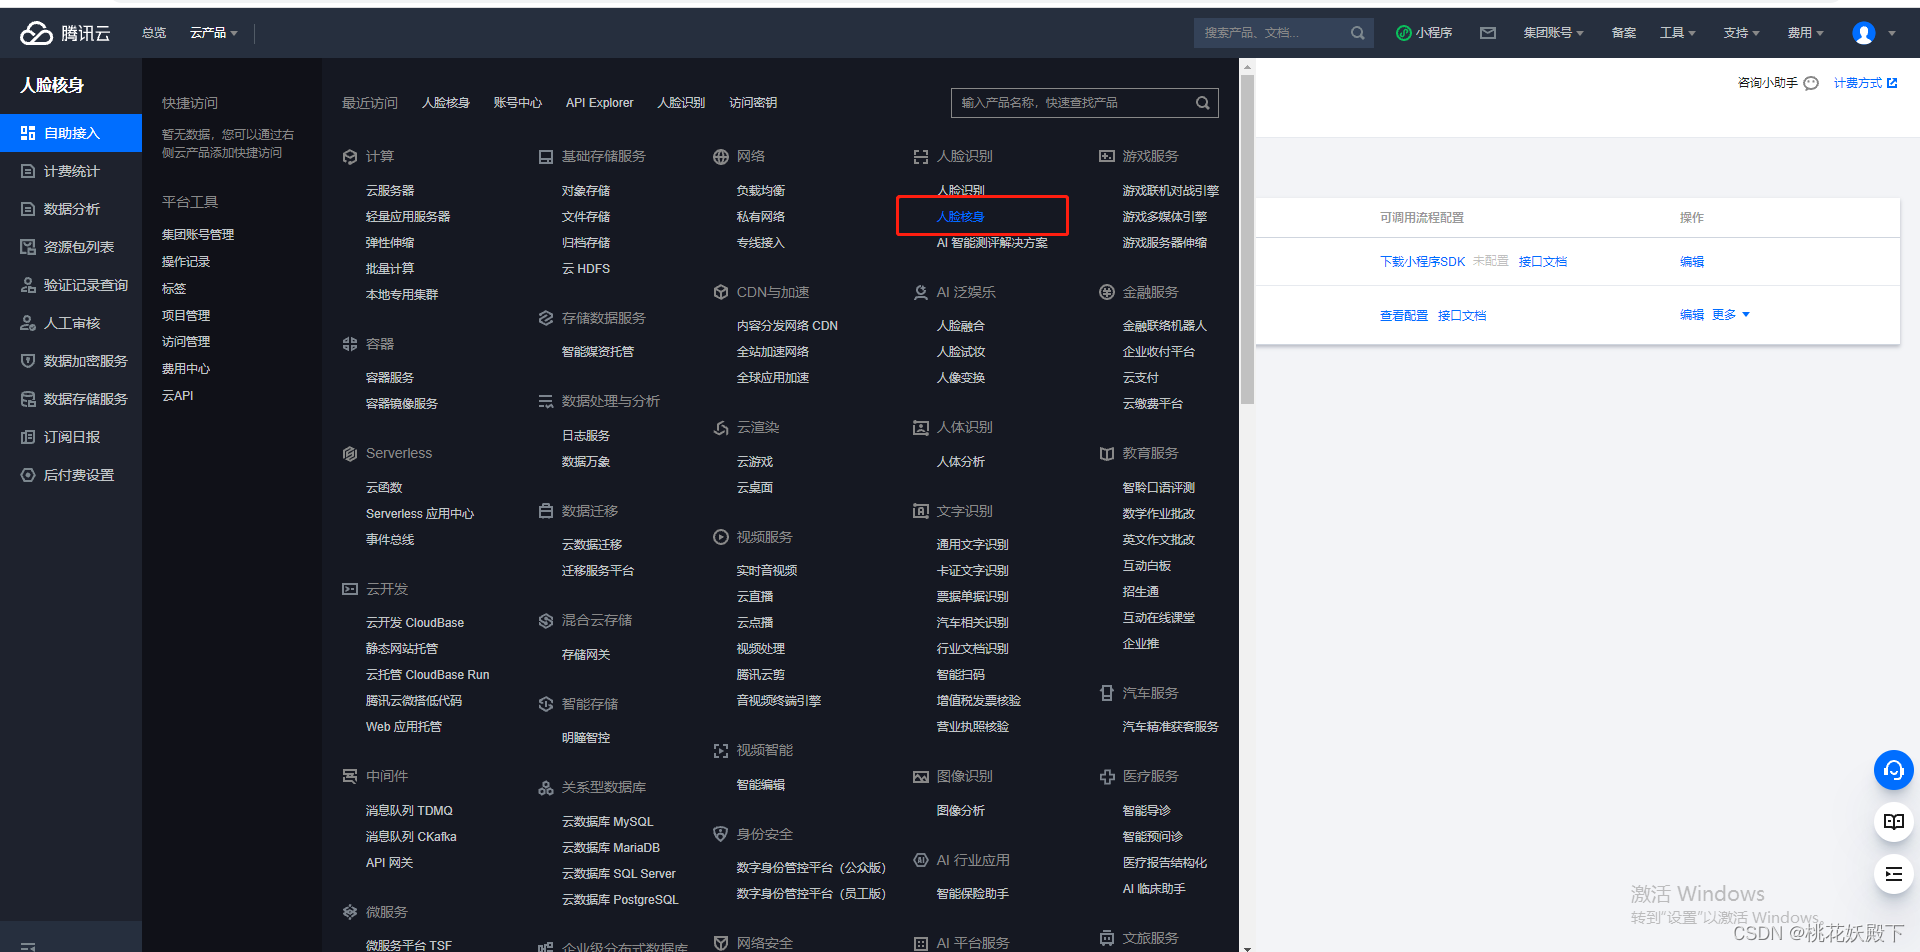
开始先登录自己注册的腾讯云,云产品——人脸核身
创建业务流程
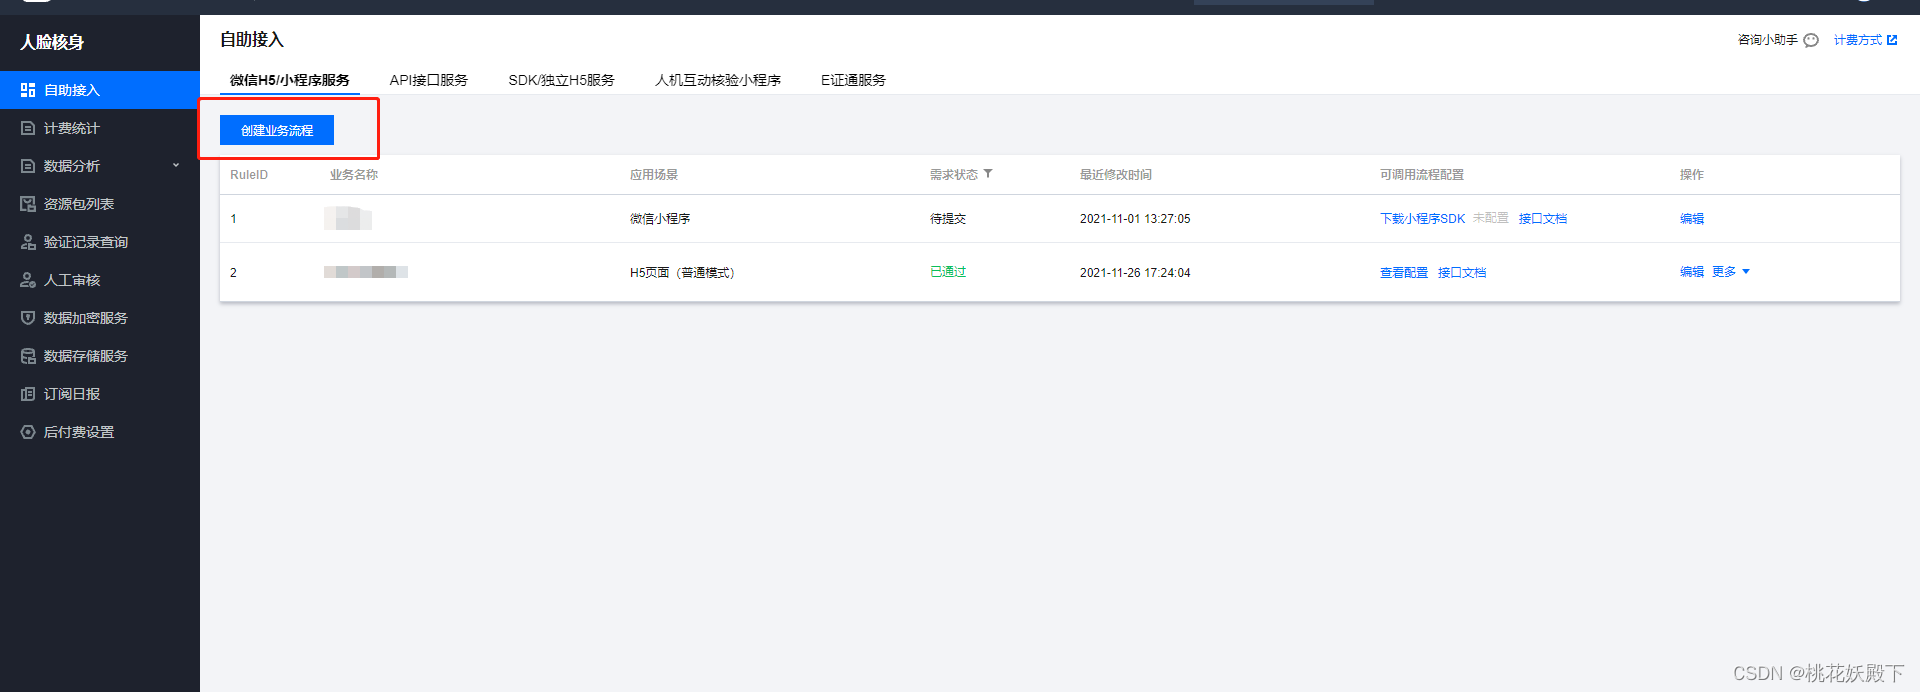
这里自己根据自己需求改,根据官方文档说明,普通H5不需要绑定公众号,浮层需要公众号,如果单纯想实现输入姓名和身份证啥的认证,我这里用的普通H5。看个人需求
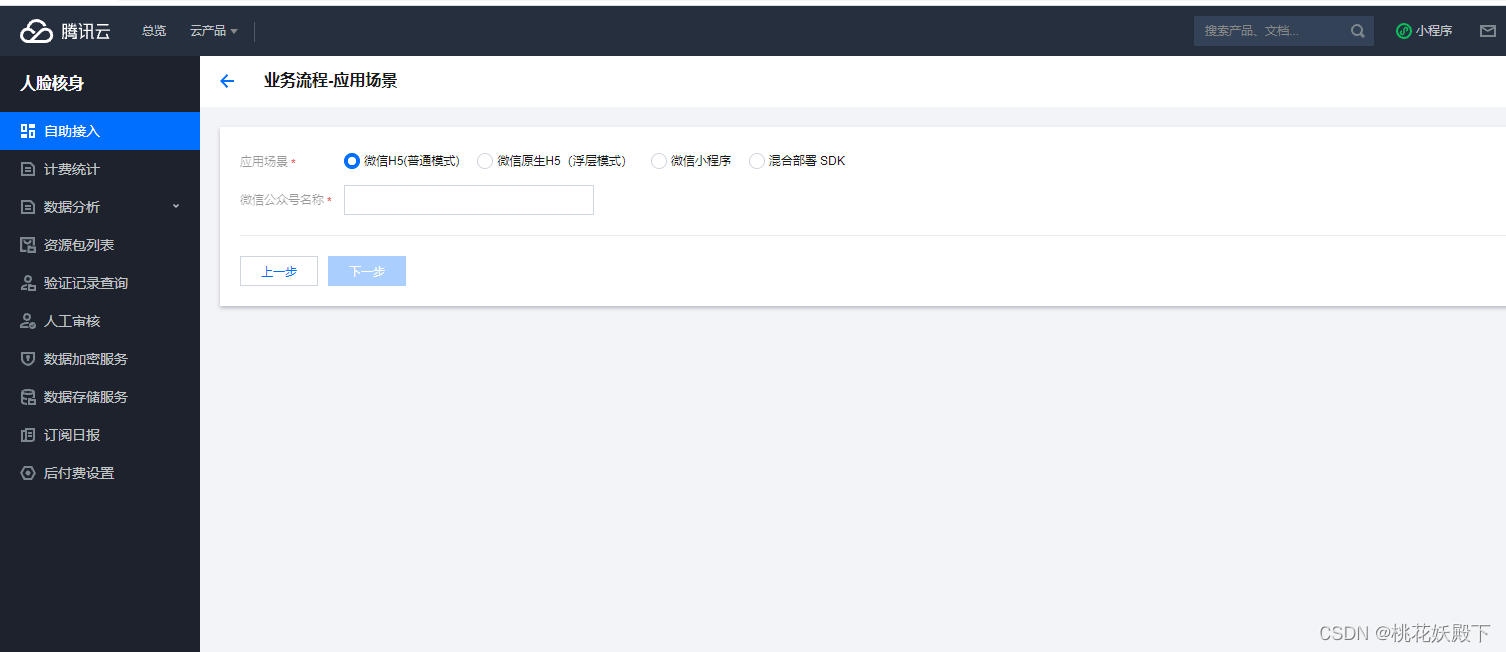
普通的话微信公众号名称输入的无所谓了,随便输
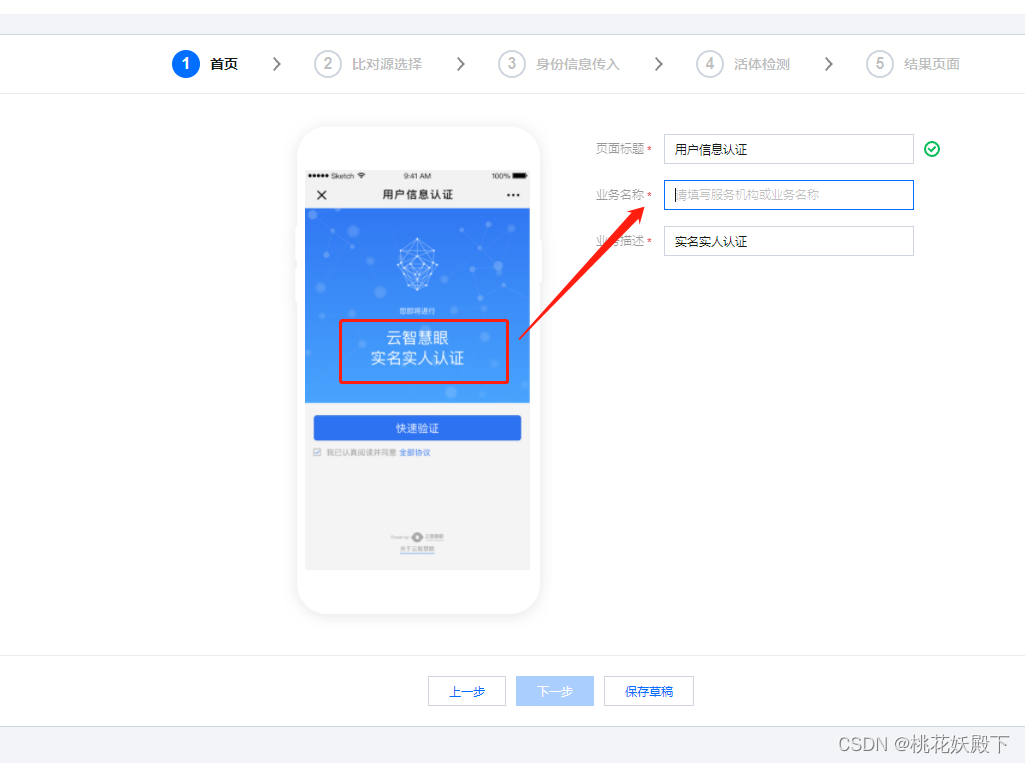
这个业务名称就是微信认证页面的显示你的业务名
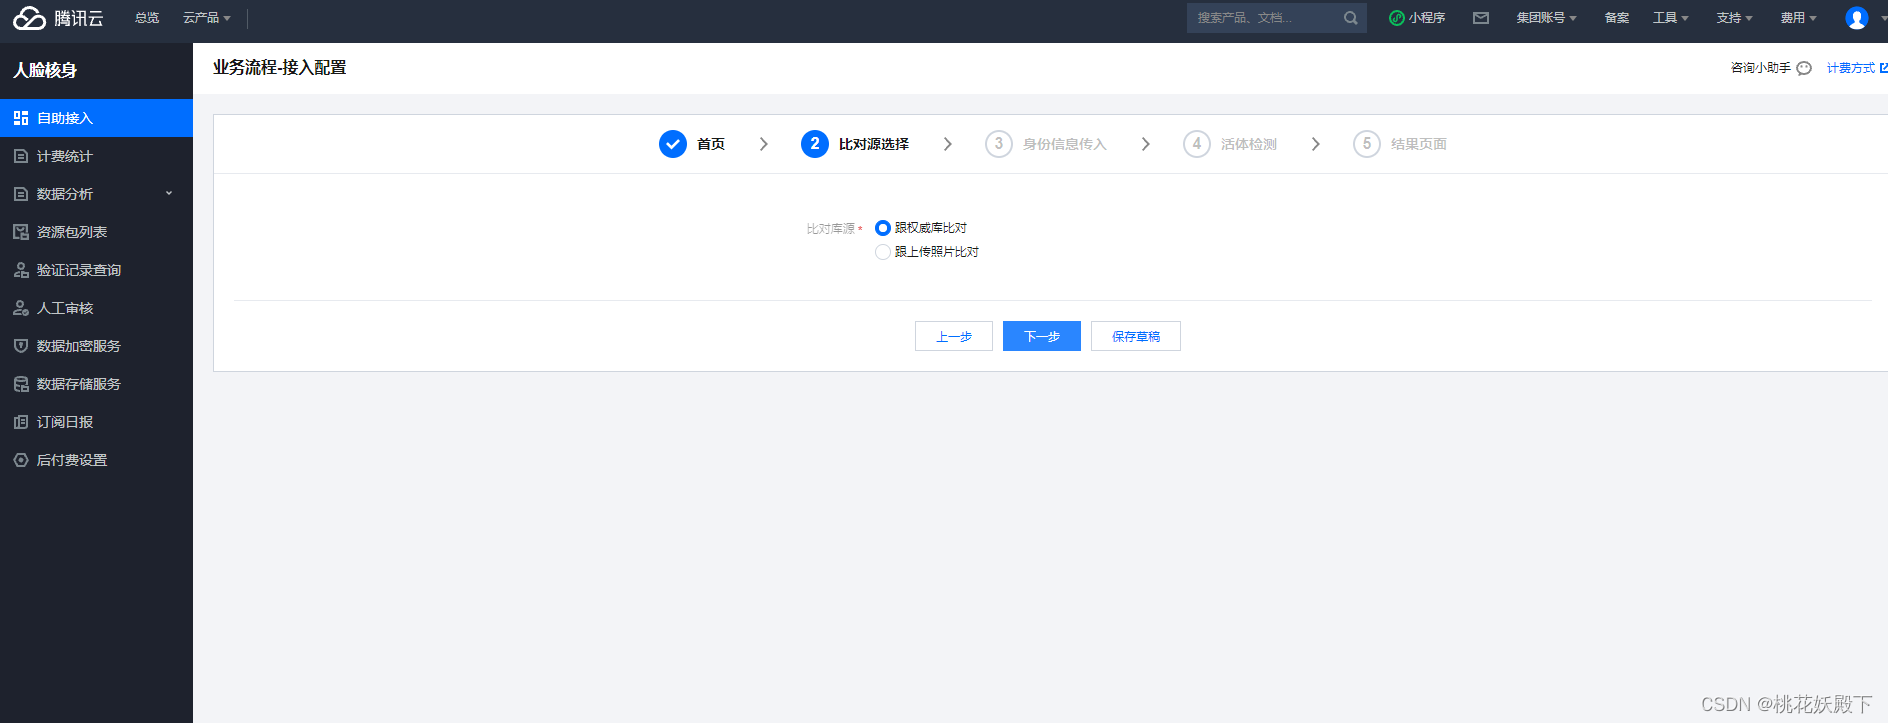
选择权威库,既然做人脸识别了,当然用权威的了
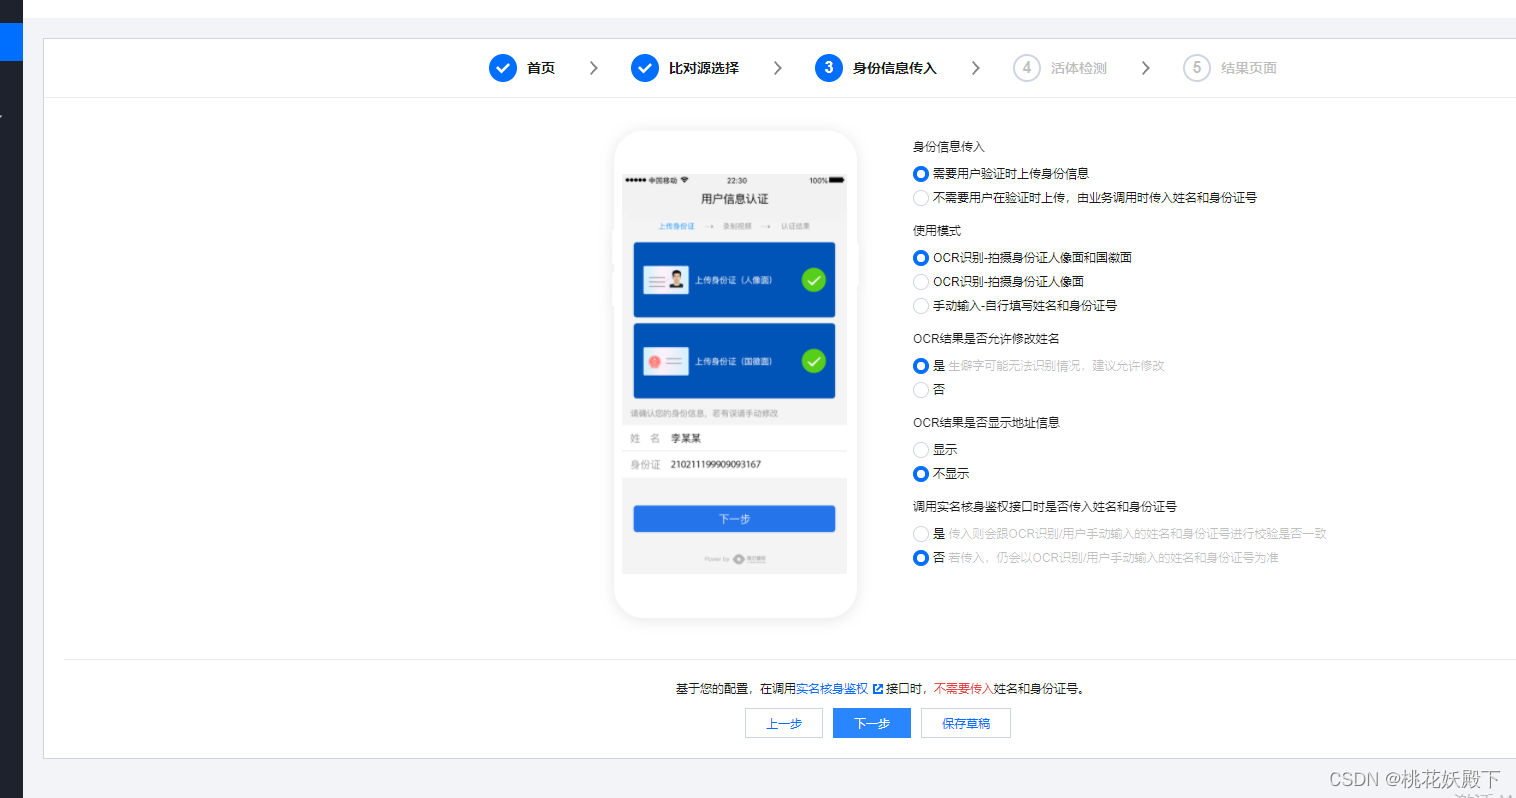
这里会弹一大堆有的没的。。选择不校验,直接输入姓名和身份证认证即可
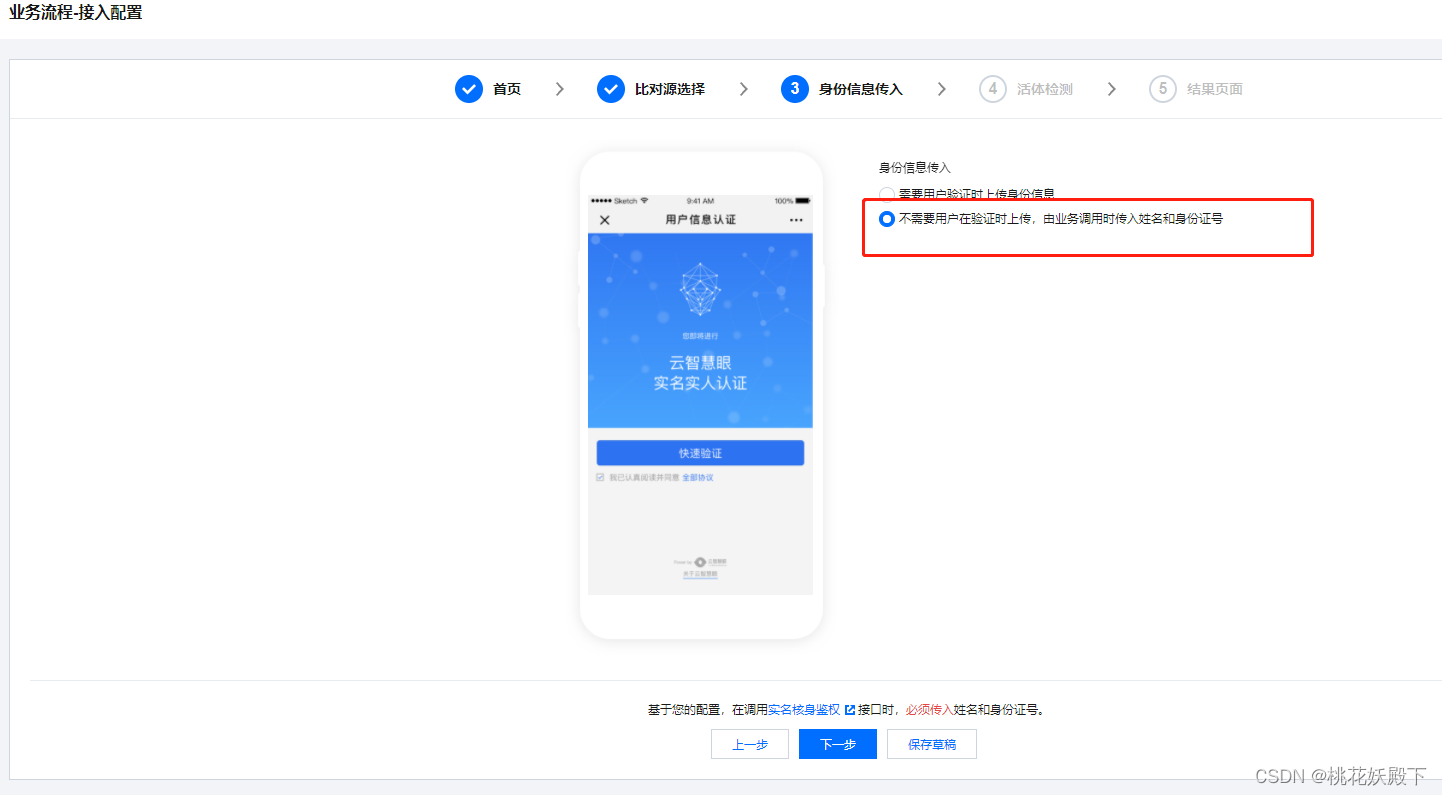
也就是我们前台传姓名和身份证参数,传给自己的后台,我们后台再发给腾讯

活体选动作,这个没啥说的。。
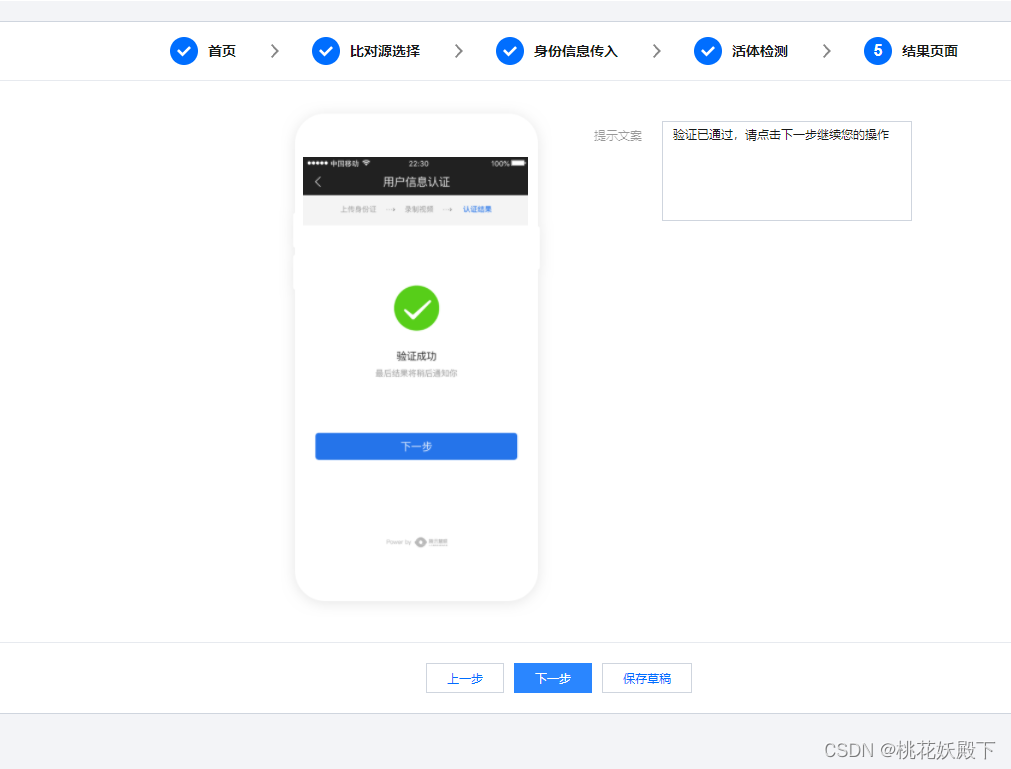
这个看自己心情,我心情好写鎏金哇卡雅酷咧也没人说啥!
然后提交审核

审核成功后,记住你的RuleId这个业务id我们对接需要这个参数
接下来,我们要弄访问秘钥,官方文档说可以不需要访问秘钥,容易有风险,我没管,我直接生成的外部访问秘钥
云产品——访问秘钥
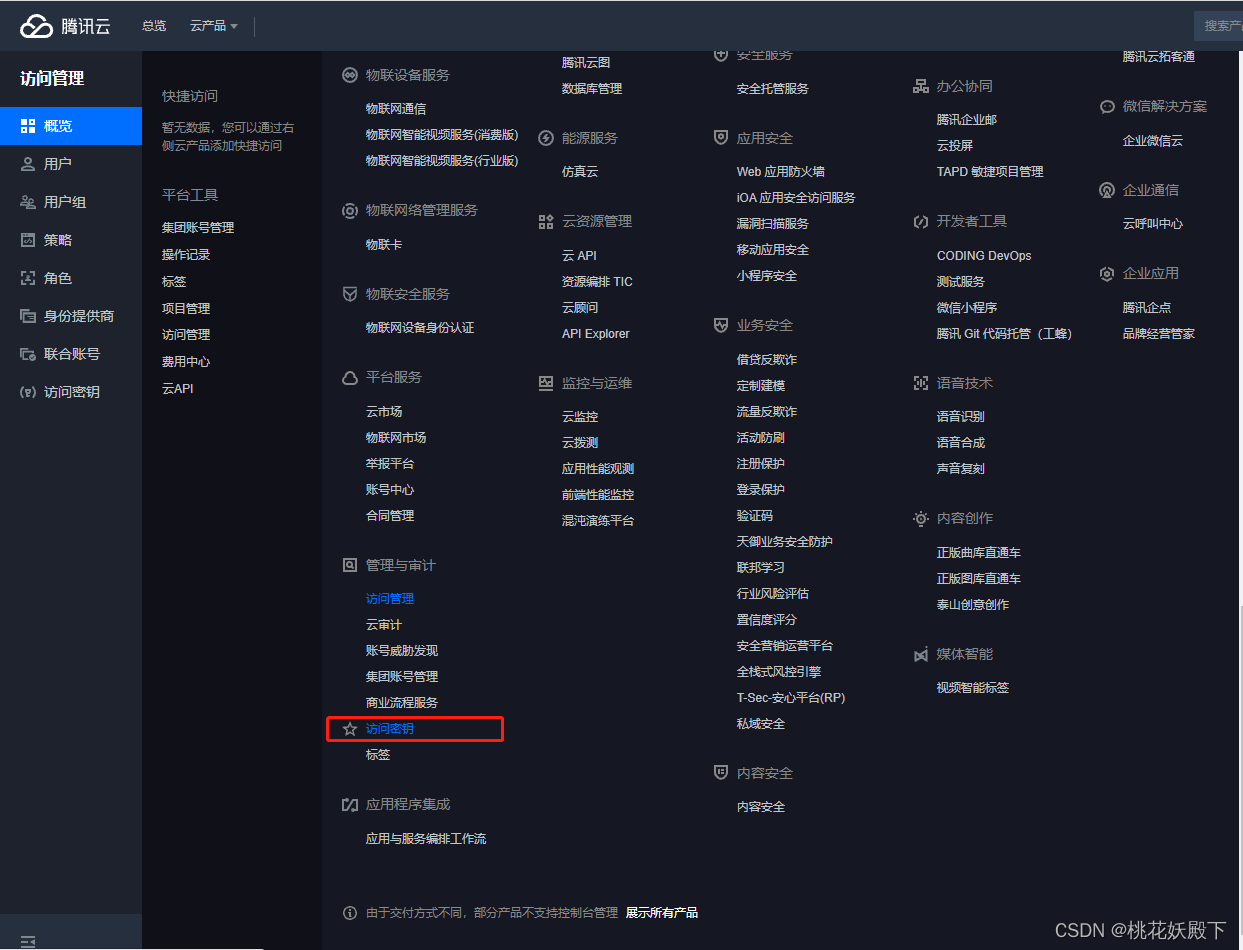

新建秘钥启用就行,秘钥的id和密文记下来,后台需要。。
这里资源包购买
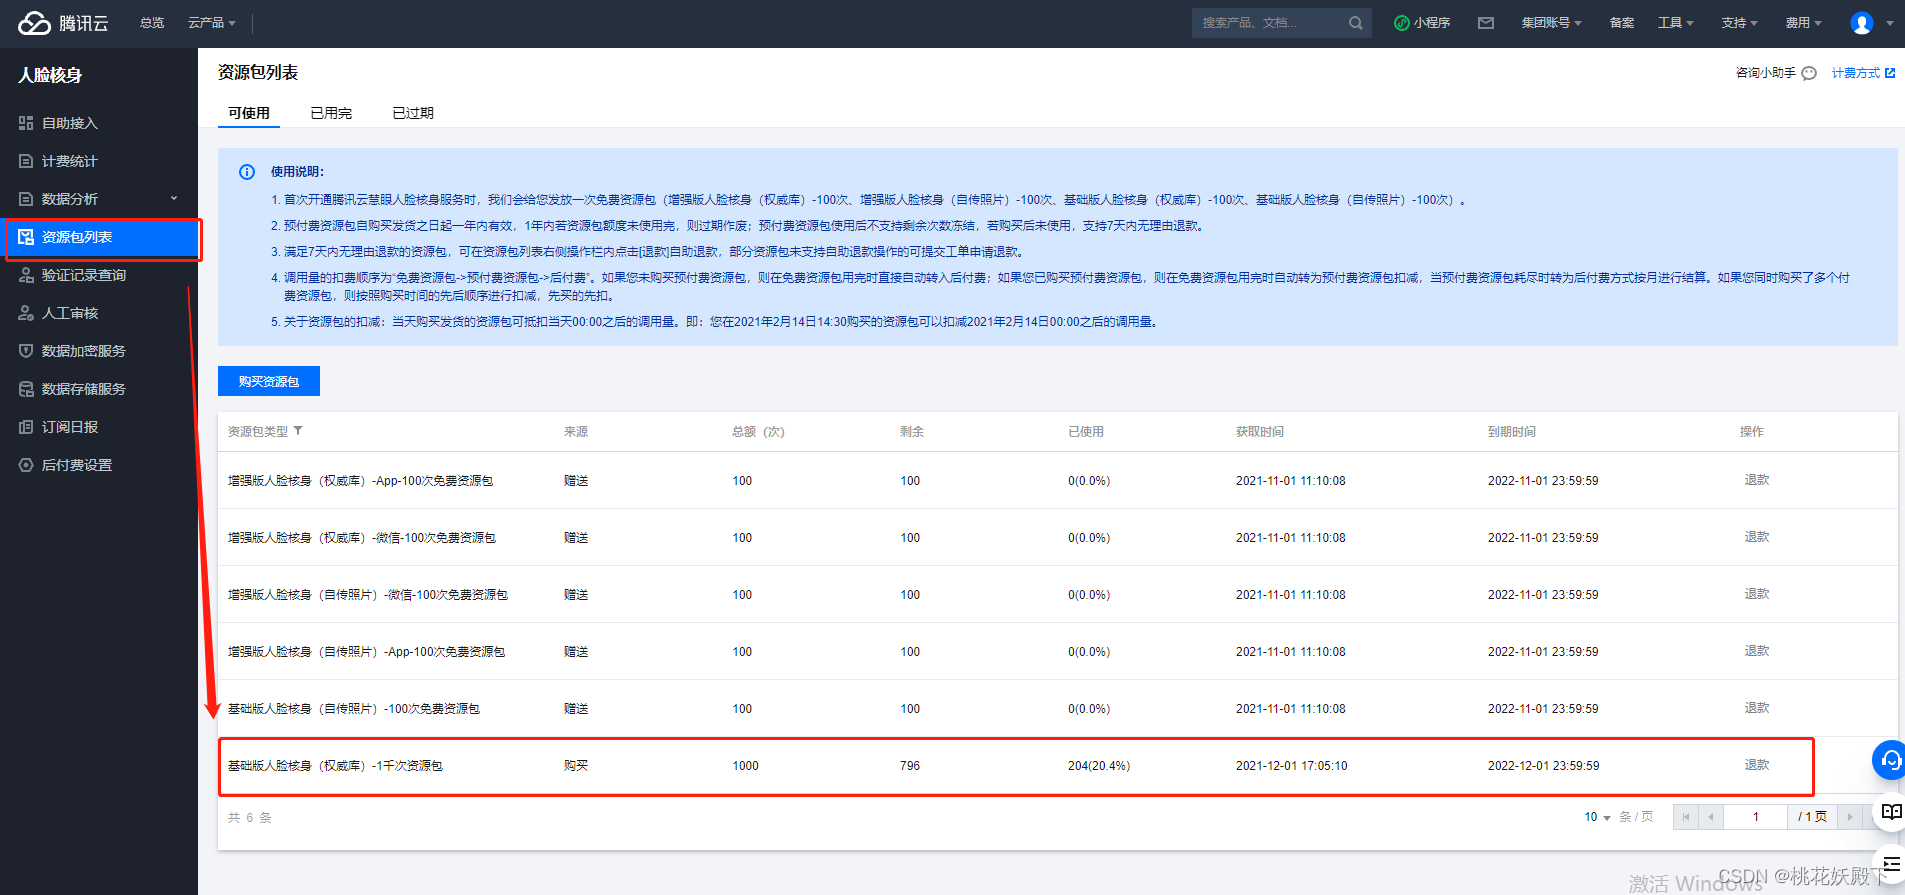
如果按我的配的微信普通H5的,注册时候选权威库的,就买基础人脸核身权威库的,1K次应该是930块钱那个
资源包一定看好再买啊,别买错了怨我,我这里给提个醒
有免费的100次可以试用
后台部分
maven依赖
        <!-- 腾讯云sdk -->
        <dependency>
            <groupId>com.tencentcloudapi</groupId>
            <artifactId>tencentcloud-sdk-java</artifactId>
            <version>3.1.97</version>
        </dependency>
后台接口
先在application加配置(看你个人)
秘钥id,秘钥密文,业务id,回调地址PC路径和手机路径(个人业务),后面内容自己配自己的
tencentcloud:
  face:
    SecretId:
    SecretKey:
    RuleId: 2
    RedirectUrl:
    RedirectWxUrl:
然后引
    @Value("${tencentcloud.face.SecretId}")
    private String SecretId;
    @Value("${tencentcloud.face.SecretKey}")
    private String SecretKey;
    @Value("${tencentcloud.face.RuleId}")
    private String RuleId;
    @Value("${tencentcloud.face.RedirectUrl}")
    private String RedirectUrl;
    @Value("${tencentcloud.face.RedirectWxUrl}")
    private String RedirectWxUrl;
下面这个是前台传姓名和身份证号的,然后我们把前台传的信息,按照腾讯云提供的写法发送给腾讯云,我们需要的参数
必填项:
RuleId 业务id,就是我上面写的注册的时候让你记得id
idCard 身份证号
name 姓名
非必填项:
Extra: 获取验证结果时获取的,这个看你个人愿意传就传,不传就不传无所谓
RedirectUrl:用户识别之后,在微信浏览器上显示的回调页面,这个可以配自己画的页面,这里说下,虽然说是非必填,我个人认为最好自己配回调页面,要不然用户识别结束之后,如果你没配会返回人脸核身的首页,这样用户又该净事叨叨叨的了。
// 腾讯微信h5 人脸核身
@RequestMapping(value = "detectAuth", method = RequestMethod.POST)
@ResponseBody
public Result detectAuth(@RequestBody String json) throws Exception {
Result res = new Result();
try {
// 参数
JSONObject jsonObject = JSONObject.parseObject(json);
String token = jsonObject.getString("token");
String type = jsonObject.getString("type");
Map<String, Object> sign = redisCacheStorage.get(token, new HashMap<>());
if (sign == null) {
res.setCode(ResultCode.TOKENEXCEPTION);
res.setMessage("未登陆!");
return res;
}
// 身份证
String idCard = jsonObject.getString("idCard");
// 姓名
String name = jsonObject.getString("name");
// 企业id
String uuid = sign.get(SessionKey.ENTERPRISE_ID.key()).toString();
if (StringUtils.isNotBlank(uuid)) {
// 腾讯云部分======start
// 访问秘钥
Credential cred = new Credential(SecretId, SecretKey);
HttpProfile httpProfile = new HttpProfile();
httpProfile.setEndpoint("faceid.tencentcloudapi.com");
ClientProfile clientProfile = new ClientProfile();
clientProfile.setHttpProfile(httpProfile);
FaceidClient client = new FaceidClient(cred, "ap-beijing",
clientProfile);
DetectAuthRequest req = new DetectAuthRequest();
// 业务id
req.setRuleId(RuleId);
// 身份证
req.setIdCard(idCard);
// 姓名
req.setName(name);
// 这个参数 透传字段,在获取验证结果时返回
req.setExtra(uuid);
// 根据业务 回调地址
if("SJ".equals(type)){
req.setRedirectUrl(RedirectWxUrl);
}else if("PC".equals(type)){
req.setRedirectUrl(RedirectUrl);
}
DetectAuthResponse resp = client.DetectAuth(req);
// 腾讯云=========end
// String result = DetectAuthResponse.toJsonString(resp);
// log.info("detectAuth接口结果:" + result);
return ResultGenerator.genSuccessResult(resp);
}
return res;
} catch (Exception e) {
return ResultGenerator.genFailResult(e.getMessage());
}
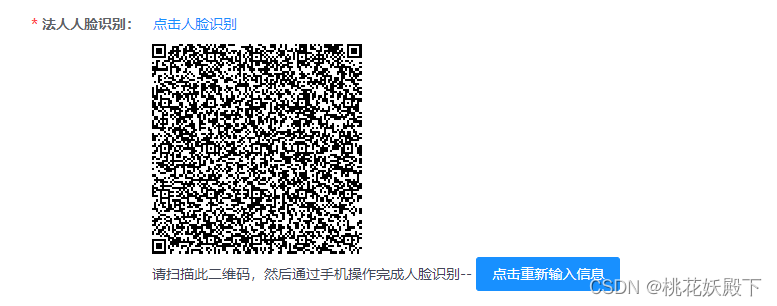
}上面接口我们前台传完后,会返回给前台biztoken和url

这个时候我们前台用url生成二维码,代码一会再发,用户这个时候就可以用微信扫码自动进入微信浏览器的人脸识别系统,根据步骤提示进行人脸识别(这个腾讯的系统页面不截图了,自己扫就看到了)
我们前台要把返回的biztoken再传给后台获取认证结果
这次我们需要给腾讯
biztoken 刚才返给前台的不用说了吧,再传回来就完事了
RuleId 业务id,同上面
InfoType 后台写死传1
// 腾讯微信h5 人脸核身
    @RequestMapping(value = "getDetectInfo", method = RequestMethod.POST)
    @ResponseBody
    public Result getDetectInfo(@RequestBody String json1) {
        JSONObject jsonObject1 = JSONObject.parseObject(json1);
        String token = jsonObject1.getString("token");
        Map<String, Object> sign = redisCacheStorage.get(token, new HashMap<>());
        if (sign == null) {
            Result res = new Result();
            res.setCode(ResultCode.TOKENEXCEPTION);
            res.setMessage("未登陆!");
            return res;
        }
        // bizToken,个人当前次人脸识别的token码,用来发送获取成功结果
        String bizToken = jsonObject1.getString("bizToken");
        JSONObject json = new JSONObject();
        json.put("code", -1);
        try {
            //访问秘钥
            Credential cred = new Credential(SecretId, SecretKey);
            HttpProfile httpProfile = new HttpProfile();
            httpProfile.setEndpoint("faceid.tencentcloudapi.com");
            ClientProfile clientProfile = new ClientProfile();
            clientProfile.setHttpProfile(httpProfile);
            FaceidClient client = new FaceidClient(cred, "ap-beijing", clientProfile);
            GetDetectInfoRequest req = new GetDetectInfoRequest();
            req.setBizToken(bizToken);
            req.setRuleId(RuleId);
            req.setInfoType("1");// 0:全部;1:文本类;2:身份证正反面;3:视频最佳截图照片;4:视频。如
            // 134表示拉取文本类、视频最佳截图照片、视频
            GetDetectInfoResponse resp = client.GetDetectInfo(req);
            String result = DetectAuthResponse.toJsonString(resp);
//			log.info("getDetectInfo接口结果:" + result);
            JSONObject resultJson = JSONObject.parseObject(result);
            System.out.println("获取认证结果==========" + resultJson);
            Integer resultCode = resultJson.getJSONObject("DetectInfo")
                    .getJSONObject("Text").getInteger("ErrCode");
            if (resultCode != null) {
                if (resultCode == 0) {
                    json.put("code", 0);
                    json.put("msg", "成功");
                    sign.put(SessionKey.ENTERPRISE_FACE.key(), 0);
                    redisCacheStorage.set(token, sign);
                } else {
                    json.put("code", 1);
                    json.put(
                            "msg",
                            "失败:"
                                    + resultJson.getJSONObject("DetectInfo")
                                    .getJSONObject("Text")
                                    .getString("ErrMsg"));
                }
            }
        } catch (Exception e) {
            e.printStackTrace();
        }

        return ResultGenerator.genSuccessResult(json);
    }
然后ResultCode就是返回结果了
前台部分
vue部分代码
我没全粘方法,因为都是我自己业务,没必要
biztoken我们要传给后台获取结果的
requestId我自己业务的
qrCode是我们把返回的url转成二维码给用户扫描进行识别用的,下面的timeout就是每5秒我们都进行一次获取认证结果,好能即时取到认证结果
this.$http.post('detectAuth', param).then((response) => {
        if (response.error_code === 0) {
          document.getElementById('qrcodeId').innerHTML = ''
            this.bizToken = response.data.bizToken
            this.requestId = response.data.requestId
            this.qrCodeShow = true
            var qrcode = new QRCode(this.$refs.qrCodeUrl, {
              text: response.data.url,
              width: 210,
              height: 210,
              colorDark: '#000000',
              colorLight: '#ffffff',
              correctLevel: QRCode.CorrectLevel.H
            })
          this.t_show = setTimeout(function() {
            that.getDetectInfo(type)
          }, 5000)
        }
      })
获取结果
getDetectInfo(type) {
const that = this
const param = {
'bizToken': this.bizToken
}
this.$http.post('getDetectInfo', param).then((response) => {
if (response.data.code === 0) {
this.$message.success('人脸识别通过!')
if (type === 1) { // 法人
this.qrCodeImgShow = true
this.qrCodeShow = false
this.butShow = false
} else { // 经办人
this.qrCodeImgShow1 = true
this.qrCodeShow1 = false
this.butShow1 = false
}
} else {
this.t_info = setTimeout(function() {
that.getDetectInfo(type)
}, 5000)
}
})
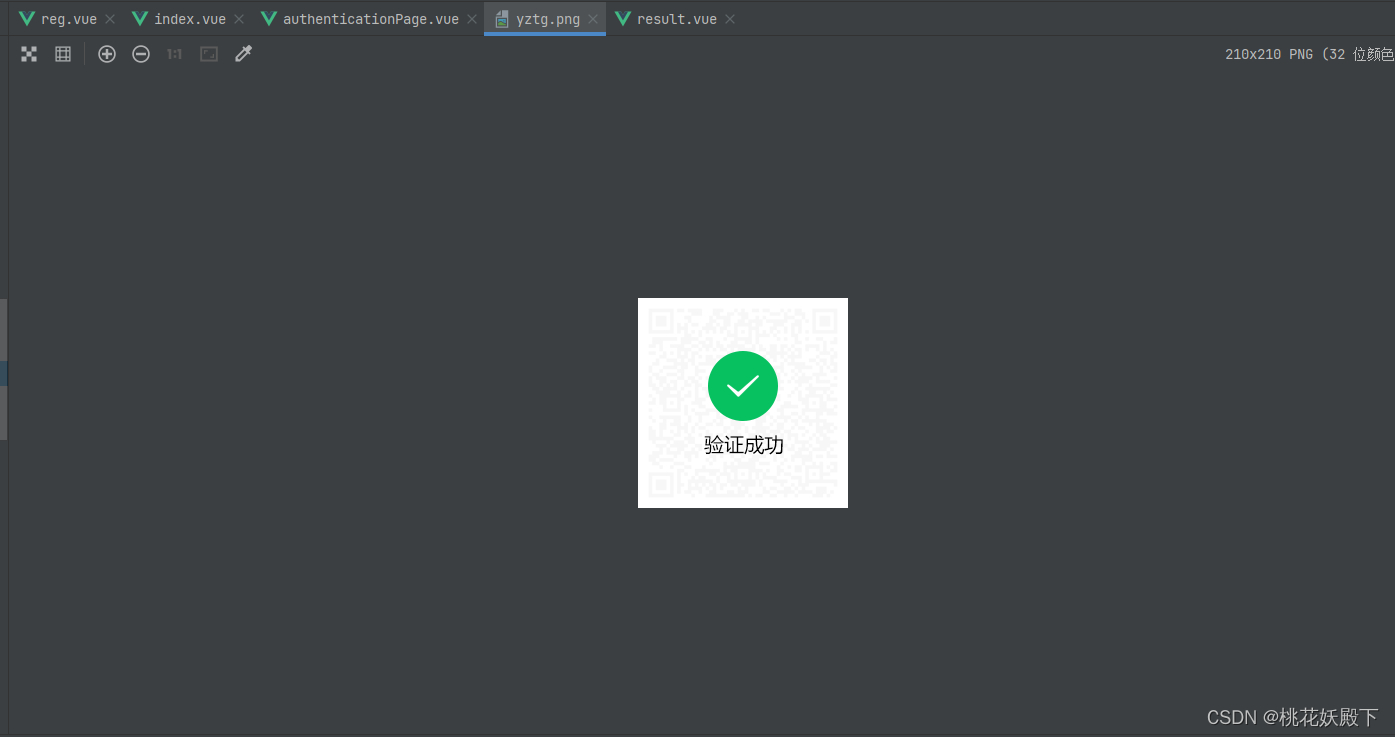
}成功了就把图片渲染上去就行
这里讲下回调页面,就是后台发给腾讯配置的路径,那个页面是自己画的,但是路径配置是在识别前生成二维码的时候发给腾讯的,也就是说那个路径只能配一个,不能动态配,有些小伙伴需求可能要腾讯认证成功和失败显示俩页面。。这时候我们做的时候可能在页面上动态获取状态,但是那个回调页面是在微信浏览器里打开的,所以获取不到项目状态机里的状态,这里提一嘴,其实biztoken会返回给回调页面的
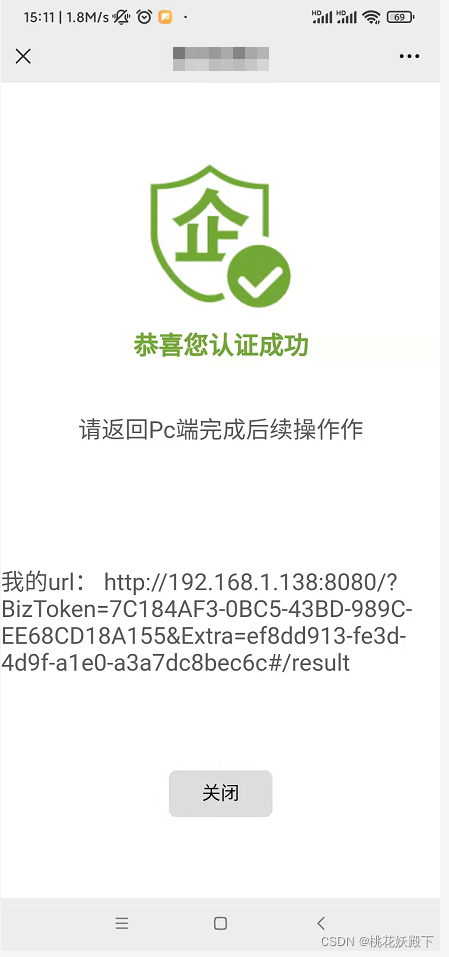
根据打印路径自己截取BizToken然后发给后台获取结果,在动态更新页面成功失败就可以了


 1825
1825

 被折叠的 条评论
为什么被折叠?
被折叠的 条评论
为什么被折叠?
 到【灌水乐园】发言


