


Openfaas on K8s安装部署
-
使用
brew或curl -sL cli.openfaas.com | sudo sh安装faas-cli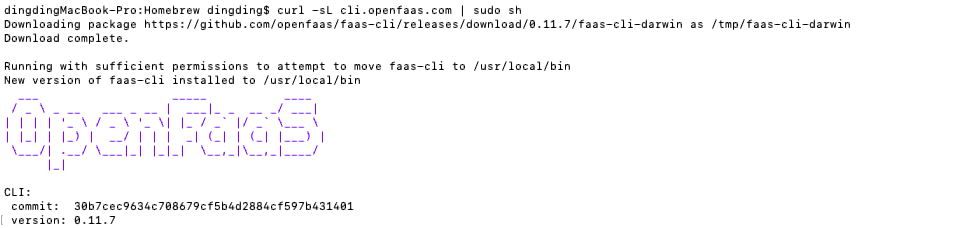
-
安装brew
brew install kubernetes-helm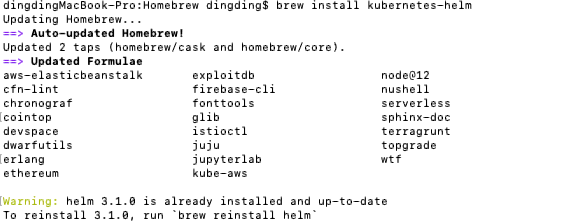
-
安装helm服务端tiller(3.0以上版本不需要安装)
kubectl -n kube-system create sa tiller \
 && kubectl create clusterrolebinding tiller \
 --clusterrole cluster-admin \
 --serviceaccount=kube-system:tiller
[外链图片转存失败,源站可能有防盗链机制,建议将图片保存下来直接上传(img-9n3qsKqO-1648005431081)(https://raw.githubusercontent.com/dingzhenying/MDGif/master/img/20200219231528.png)]
添加 OpenFaas helm 的 repo并更新:(3.0异常版本)
helm repo add openfaas https://openfaas.github.io/faas-netes/
helm repo update
dingdingMacBook-Pro:~ dingding$ git clone https://github.com/openfaas/faas-netes && cd faas-netes Cloning into 'faas-netes'... remote: Enumerating objects: 1379, done. remote: Counting objects: 100% (1379/1379), done. remote: Compressing objects: 100% (912/912), done. remote: Total 11836 (delta 553), reused 967 (delta 406), pack-reused 10457 Receiving objects: 100% (11836/11836), 11.01 MiB | 40.00 KiB/s, done. Resolving deltas: 100% (7013/7013), done. Checking out files: 100% (2441/2441), done. -
克隆 Kubernetes 的 OpenFaaS 驱动程序 faas-netes:
git clone https://github.com/openfaas/faas-netes && cd faas-netes -
Minikube 没有配置 RBAC,这里我们需要把 RBAC 关闭:
helm upgrade --install --debug --reset-values --set async=false --set rbac=false openfaa -
创建 OpenFaas 命名空间:
kubectl apply -f https://raw.githubusercontent.com/openfaas/faas-netes/master/namespaces.yml
-
创建 OpenFaas 的管理员登录密码:
kubectl -n openfaas create secret generic basic-auth --from-literal=basic-auth-user=admin --from-literal=basic-auth-password=1234567890dingdingMacBook-Pro:faas-netes dingding$ kubectl -n openfaas create secret generic basic-auth --from-literal=basic-auth-user=admin --from-literal=basic-auth-password=1234567890 secret/basic-auth created -
更新 OpenFaas 命名空间:
helm upgrade openfaas --install openfaas/openfaas --namespace openfaas --set functionNamespace=openfaas-fn --set basic_auth=true
-
首先登录 OpenFaas:
faas-cli login -g http://localhost:31112 -u admin -p 1234567890 -
查看 OpenFaas 基础服务的 Pod:
kubectl get pods -n openfaas -
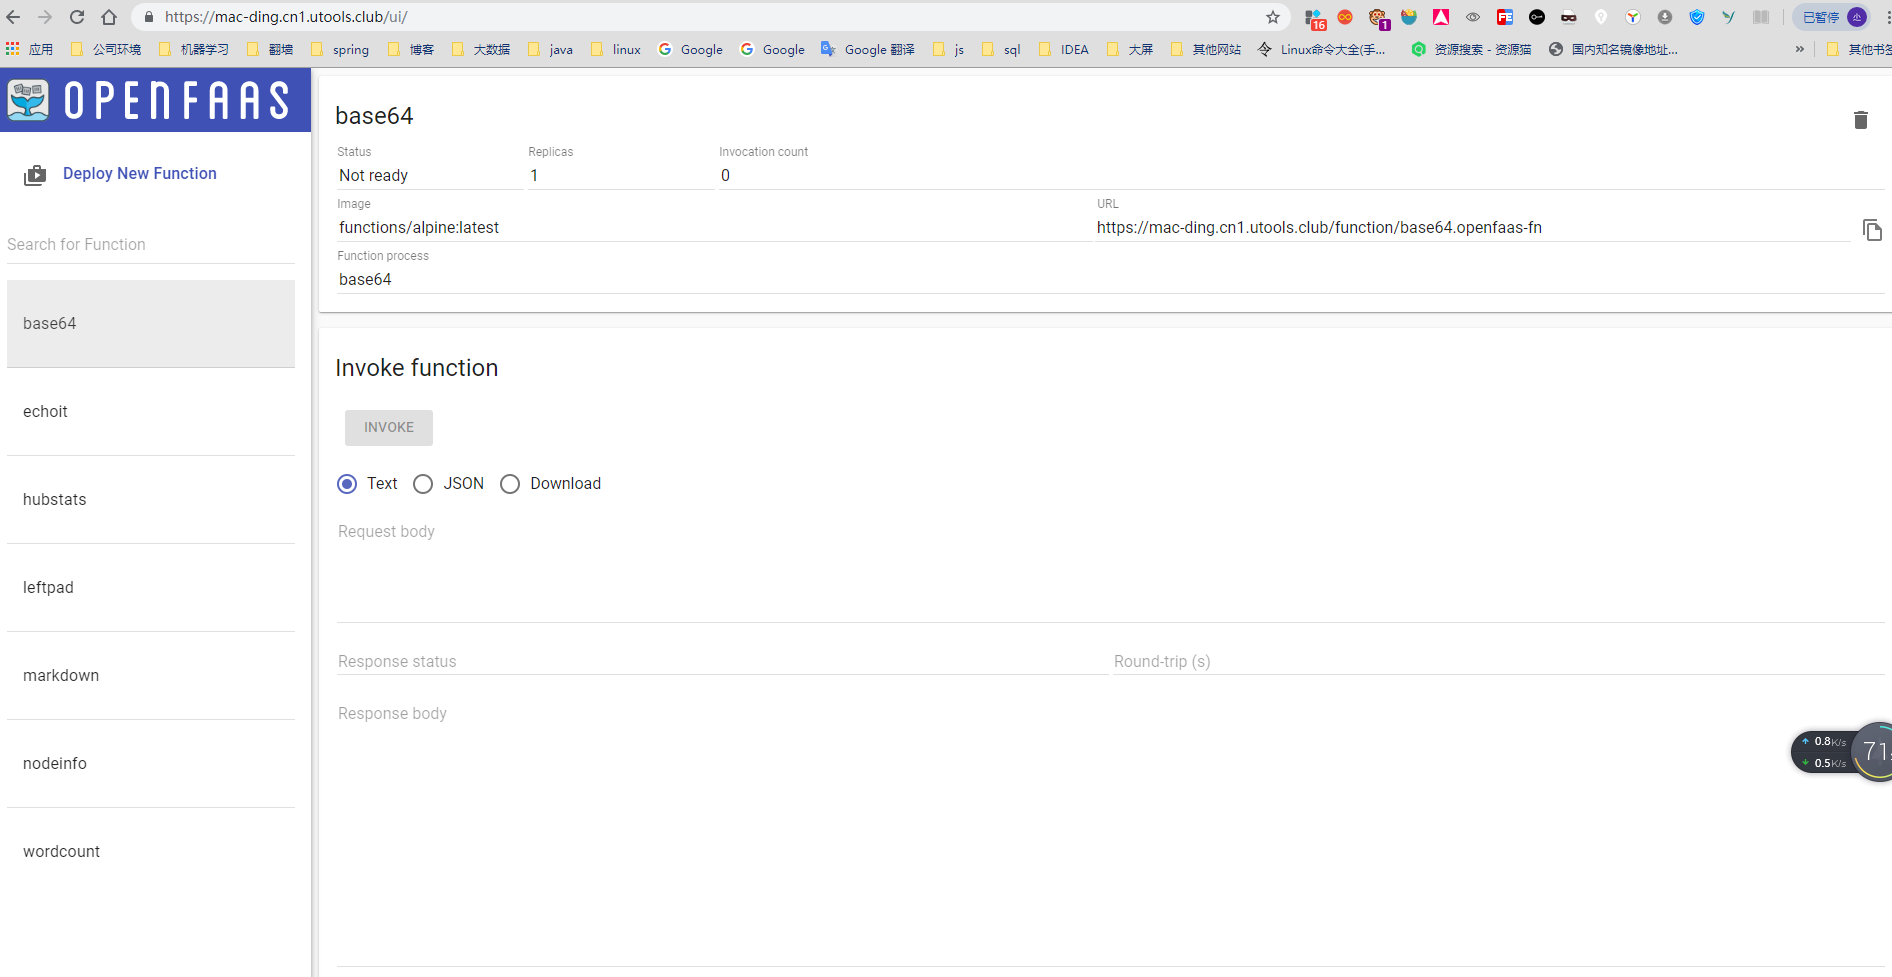
登陆ui查看openfaas(http://localhost:31112/ui)


 2070
2070


 被折叠的 条评论
为什么被折叠?
被折叠的 条评论
为什么被折叠?
 到【灌水乐园】发言


